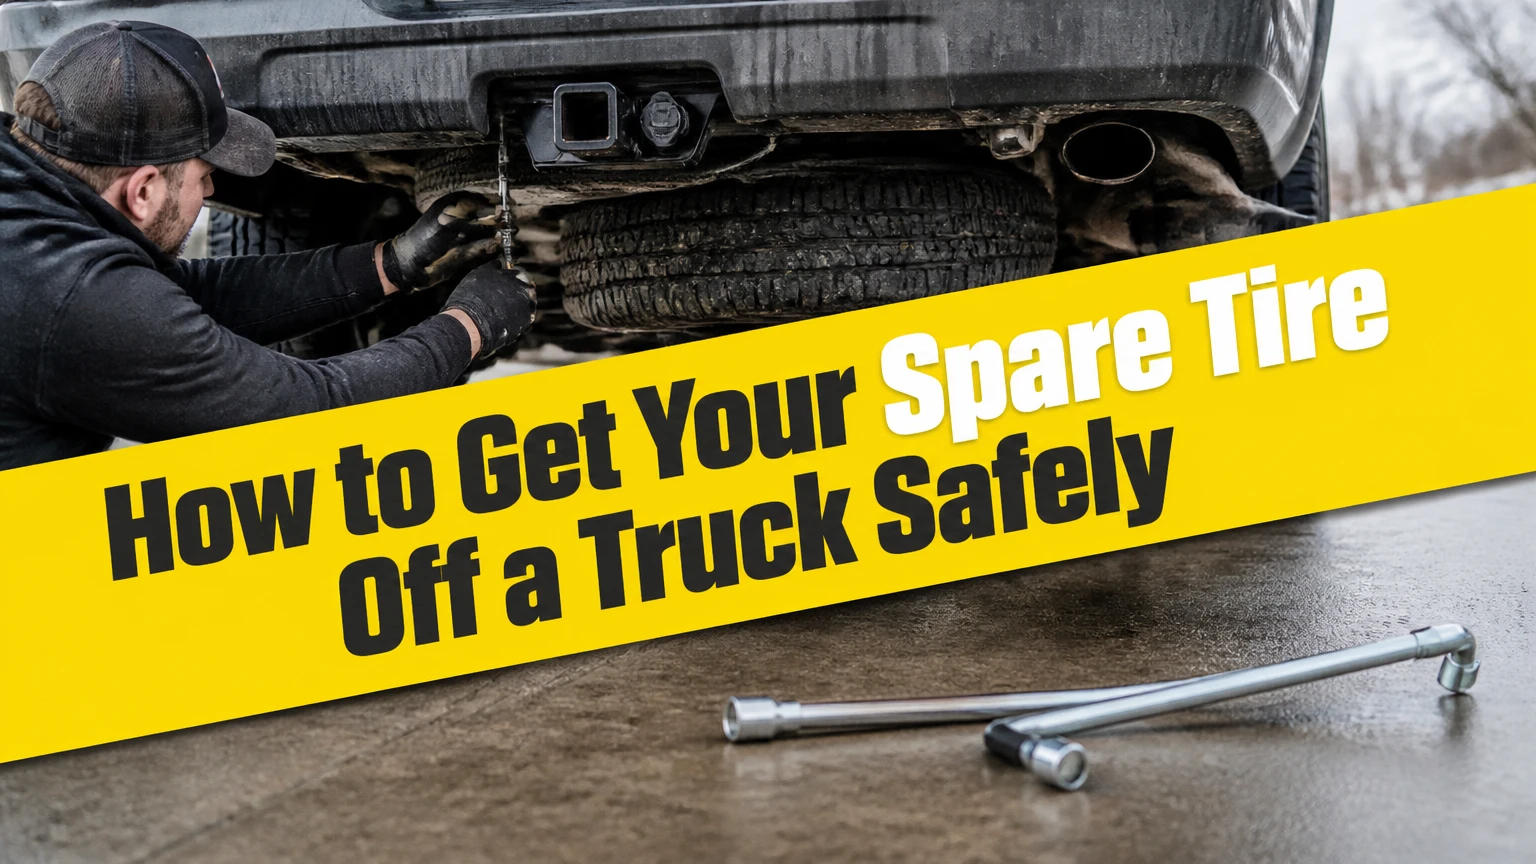
To get your spare tire off a truck, park on level ground, chock the front wheels, assemble the factory jack extensions, and insert the rod into the spare-tire hoist access port near the rear bumper. Turn the lug wrench counterclockwise until the tire rests on the ground, then tilt the retainer through the wheel center. Most removals take 10-20 minutes.
Key Facts at a Glance
A truck spare tire hoist normally stores the wheel beneath the bed, behind the rear axle or near the rear bumper.
The factory jack rods and lug wrench usually lower the tire through a square-drive access port.
The cable must become slack before the metal retainer can pass through the wheel center.
Typical removal time is 10-20 minutes when the hoist is clean and undamaged.
A replacement hoist commonly costs $80-$220 before labor, depending on the truck and part source.
Never place any part of your body beneath an unsupported truck or a suspended spare tire.
How to Get Your Spare Tire Off a Truck
The normal removal process has seven stages: secure the truck, find the tools, locate the access port, connect the extension rods, lower the wheel, release the retainer, and inspect the assembly. The factor that most determines success is hoist condition, because rust, packed mud, a bent rod, or a damaged cable can prevent a normal hand-cranked removal.
Before You Start
Prepare the truck before reaching under the bed. A factory hoist carries a heavy wheel at shoulder or chest height when it drops, and a loose truck can move if the wrench suddenly releases.
| Requirement | Typical specification | Why it matters |
|---|---|---|
| Removal time | 10-20 minutes | Allows time for access and inspection |
| Work surface | Level, firm pavement | Prevents rolling and sinking |
| Wheel chocks | 2 chocks, front tires | Reduces vehicle movement |
| Factory tools | 2-4 extension rods plus lug wrench | Matches the hoist drive |
| Gloves and eye protection | 1 pair each | Protects against rust and debris |
| Replacement pressure gauge | 1 gauge | Confirms the spare is usable |
Set the parking brake and place the transmission in Park, or select first gear in a manual truck. Switch on hazard lights if the truck is near traffic. Do not rely on the jack to hold the vehicle while removing the spare; the spare can be removed before lifting the truck.
Where Is the Spare-Tire Access Port?
The spare-tire access port is usually a small opening in the rear bumper, bumper fascia, or bed-side trim, often near the license plate. A plastic cap may cover the opening, while some trucks use a keyed lock cylinder that requires the ignition key before the hoist rod can engage.
Look behind the rear bumper and beneath the tailgate edge. On many Ford, Chevrolet, GMC, and Ram pickups, the opening leads through a guide tube to the hoist gearbox. Toyota Tacoma and Tundra models can use a similar under-bed crank arrangement, although the rod shape, lock arrangement, and carrier design vary by year.
Do not force a rod into a random hole. The correct port usually has a visible square, hexagonal, or keyed drive inside. The owner’s manual identifies the exact access location and tool storage area, and the manual should override any generic procedure when the truck has a locking bumper or unusual two-piece extension.
Where Are the Factory Jack Tools?
Factory jack tools are commonly stored behind or beneath a rear seat, beneath the passenger seat, beside the jack, or in a compartment under the hood. Pickup configurations differ even within the same model year, so inspect the jack-storage label and owner’s manual before removing interior trim.
The usual kit includes a lug wrench, a short handle, one or more interlocking extension rods, and sometimes a hook or socket adapter. Assemble the rods on the ground first. The rod connection should seat fully, with little side-to-side movement, because a partially engaged joint can twist under load.
A generic socket extension may not work. Some hoists use a vehicle-specific square drive, and a substitute that fits loosely can round the internal interface.
How Does the Under-Bed Hoist Work?
A truck spare-tire hoist uses a geared spool to raise or lower a cable or chain connected to a metal carrier. Turning the access shaft counterclockwise unwinds the retaining line, lowers the wheel, and eventually creates enough slack for the retainer to pass through the wheel’s center opening.
The main components are the guide tube, crank shaft, reduction gears, spool, cable or chain, and carrier plate or toggle. The carrier supports the wheel from its center hole rather than from the tread. A full-size steel wheel and tire can weigh more than 60 pounds, while heavy-duty truck assemblies may weigh substantially more.
The hoist is designed to hold the spare during storage, not to support a person or stabilize a raised vehicle. A cable that appears intact can contain internal corrosion, especially where road salt collects around the spool housing. Inspect the line after lowering the tire.
What Are the Removal Steps?
Follow the steps in order and stop when the mechanism behaves abnormally. The wheel should descend smoothly with moderate hand force, and the final cable movement should become noticeably loose when the tire reaches the pavement.
Step 1: Secure the Truck
Park on level ground, apply the parking brake, select Park or first gear, and place chocks against the front tires. Keep the truck unloaded if possible, because cargo weight changes suspension height and can alter access under the bed.
You will know the truck is secure when it does not rock noticeably as you press the bumper. The common mistake is working on a shoulder without enough clearance from passing traffic; roadside recovery is safer than trying to remove a spare inches from moving vehicles.
Step 2: Retrieve and Assemble the Tools
Remove the lug wrench and extension rods from the factory storage location. Connect every rod section until the joints seat fully, then attach the lug wrench to the outer end.
The assembled shaft should be long enough to reach the bumper port while you stand beside the truck. You will know it is ready when the square drive or keyed end remains straight and does not wobble. A common mistake is reversing a rod section, which can leave the drive end unable to enter the guide tube.
Step 3: Open the Access Port
Remove the dust cap or unlock the bumper cylinder with the truck’s ignition key. Brush loose dirt away from the opening before inserting the rod, since packed grit can prevent the drive from reaching the gearbox.
The rod should enter several inches and stop when the drive engages. You will know the port is correct when the rod turns the hoist rather than spinning freely in the opening. Do not hammer a misaligned rod into place; withdraw it, rotate it slightly, and try again.
Step 4: Lower the Spare Tire
Turn the lug wrench counterclockwise in controlled rotations. Keep the rod aligned with the guide tube and support the handle so it does not bend or scrape the bumper.
The wheel normally lowers several inches per series of turns, although the number of rotations varies by tire size and hoist gearing. You will know the wheel has reached the ground when the cable loses tension and the tire no longer hangs from the carrier. The common mistake is stopping as soon as the tread touches pavement, which leaves the retainer loaded and difficult to release.
Step 5: Pull the Tire Out and Release the Retainer
Slide or roll the tire from beneath the truck far enough to access its center hole. Rotate the carrier plate or toggle sideways, then pass the narrow section through the wheel opening.
You will know the retainer is released when the cable or chain can move independently of the wheel. Keep fingers away from pinch points between the carrier and wheel. A common mistake is pulling on a still-tensioned cable; crank farther downward instead.
Step 6: Inspect the Hoist and Tire
Examine the cable for broken strands, flattened sections, kinks, heavy rust, or separation at the end fitting. Check a chain for seized links, corrosion, and damaged hooks. Inspect the carrier for bending and confirm that the access rod retracts normally.
Check the spare’s inflation pressure with a gauge. The correct pressure is printed on the tire sidewall or identified in the truck’s tire-information label, but the sidewall maximum is not automatically the vehicle’s recommended operating pressure.
Step 7: Store the Spare Correctly
If the spare is not needed immediately, return it to the carrier with the wheel face oriented as specified by the owner’s manual. Insert the retainer through the center hole, crank clockwise until the tire contacts the underside, and stop when the wheel is firmly held without crushing the cable.
A correct installation leaves the spare secure with no rattling and no visibly loose carrier. Do not over-crank after contact. Excessive tension can damage the hoist, deform the carrier, or make the next removal harder.
Which Hoist Type Does a Truck Use?
Most pickup trucks use either a cable hoist or a chain-style carrier, while some trucks add a keyed lock inside the access tube. The access procedure is similar, but chain carriers tolerate abrasion differently and locking systems can prevent rod engagement until the key cylinder is opened.
| Hoist design | Common applications | Typical failure | Inspection priority |
|---|---|---|---|
| Cable spool | Ford F-150, Chevrolet Silverado, Ram 1500 | Frayed or corroded steel cable | Broken strands and spool rust |
| Chain carrier | Some Toyota Tacoma and Tundra configurations | Bound or seized chain links | Link movement and hook wear |
| Keyed hoist lock | Older GM trucks and selected trims | Frozen cylinder or lost key | Key operation and debris |
| Heavy-duty carrier | Ford F-250, F-350, Ram HD | High load, corrosion, bent retainer | Cable, carrier plate, mounting bolts |
A chain is not automatically maintenance-free. Mud and salt can stiffen links, while a cable can remain serviceable for years if its housing stays dry and protected. The vehicle’s model year determines the actual design, so replacement parts must match the original mounting and drive arrangement.
Cable Versus Chain
Cable hoists usually lower smoothly and package compactly, but corrosion can hide inside the wound portion near the spool. Chain hoists resist some forms of snapping and stretching, yet a seized link can stop the carrier abruptly.
Neither design should be judged only by appearance. A clean outer cable may conceal rust at the swaged end, and a shiny chain may have a bent hook. Replace a damaged load-bearing component rather than coating it and returning it to service.
How Can You Remove a Spare Tire Without the Key?
A missing hoist-lock key requires identification of the truck and lock system before any removal attempt. The safest options are obtaining the correct replacement key, using the manufacturer’s keyed tool, or having a roadside technician or repair shop remove the lock without damaging the bumper or hoist.
Do not insert oversized screwdrivers, hammer a socket over the lock, or apply an impact tool. Those methods can damage the lock cylinder, guide tube, gearbox, and bumper, turning a missing key into a multi-part repair.
A locksmith or technician may decode or remove the cylinder using vehicle-specific equipment. The correct procedure differs between an older Chevrolet Silverado, a Ford Super Duty, and a Toyota pickup, so a model-year-specific service manual is more reliable than a universal bypass method.
What If the Rod Spins but the Tire Does Not Lower?
A spinning rod usually indicates that the square drive is not engaged, the guide tube is damaged, or the hoist gearbox has stripped or disconnected gears. First withdraw the rod, inspect its drive end, clean the access opening, and reinsert it while applying light inward pressure.
If the rod turns with no resistance and the tire does not move, look underneath without placing your body beneath the suspended wheel. Have an assistant turn the rod while you observe the shaft or hoist from a safe side position. If the gearbox is broken, support the tire with a suitable transmission jack or call a professional.
Cutting a cable with bolt cutters or an angle grinder is not a routine fix. The tire can fall suddenly, sparks can ignite flammable material, and stored tension can cause the cable end to whip. A professional should support the wheel and control the cable before destructive removal.
What If the Tire Lowers Partway and Jams?
A tire that lowers partway and stops usually has a cable wound unevenly, a corroded spool, a bent carrier, or an obstruction between the wheel and frame. Turn the crank clockwise several rotations to raise the tire slightly, apply downward hand pressure to the tire from its side, then try lowering again with controlled force.
Stop if the rod bends, the gearbox clicks repeatedly, or the tire shifts sideways. A jammed cable should not be solved by standing directly beneath the wheel or using a cheater bar on the lug wrench.
What If the Hoist Is Frozen?
Apply a penetrating lubricant to the exposed access lock or pivot points, then allow 10-15 minutes for it to work. Penetrating fluid may free a lock or pivot, but it cannot restore a cable whose load-bearing strands have corroded.
A small amount of lubricant on the lock cylinder is different from coating the entire cable. Follow the hoist manufacturer’s recommendation because some products collect abrasive dirt, and some cables require replacement rather than lubrication.
Common Mistakes and How to Fix Them
Several removal errors create more damage than the original flat tire. The most serious mistake is treating the hoist as a harmless crank instead of a loaded mechanical system.
| Mistake | Likely result | Safer correction |
|---|---|---|
| Using an impact wrench | Gear or shaft damage | Use the factory lug wrench by hand |
| Stopping when tread touches | Retainer remains loaded | Lower until the cable is slack |
| Pulling a tilted wheel hard | Bent carrier or hook | Reposition the wheel and crank lower |
| Crawling beneath a suspended tire | Crush and pinch hazard | Work from the side or use professional support |
| Forcing a locked port | Damaged cylinder and bumper | Obtain the correct key or technician |
| Reusing a frayed cable | Sudden load failure | Replace the hoist assembly or cable |
The claim that an impact tool always strips the gears instantly is too broad. Damage depends on torque, gear condition, corrosion, and tool speed, but an impact wrench removes the operator’s ability to feel binding, so hand operation remains the safer choice.
How Long Does It Take and What Does It Cost?
A normal spare-tire removal takes 10-20 minutes and costs nothing when the factory tools are present and the hoist works. A stuck lock, damaged extension rod, or corroded carrier can extend the job to 30-90 minutes, while a replacement hoist commonly costs $80-$220 for the part before labor.
| Situation | Typical time | Typical direct cost | Main variable |
|---|---|---|---|
| Working factory hoist | 10-20 minutes | $0 | Tool availability |
| Dirty or mildly stiff hoist | 20-40 minutes | $5-$15 | Cleaning and lubricant |
| Lost key or locked cylinder | 30-90 minutes | $50-$150 service | Lock design and access |
| Replacement hoist assembly | 1-3 hours | $80-$220 part | Truck model and quality |
| Roadside technician visit | 30-120 minutes | $75-$200 typical service | Location and time |
Prices vary by region, truck size, and whether the replacement is original equipment or aftermarket. Heavy-duty carriers and assemblies with integrated locks may cost more than simple cable mechanisms.
What Should You Do With a Full-Size or Temporary Spare?
A full-size spare can usually be installed in the same position as the failed tire, provided its size, load rating, wheel offset, and drivetrain requirements match. A compact temporary spare is intended for limited distance and speed, and its sidewall instructions control even when the truck’s normal tires are larger.
| Spare type | Typical diameter | Typical speed guidance | Typical use |
|---|---|---|---|
| Full-size matching spare | Same as road tire | Vehicle-manual limit | Normal replacement |
| Full-size lower-tread spare | Same nominal size | Vehicle-manual limit | Temporary rotation or repair |
| Compact temporary spare | 24-31 inches | Often 50 mph maximum | Short trip to repair facility |
| Heavy-duty auxiliary spare | 32-37 inches | Truck-manual limit | Load-rated pickup service |
Four-wheel-drive and all-wheel-drive trucks may require closely matched tire circumferences. A significantly different spare can stress drivetrain components, especially when used on a high-traction surface. Check the owner’s manual before driving any distance.
Maintenance After Removal
Test the hoist at least once a year and before long trips. Lower the spare completely, inspect the cable or chain, clean salt and mud from the carrier, verify tire pressure, and raise the wheel until it is secure without excessive crank force.
NHTSA’s tire-safety guidance emphasizes checking inflation pressure when tires are cold and following the vehicle manufacturer’s recommended pressure. The spare deserves the same check as the four tires on the ground, because a neglected spare often fails when it is finally needed.
Use corrosion protection only where the manufacturer permits it. A light protective product on exposed metal can help in salt regions, but heavy grease on a cable or chain can hold grit against the load-bearing surface. Dry graphite may suit some locks, while penetrating fluid is better for initially freeing corrosion; these products are not interchangeable.
Expert Inspection Rules
- Replace a cable when individual strands are broken, even if the hoist still cranks.
- Treat repeated clicking as a mechanical warning, not as normal gear noise.
- Photograph the hoist and tool arrangement before disassembly, because the correct rod orientation can matter during reinstallation.
- Check the spare’s valve stem and date code, not only its tread depth.
- Wash the carrier after winter driving, then allow it to dry before applying approved corrosion protection.
When Should You Replace the Hoist?
Replace the hoist when its cable is frayed, the chain has damaged links, the carrier is bent, the gearbox slips under load, or the mounting hardware is severely corroded. A hoist that works only when the rod is forced sideways is unsafe because misalignment can accelerate gear and shaft wear.
A complete assembly is often preferable to repairing an unknown internal failure. The correct replacement must match the truck’s bed configuration, wheel size, mounting brackets, cable length, and crank interface. Verify the vehicle identification number and model year before ordering.
A hoist is not worth improvising around. If the tire cannot be safely supported during inspection, stop and use a qualified repair facility.
FAQ
Can I lower the spare tire with a regular socket wrench?
A regular socket wrench may turn the mechanism only if its drive adapter matches the truck’s hoist interface and reaches the guide tube correctly. The factory extension rods are safer because they provide the intended length, alignment, and connection. A loose substitute can round the drive or damage the bumper opening.
Why does my spare tire make noise under the truck?
Rattling usually comes from insufficient carrier tension, a loose retainer, a bent wheel, or a worn hoist. Lower the spare, inspect the carrier and wheel center, then raise the assembly until it contacts the frame firmly. Do not eliminate noise by over-tightening the crank, which can damage the gearbox.
Should the spare tire be stored face up or face down?
The correct orientation depends on the wheel design and carrier. Many pickup trucks store the wheel with the valve stem accessible through the center opening, but some configurations specify the opposite orientation. Follow the owner’s manual and confirm that the retainer sits fully through the wheel center.
Can road salt make a spare-tire cable unsafe?
Road salt can corrode steel cable strands, the swaged end, carrier hardware, and the hoist housing. Surface rust alone does not measure remaining strength, so inspect for broken wires, deep pitting, kinks, and looseness at the end fitting. Replace questionable load-bearing parts rather than relying on lubricant.
Can I drive with a different-size spare on a 4WD truck?
A different-size spare may be acceptable for a short, controlled trip, but 4WD and AWD systems can react poorly to unequal tire circumferences. Check the truck manual for distance, speed, and drivetrain restrictions. Use the temporary spare only for the period necessary to reach a tire shop.
Where can I find truck-specific removal instructions?
The owner’s manual is the primary source for tool storage, access-port location, hoist direction, spare orientation, and temporary-spare limits. A manufacturer service manual or dealer parts diagram can identify the carrier assembly when the hoist is damaged. Include the truck’s year, make, model, bed length, and drivetrain when seeking help.
The Bottom Line
To get your spare tire off a truck, use the factory jack rods through the correct bumper access port, crank counterclockwise until the cable or chain is completely slack, and slide the carrier through the wheel center. Work from the side, avoid impact tools, and stop for professional help when the hoist binds, the lock is missing, or the cable is damaged.


