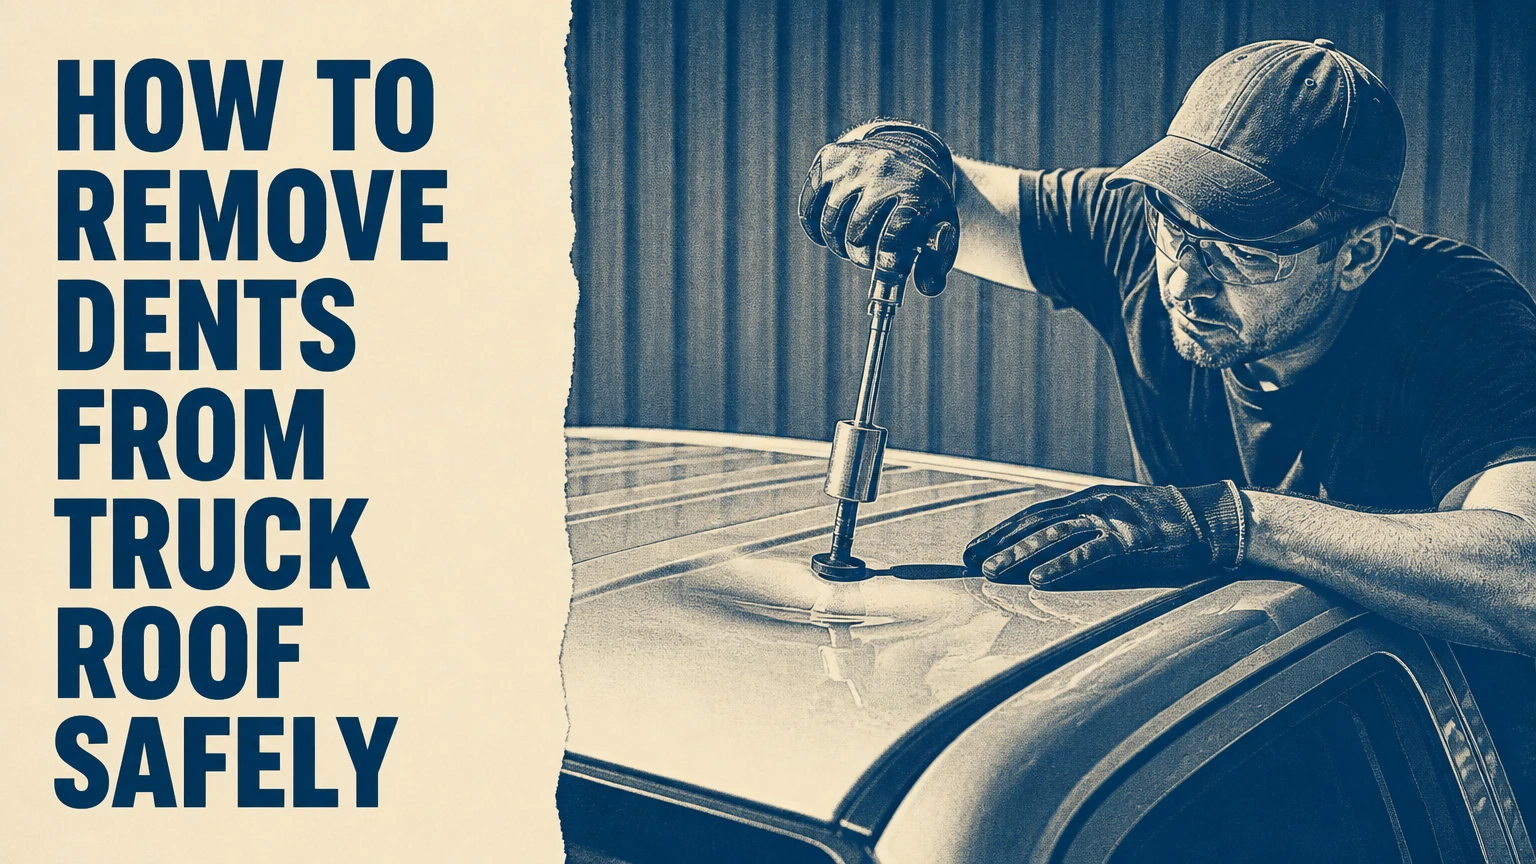
Paintless dent repair is the safest way to remove a shallow truck roof dent when the paint is intact, the metal is not sharply creased, and the roof structure is undamaged. A trained technician accesses the panel from below, reads the deformation with a reflection light, and makes controlled micro-pushes until the factory contour returns. DIY glue pulling is suitable only for limited, accessible dents.
Key Facts
A shallow dent with intact paint usually has the best chance of successful paintless dent repair.
A sharp crease, torn metal, cracked paint, or roof deformation near a bow or airbag requires professional inspection.
Truck roof repairs commonly take 1-6 hours for PDR and 1-5 days for conventional body repair.
Heat-gun and dry-ice methods are unreliable and can damage clear coat, adhesives, seals, or roof coatings.
The roof headliner may conceal curtain-airbag modules, wiring, roof bows, microphones, and overhead-console connections.
A successful repair must include a paint inspection, trim check, and water-leak check, not only a visual dent assessment.
What Type of Truck Roof Dent Do You Have?
The repair method depends on dent depth, diameter, crease shape, paint condition, panel material, and access behind the roof skin. Measure the damaged area before buying tools or applying force, because a broad shallow depression behaves very differently from a small impact crater with stretched metal.
| Condition | Typical appearance | Likely repair | DIY suitability |
|---|---|---|---|
| Shallow depression | 2-8 inches wide, smooth edges | PDR or cautious glue pulling | Moderate |
| Sharp crease | Narrow fold with a defined line | Advanced PDR or body repair | Low |
| Hail damage | Multiple round depressions, intact paint | Professional PDR | Low to moderate |
| Oil-can dent | Panel flexes in and out after impact | Metal shrinking or body repair | Low |
| Torn or cracked panel | Exposed metal, split paint, distortion | Collision repair and repainting | None |
| Roof-frame damage | Bow, rail, pillar, or seam visibly displaced | Structural inspection | None |
How do you inspect the dent before repair?
Wash and dry the roof, then inspect the paint under indirect daylight and a bright reflection. Record the dent’s longest dimension, depth, nearest roof seam, nearest roof bow, and distance from the windshield, side rail, or roof-mounted antenna.
Run a clean microfiber cloth across the area. A cloth catching on one point often identifies a crease or raised edge that photographs do not reveal. Check the cabin for a displaced headliner, dampness, broken trim, warning lights, or unusual wind noise after the impact.
A dent is a poor DIY candidate when the panel feels loose, the metal clicks as pressure changes, the edge is sharply folded, or the impact sits directly over a structural reinforcement. The visible depression may be cosmetic, but the underlying roof support can still be bent.
How Does a Truck Roof Dent Form?
A truck roof dent forms when an impact drives sheet metal below its original contour and creates a surrounding crown, or raised tension zone. The center is the valley, while the crown contains the residual stress that prevents the panel from returning smoothly.
Paintless dent repair works by reducing that distortion gradually rather than forcing the center outward in one movement. The technician follows the reflected light pattern, works around the crown, and uses small pushes that keep the metal within a controllable range.
Sheet metal can elastically return to shape, but impact damage may also stretch its surface area. A stretched panel can look repaired while remaining unstable, producing an “oil-can” effect when pressed. Once that happens, ordinary suction or forceful pushing will usually worsen the result.
Why does roof reinforcement change the repair?
Roof bows and crossmembers limit tool access and alter how the panel moves. A dent over a bow may have a hard boundary, while a dent between bows may move more freely but require a longer rod and more precise leverage.
Modern trucks can also contain side-curtain airbags, roof harnesses, satellite antennas, microphones, satellite-radio components, and insulation beneath the headliner. Removing the headliner without identifying these parts can create a safety fault or permanent trim damage.
Which Repair Method Should You Choose?
Choose professional PDR for a shallow, paint-intact dent; choose glue pulling only when a suitable access point is blocked; choose conventional collision repair for cracked paint, sharp creases, stretched metal, or structural damage. Thermal shock should not be the primary repair method.
| Method | Best damage profile | Typical time | Typical cost in the United States | Paint risk |
|---|---|---|---|---|
| Professional PDR | Shallow dent, intact finish | 1-6 hours | $150-$1,200 | Low |
| Glue pulling | Small or medium dent, blocked access | 1-4 hours | $100-$600 | Moderate |
| DIY hand tools | Small accessible dent, low cosmetic expectations | 2-8 hours | $30-$250 | Moderate to high |
| Conventional body repair | Crease, cracked paint, stretched panel | 1-5 days | $800-$4,000+ | High during repaint |
| Roof-panel replacement | Torn panel or severe structural damage | 3-10 days | $2,000-$8,000+ | High during repaint |
These are typical planning ranges, not universal prices. Truck size, roof construction, paint color, regional labor rates, headliner removal, blending requirements, and insurance procedures can change the estimate substantially.
What tools are needed for a safe repair?
A professional PDR job may use a line-board or LED reflection light, PDR rods, whale tails, soft knockdowns, a blending hammer, protective tape, trim tools, and a temperature-controlled work area. A glue-pull repair requires automotive glue, correctly sized tabs, a bridge puller or mini-lifter, plastic scrapers, and 70-91% isopropyl alcohol.
A DIY owner should also have a torque screwdriver or trim fastener tool, nitrile gloves, eye protection, a work light, masking tape, replacement clips, and a vehicle service manual. Do not improvise with screwdrivers, pry bars, or a steel hammer against the painted surface.
How to Remove Dents From Truck Roof With PDR
Professional PDR removes a suitable truck roof dent without filler or repainting by reshaping the original panel from its underside. The process usually takes 1-6 hours, although headliner removal and a reinforced roof can extend the appointment.
Step 1: Photograph and measure the damage
Clean the roof and photograph the dent from four angles. Measure width and approximate depth, then mark the outer crown with removable masking tape rather than permanent marker.
You will know this step worked when the repair area, nearby seams, and paint damage are documented clearly. A common mistake is measuring only the valley and ignoring the larger crown around it.
Step 2: Identify roof hazards
Consult the truck’s service information before lowering the headliner. Disconnecting a battery may not be sufficient for every restraint system, so a qualified technician should follow the manufacturer’s airbag and electrical procedures.
Locate curtain-airbag modules, roof bows, wiring connectors, dome-light harnesses, antennas, and grab-handle fasteners. You will know this step worked when every hidden component has an identified removal or protection procedure.
Step 3: Lower the headliner carefully
Remove only the trim necessary to create a safe access path. Support the headliner with a clean, broad surface, because folding a backed headliner can leave a permanent crease.
Do not pull on curtain-airbag covers or force trim clips near the pillars. You will know this step worked when the roof skin is reachable without bending the headliner or stressing an airbag module.
Step 4: Position the reflection light
Place a PDR light or line board so parallel reflections cross the damaged area. The lines bend over low spots and compress around high spots, showing where the tool tip is contacting the panel.
A technician should protect the paint and interior while choosing a rod with the correct length and curvature. You will know this step worked when the lowest point and surrounding crown are visible from the tool position.
Step 5: Relax the crown first
Use controlled support and occasional soft knockdown taps to reduce the raised ring around the dent. Do not drive the tool into the center with a single hard push, because that can create a pimple and stretch the metal.
Work from the outer distortion toward the center in small increments. You will know this step worked when the reflection lines become less distorted without a new high spot appearing.
Step 6: Make micro-pushes from inside
Place the rod tip at the lowest practical point and apply many small pressures instead of a few large movements. A useful practitioner rule is to make each push barely visible in the reflection, then reassess the panel before moving.
The roof should gradually regain its contour while the paint remains stable. You will know this step worked when the reflection lines straighten across the repair area and the panel no longer clicks or flexes unpredictably.
Step 7: Blend and inspect the surface
Finish with small blending movements around the original crown and tap down isolated high spots with a nylon knockdown and lightweight hammer. Inspect from several angles under changing light, because a roof can look flat from one direction while retaining a shallow wave.
You will know the repair worked when the surface is stable, the paint has no new cracks, and the reflection remains consistent. A common mistake is stopping as soon as the central hole disappears.
Can Glue Pulling Repair a Truck Roof Dent?
Glue pulling can reduce a small or medium truck roof dent when roof braces prevent safe access from below, but the method has higher paint and finish risk than PDR. Glue pulling is most appropriate for smooth dents without sharp creases, loose paint, prior body filler, or severe stretching.
Step 1: Clean and inspect the paint
Wash the panel, dry it completely, and wipe the bonding area with isopropyl alcohol. Do not glue over wax, ceramic coating, silicone dressing, loose clear coat, or touch-up paint.
Use a tab slightly smaller than the dent’s center. A tab that is too large can lift the crown instead of the valley, while a tab that is too small can concentrate force and create a high spot.
Step 2: Apply the tab correctly
Apply automotive hot glue evenly across the tab, then place it squarely over the lowest controlled area. Allow the glue to cool according to the kit instructions, commonly 30-90 seconds rather than relying on an arbitrary cure time.
Glue temperature, panel temperature, tab material, and humidity affect bonding. The tab should feel firm but not brittle when the puller is attached.
Step 3: Pull in small increments
Use a bridge puller or mini-lifter, not an uncontrolled slide-hammer strike, for a roof panel. Apply short, measured lifts and release the tab after each movement so the crown can be assessed.
You will know the pull was appropriate when the dent rises without a sharp ring around it. Stop immediately if the paint lifts, the glue tears unevenly, or the panel begins to form a pimple.
Step 4: Release and clean the tab
Twist or release the tab according to the tool instructions. Use isopropyl alcohol and a plastic scraper to remove residue, keeping metal blades away from the clear coat.
You will know this step worked when no glue remains and the paint has no lifted edge. A common mistake is pulling the tab sideways, which can shear paint from a weak or repaired surface.
Is the Heat and Dry-Ice Method Safe?
Heat-and-cold dent popping is not a dependable truck roof repair, and rapid thermal shock can damage clear coat, decals, sealants, adhesives, and coated steel. A hair dryer may warm a panel safely in some circumstances, but temperature change alone rarely corrects a dent with a crown or stretched metal.
Automotive clear coat can tolerate normal environmental temperature changes, yet a heat gun concentrates energy in a small area. Dry ice and inverted aerosol cans can create brittle coatings, frost contamination, or uneven contraction without controlling the dent’s stress pattern.
The method may appear to work on an extremely shallow, flexible depression, but it does not repair creases, stretched metal, or reinforcement damage. Thermal shock should therefore be treated as an unreliable experiment, not an expert-recommended standard.
When Is a Truck Roof Dent Too Large for PDR?
Dent diameter alone does not disqualify PDR, but a large dent with a soft contour can be easier to repair than a small dent with a sharp crease. The decisive factors are metal stretching, paint condition, access, reinforcement, and whether the panel remains stable.
| Warning sign | What it indicates | Recommended action |
|---|---|---|
| Cracked paint | Coating or metal movement exceeded its limit | Stop DIY; inspect professionally |
| Sharp crease | Localized metal stretch and folding | Advanced PDR or body repair |
| Oil-can movement | Panel has lost stable tension | Metal shrinking or body repair |
| Torn seam or rail | Possible structural damage | Collision-center inspection |
| Dent over curtain airbag | Restricted access and safety concern | Qualified technician |
| Water inside cabin | Seal, seam, or antenna damage | Leak diagnosis before cosmetics |
| Broken roof bow | Roof-support deformation | Structural repair assessment |
PDR may still improve a large dent, but “improve” is different from restoring an invisible finish. Ask the technician whether the goal is complete correction, substantial reduction, or preparation for conventional refinishing.
How Much Does Truck Roof Dent Repair Cost?
Typical truck roof dent repair costs range from $100 for a minor glue-pull attempt to more than $8,000 for severe damage requiring roof replacement. Professional PDR commonly costs $150-$1,200, while a large collision repair with paint often costs $800-$4,000.
| Damage situation | Typical labor | Typical total cost | Main price driver |
|---|---|---|---|
| One shallow dent | 1-3 hours | $150-$500 | Dent size and access |
| Several hail dents | 3-12 hours | $600-$2,500 | Dent count and headliner work |
| Reinforced roof dent | 3-8 hours | $400-$1,500 | Access and structural boundaries |
| Cracked-paint crease | 1-3 days | $800-$2,500 | Filler, primer, and paint |
| Torn or severely buckled roof | 3-10 days | $2,000-$8,000+ | Panel replacement and structural work |
Request an itemized estimate covering headliner removal, trim clips, paint blending, corrosion protection, glass removal, roof-panel replacement, and post-repair water testing. Insurance may cover hail or collision damage after the deductible, but cosmetic damage from an excluded event may not qualify.
What Are the Most Common Repair Failures?
Most failed DIY roof repairs result from applying force before diagnosing the dent, ignoring hidden roof hardware, or continuing after the metal becomes unstable. Early stopping usually limits the cost, while repeated pushing can turn a repairable dent into a body-shop job.
- A sharp pimple appears: The tool pushed beyond the intended point. Stop, inspect the surrounding crown, and have a PDR technician blend the high spot.
- The dent becomes an oil can: The panel has lost tension or suffered stretching. Do not keep pushing; professional metal shrinking may be required.
- The glue tab releases instantly: Wax, coating, cold metal, or poor glue temperature prevented bonding. Reclean the surface and follow the kit’s temperature instructions.
- Clear coat turns cloudy or bubbles: Excess heat or aggressive pulling damaged the finish. Stop and obtain a paint assessment before exposing more metal.
- The headliner will not refit: A clip, harness, trim edge, or backing board may be displaced. Do not force it, especially around pillar-mounted airbags.
- Water appears after repair: Check antenna seals, roof seams, weatherstrips, and fasteners. A cosmetic repair is incomplete until the leak source is corrected.
What Should You Check After Repair?
Inspect the truck roof under direct and indirect light, then run a clean hand across the former dent. The paint should remain uniform, the panel should not click or flex abnormally, and the surrounding reflection should not show a ring or wave.
Reconnect interior components according to the vehicle’s service procedure. Confirm that dome lights, microphones, overhead controls, antennas, and warning systems work before returning the truck to service.
Perform a controlled water test with a gentle hose, not a pressure washer. Have one person watch the headliner and roof joints from inside for several minutes, then monitor the cabin after the first rain.
Which Owner Should Choose Each Option?
A late-model, leased, or high-value truck should usually go directly to a qualified PDR technician because factory paint preservation and resale condition matter more than the small saving from experimentation. An older truck with a shallow dent can justify a cautious glue-pull attempt if cosmetic perfection is not required.
| Owner situation | Best first choice | Why | Avoid |
|---|---|---|---|
| Leased late-model truck | Professional PDR | Preserves original finish | Heat gun and slide hammer |
| Older work truck | Limited DIY glue pull | Lower cost for minor damage | Repeated forceful pulls |
| Hail-damaged truck | Hail-focused PDR shop | Efficient multi-dent repair | Treating every dent separately at home |
| Cracked-paint impact | Body shop | Restores coating and corrosion protection | PDR alone |
| Tree branch or rollover | Collision center | Checks roof structure and restraints | Any cosmetic DIY method |
| Aluminum roof panel | Experienced aluminum PDR technician | Requires different tool control | Generic steel-panel technique |
What should you ask a repair shop?
Ask whether the estimate includes headliner removal, whether the technician has repaired the same truck generation, and whether the roof contains curtain-airbag or reinforcement obstacles. Request before-and-after photographs, a written warranty scope, and confirmation that no filler or repainting will be used if factory paint preservation is promised.
A reputable shop should explain where access is unavailable and what level of visual correction is realistic. Be cautious when a quote promises a flawless result without inspecting the dent, paint, panel material, and roof structure.
FAQ
Can I remove a truck roof dent with a suction cup?
A suction cup may reduce a very shallow, broad depression, but it cannot reliably correct a sharp crease, stretched metal, or a dent bounded by a roof brace. Pulling too hard can raise the center and leave a visible crown, so suction is best viewed as a low-force trial with limited expectations.
Will PDR work if the truck roof paint is scratched?
PDR can sometimes reshape the metal when scratches are superficial and the clear coat remains intact. Cracked paint, exposed steel, peeling clear coat, or corrosion changes the repair requirement because the panel needs sealing and refinishing after the metal is corrected.
Can a roof dent cause a water leak?
A roof dent can cause a leak when it damages a seam, antenna gasket, roof rail, windshield perimeter, sunroof frame, or factory sealant. The depression itself may remain watertight, so inspect the cabin and test all nearby seals instead of assuming the dent is cosmetic.
Are aluminum truck roofs harder to repair?
Aluminum roof panels generally require more controlled heat management, specialized tools, and different force patterns than comparable steel panels. Aluminum work-hardens and may retain a stretched or hardened area, so use a technician experienced with aluminum rather than a generic dent kit.
Does truck insurance cover roof dent repair?
Comprehensive coverage often handles hail damage, while collision coverage may apply to an impact with another object, subject to the policy deductible and exclusions. Photograph the damage before repair, obtain an estimate, and ask the insurer whether PDR is an approved repair method.
The Bottom Line
The safest answer to how to remove dents from truck roof is to use professional PDR when the dent is shallow, the paint is intact, and the roof structure is sound. Glue pulling can help where braces block access, but thermal shock and forceful DIY pushing create unnecessary risk. Stop when you find a crease, cracked paint, oil-canning, displaced trim, water intrusion, or suspected roof-frame damage, then use a qualified PDR or collision-repair professional.


