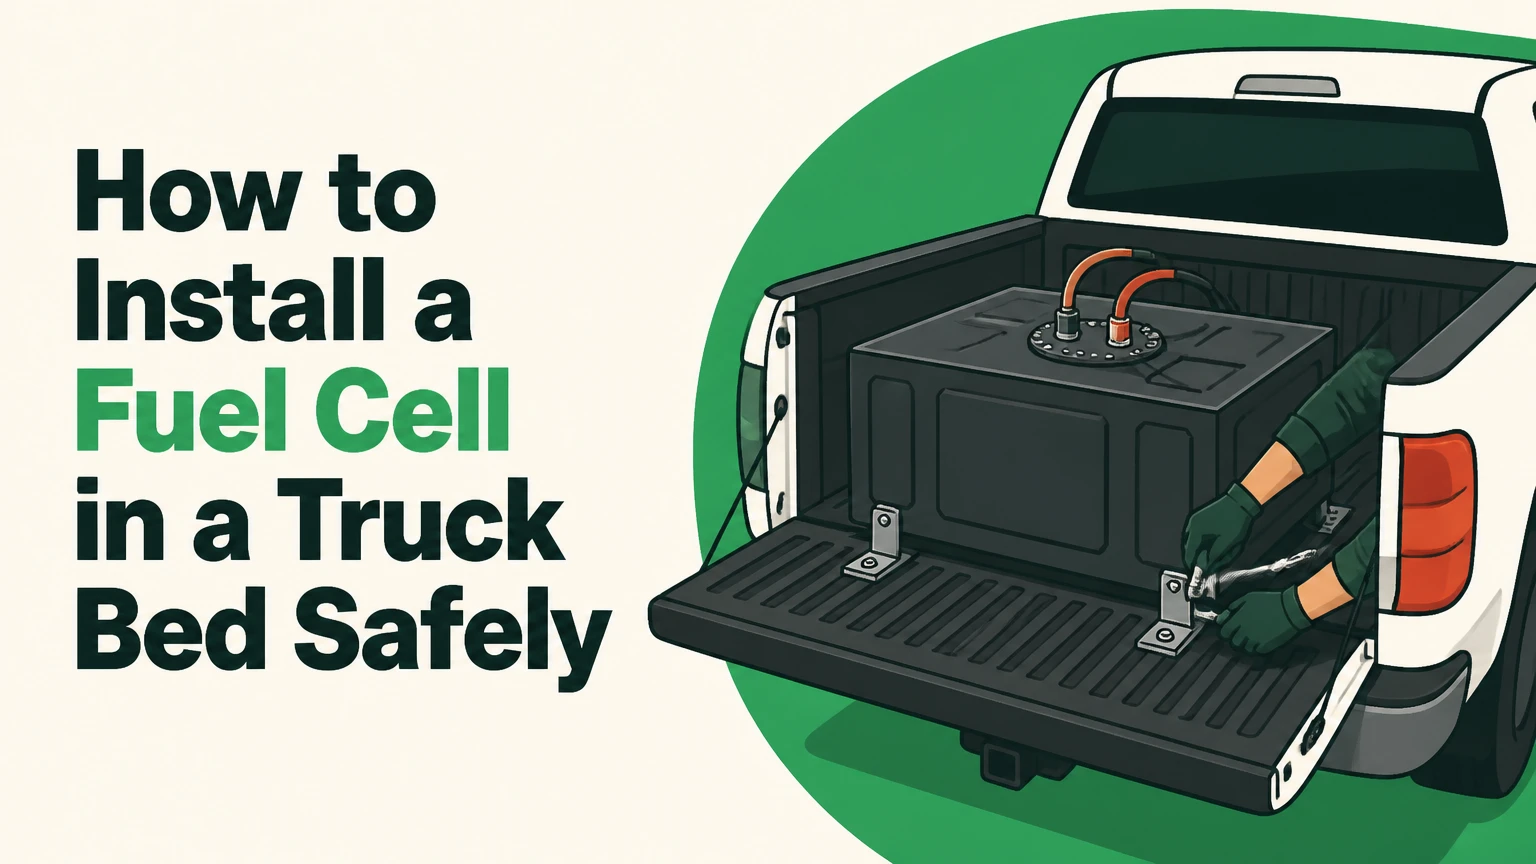
To install a fuel cell in a truck bed, select a fuel-compatible cell, mount it in a rigid cradle with approved hardware, connect the correct feed and return lines, route a rollover-protected vent, wire the sender and pump safely, then perform leak and pressure tests. A sound installation usually takes 6-10 hours, and structural restraint is the factor that matters most in a crash.
Key facts at a glance
A truck-bed fuel cell must be restrained independently of thin bed sheet metal; a purpose-built cradle and load-spreading hardware are safer than tabs bolted directly to the floor.
EFI systems commonly need an electric pump, pressure regulator, filter strategy, and return circuit; carbureted systems may use a low-pressure pump and regulator.
The vent must use a rollover-safe valve and terminate away from exhaust heat, occupants, and likely fuel-collection points.
A 15-20 gallon cell is a typical street or street-strip size, while off-road range and racing regulations may require different capacities.
Fuel-cell foam, bladder material, hoses, seals, and fittings must be compatible with gasoline, diesel, or E85.
A fuel cell in an open bed is not automatically safer than the truck’s original tank, especially in a rear impact or an improperly protected rollover.
Is a Truck-Bed Fuel Cell Suitable?
A truck-bed fuel cell is suitable for racing, custom fabrication, and some off-road trucks when the cell, mounting system, fuel plumbing, and venting match the vehicle and applicable rules. It is not a drop-in replacement for every factory tank, and a street conversion may affect crash protection, emissions equipment, insurance, and registration.
An OEM fuel tank normally benefits from vehicle-specific shields, straps, filler routing, evaporative-emissions controls, and crash-tested placement. A universal racing cell may provide strong containment but lack those vehicle-specific protections. Before removing the stock tank, check local inspection requirements, the sanctioning body’s technical rules, and the cell manufacturer’s installation instructions.
A truck-bed installation also exposes the fuel system to weather, cargo impact, theft, ultraviolet radiation, and rear collisions. Use a sealed or covered enclosure where permitted, but do not enclose the cell without providing the manufacturer-required ventilation and service access.
What does a fuel cell contain?
A motorsport fuel cell generally combines a rigid container, a flexible bladder or fuel-resistant inner container, internal baffling or compatible safety foam, a pickup, a filler assembly, a vent valve, and a level sender. The outer shell supplies shape and protection, while the bladder provides the primary fuel barrier in many racing designs.
Safety foam reduces fuel movement but does not make an unsuitable tank safe. Open-cell foam can degrade with age, contamination, or incompatible fuel. E85 requires foam and elastomers specifically approved for ethanol exposure, and diesel systems may need different seals, pickup arrangements, and return-flow provisions.
“Fuel cell” also describes several different products. A low-cost polyethylene tank marketed for off-road use is not necessarily equivalent to an FIA- or SFI-certified bladder cell. Confirm the actual certification, fuel approval, replacement interval, and mounting instructions rather than relying on the product name.
What Should You Decide Before Buying?
Choose the fuel type, engine delivery system, capacity, draw style, certification, and installation location before purchasing fittings. The fuel pump and pressure-control layout should drive the outlet arrangement, because a cell selected without the pump architecture can require unsafe adapters or extensive rework.
Which fuel-cell type should you choose?
| Cell type | Typical use | Typical capacity | Main advantage | Main limitation |
|---|---|---|---|---|
| Polyethylene top-draw | Rock crawler, budget off-road truck | 15-32 gallons | Impact and corrosion resistance | Bulky; limited modification |
| Aluminum sumped | Street-strip, custom truck | 15-20 gallons | Compact and easy to configure | Sump fittings need underside protection |
| Bladder race cell | Drag, road, desert racing | 5-32 gallons | Certification and containment | Higher cost; finite bladder life |
| Steel-container cell | Strict racing or severe impact exposure | 15-40 gallons | High puncture resistance | Heaviest option |
A top-draw cell keeps plumbing fittings above the tank and reduces the chance that rocks will shear a bottom sump. A sumped cell can simplify external-pump supply, but the sump must remain protected from debris and must not become the lowest vulnerable point under the truck.
An integrated surge tank or internal reservoir helps maintain pump supply during cornering, climbs, and braking. A HydraMat-style pickup can also improve fuel access, but neither solution corrects a poorly sized pump, blocked vent, collapsing hose, or degraded foam.
How large should the cell be?
Select capacity by fuel range, available bed space, permissible weight, and racing rules. A 20-gallon gasoline cell adds roughly 120-140 pounds when full, depending on fuel density and cell hardware, so mounting location affects axle loading as well as driving range.
| Application | Typical capacity | Approximate full-fuel weight | Placement priority |
|---|---|---|---|
| Drag or short-track race | 5-15 gallons | 32-105 pounds | Protected, low, accessible |
| Street-strip truck | 15-20 gallons | 105-140 pounds | Near cab, close to axle center |
| Trail or desert truck | 20-40 gallons | 140-280 pounds | Protected from rocks and cargo |
| Long-range work truck | 30-40 gallons | 210-280 pounds | Chassis capacity and legal compliance |
The listed weights are typical gasoline estimates and exclude the cell, cradle, pump, and plumbing. Diesel weighs more, so diesel conversions require a separate payload calculation. Never fill a cell beyond its rated capacity or block expansion space specified by its manufacturer.
What Tools and Parts Are Required?
Prepare the mounting system and fuel-system parts before drilling the bed. A typical installation needs a cell, cradle or strap kit, four or more correctly rated fasteners, backing plates, fuel hose or hard line, filters, pump, regulator, rollover vent valve, filler hardware, wiring, and fire-resistant protection near heat sources.
Before you start
Time: 6-10 hours for a straightforward DIY installation; custom fabrication can take 1-2 shop days.
Difficulty: Advanced mechanical and fabrication work.
Typical parts cost: $350-$1,100 for a basic cell, hardware, plumbing, filters, and wiring; certified race systems can exceed $3,500.
Tools: Drill, step bit, torque wrench, deburring tool, tubing or hose cutters, crimpers, multimeter, jack stands, fire extinguisher, and a fuel-pressure gauge.
Prerequisites: A documented fuel-system diagram, empty tank, clean work area, approved fuel-rated materials, and a plan for safely handling old fuel.
Use only hose marked for the fuel and pressure involved. PTFE-lined hose can reduce fuel odor and permeation, but it still needs compatible fittings, correct assembly, and protection from abrasion. Do not substitute heater hose, vacuum hose, ordinary rubber hose, or unmarked braided hose.
Step 1: Plan the System and Make the Truck Safe
Disconnect the negative battery cable, drain and store fuel in approved containers, and inspect the underside before choosing mounting or plumbing locations. Keep ignition sources, grinders, welders, and incandescent work lights away from fuel vapors, because an apparently empty tank can still contain an ignitable mixture.
Measure the cell, filler neck, vent ports, pump, filters, and hose bend radius. Mark a location that leaves room for a bed cover, cargo restraint, service access, and a protected filler path. Positioning the cell near the cab and between the axle lines usually reduces polar weight transfer, while a rearward position may increase traction but worsens rear-impact exposure.
Support the truck securely on rated stands and inspect brake lines, fuel lines, wiring, frame crossmembers, spare-tire equipment, exhaust components, and bed supports. Drill only after measuring from both sides of the floor. You will know the plan is sound when every hole, hose, and service component has a documented clearance path.
Common mistake: Choosing the cell position from bed dimensions alone. A cell can fit above the floor yet collide with a frame crossmember, exhaust pipe, cab movement, or suspension travel.
Step 2: Build a Crash-Resistant Mounting System
Install the manufacturer-approved cradle, enclosure, or strap system, then fasten it through load-spreading plates or structural supports rather than thin aluminum mounting tabs or unsupported sheet metal. The cell must not slide, lift, twist, or contact sharp bed edges when the truck flexes.
A cradle should support the cell across its designed load-bearing areas and use rubber isolators when the manufacturer specifies them. Isolators reduce vibration and differential movement, but they do not replace correctly rated fasteners. Use corrosion-resistant hardware of the specified grade, large backing plates where appropriate, and torque values from the cell or hardware manufacturer.
Do not assume that bolting a bed cradle directly to the frame is always correct. Truck beds move relative to frames through mounts, and a rigid connection can transfer distortion into the cell. If the design requires frame attachment, use a qualified fabricator who understands chassis flex, crush zones, and the applicable racing rules.
You will know the mount works when the cell remains fixed during firm hand-force checks, all fasteners are torqued and marked, and no strap or bracket touches a bladder, seam, filler, or vent fitting.
Common mistake: Using oversized washers as a substitute for an engineered cradle. Washers spread local load, but they do not control cell movement or protect the tank during a rollover.
Step 3: Install the Filler, Shielding, and Protection
Connect the filler neck with fuel-rated hose and secure each connection with the specified clamp or fitting. The filler must be supported independently so its weight and refueling force do not load the cell plate or bladder.
Route the filler away from exhaust heat, sharp edges, suspension movement, and tire spray. Add a heat shield where the distance from the exhaust is inadequate, following the hose and cell manufacturer’s temperature limits. Protect exposed bottom fittings with a fabricated skid or guard that cannot crush the outlet.
Keep cargo from contacting the cell. A steel or aluminum enclosure can protect the tank from tools and shifting loads, but the enclosure must preserve venting, inspection, filler access, and emergency shutoff access. Do not drill, weld, or modify a certified bladder container unless its manufacturer authorizes the work.
The installation passes this stage when the cap seals, the filler does not kink, the hose has no tension at full suspension travel, and a cargo strap cannot reach the vent or fuel fittings.
Common mistake: Treating the truck bed as the only protective structure. Loose tools, firewood, spare parts, and tie-down hooks can puncture a plastic tank or damage a bladder.
Step 4: Plumb the Pump, Filters, Feed, and Return
Connect the fuel system according to the engine type: a carbureted engine usually uses a low-pressure pump and regulator, while EFI requires a pump capable of the required flow and pressure, a post-pump filter, and often a return line or return-style regulator. The exact pressure and port size come from the engine, pump, and regulator manufacturers.
A common EFI arrangement is cell pickup to pre-pump filter, pump, post-pump filter, fuel rail, regulator, and return to the cell. A typical carbureted arrangement is cell pickup to filter, low-pressure pump, regulator, and carburetor, although some systems use a return-style regulator to stabilize supply.
Use the cell maker’s port design rather than copying generic AN sizes. Typical performance systems use -8AN feed and -6AN return, but port diameter, pump flow, line length, fuel type, and engine power can require different dimensions. A 100-micron pre-filter is common for a compatible external pump, while a 10-micron post-filter is typical for EFI, but filter ratings and pump instructions take priority.
Mount the pump close to the tank and below the fuel level when the pump is designed for gravity-fed supply. Electric pumps need a fused relay circuit, adequate wire gauge, secure grounds, and a safety shutdown strategy that stops the pump when the engine stops or oil-pressure protection is lost.
You will know the plumbing is correct when every line is supported, protected from abrasion, free of sharp bends, and labeled by flow direction before fuel is added.
Common mistake: Installing the post-filter before the pump. A fine EFI filter on the suction side can restrict inlet flow and cause pump cavitation or fuel starvation.
Step 5: Route the Rollover-Safe Vent
Install the manufacturer-approved rollover vent valve at the cell’s vent port and route the vent line so liquid fuel cannot siphon from the tank. The line should rise above the cell’s highest fuel level, remain protected from heat and abrasion, and terminate in a safe location outside the passenger compartment.
A vent system must admit air as fuel leaves and release vapor as fuel warms, but it must restrict liquid discharge during rollover. A high loop can reduce siphoning, yet the loop does not replace a rollover valve, charcoal canister, or emissions hardware required by the vehicle or jurisdiction.
Keep the outlet away from the exhaust, wheel wells that collect fuel, brake components, electrical connectors, and the cab. Do not cap the vent, route it into the cab, or create a low point where fuel can pool. Avoid placing the vent outlet directly beneath a bed cover if vapors can accumulate.
You will know the vent is functional when the line has continuous upward routing, the valve is oriented correctly, the outlet is protected, and the tank does not collapse or hiss excessively during controlled refueling.
Common mistake: Running a straight vent line downward. Fuel can siphon through the line during steep climbs or cornering, while a blocked or undersized vent can deform the tank and restrict fuel delivery.
Step 6: Wire the Sender, Pump, and Safety Controls
Wire the fuel-level sender to a gauge that matches its resistance range, such as 0-90 ohms or 240-33 ohms, and verify the range with a multimeter or the sender documentation. A sender with the wrong range can produce an apparently functional gauge that reads empty at full or full at empty.
Use a fused relay for the electric pump, place the fuse near the power source, and keep wiring away from fuel fittings, exhaust heat, driveshafts, and bed edges. Bond conductive filler and cell components only as directed by the manufacturer, using clean metal contact and a secure conductor; bonding reduces static-potential differences, but it does not substitute for a correctly designed fuel system.
For EFI vehicles, retain the factory inertia switch or implement an equivalent pump-shutdown control where permitted. A manual switch alone is not adequate crash protection because the pump can continue supplying fuel after an accident.
The wiring passes inspection when the pump polarity is correct, the fuse rating matches the circuit, grounds are clean and tight, the sender range is verified, and no wire can rub through against the cell or cradle.
Common mistake: Grounding the pump or sender to painted bed metal. Use a verified chassis ground or manufacturer-specified ground point, then confirm continuity with a meter.
How Do Gasoline, Diesel, and E85 Change the Installation?
Gasoline, diesel, and E85 require different compatibility checks for bladders, foam, hose liners, seals, filters, and pump components. A cell approved for gasoline is not automatically approved for diesel or high-ethanol fuel, and E85 can expose weaknesses that conventional gasoline does not.
| Fuel | Compatibility concern | Typical system issue | Required check |
|---|---|---|---|
| Pump gasoline | Vapor permeation and static ignition | Odor, venting, heat exposure | Hose, bladder, and vent approval |
| E85 | Ethanol attacks unsuitable foam and elastomers | Foam debris, swelling seals, filter blockage | Written E85 compatibility |
| Diesel | Different density and diesel-rated seals | Return flow, priming, pump selection | Diesel-rated cell and pump |
| Methanol racing fuel | Severe material and vapor compatibility | Rapid seal and bladder degradation | Dedicated manufacturer approval |
Ethanol-compatible foam must be replaced when it becomes brittle, discolored, sticky, or sheds particles. Do not pour E85 into a cell with unknown foam, seal, or hose history. A fuel filter that repeatedly fills with dark particles often indicates internal material degradation rather than ordinary contamination.
What Fuel-System Layout Should You Use?
The correct layout depends on whether the engine uses a carburetor or EFI and whether the pump is internal, external, mechanical, or electric. EFI systems generally require stable high pressure and adequate return or regulator control, while carburetors commonly require substantially lower pressure.
| Engine system | Pump location | Typical pressure category | Return line | Filter approach |
|---|---|---|---|---|
| Carburetor, mechanical pump | Engine bay | Low pressure | Often no | Pre-pump or inline filter |
| Carburetor, electric pump | Near cell | Low pressure | Optional regulator return | Pump-approved pre-filter |
| EFI, return-style | Near cell or in cell | High pressure | Yes | Coarse pre-filter, fine post-filter |
| EFI, returnless | In-tank or external module | High pressure | Usually no external return | Manufacturer-specific filtration |
Do not select pressure from a generic AN fitting chart. AN size describes connection geometry, not guaranteed flow, pressure, or fuel compatibility. Size the pump for the engine’s maximum demand, voltage at the pump, fuel pressure, and regulator bypass flow.
Is a Fuel Cell Safer Than the Factory Tank?
A certified bladder cell can provide excellent containment in racing conditions, but a factory tank may offer better vehicle-specific crash integration and emissions control. Safety depends on certification, position, restraint, shielding, venting, and the type of collision, so the phrase “fuel cell” alone does not establish superiority.
| Criterion | Truck-bed fuel cell | Factory tank | Practical consequence |
|---|---|---|---|
| Vehicle-specific crash design | Usually limited | Engineered for the vehicle | OEM system often has better integration |
| Fuel starvation control | Foam, HydraMat, surge tank | Vehicle-specific baffling | Cell can be tailored to racing |
| Serviceability | High, visible access | Often harder to reach | Cell simplifies custom plumbing |
| Weather and cargo exposure | High in an open bed | Usually shielded | Cell needs cover or enclosure |
| Emissions integration | May be incomplete | Factory calibrated | Street legality may favor OEM |
| Racing certification | Available on selected cells | Often not accepted as a race cell | Check current class rules |
For competition, verify current FIA, SFI, or sanctioning-body requirements, including container type, bladder date limits, filler arrangement, venting, and mounting. A cell that passed one rule set may fail another.
How Do You Commission the Installation?
Commission the system with no fuel first, then a small controlled fuel quantity, followed by pressure and road checks. Do not begin with a full tank because a leak or wiring error becomes more difficult and more hazardous to isolate.
- Inspect every fitting, clamp, strap, wire, and vent connection.
- Add a small amount of the approved fuel, usually 1-2 gallons.
- Check the cell, filler, sump, pump inlet, filter, rail, regulator, and return for wetness.
- Cycle the pump briefly while monitoring for leaks and abnormal noise.
- Start the engine outdoors, measure fuel pressure, and verify regulator behavior.
- Confirm the gauge changes as the sender moves and that the pump shuts down with the engine.
- Recheck all connections after heat soak, then fill gradually while watching the vent.
A fuel-pressure gauge should show the engine manufacturer’s specified pressure without rapid oscillation. Fuel smell, dampness, unexplained pressure loss, pump cavitation, or a vent that discharges liquid fuel requires stopping the test and correcting the fault.
Common Mistakes and How to Fix Them
| Symptom | Likely cause | Diagnostic check | Corrective action |
|---|---|---|---|
| Engine starves on turns | Pickup uncovers or foam degrades | Inspect pickup and filter debris | Add approved mat, baffling, or surge control |
| Fuel smell near bed | Permeating hose or vent leak | Pressure and visual inspection | Replace with approved low-permeation hose |
| Pump whines loudly | Restricted suction or low voltage | Measure inlet restriction and pump voltage | Enlarge supply path, improve wiring |
| Gauge reads backward | Sender resistance mismatch | Measure sender range | Match gauge or install compatible converter |
| Cell leaks from bottom | Unprotected sump or loose fitting | Inspect after small fuel fill | Replace seal, protect fitting, retorque correctly |
| Tank pulls inward | Blocked or undersized vent | Open vent path and inspect valve | Correct valve, loop, outlet, or canister |
Fuel starvation during hard cornering is often a supply-design problem, not simply a need for a larger pump. A larger pump can empty a marginal pickup faster, increase return heat, and worsen the symptom if the pickup cannot stay submerged.
Fuel odor is also not an acceptable normal condition. PTFE-lined hose can reduce permeation, but it cannot repair a leaking fitting, cracked filler hose, defective vent valve, or loose sender plate.
How Much Does Installation Cost?
A typical DIY truck-bed fuel-cell installation costs $350-$1,100 for a basic polyethylene or aluminum system, while certified bladder cells and custom fabrication can push the total above $3,500. Labor commonly takes 6-10 hours for a prepared installation and 1-2 shop days when a cradle, enclosure, or frame structure must be fabricated.
| Project level | Cell and safety hardware | Plumbing and electrical | Typical total |
|---|---|---|---|
| Basic carbureted setup | $150-$400 | $150-$350 | $300-$750 |
| Aluminum EFI conversion | $250-$800 | $300-$700 | $550-$1,500 |
| Off-road protected system | $400-$1,200 | $350-$900 | $750-$2,100 |
| Certified race installation | $1,200-$3,500+ | $500-$1,500 | $1,700-$5,000+ |
These are typical project ranges, not quotes. A certified cell, PTFE hose, surge tank, fabricated skid, fuel pump, regulator, and professional welding account for most increases.
Variations for Common Truck Builds
Street truck
Use a fuel cell with documented road suitability, a protected filler, a rollover valve, low-permeation hose, and emissions-compliant vent treatment where required. Keep the cell away from loose cargo and consider whether the conversion compromises the vehicle’s legal inspection or insurance status.
Rock crawler
Prefer a protected top-draw design with flexible mounting that accommodates chassis movement. Place the cell high enough to avoid rocks but low enough to preserve stability, then guard the vent and pickup without creating a snag point.
Drag or circuit racer
Choose the certification required by the class before buying the cell. Follow the rulebook for bladder age, container material, filler location, vent exit, fire-resistant bulkheads, and mounting; the cheapest compliant-looking tank may fail technical inspection.
FAQ
Can I bolt a fuel cell directly to the truck-bed floor?
Directly bolting a cell through its tabs is unsafe unless the manufacturer specifically designs the tabs and mounting pattern for that installation. Most universal cells need a cradle, straps, isolators, and load-spreading plates that control movement without concentrating chassis flex into the container.
Should the fuel pump be inside or outside the cell?
An internal pump can improve noise, priming, and fuel cooling, while an external pump is easier to service and suits some sumped cells. The manufacturer’s pump module, outlet design, required filtration, and engine pressure determine the appropriate choice.
Do I need a return line on an EFI truck?
Many return-style EFI systems require a return line from the regulator to the cell, while returnless systems regulate pressure in the tank or pump module. Follow the engine-management and regulator design rather than deleting a return line to simplify plumbing.
Can a truck-bed fuel cell replace the original gas tank?
A truck-bed cell can replace the original tank in a custom build, but the conversion may remove factory evaporative controls, crash protection, fuel-level integration, and emissions compliance. Confirm local laws and inspection rules before permanently removing the OEM system.
How often should a racing fuel cell bladder be replaced?
Replace a bladder according to its manufacturer’s service interval and the applicable sanctioning-body rule. FIA- or SFI-marked cells can have date, inspection, and recertification requirements, so the label and current rulebook matter more than a generic five-year assumption.
Why does the engine run lean after installing the cell?
A lean condition can result from inadequate pump flow, a blocked pre-filter, low voltage, a restricted vent, an undersized feed line, a leaking suction connection, or an incorrect regulator setting. Measure fuel pressure under load and inspect the entire supply path before changing engine calibration.
Conclusion: The Safe Way to Install a Fuel Cell in a Truck Bed
The safe way to install a fuel cell in a truck bed is to design the complete system before drilling, use a fuel-compatible and properly certified cell, secure it with an engineered cradle, and protect every fuel and electrical connection. Finish with controlled leak, vent, pressure, sender, and pump-shutdown tests. Never treat a universal tank as an automatic replacement for an OEM crash-tested system.


