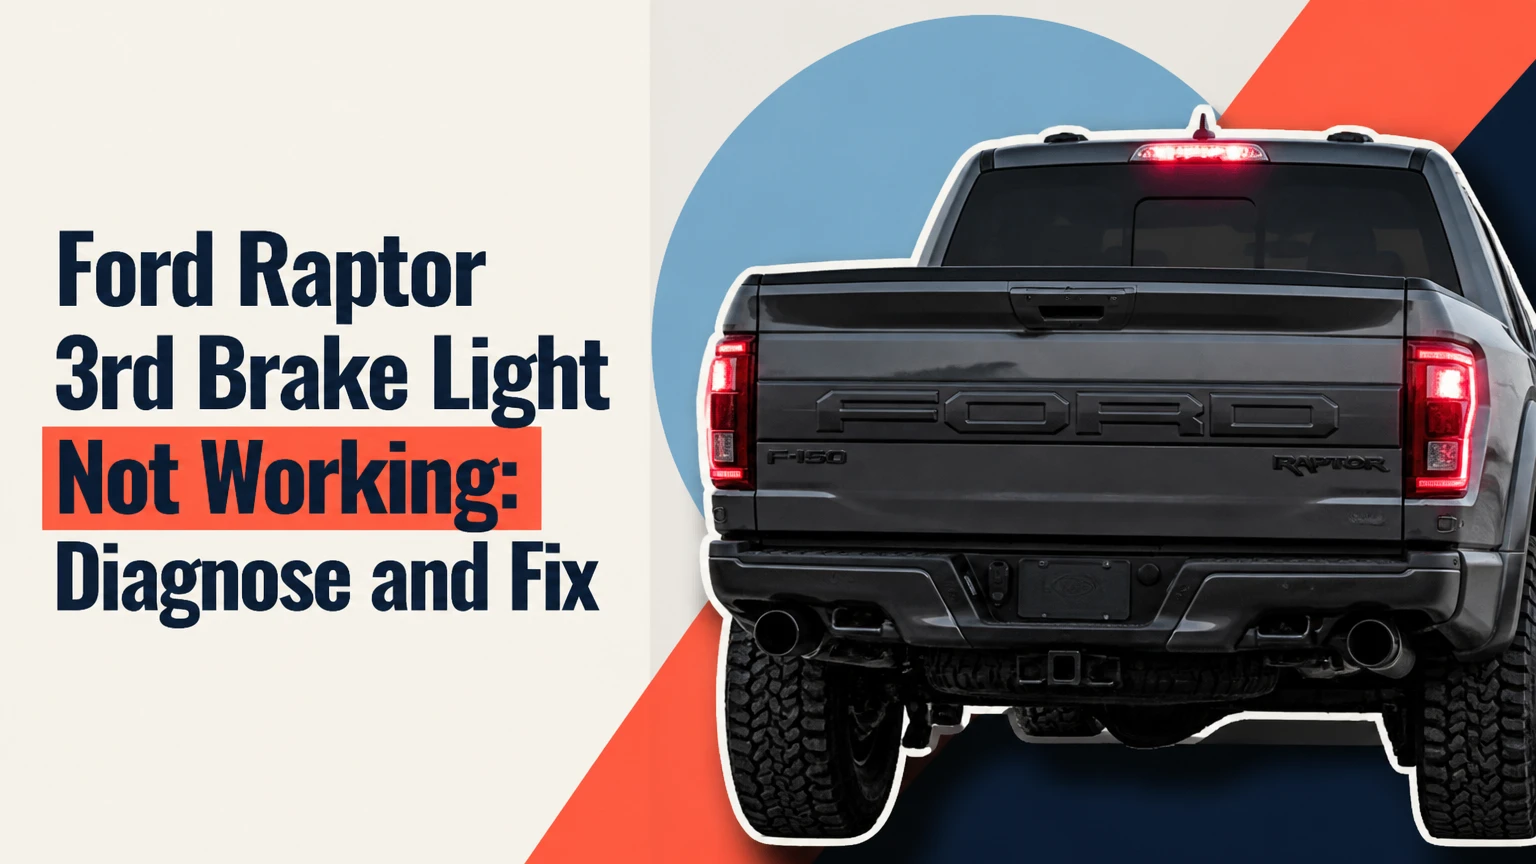
A Ford Raptor 3rd brake light that is not working usually has a failed LED assembly, water-damaged circuit board, blown fuse, corroded connector, or missing brake-power signal. Check whether the other brake lights work first, then test the CHMSL connector with a multimeter before buying parts. The exact fuse and connector layout vary by model year.
Key Facts at a Glance
- The Ford Raptor third brake light is the center high-mount stop lamp, or CHMSL, mounted above the rear cab window.
- A completely dark CHMSL with working left and right brake lamps most often points to the lamp assembly, connector, local wiring, or ground.
- Condensation, white corrosion, green connector deposits, and a stained headliner strongly indicate water intrusion.
- Fuse numbers are not universal across Raptor generations, so the owner’s manual and fuse-box label take priority over internet fuse lists.
- A 12-volt reading at the disconnected lamp connector proves that power reaches the connector, but it does not prove that the circuit can carry load under operation.
- Raptor-specific replacement lamps may include clearance markers, cargo illumination, or a rear-facing camera opening that standard F-150 parts do not have.
What Does the Raptor Third Brake Light Do?
The Ford Raptor third brake light is a high-mounted red stop lamp that warns following drivers when the brake pedal is pressed. Ford also integrates additional functions into some Raptor CHMSL assemblies, including cab clearance markers, bed or cargo lights, and an opening or mount for a rear-facing camera.
Federal Motor Vehicle Safety Standard 108 governs vehicle lighting equipment in the United States. The CHMSL is separate from the two lower rear stop lamps, so a failure can leave the main brake lights operating while the high-mounted lamp remains dark. That symptom is diagnostically useful.
Raptor generations are not electrically identical. A 2017-2020 second-generation F-150 Raptor, a 2021-present third-generation Raptor, and special configurations such as the Raptor R can use different lamp housings, connectors, camera arrangements, and body-control-module strategies.
Which Raptor Functions Share the Lamp Housing?
| Function | Typical appearance | Diagnostic implication | Replacement concern |
|---|---|---|---|
| CHMSL stop LEDs | Red light during braking | Failure alone can indicate lamp-board damage | Verify correct model year |
| Clearance markers | Amber or red outer lamps, depending on configuration | A partial failure may indicate separate LED sections | Do not assume standard F-150 layout |
| Cargo lamps | White light aimed into bed | Working cargo lamps do not prove brake LEDs work | Test each function separately |
| Rear camera provision | Camera lens or factory camera module | Camera fault may be unrelated to brake LEDs | Match camera-ready housing and connector |
The exact combination depends on production year, trim, market, and equipment. Confirm the original lamp’s connector, lens shape, camera position, and number of lighting functions before ordering.
What Usually Causes a Ford Raptor 3rd Brake Light Failure?
A failed or leaking LED assembly is the most common local cause when the lower brake lamps work normally. Water enters around a compressed foam gasket or through a cracked housing, then corrodes the printed circuit board, LED connections, or connector terminals.
Other causes remain possible:
- A fuse has opened after a short circuit.
- The brake-pedal switch or its signal circuit has failed.
- The connector has corrosion, pushed-back terminals, or incomplete engagement.
- Cab-to-lamp wiring has been pinched, stretched, or damaged.
- An aftermarket chase light or camera installation has disturbed the circuit.
- A body-control-module fault has interrupted the output.
- The lamp has a poor ground or excessive voltage drop.
A useful first division is symptom scope. If both lower brake lamps also fail, investigate the brake input, fuse, BCM output, or vehicle-wide wiring before removing the CHMSL. If only the cab lamp fails, inspect the assembly and its short harness first.
Symptom-Based Fault Table
| Observed symptom | Most likely area | First test | Likely repair |
|---|---|---|---|
| CHMSL dark, lower brake lamps work | Lamp board, connector, local wiring | Inspect lens and measure connector voltage | Replace lamp or repair connector |
| All brake lamps dark | Fuse, pedal switch, BCM input | Check brake switch operation and fuse | Diagnose vehicle-wide brake circuit |
| Cargo lamps work, brake LEDs dark | Separate LED section or board fault | Test brake feed while pedal is pressed | Replace CHMSL assembly |
| Lamp works after rain, then fails | Gasket, housing, connector corrosion | Inspect moisture and headliner | Replace gasket or assembly, dry connector |
| New fuse blows immediately | Shorted lamp, harness, or accessory | Disconnect CHMSL and retest fuse | Locate and repair short |
| One marker LED is dark | Internal LED section or board | Compare marker output with lamp disconnected | Replace assembly unless repairable |
How Do You Diagnose the Fault Safely?
Use a brake-pedal prop, an assistant, or a phone camera to observe the lamp. Keep the ignition state and test conditions consistent, because some Ford lighting circuits are controlled electronically and may not behave like a simple switched wire.
Before You Start
| Item | Typical requirement | Practical note |
|---|---|---|
| Diagnostic time | 30-60 minutes | Wiring faults may require 1-2 additional hours |
| Difficulty | Moderate | Roof-height access and trim removal require care |
| Digital multimeter | DC voltage, 20-volt range | A test light is less informative on BCM-controlled circuits |
| Torx or socket set | T15, T20, 7 mm, or model-specific size | Verify the fastener before applying force |
| Replacement seal | New foam gasket or automotive butyl tape | Do not reuse compressed foam |
| Access equipment | Stable step stool, 2 people preferred | Protect the paint and rear glass |
Do not probe connector faces with oversized test leads. Back-probe from the wire side where possible, and avoid shorting adjacent terminals.
Step 1: Confirm the Exact Failure
Turn the vehicle on without starting the engine and press the brake pedal. Check the left lower lamp, right lower lamp, CHMSL brake section, clearance markers, and cargo lights separately.
You will know the initial classification is correct when you can state whether the failure affects one function, the entire assembly, or every brake lamp. A common mistake is diagnosing the CHMSL before noticing that the vehicle has a wider brake-circuit failure.
Step 2: Inspect for Water and Physical Damage
Examine the clear or smoked lens for condensation, droplets, cloudy areas, black stains, or green and white deposits. From inside the cab, inspect the headliner near the lamp for dampness, water marks, sagging fabric, or a musty odor.
Water damage can remain electrically intermittent after the outside surface appears dry. A light that fails only after washing or rain should be treated as a sealing problem, not as a random LED failure. Drying the lens without repairing the leak is temporary.
Step 3: Check the Correct Fuse
Use the Ford owner’s manual, fuse-card diagram, or service information for the exact year and body configuration. Internet references that identify a particular fuse as “number 30” or “number 31” are unreliable because Ford changed fuse assignments between generations and equipment packages.
Remove the suspected fuse only after switching the ignition off as required by the manual. Inspect the element, then verify continuity with a meter if its condition is unclear. Replace it only with the same amperage rating.
If the replacement fuse opens again, disconnect the CHMSL and inspect recent accessories, trailer wiring, and the lamp harness for a short. Installing a larger fuse can overheat wiring and create a fire risk.
Step 4: Test for Brake Voltage at the Connector
Remove the lamp fasteners enough to access the connector without pulling on the wires. Keep the connector attached for an initial visual inspection, then disconnect it and identify the brake-power and ground terminals from the wiring diagram.
Set the multimeter to DC volts. Place the black lead on the confirmed ground terminal and the red lead on the brake-power terminal while an assistant presses the pedal. Depending on the circuit design, the reading should be near battery voltage, commonly about 12-14 volts, when the brake command is active.
| Test result | Interpretation | Next action |
|---|---|---|
| Near 12-14 V, good ground, LEDs dark | Lamp assembly is likely failed | Replace or professionally repair assembly |
| 0 V, lower brakes work | Open wire, BCM output, connector, or configuration issue | Trace circuit upstream |
| Voltage appears, then collapses under load | High resistance or weak driver circuit | Perform voltage-drop and load testing |
| Voltage present with poor ground | Ground path or terminal fault | Clean, repair, and retest ground |
| No voltage and lower brakes also fail | Vehicle-wide brake input or fuse fault | Test brake switch and BCM-related circuit |
A voltage reading alone can mislead. A corroded terminal may show 12 volts with a high-impedance meter but lose voltage when the lamp is connected. A low-current test lamp or a proper load test helps expose high resistance, but do not short a BCM output to ground.
Step 5: Inspect the Connector and Harness
Look for green copper corrosion, moisture inside the plug, bent pins, loose female terminals, pushed-back wires, and damaged insulation. Follow the short harness into the cab and check for pinch points, especially if a camera, bed accessory, roof rack, or aftermarket chase-light system was installed.
Clean light oxidation with an approved electrical-contact cleaner and a soft brush. Replace terminals that have lost tension. Do not pack a wet connector with grease before removing the water source, because grease cannot restore a corroded electrical contact.
Step 6: Test the Brake-Pedal Input Only When Needed
If the lower brake lamps and CHMSL are both inoperative, check whether the vehicle recognizes brake-pedal application. Scan-tool data can show the brake-switch state more reliably than jumping wires on a BCM-controlled vehicle.
The brake-pedal switch may have multiple contacts or a digital input arrangement. Do not assume that one switch terminal directly supplies every stop lamp. Use the year-specific wiring diagram, and check for unrelated symptoms such as cruise-control cancellation, gear-selector interlock behavior, or brake warning messages.
How Do You Replace the Raptor CHMSL?
Replacing the Raptor CHMSL typically takes 30-45 minutes when the connector and mounting surface are undamaged. The repair succeeds only when the new lamp matches the truck’s generation, camera equipment, marker-light configuration, connector, and sealing surface.
Step 1: Protect the Work Area
Park on level ground, switch the ignition off, and protect the roof and rear glass with clean towels. Use a stable platform rather than standing on the bumper or tire, because the lamp sits above comfortable reach.
If the replacement instructions require battery disconnection, follow the Ford service procedure and allow the vehicle systems to shut down first. Record radio or memory settings if necessary.
Step 2: Remove the Fasteners
Remove the visible Torx or hex fasteners with a hand tool. Ford and aftermarket assemblies can use different sizes, so confirm the bit fits fully before turning it.
Support the lamp while removing the final fastener. A stuck foam gasket may make the assembly feel bolted in place even after every screw is removed.
Step 3: Release the Gasket and Disconnect the Plug
Pull the housing straight outward with controlled pressure. Use a plastic trim tool only against the gasket edge, not the painted cab or rear glass. Release the connector tab before separating the plug.
Never pull the lamp by its wires. A stretched terminal can create an intermittent fault that is difficult to reproduce after installation.
Step 4: Clean the Cab Surface
Remove all old foam, adhesive, dirt, and wax from the mounting area. Isopropyl alcohol on a clean, lint-free cloth is generally suitable for final surface preparation, but keep solvent away from the glass edge, camera lens, and exposed electronics.
The surface must be dry before installing the replacement seal. Residual foam creates channels under the gasket, and those channels can leak even when the lamp screws feel tight.
Step 5: Install the New Seal and Lamp
Use the replacement gasket supplied for the exact assembly. If the manufacturer specifies butyl tape, use a continuous automotive-grade bead with no gaps; do not substitute household silicone inside the connector or over drainage paths.
A thin external sealant bead may help an OEM-style assembly when the manufacturer permits it, but excessive silicone can trap water, complicate future removal, and hide a poor gasket fit. Marine sealant is not automatically a better automotive repair.
Step 6: Connect, Test, and Tighten Evenly
Reconnect the plug, operate the brake pedal, and test every lamp function before tightening the housing. Confirm that the camera displays correctly if the truck has a camera integrated into or adjacent to the lamp.
Install the fasteners by hand, alternating between them, until the gasket compresses evenly. Do not use an impact driver. The correct stopping point is a uniformly seated gasket, not a crushed foam strip or distorted plastic housing.
Step 7: Perform a Water Check
After installation, inspect the perimeter for gaps and verify that the lens is stable. A controlled low-pressure water test can identify leaks, but do not direct a pressure washer at the gasket immediately after installation.
Check the headliner again after the first rain. A dry lens alone does not prove that the cab seal is sound.
What If Only Some Raptor Light Functions Work?
A Raptor lamp with working cargo lights but failed brake LEDs usually has an internal circuit-board fault, because separate LED sections can share one housing while receiving different circuit inputs. A working marker function also does not prove that the stop-light driver or brake section is healthy.
Partial operation helps narrow the fault:
- Cargo lights work, brake section fails: test the brake feed and suspect the brake LED board.
- Brake LEDs work, cargo lights fail: inspect the cargo-light feed, switch command, and relevant circuit.
- Markers fail on one side of the assembly: suspect the internal board or a localized connector path.
- All functions fail: inspect the connector, ground, fuse, and common power feed first.
- Functions flicker when the cab is flexed: inspect terminals and harness strain.
Do not condemn the entire assembly until the connector supplies the required brake signal. Conversely, do not keep tracing the BCM when a verified power and ground reach a visibly corroded lamp board.
Do Standard F-150 Third Brake Lights Fit a Raptor?
A standard F-150 third brake light is not automatically a correct Raptor replacement. The Raptor’s wider body, lamp geometry, clearance-light arrangement, wiring connector, camera provision, and trim-specific electronics can differ from a conventional F-150.
| Replacement type | Typical price | Fitment risk | Best use |
|---|---|---|---|
| Year-matched Ford OEM assembly | $350-$550 | Low when VIN-checked | Stock repair and factory appearance |
| Compatible sealed LED aftermarket lamp | $180-$450 | Medium | Lower cost or updated lens design |
| Billet or off-road housing | $300-$600 before pods | Medium to high | Custom chase-light installation |
| Used OEM assembly | $75-$250 | High due to unknown seal life | Budget repair after inspection |
Prices are typical market ranges, not fixed quotes. Camera-equipped assemblies, Raptor R applications, smoked lenses, shipping, and dealer labor can move the total substantially.
Which Replacement Should You Choose?
Choose a year-matched OEM lamp when factory appearance, uncomplicated installation, and camera compatibility matter most. Choose a sealed aftermarket assembly only when the seller publishes exact application data and replacement-gasket details.
Choose a billet housing for an off-road lighting project, not as the default fix for a daily driver. Auxiliary pods may require a separate fused circuit, relay, switch, and legal-use judgment; they do not automatically improve the factory brake-light function.
| Decision factor | OEM assembly | Sealed aftermarket LED | Billet chase-light housing |
|---|---|---|---|
| Typical installation time | 30-45 minutes | 30-60 minutes | 1-3 hours with pods |
| Camera compatibility | VIN and part-number dependent | Product-specific | Often requires a camera cutout |
| Factory connector | Usually plug-and-play | Usually, but verify | May require added wiring |
| Water-seal strategy | Factory gasket replacement | Varies by manufacturer | Often upgraded gasket |
| Off-road auxiliary lighting | Not normally included | Product-specific | Common design purpose |
| Daily-driver appearance | Factory lens and output | Smoked or modern options | Custom appearance |
| Main risk | Repeating gasket failure | Unverified fitment | Wiring and legality complexity |
Raptor clearance markers require particular attention. The claim that every Raptor must have the same three amber markers is too broad because lighting configurations vary by model and market. Retain the approved functions present on the original vehicle, and verify replacement compliance under applicable Federal Motor Vehicle Safety Standards and local inspection rules.
Is It Safe to Drive With the CHMSL Out?
Driving briefly to a repair facility may be possible when both lower brake lamps work, but operating indefinitely with a failed CHMSL reduces rear visibility and may violate inspection or lighting requirements. A truck with no functioning brake lamps should not be driven in traffic.
The CHMSL failure is more urgent when the lamp is loose, water is entering the cab, a fuse repeatedly blows, or the failure accompanies other brake-light or dashboard symptoms. Covering the lamp with tape does not restore the required light output and can conceal water damage.
How Do You Prevent the New Lamp From Failing?
Prevent repeat failure by repairing the leak rather than merely replacing the LED housing. Use a new, correctly shaped gasket, clean and dry the painted mounting surface, inspect the connector for corrosion, and tighten the fasteners evenly without crushing the housing.
Three practitioner rules prevent most repeat repairs:
- Do not reuse old foam. Compression set is invisible from a distance but creates leak paths under the lamp.
- Do not add sealant to compensate for misalignment. A distorted housing or incorrect part number will keep leaking.
- Do not ignore water inside the headliner. Moisture can damage nearby camera wiring, connectors, and roof electronics after the visible lamp is replaced.
Aftermarket accessories deserve special scrutiny. Chase lights, camera relocations, bed caps, and trailer-brake modifications can disturb the original harness or introduce a short that appears to be a failed CHMSL.
What Does Repair Cost and How Long Does It Take?
A simple Raptor CHMSL replacement typically takes 30-45 minutes and costs about $180-$550 for the assembly, depending on generation, camera equipment, and brand. A shop commonly bills about one hour for a straightforward replacement, while wiring diagnosis, corrosion repair, or water-damage cleanup can add 1-2 hours.
| Repair scenario | Typical parts cost | Typical labor time | Typical total direction |
|---|---|---|---|
| Fuse or terminal repair | $5-$50 | 0.5-1.5 hours | Lowest-cost outcome |
| OEM lamp replacement | $350-$550 | 0.5-1.0 hour | Higher parts cost |
| Aftermarket LED assembly | $180-$450 | 0.5-1.0 hour | Moderate parts cost |
| Harness or connector repair | $20-$150 | 1-3 hours | Depends on access |
| Water-damaged lamp plus headliner drying | $250-$600 | 1-3 hours | May include interior damage |
These ranges exclude diagnostic fees, taxes, dealer programming, camera calibration, and unrelated body repairs. A camera fault may require a scan tool or calibration procedure even when the brake-light repair itself is mechanical.
Troubleshooting Decision Tree
Use the following sequence to avoid replacing parts unnecessarily:
- Do the lower brake lamps work?
- No: check the vehicle-wide brake circuit, fuse, pedal input, and BCM-related diagnosis.
- Yes: continue.
- Is the CHMSL lens wet or corroded?
- Yes: inspect the gasket, connector, and lamp board.
- No: continue.
- Does the connector receive brake voltage with a good ground?
- Yes: replace or repair the lamp assembly.
- No: trace the connector, harness, BCM output, and brake signal.
- Does a replacement fuse blow again?
- Yes: find the short before installing another fuse.
- No: retest all lamp functions.
- Does the camera or cargo function also fail?
- Yes: inspect common connector, ground, and configuration issues.
- No: focus on the failed LED section.
Frequently Asked Questions
Does a Raptor third brake light have a replaceable bulb?
Most later Raptor CHMSL assemblies use integrated LEDs rather than a conventional replaceable bulb. When the LED board or internal driver fails, the normal repair is replacement of the complete lamp assembly, although a specialist may repair the circuit board outside normal Ford service procedures.
Why does the Raptor brake light work intermittently?
Intermittent operation usually results from water-contaminated electronics, a loose connector terminal, broken wiring, or a cracked solder joint inside the LED assembly. Reproduce the fault while gently moving the harness, but do not pull hard enough to damage the terminal or roof seal.
Can I dry the original light instead of replacing it?
Drying can confirm that moisture caused the failure, but it is rarely a durable repair when corrosion has reached the circuit board. Replace the gasket or housing, clean the connector, and inspect for damaged terminals before deciding that the original assembly is reusable.
Will a smoked third brake light pass inspection?
A smoked lens may pass only if the lamp still produces the required color and luminous output and the product is approved for the vehicle and jurisdiction. Dark tint film or an unapproved housing can reduce output enough to create an inspection or safety problem.
Does the Raptor require a dealer to replace the third brake light?
A dealer is usually not required for a straightforward lamp and gasket replacement. Dealer or specialist involvement becomes more useful when the brake signal is missing, the BCM records a lighting fault, the camera needs calibration, or the harness has extensive corrosion.
What should I photograph before ordering a replacement?
Photograph the entire lens, connector, fastener locations, camera opening, marker-light pattern, label or part number, and the damaged gasket. These details prevent the common mistake of ordering a visually similar F-150 lamp that lacks the Raptor’s required functions.
The Bottom Line
When a Ford Raptor 3rd brake light is not working, first determine whether the lower brake lamps operate, then inspect for water intrusion and verify the correct fuse for the exact model year. Test power and ground at the CHMSL connector before purchasing an assembly. If power and ground are present but the LEDs remain dark, replace the lamp with a camera- and configuration-matched unit, install a new seal, and verify every lighting function before final tightening.


