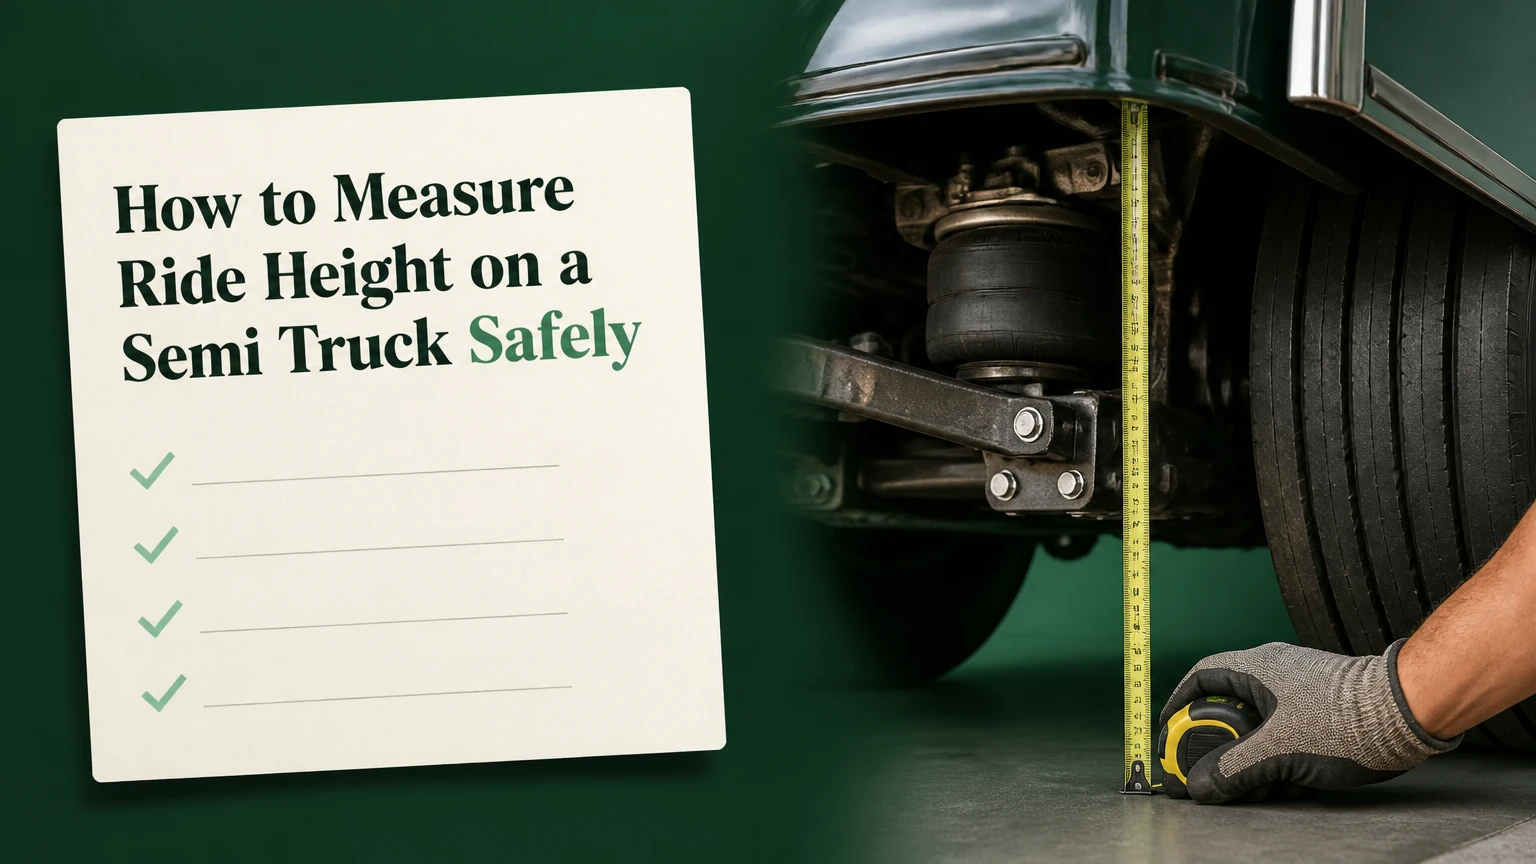
To measure ride height on a semi truck, park on level ground, charge and stabilize the air suspension, identify the exact OEM reference points, then measure vertically from the frame to the axle or gauge point. Record both sides and compare the readings with the suspension manufacturer’s specification, because frame-to-axle dimensions are not interchangeable between models.
Key Facts at a Glance
Ride height is an OEM-defined suspension dimension, not one universal semi-truck measurement.
A mechanical height control valve maintains frame height by adding or exhausting air from the air springs.
Measure with the truck in its specified normal operating condition, usually at normal air pressure and on level ground.
The correct reference may be the axle housing, axle centerline, hub center, alignment hole, or a manufacturer-supplied gauge.
Never work beneath a truck supported only by air springs; use correctly rated mechanical supports.
A wrong ride height can alter driveline angles, steering geometry, shock travel, and suspension clearance.
What Does Ride Height Mean on a Semi Truck?
Ride height is the specified distance between a defined chassis point and a defined axle or suspension point. On a tractor, the dimension commonly relates the bottom of the frame rail to the top of an axle housing, axle centerline, hub center, or an OEM alignment reference.
The measurement does not necessarily equal the distance from the frame to the ground. Ground-to-frame height changes with tire size, inflation pressure, pavement slope, cargo, and fuel load, while an OEM frame-to-axle dimension more directly represents suspension geometry.
Ride height controls the operating position of the air springs, torque rods, shocks, driveline, and steering components. A setting that is too high can increase driveline operating angles and reduce available rebound travel. A setting that is too low can reduce compression clearance and place the suspension near its jounce stops.
Why does correct ride height matter?
Correct ride height keeps the air suspension within the geometry designed by the truck and suspension manufacturer. The setting affects universal-joint angles, axle alignment, shock absorber travel, brake-component clearance, fifth-wheel height, and the way the tractor responds to steering inputs.
Ride height is not a substitute for axle-weight measurement. A tractor can have correct suspension height and still exceed a legal axle limit because of cargo distribution, trailer position, or payload. Likewise, a truck can meet a ground-clearance expectation while having incorrect suspension geometry.
How Does a Semi-Truck Air Suspension Maintain Height?
A mechanical height control valve, or HCV, uses a frame-mounted valve and an axle-connected linkage to maintain the chassis at a calibrated height. When load compresses the air springs, the linkage moves the valve to admit air; when the frame rises, the valve exhausts air until the neutral position returns.
Electronic controlled air suspension, or ECAS, uses height sensors, an electronic control unit, and solenoid valves instead of relying solely on a mechanical lever and rod. ECAS may store several programmed heights, but sensor calibration and diagnostic procedures are manufacturer-specific.
The system needs time to settle. Measuring immediately after a sharp maneuver, air dump, trailer coupling, or brake application can capture a temporary position rather than the normal ride setting.
Mechanical HCV and ECAS comparison
| Feature | Mechanical HCV | ECAS |
|---|---|---|
| Height input | Lever and linkage rod | Electronic height sensor |
| Typical service method | Wrench adjustment and linkage inspection | Diagnostic scan tool and calibration |
| Common replacement cost, typical | $80-$200 | $150-$400 for a sensor |
| Main failure evidence | Bent rod, loose nut, leaking valve | Fault code, sensor value, wiring fault |
| Manual adjustment risk | Incorrect neutral position | Calibration loss or incorrect stored height |
| Stored height settings | Usually 1 operating height | Often 2-4 programmed heights |
What Do You Need Before Measuring?
A semi-truck ride-height inspection normally takes 15-20 minutes and requires a tape measure, wheel chocks, flashlight, marker, service information, and a safe mechanical-support plan. The most important prerequisite is the exact suspension model, because a correct number measured from the wrong points is still a wrong diagnosis.
Before You Start
| Item | Typical requirement | Why it matters |
|---|---|---|
| Work surface | Level concrete, approximately 0-2% slope | Prevents gravity from creating a false side-to-side comparison |
| Air pressure | Normal governed range, often 120-135 psi | Confirms the suspension has supply pressure |
| Tape measure | 12-25 feet, 1/16-inch markings | Reaches frame and axle reference points |
| Wheel chocks | 2 heavy-duty chocks minimum | Prevents tractor movement |
| Inspection time | 15-20 minutes | Covers setup, measurement, and repeat check |
| Support equipment | Rated stands or approved shop lift | Prevents dependence on air springs |
Do not rely on the air bags, suspension dump system, hydraulic jack, or transmission park position as the only protection. If access beneath the frame is necessary, follow the truck manufacturer’s service procedure, chock the wheels, exhaust stored air when directed, and support the frame with equipment rated for the vehicle.
A tape measure can be used from outside the truck for many reference points. That is preferable because it reduces the need to enter the underbody area.
Step 1: Identify the Suspension and Its Specification
Find the suspension identification tag, axle documentation, frame label, or manufacturer service manual before placing the tape measure. Record the truck make, model year, axle position, suspension family, ride-height option, and whether the truck uses a standard or low-ride configuration.
Common suspension families include Hendrickson PRIMAAX EX and COMFORT AIR, Peterbilt and Kenworth AG-series systems, Freightliner AirLiner, and Volvo or Mack air-ride systems. Similar-looking suspensions can use different measurement points and target values.
Which reference points should you use?
Use only the reference points named in the applicable OEM or suspension manual. A frame-to-axle measurement, frame-to-hub-center measurement, and frame-to-ground measurement describe different geometries and cannot be substituted for one another.
| Suspension example | Common reference style | Typical published range, not a universal target |
|---|---|---|
| Kenworth or Peterbilt AG380 | Bottom of frame rail to axle-housing reference | Approximately 7.75-8.50 in |
| Kenworth or Peterbilt AG400L | Bottom of frame rail to specified axle reference | Approximately 8.00-8.50 in |
| Freightliner AirLiner | Frame reference to drive-axle or hub-center reference | Approximately 2.625-3.75 in |
| Volvo or Mack air ride | Bottom frame flange to axle-housing surface | Approximately 6.50-7.50 in |
| Hendrickson PRIMAAX EX | Frame reference or alignment-hole method to axle centerline | Approximately 8.50-15.50 in |
These ranges illustrate why generic internet values are unsafe. The figures are typical examples, not permission to set a truck to the nearest number. A low-ride Freightliner dimension can look dramatically smaller than a Hendrickson vocational dimension and still be correct for its own design.
Step 2: Put the Truck in Its Specified Operating Condition
Park the tractor and trailer combination, or the tractor alone if that matches the service procedure, on level concrete. Keep the steering straight, apply the parking brake, chock the wheels, and allow the engine-driven compressor to build normal system pressure.
Use the suspension dump switch only when the OEM procedure calls for cycling the suspension. Some manufacturers specify dumping and refilling before measurement; others require the truck to settle naturally at normal ride height. Cycling air is a useful repeatability check, but it is not a universal measurement requirement.
If the truck has a trailer attached, inspect whether the procedure applies to the tractor suspension, the trailer suspension, or both. A trailer’s ride height generally uses its own suspension manual and reference gauge.
How long should the suspension settle?
Allow approximately 1-2 minutes after the final air adjustment, unless the service manual specifies another period. During that time, keep doors closed, avoid moving the steering wheel, and do not apply a load that changes frame position.
You will know the air state is usable when the compressor has stopped cycling for the immediate pressure demand, the HCV linkage is at neutral, and the frame is no longer visibly rising or lowering. A single pressure-gauge reading does not prove that both suspension circuits have stabilized.
Step 3: Locate the Exact Measurement Points
Clean dirt, rust scale, and grease from the frame flange and axle reference area. Place the tape hook on the flat bottom surface of the frame rail only when the manual identifies that surface; some procedures use a hole, bracket, flange, or axle centerline instead.
Keep the tape perpendicular to the ground. Do not follow the angle of the frame, lean the tape around a brake chamber, or measure from a curved axle surface without using the specified gauge.
If the target is the axle centerline, the centerline may not be physically visible. Use the OEM alignment hole, hub-center reference, axle gauge, or a dimensioning method specified for that suspension. Estimating the center of a round axle housing with a tape measure can introduce more error than the allowed service tolerance.
Step 4: Take and Record the Measurement
Measure the driver side and passenger side at the same axle and same reference points. Write down the reading to the nearest 1/16 inch when the tape allows it, along with air pressure, load state, trailer connection, date, and suspension model.
Do not round a borderline value upward or downward before comparing it with the specification. For example, a measured 8 1/16 inches should remain 8 1/16 inches in the record rather than becoming 8 inches.
What should the two sides measure?
The two sides should be close, but the acceptable difference comes from the OEM manual and suspension design. A practical screening rule is to investigate a difference near 1/8 inch, while recognizing that 1/8 inch is not a universal legal or manufacturer tolerance.
| Recorded condition | Typical interpretation | Next action |
|---|---|---|
| Both sides within 1/16 in | Strong repeatability indicator | Compare the average with OEM height |
| Sides differ by approximately 1/8 in | Possible linkage, bag, or surface issue | Repeat measurement and inspect components |
| Sides differ by 1/4 in | Significant lean or calibration concern | Inspect air bags, valves, bushings, and brackets |
| Both sides equally too high | Shared HCV setting or wrong specification | Verify reference points and linkage adjustment |
| Both sides equally too low | Low setting, load issue, or supply problem | Verify air pressure, leaks, and OEM condition |
| Reading changes during 2-minute observation | Valve or air leak concern | Test HCV, lines, fittings, and air springs |
Measure twice before adjusting anything. A repeated wrong measurement supports diagnosis; a single wrong measurement often supports only a second measurement.
Step 5: Compare the Reading With the OEM Target
Compare each side and, where appropriate, the average reading with the exact suspension specification. Confirm whether the specification is for an unloaded tractor, a coupled trailer, a design load, a particular axle, or a defined tire and wheel combination.
Do not use a manufacturer range copied from a different AG-series suspension, axle model, or ride-height option. Suspension manuals may distinguish highway and vocational configurations, standard and low-ride heights, or different axle capacities.
What if no specification is available?
Stop short of adjustment when the suspension identity or reference geometry is unknown. Contact the truck dealer, suspension manufacturer, fleet maintenance system, or service-information provider with the suspension tag and axle details.
A measured number without a defined reference point has little diagnostic value. Guessing an HCV setting can create driveline vibration, shortened shock travel, tire clearance problems, or an unsafe lean.
Step 6: Inspect the Cause Before Adjusting the Valve
Inspect the HCV linkage for a bent rod, loose locknut, worn grommet, missing fastener, seized joint, or altered length. Check both air springs for cracks, uneven extension, leaks, and damaged mounting plates, then inspect torque rods, trailing arms, bushings, height-control brackets, shocks, and suspension stops.
A valve adjustment cannot correct a bent suspension bracket or a failed air spring. Adjusting around a mechanical fault may produce the correct tape reading in the shop while leaving the truck unstable or causing the height to drift on the road.
Use leak-detection solution around fittings and air-spring connections when permitted by the service procedure. A persistent lean can also result from a twisted suspension component, a failed dual-valve arrangement, unequal tire rolling radius, or a damaged frame bracket.
Step 7: Adjust and Recheck Only With the Correct Procedure
Adjust a mechanical HCV only when the OEM procedure identifies the valve as adjustable and the linkage, air springs, suspension members, and brackets are serviceable. Loosen the specified locknut, make small changes, return the valve to neutral, tighten the hardware to the specified torque, and repeat the complete measurement.
Some HCV procedures use a manufacturer-specified pin or neutral hole during linkage adjustment. A 1/4-inch drill bit or improvised wooden dowel is not automatically an approved substitute, because the pin diameter and neutral position vary by valve design.
Never manually force an HCV lever without knowing its operating direction and safe procedure. Moving the lever can cause sudden chassis movement or unexpected air release. ECAS systems generally require a scan tool, sensor inspection, and a stored-height calibration procedure rather than mechanical linkage adjustment.
You will know the adjustment worked when the truck returns to the target height after a fresh air cycle, both sides remain within the specified tolerance, the valve returns to neutral, and the measurement does not drift during observation.
Common Mistakes and How to Fix Them
| Mistake or symptom | Likely cause | Corrective action |
|---|---|---|
| Both readings are wrong by the same amount | Wrong suspension specification or reference point | Recheck the model tag and service manual |
| Truck leans after sitting overnight | Air-spring, fitting, check-valve, or HCV leak | Perform a leak test and inspect both circuits |
| Height changes repeatedly | Worn HCV seals or loose linkage | Inspect valve response and linkage hardware |
| Rough ride and limited travel | Height too high or too low | Verify OEM height before replacing shocks |
| One side changes after braking | Suspension movement or air-system interaction | Repeat with brake and steering state controlled |
| Reading differs on gravel | Uneven surface and tape angle | Move to level concrete and measure vertically |
| Height is correct unloaded but wrong coupled | Wrong operating condition or trailer interaction | Record the required load and coupling state |
One useful practitioner rule is to diagnose the specification before diagnosing the valve. Many apparent HCV failures are measurement errors caused by using the axle housing when the manual requires the axle centerline.
Another counterintuitive point is that maximum reservoir pressure does not define ride height. The HCV regulates air-spring pressure and frame position, so a fully charged reservoir can coexist with an incorrectly adjusted suspension.
A third rule is to compare component condition before changing linkage length. A replacement air spring with a different installed height, a bent bracket, or a worn torque-rod bushing can make a correctly adjusted valve appear defective.
How Much Does Ride-Height Inspection Cost?
A basic visual and tape-measure inspection typically costs $0 in a fleet shop and takes 15-20 minutes. Professional diagnosis commonly takes 1-2 labor hours, while correction costs depend on whether the fault is a linkage, mechanical valve, air spring, bracket, or ECAS sensor.
| Service or part | Typical price range | Typical time |
|---|---|---|
| Owner inspection | $0-$20 | 15-20 minutes |
| Professional ride-height check | $75-$150 | 30-60 minutes |
| HCV adjustment | $75-$200 labor | 45-60 minutes |
| Mechanical HCV replacement | $80-$200 part | 1-2 hours |
| Linkage kit | $25-$50 part | 30-60 minutes |
| ECAS height sensor | $150-$400 part | 1-3 hours plus calibration |
Prices vary by region, labor rate, accessibility, and truck model. A shop may charge more when the technician must diagnose an air leak, remove shields, calibrate ECAS, or correct a damaged suspension member.
Can You Measure a Trailer’s Ride Height the Same Way?
A semi-trailer does not necessarily use the tractor’s ride-height measurement method. Trailer suspension manufacturers may specify a distance from the trailer frame to the axle, a suspension beam reference, or a dedicated ride-height gauge, and the target changes with suspension family and trailer design.
Measure the tractor drive-axle suspension separately from the trailer suspension. Do not use the tractor’s HCV linkage, axle centerline, or frame dimension as a substitute for the trailer manufacturer’s procedure.
Situational variations
| Situation | Measurement condition | Main caution |
|---|---|---|
| Bobtail tractor | Normal ride height, no trailer | Use the tractor suspension specification |
| Coupled empty trailer | Coupled and settled if manual requires | Fifth-wheel load changes tractor height |
| Loaded combination | Specified operating load | Cargo placement can create unequal loading |
| Dump or vocational truck | Suspension mode specified by OEM | Dump controls can alter frame position |
| ECAS-equipped tractor | Stored normal-height setting | Do not adjust a sensor system like a mechanical HCV |
How Often Should You Check Semi-Truck Ride Height?
Check ride height during a major preventive-maintenance inspection, after suspension work, after replacing an HCV or air spring, when driveline vibration appears, and whenever the tractor visibly leans. A six-month check is a reasonable fleet maintenance interval, but manufacturer instructions and operating severity should control.
Record the measurement rather than writing only “ride height checked.” A useful record includes the suspension model, axle position, driver and passenger readings, air pressure, load state, trailer status, and any linkage adjustment.
Ride height alone does not establish DOT compliance. Inspectors and regulations may address brakes, tires, lights, steering, suspension condition, axle weight, and clearance separately, so use the applicable Federal Motor Carrier Safety Administration rules and local requirements for compliance decisions.
FAQ
Can low air pressure cause an incorrect ride-height reading?
Low system pressure can prevent the height-control valve from restoring normal frame position, especially when the compressor has not reached its governed range. Build normal operating pressure first, then allow the suspension to settle. Do not treat a reading taken at 80 psi as comparable with one taken at 120-135 psi.
Should the trailer be loaded when measuring tractor ride height?
Use the load and coupling condition named by the tractor or suspension manufacturer. A coupled trailer transfers fifth-wheel load to the tractor, so bobtail and coupled measurements may differ. Do not compare them as though they were the same test condition.
Can a tape measure find the axle centerline accurately?
A tape measure can measure a centerline only when the centerline is defined by an accessible gauge, alignment hole, hub center, or approved construction method. Estimating the center of a round axle tube is unreliable. Use the OEM gauge or reference method when the specification requires axle-centerline measurement.
Why does my truck ride high after replacing an air spring?
A replacement air spring can expose an incorrect HCV setting, damaged mounting hardware, restricted exhaust, or a linkage installed at the wrong length. Verify the correct part, inspect the linkage and valve, cycle the suspension according to the manual, and remeasure before changing the valve adjustment.
Is ride height the same as fifth-wheel height?
Ride height and fifth-wheel height are different measurements. Ride height describes suspension geometry between specified chassis and axle references, while fifth-wheel height describes the coupling position above the ground or frame. Tire size, suspension setting, frame design, and trailer kingpin geometry affect fifth-wheel height.
What causes ride height to change while driving?
A worn HCV, loose or bent linkage, leaking air spring, faulty ECAS sensor, damaged wiring, or suspension movement can cause height changes while driving. Inspect the system for mechanical play and leaks, then obtain diagnostic codes on ECAS-equipped trucks. Do not repeatedly adjust the linkage without identifying the cause.
The Bottom Line
To determine how to measure ride height on a semi truck, identify the suspension model first, establish the required load and air condition, measure from the specified frame reference to the specified axle reference, and verify both sides against the OEM target. Never guess from a generic number, and never adjust a mechanical HCV or ECAS system until the measurement method and underlying suspension condition are confirmed.


