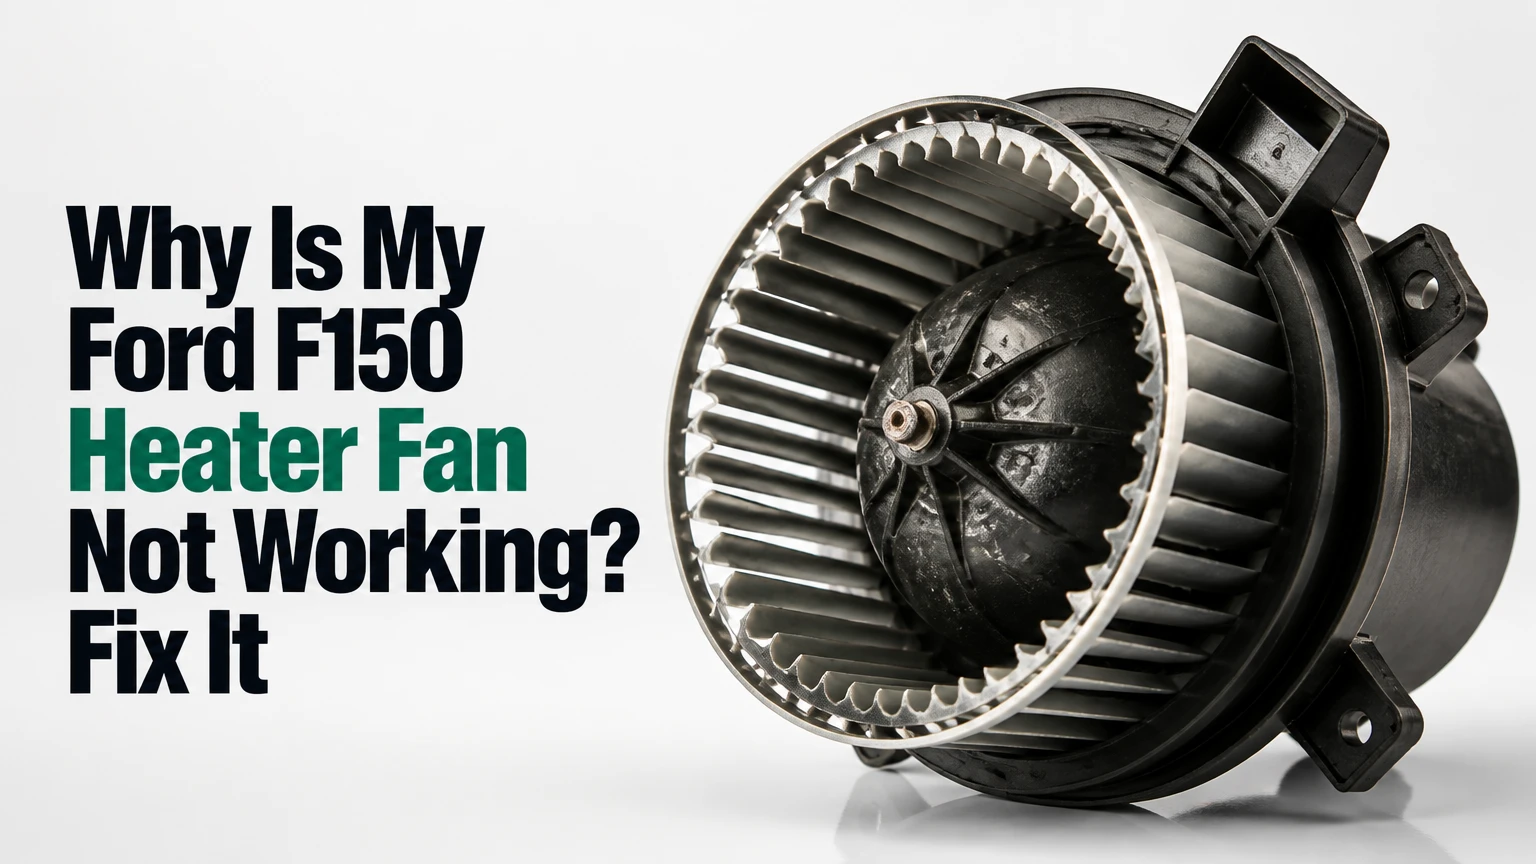
A Ford F-150 heater fan that does not blow usually has a failed fuse, relay, blower motor, resistor, electronic speed controller, fan switch, or wiring connection. If the fan works only on high, suspect the resistor; if every speed is dead, test the fuse, motor power, ground, and control module before replacing parts.
Key Facts at a Glance
- A Ford F-150 blower motor pushes air through the heater core for heat and the evaporator for air conditioning.
- A fan that works only on high commonly has a failed manual blower-motor resistor.
- A fan that is dead on every speed can have a blown fuse, failed relay, seized motor, bad ground, damaged connector, or failed control module.
- A 12-14 volt reading at the motor connector does not prove the circuit can deliver sufficient current under load.
- A melted resistor connector or blower pigtail must be repaired with the underlying high-current problem.
- A strong airflow with cold air indicates a temperature-control fault, not a heater-fan fault.
What Usually Causes a Ford F-150 Heater Fan Failure?
The most common causes are a blown high-amperage fuse, worn blower motor, overheated connector, failed resistor, defective electronic blower controller, or damaged power and ground wiring. Symptom pattern narrows the diagnosis faster than the truck’s model year alone, although fuse locations and control strategies vary across F-150 generations.
The blower motor is a high-current load. Dust, water intrusion, dry bearings, restricted airflow, and worn brushes increase motor resistance or friction, causing excess heat in the motor circuit. That heat can discolor terminals, melt the plastic connector, and damage a resistor or solid-state controller.
A fuse normally opens because current exceeded its rating. Replacing the fuse without finding the cause can produce another failure, while installing a higher-rated fuse can overheat wiring. Ford owner manuals consistently warn owners not to replace a fuse with one of a higher amperage rating.
| Symptom | Most likely area | Useful confirmation |
|---|---|---|
| Fan works only on highest speed | Manual resistor or resistor connector | Lower speeds fail, high speed remains available |
| Fan is dead on every speed | Fuse, relay, motor, ground, module, or wiring | No airflow at any dial position |
| Fan runs only after tapping housing | Worn motor brushes or dead commutator segment | Motor starts briefly after a light tap |
| Fan stays on after ignition is off | Speed controller transistor or relay stuck on | Battery voltage falls overnight |
| Fan is strong but air remains cold | Blend door, heater core, coolant, thermostat | Motor operates normally |
| Fan speed cuts out when hot | Motor overload, connector resistance, or controller | Operation returns after cooling |
How Does the F-150 Blower Circuit Work?
The Ford F-150 blower circuit sends battery power through a fuse and switching device to the cabin blower motor, while the climate-control system selects motor speed through a resistor or electronic controller. The spinning blower wheel moves air through the HVAC housing, but the blower motor does not create heat itself.
On manual climate control systems, the fan switch selects different resistor paths. Lower speeds pass current through resistance, which reduces motor voltage and speed. High speed commonly bypasses most or all resistor elements, explaining why a failed resistor often leaves only the highest setting operational.
Automatic temperature-control systems generally use an electronic blower motor speed controller. The climate-control module commands the controller, which varies motor output electronically. A controller can fail open, leaving the motor dead, or fail shorted, leaving the blower running at high speed.
The circuit can include:
- Battery and charging system
- High-amperage blower fuse
- Relay or electronic power switch
- Climate-control switch or control head
- Resistor or blower speed controller
- Blower motor and fan cage
- Ground connection and wiring connectors
A wiring diagram for the exact year, engine, cab, and climate-control option is more reliable than a generic online fuse chart. Ford changed fuse-panel layouts and connector assignments across generations, so do not assume that a wire color from a 2004 truck applies to a 2018 truck.
Which Speed-Control Part Does the F-150 Use?
Older and simpler F-150 manual HVAC systems commonly use a resistor block, while automatic climate-control systems use an electronic blower motor control module. The control layout, connector, fuse position, and part number depend on model year, trim, cab configuration, and manual or automatic climate control.
| Climate-control setup | Speed-control component | Typical failure pattern | Inspection location |
|---|---|---|---|
| Manual fan dial | Wire-wound resistor block | Speeds 1-3 fail, speed 4 works | HVAC air duct near blower |
| Automatic climate control | Electronic blower controller | All speeds dead or blower stuck high | HVAC housing near motor |
| Any system | Blower motor | No operation, noise, intermittent starting | Passenger-side HVAC housing |
| Any system | Connector or pigtail | Heat damage, intermittent power, voltage drop | Motor or resistor connector |
| Any system | Fan switch or control head | Selected speeds absent without motor fault | Dashboard control panel |
A resistor is not interchangeable with an electronic controller. Match the replacement to the truck’s original equipment and verify the part by VIN or an exact catalog application. A visually similar module can have different pin assignments and fail immediately when connected.
What Does High Speed Only Mean?
A Ford F-150 fan that works only on high speed usually has a failed blower motor resistor or overheated resistor connector. High speed often uses a bypass circuit, so the motor still receives power even when the resistor coils for lower speeds have burned open.
The resistor is cooled by air moving through the HVAC duct. A restricted cabin filter, debris-filled blower wheel, failing motor bearing, or loose connection can raise resistor temperature. Replacing only the resistor may restore operation temporarily, but the new component can fail again if the motor draws excessive current or the connector has heat damage.
Remove the resistor only after disconnecting the battery if the service procedure requires it and after identifying the retaining screws and connector. Inspect for darkened coils, warped plastic, melted terminals, or brittle wiring. A damaged pigtail requires a correctly rated replacement connector and crimped or soldered connections protected from moisture.
Can a Resistor Cause a Completely Dead Fan?
A failed resistor can contribute to a completely dead fan when the resistor connector burns, the resistor’s common feed opens, or the vehicle uses an electronic controller instead of a traditional resistor. A dead fan therefore requires power testing rather than automatic resistor replacement.
What If the Fan Does Not Work at All?
A Ford F-150 blower that is dead on every speed should be diagnosed in circuit order: fuse, relay, motor power, motor ground, control input, and speed-control component. The blower motor is confirmed faulty only when the motor receives appropriate power and ground but does not run under test.
A failed fuse is the first check because it is quick and inexpensive. If a replacement fuse opens immediately, stop testing the circuit with repeated fuses. A shorted motor, pinched wire, water-damaged connector, or failed controller may be pulling excessive current.
A blower motor can also fail mechanically. Leaves or plastic fragments can jam the squirrel-cage fan, while worn brushes can create intermittent contact. A motor that spins freely by hand but will not run electrically still needs voltage and current testing.
How Do You Diagnose the F-150 Heater Fan?
Diagnose the Ford F-150 heater fan with a test light or multimeter, a fused jumper only when the wiring diagram permits it, basic sockets, and eye protection. A complete diagnosis usually takes 30-60 minutes for an accessible system, and the most important checkpoint is verifying the fault under load before buying a motor or module.
Before You Start
| Requirement | Typical specification |
|---|---|
| Diagnostic time | 30-60 minutes |
| Tools | Digital multimeter, test light, socket set, trim tool |
| Electrical range | 12.0-12.6 volts engine off, 13.5-14.7 volts running |
| Replacement fuse | Exact factory amperage, commonly 30A or 40A in some applications |
| Safety | Ignition off for connector removal, eye protection, supported footwell access |
| Reference | Ford owner manual and wiring diagram for the VIN-specific truck |
Step 1: Check the Fuse and Relay Safely
Locate the passenger-compartment fuse panel and under-hood power-distribution box using the Ford owner manual for the specific F-150. Check the blower fuse with a meter or test light on both exposed test points, because a fuse can look intact while its element is fractured near an end.
Replace a blown fuse only with the same amperage rating. If the truck uses a removable blower relay, compare it with an identical relay or use the service manual’s relay-test procedure; physical similarity does not guarantee identical internal wiring.
Success checkpoint: The fuse has power on both test points with the required ignition position, and the relay has the correct control and load behavior.
Common mistake: Installing a 40A fuse in place of a 30A fuse because the larger fuse lasts longer. The wiring, not the fuse, may become the heating element.
Step 2: Perform the Tap and Noise Tests
Turn the ignition on, select high blower speed, and listen under the passenger-side dashboard. A humming, scraping, clicking, or slow-starting fan suggests debris, a damaged fan cage, dry bearings, or worn motor brushes.
Lightly tap the blower-motor housing with a screwdriver handle while the motor is commanded on. Do not strike the plastic housing hard, and keep hands, clothing, and tools away from the rotating fan. If the motor starts after the tap, the motor has an internal contact problem and replacement is usually the durable repair.
Success checkpoint: The motor either runs consistently, or the tap test identifies an intermittent motor fault.
Common mistake: Treating a successful tap as a repair. The motor may stop again at the next cold start or after vibration.
Step 3: Test Power, Ground, and Motor Current
Disconnect the two-wire blower motor connector and consult the wiring diagram before identifying the feed and ground terminals. With the blower commanded on, measure voltage at the harness, then test the motor itself with a known-good fused power source only if the service information supports that procedure.
A reading near system voltage, typically 12-14 volts, suggests that the feed is present. It does not prove the circuit can carry 20-35 amps. Perform a voltage-drop test across the positive side and ground side while the motor is connected and operating; more than about 0.5 volt on either side indicates unwanted resistance in wiring, terminals, or grounds.
Success checkpoint: A motor with proper loaded voltage and ground that fails to spin is defective. A motor that runs on direct power but not in the truck has a control or wiring fault.
Common mistake: Measuring voltage with the motor unplugged and declaring the circuit healthy. A corroded terminal can show full voltage without delivering operating current.
Step 4: Inspect the Resistor or Control Module
Identify whether the F-150 uses a resistor block or electronic blower controller before removing the component. The part is commonly mounted in the HVAC duct close to the blower motor so moving air can cool it, although access and fastener size vary by generation.
Look for melted connector cavities, darkened terminals, burnt resistor coils, water marks, cracked circuit-board material, and loose pins. Check the cabin filter and blower wheel at the same time because restricted airflow increases component temperature.
Success checkpoint: The replacement part matches the VIN-specific application, and no heat-damaged connector remains in the circuit.
Common mistake: Replacing a resistor while leaving a partially melted connector attached. High resistance at the terminal can destroy the replacement part.
Step 5: Verify the Repair Under All Speeds
Reconnect every HVAC component, reinstall the cabin filter correctly, and test each fan speed with the engine running. Confirm that air exits the selected vents, the blower does not smell of overheated plastic, and the fuse remains cool and intact.
Run the system for at least 10 minutes at high speed, then cycle through the lower speeds. A repair that works for 30 seconds but loses speed after the resistor warms up is incomplete.
Success checkpoint: Every selected speed operates, airflow is consistent, and no connector or fuse shows abnormal heat.
Common mistake: Testing only high speed. High speed can bypass a defective resistor and conceal an incomplete repair.
Is Weak Airflow an Electrical Failure?
Weak airflow from a Ford F-150 vent is not automatically an electrical failure. A clogged cabin air filter, blocked intake, debris in the blower wheel, crushed duct, incorrect recirculation door position, or weak motor can each reduce airflow while the fan still operates.
Remove and inspect the cabin filter where equipped. A filter packed with dust and leaves restricts the air volume used to cool a resistor or controller, so a new filter can prevent a repeat failure. Inspect the blower wheel for missing fins or heavy debris, since an imbalanced wheel can vibrate and overload the motor.
| Airflow symptom | Likely cause | Next inspection |
|---|---|---|
| All speeds operate, airflow is low | Clogged filter or intake | Filter and cowl intake |
| High speed is noisy | Debris or damaged fan cage | Blower wheel |
| Airflow changes with bumps | Loose connector or worn motor | Motor connector and housing |
| Air is strong at some vents only | Mode door or duct issue | HVAC door operation |
| Airflow drops as motor heats | Motor overload or bearing friction | Current draw and motor temperature |
Is the Blower Motor Really the Problem?
A blower motor is not the problem when air blows forcefully but remains cold. That symptom points toward low engine coolant, a stuck thermostat, restricted heater core, blend-door actuator, temperature door, or climate-control command rather than the fan circuit.
Check the coolant level only with the engine cold and follow the Ford owner manual’s coolant specification. Do not open a hot cooling-system cap. If the engine reaches normal temperature but one heater-hose temperature differs substantially from the other, a restricted heater core or coolant-flow problem becomes more likely.
A broken blend-door actuator can produce clicking behind the dashboard, incorrect outlet temperature, or air that changes temperature only intermittently. The blower motor can remain electrically perfect while the temperature door prevents heated air from reaching the cabin.
Why Does the Blower Keep Running After Shutdown?
A Ford F-150 blower that continues running after the ignition is off usually has a stuck relay, failed electronic blower controller, or control-circuit fault. The condition can discharge the battery overnight, so disconnecting the blower fuse temporarily is safer than repeatedly allowing the motor to run unattended.
A controller with a shorted transistor can feed the motor continuously, especially on automatic climate-control systems. A relay with welded contacts can create a similar symptom. Identify whether power remains at the motor connector with the ignition off, then work backward through the relay and controller using the wiring diagram.
Do not assume the blower motor itself is responsible for an always-on condition. A motor can consume current, but it normally cannot command itself on after the control circuit removes power.
How Much Does an F-150 Blower Repair Cost?
Typical Ford F-150 blower repair costs range from about $10-$40 for a fuse or relay, $25-$100 for a resistor, $50-$180 for an electronic controller, and $70-$250 for a blower motor when purchased for DIY installation. Professional totals commonly range from $100-$500, depending on parts, labor, diagnosis, and connector damage.
These are broad North American aftermarket and independent-shop ranges, not guaranteed prices. Dealer pricing, regional labor rates, OEM Motorcraft parts, taxes, and a damaged wiring pigtail can increase the final invoice.
| Repair | Typical DIY parts cost | Typical shop total | Typical labor time |
|---|---|---|---|
| Fuse or relay | $10-$40 | $80-$180 | 0.2-0.5 hour |
| Manual resistor | $25-$100 | $120-$280 | 0.5-1.0 hour |
| Electronic controller | $50-$180 | $160-$380 | 0.5-1.2 hours |
| Blower motor | $70-$250 | $220-$500 | 1.0-2.0 hours |
| Motor pigtail connector | $20-$75 | $120-$300 | 0.7-1.5 hours |
| HVAC control head | $150-$600 | $350-$1,000 | 1.5-3.0 hours |
Part prices vary sharply by F-150 generation. Verify the exact application before comparing Motorcraft, reputable aftermarket, and used components. A cheap controller with poor heat management may cost less initially but require another dashboard or footwell repair sooner.
Should You Repair the F-150 Blower Yourself?
DIY repair is reasonable when the motor or resistor is accessible under the passenger-side dashboard and electrical testing confirms the failed part. A professional shop is the better choice when the fuse repeatedly blows, wiring is melted, the truck has automatic climate control faults, or the technician must interpret network-controlled HVAC data.
DIY Repair
DIY replacement usually requires a socket set, trim tools, a multimeter, and 30-90 minutes. Disconnect the battery when directed by the service procedure, protect the passenger footwell, and avoid forcing connectors whose locking tabs are brittle.
DIY is less suitable when the blower housing is difficult to access, the truck has water intrusion, or the replacement requires programming. Buying a part before testing can turn a $25 resistor diagnosis into an unnecessary $200 motor purchase.
Independent Repair Shop
An independent technician can perform voltage-drop testing, measure motor current, inspect the pigtail, and diagnose the control head at a lower labor rate than many dealerships. Ask for the measured fault, the fuse rating, the motor-current result, and photographs of melted connectors before authorizing parts.
Ford Dealership
A Ford dealership has access to current service information, VIN-based parts catalogs, and factory diagnostic equipment. Dealer pricing is often higher, but factory documentation helps when a newer F-150 has module communication faults or multiple HVAC symptoms.
Common Mistakes That Cause Repeat Failures
The most expensive diagnostic mistake is replacing the blower motor without testing the connector and control component. A motor can be new while a corroded terminal still creates heat, voltage drop, and another no-blower complaint.
- Replacing a blown fuse repeatedly: Find the short, seized motor, damaged harness, or failed controller first.
- Using a higher-rated fuse: The fuse rating protects the vehicle wiring; increasing it creates a fire risk.
- Ignoring the cabin filter: Restricted airflow can overheat a resistor or controller.
- Leaving a melted pigtail: Replace heat-damaged terminals, not only the visible resistor.
- Confusing cold air with no fan: Strong airflow with poor heat requires cooling-system or blend-door diagnosis.
- Testing only unloaded voltage: Confirm voltage drop and motor operation under load.
- Installing the wrong control part: Manual resistors and electronic controllers use different electrical strategies.
- Buying by appearance: Match the part by VIN, year, trim, connector, and climate-control type.
One practitioner rule is especially useful: if a replacement resistor fails within weeks, suspect motor current, connector resistance, or restricted airflow before blaming the new resistor. The resistor is often the victim of a larger HVAC problem.
FAQ
Can a bad blower motor drain the F-150 battery?
A blower motor can drain the battery when a stuck relay or electronic speed controller keeps supplying power after shutdown. A normal motor stops when the control circuit opens. If the fan runs with the key removed, remove the blower fuse temporarily and test for retained power before replacing the motor.
Where is the F-150 blower motor located?
The blower motor is commonly mounted in the HVAC housing on the passenger side, often beneath or behind the glovebox area. Access differs by generation and cab configuration, so use the Ford service procedure rather than forcing dashboard trim or assuming every F-150 has the same fasteners.
Can a bad battery cause the heater fan to stop working?
A weak battery usually does not selectively disable the heater fan once the engine is running, because the alternator supplies approximately 13.5-14.7 volts. Low system voltage can expose electrical problems, however, so check battery and charging voltage when several accessories operate abnormally.
How long should an F-150 blower motor last?
Blower motor life varies with dust, moisture, filter maintenance, climate, and daily operating hours. A motor that becomes noisy, draws excessive current, or needs tapping is near failure regardless of mileage. Replacing the cabin filter at the Ford-specified interval reduces debris and airflow restriction.
Is a blower resistor difficult to replace?
A blower resistor is often a moderate DIY repair because the component may be reachable from the passenger footwell with a small socket and a locking-tab tool. Difficulty increases when the connector is melted, access is obstructed, or the F-150 uses an electronic controller that requires additional circuit testing.
The Bottom Line
Why is my Ford F150 heater fan not working? The answer is usually a fault in the blower’s fuse, relay, resistor, electronic controller, motor, connector, or ground, but the symptom determines the correct first test. High speed only points toward the resistor, no speeds requires circuit testing, and strong cold airflow points away from the blower entirely.
Start with the VIN-specific fuse diagram, inspect for connector heat damage, perform the tap test, and measure loaded power and ground at the motor. Replace the failed component only after confirming the circuit, filter, pigtail, and airflow path, because that process fixes the underlying Ford F-150 heater fan problem rather than temporarily restoring one fan setting.


