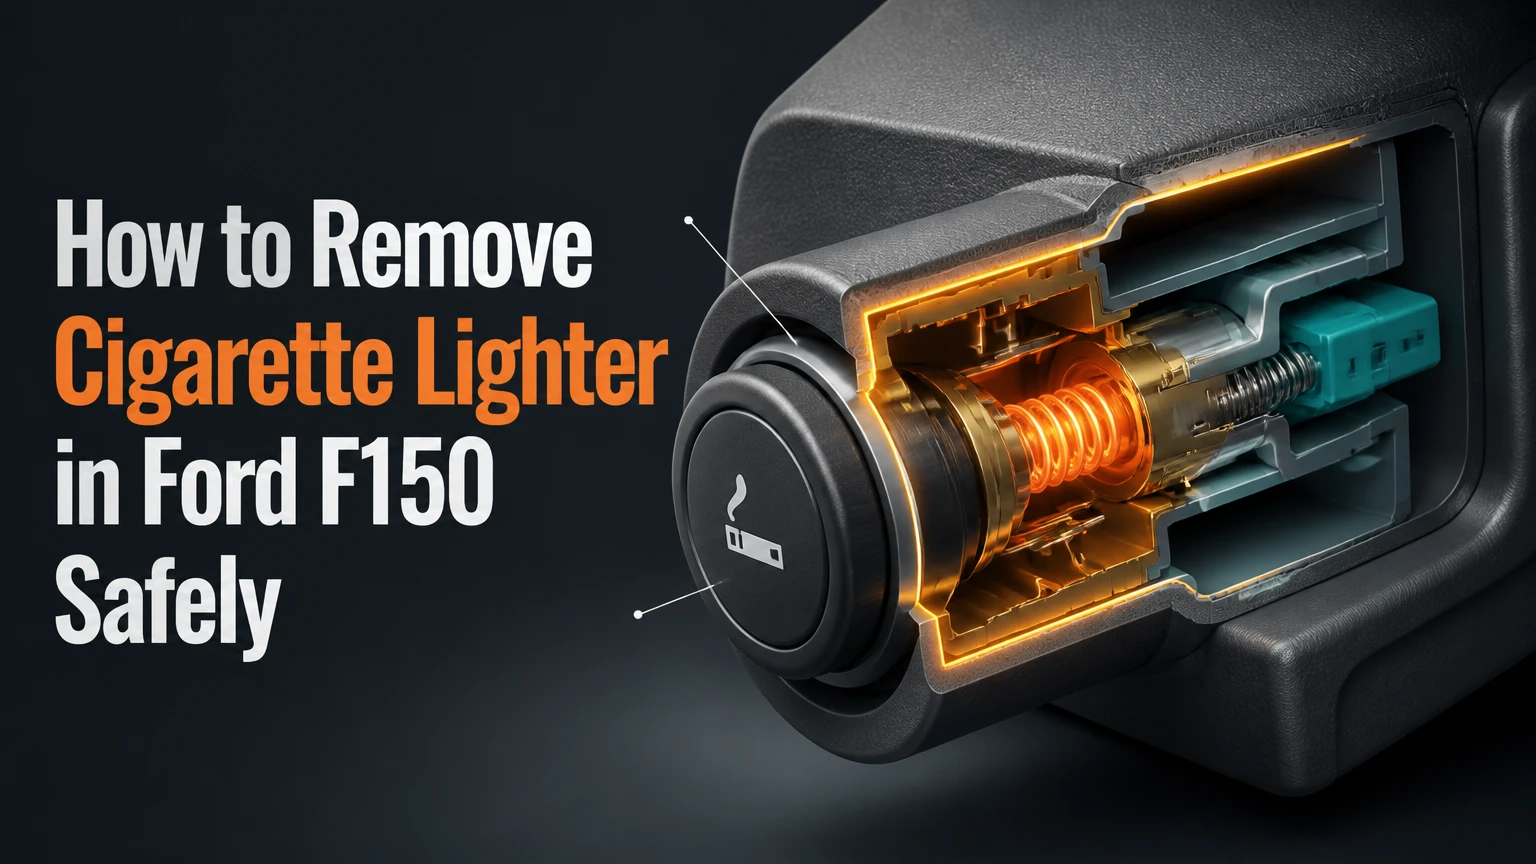
To remove the cigarette lighter in a Ford F-150, isolate the electrical circuit, remove the surrounding trim, unplug the rear connector, and release the socket barrel from its retaining sleeve. The job usually takes 20-45 minutes, and the main success factor is identifying whether your socket uses internal square-window tabs or external retaining clips.
Key Facts at a Glance
- The Ford F-150 cigarette lighter is usually a 12-volt DC auxiliary power outlet, not a separate electrical system.
- Disconnecting the negative battery cable is safer than relying only on the lighter fuse.
- Most factory sockets contain a metal barrel, plastic retaining sleeve, trim bezel, center positive contact, and grounded outer shell.
- A T-handle lighter-socket removal tool reduces the chance of bending contacts or damaging the dashboard opening.
- Ford F-150 trim and fuse locations vary between 2004-2008, 2009-2014, 2015-2020, and 2021-present trucks.
- A replacement socket should match the factory connector, mounting diameter, and circuit rating before installation.
What Are You Removing?
The component commonly called the cigarette lighter is the Ford F-150 12V auxiliary power outlet. The removable assembly normally includes a decorative bezel, a plastic retaining sleeve, a conductive metal socket, and a rear wiring connector.
The lighter heating element is a separate removable plug. Pressing the element into the barrel connects the center positive terminal to the metal shell, allowing current to heat a bimetallic mechanism. When the outlet is used for charging, the socket supplies power through spring contacts instead.
How the Socket Is Built
| Component | Typical material | Function | Removal concern |
|---|---|---|---|
| Decorative bezel | ABS plastic | Finishes the dashboard opening | Scratches from metal tools |
| Retaining sleeve | Nylon or molded plastic | Holds the barrel in the panel | Tabs can break if forced |
| Metal barrel | Plated steel | Forms the grounded outer wall | Can deform under screwdriver pressure |
| Center contact | Copper or brass | Supplies positive 12V power | Shorting it can blow the fuse |
| Rear connector | Molded plastic | Carries power and ground | Release tab must be pressed |
| Heating element | Metal and plastic | Optional cigarette-lighting function | Not part of the fixed socket |
The socket is not always mounted in the same panel. Depending on year and equipment, it may be in the lower instrument panel, center stack, center console, or a secondary power-outlet panel. The 2021-present F-150 can also have multiple 12V outlets and USB ports, so confirm which opening you are servicing.
Before You Start
A typical Ford F-150 socket removal requires a trim wedge, a 7mm socket on some generations, a T-handle lighter removal tool or two insulated precision picks, work gloves, and a digital multimeter. Plan on 20-45 minutes for removal and 45-90 minutes if you are installing a replacement and testing the circuit.
Tools, Time, and Cost
| Item | Typical specification | Typical quantity or range | Purpose |
|---|---|---|---|
| Trim wedge | Nylon, 20-30mm wide | 1 | Releases dashboard clips |
| Socket removal tool | T-handle, two-prong type | 1, usually $8-$20 | Releases barrel tabs |
| Precision picks | Insulated, 1.5-3mm tips | 2 | Alternative tab-release method |
| Socket and ratchet | 7mm, 1/4-inch drive | 1 set | Removes certain trim screws |
| Multimeter | 0-20V DC range | 1 | Confirms power and ground |
| Replacement outlet | 12V, approximately 21mm | 1, commonly $15-$45 | Restores the socket |
| Labor | Independent repair shop | Typically $50-$120 | Professional removal and installation |
The 21mm measurement is a common nominal size for automotive accessory sockets, but the dashboard hole and retaining design are not universal. Measure the original part or verify the replacement against the F-150 model year and connector.
Safety Checks Before Removing Trim
- Turn the ignition completely off and remove the key or switch off the start system.
- Remove every accessory from the outlet, including USB adapters and tire inflators.
- Open the correct fuse-panel cover and identify the power-outlet fuse using the owner’s manual.
- Disconnect the negative battery cable with the correct wrench, then isolate the cable so it cannot touch the terminal.
- Wait at least 10 minutes before working near steering-wheel, passenger-airbag, or curtain-airbag wiring.
The fuse position and rating depend on model year, engine, body style, and options. Many F-150 outlets use a 20A circuit, but the fuse number and amperage must be verified from the manual or the fuse-panel diagram. Never replace a blown fuse with a higher-rated fuse.
How Do You Remove the Ford F-150 Socket?
Remove the Ford F-150 socket in four controlled stages: expose the rear, disconnect the harness, release the barrel, and remove the plastic sleeve. Do not pry the visible metal cylinder outward until the retaining tabs are released, because the dashboard hole and socket bezel can crack before the barrel moves.
Step 1: Identify the Exact Outlet
Look at the outlet before touching the trim. A factory cigarette-lighter socket usually has a circular metal interior and may include a removable heating element, while a simple auxiliary outlet may have a plastic cap marked “12V.”
Check whether the outlet is in a removable trim panel or molded into a larger console panel. Search the panel for visible 7mm screws, especially inside storage pockets, beneath rubber liners, and along the lower edge.
You will know the step worked when: you can identify the outlet, its panel, and all visible fasteners without pulling on the trim.
Common mistake: assuming every round opening is the same socket. Some F-150s have a 110V AC outlet, USB module, or secondary 12V outlet with a different connector and removal method.
Step 2: Remove the Surrounding Trim
Use a nylon trim wedge to create a small gap beside the outlet panel. Work around the panel in short sections, releasing one retaining clip at a time instead of bending the entire panel from one corner.
Remove any exposed 7mm screws before increasing pulling force. On many 2004-2014 trucks, hidden screws secure the radio or lower center trim, while later trucks use a combination of clips, bolts, and interlocking panels.
Pull the panel forward only far enough to reach the wiring. Several panels carry climate controls, traction-control switches, USB modules, or illumination wiring, so do not let the panel hang from those connectors.
You will know the step worked when: the panel moves forward several centimeters and the socket’s rear connector is visible.
Common mistake: using a metal screwdriver against the finished surface. Even a small slip can leave a permanent gouge, and a screwdriver can snap the panel’s thin edge.
Step 3: Disconnect the Electrical Connector
Find the connector attached to the rear of the socket. Press the molded release tab while pulling the connector body straight backward. Pulling the wires can loosen a terminal inside the connector and create an intermittent fault after reassembly.
If the connector will not release, push it slightly toward the socket first, then press the tab and pull it backward. This removes pressure from the locking latch. Inspect the connector for heat discoloration, melted plastic, loose terminals, or green corrosion.
Use a multimeter only after restoring the battery connection and keeping the socket disconnected. With the ignition and outlet circuit enabled, a healthy power outlet generally measures about 12.0-12.8 volts with the engine off and approximately 13.5-14.7 volts while the alternator is charging.
You will know the step worked when: the connector is completely separated and the socket has no attached wiring.
Common mistake: probing a powered connector with a metal tool. A short between the positive terminal and ground can open the fuse or damage a circuit.
Step 4: Release and Remove the Metal Barrel
Insert the prongs of a compatible T-handle removal tool into the metal barrel. Rotate or position the tool until its prongs engage the small internal square windows or retaining openings in the socket wall.
Pull the tool toward the front of the dashboard while holding the plastic trim ring or sleeve from behind. On the common tab-retained design, the tool depresses or captures the internal locking points, allowing the metal barrel to slide out of the sleeve.
If the socket uses external clips, press the clips inward from behind the panel while pushing the barrel forward. Do not assume the T-handle tool fits every aftermarket or late-model outlet.
You will know the step worked when: the metal cylinder moves forward without twisting the dashboard panel or tearing the plastic sleeve.
Common mistake: inserting two uninsulated screwdrivers into the barrel while the battery remains connected. The tools can bridge the center contact and shell, causing a short circuit and potentially damaging the socket or fuse circuit.
Step 5: Remove the Plastic Retaining Sleeve
After the metal barrel is out, squeeze the plastic sleeve’s retaining tabs from behind the panel. Push the sleeve forward through the dashboard opening, then remove the bezel if the replacement part includes a separate trim ring.
Record the sleeve’s orientation before removal. Many sockets have an indexing notch that prevents the outlet from rotating. A replacement installed without that notch aligned can spin when an adapter is inserted.
Keep the original socket until the replacement has been test-fitted. Compare the mounting diameter, sleeve depth, connector shape, terminal orientation, and bezel diameter.
You will know the step worked when: the dashboard opening is clear and the new part can sit flush without forcing the panel.
Common mistake: discarding the old bezel before comparing it with the replacement. Universal sockets often fit the hole but leave a visible gap or use a different depth.
Which Removal Tool Should You Use?
A T-handle lighter removal tool is the most controlled option for a factory-style barrel, while insulated precision picks are a workable backup when access permits. A normal screwdriver is the least suitable option because its broad blade can deform the barrel, scratch trim, or bridge the positive and grounded surfaces.
| Method | Typical cost | Best use | Main limitation |
|---|---|---|---|
| T-handle removal tool | $8-$20 | Internal tab-retained factory socket | Prongs may not match every design |
| Two insulated precision picks | $5-$15 | Budget removal with rear access | Requires steady two-handed alignment |
| Nylon clip pliers | $10-$25 | External retaining clips | Usually cannot release internal barrel tabs |
| Flat metal screwdrivers | $3-$10 | Emergency use with battery disconnected | High risk of scratches and deformation |
| Panel removal kit | $10-$30 | Full trim disassembly | Does not replace the socket tool |
An expert rule of thumb is to stop if the barrel has not moved after moderate hand pressure. More force rarely solves a misaligned tool. Recheck whether the sleeve is still locked, whether a rear clip must be compressed, or whether the outlet is an aftermarket design.
What Changes by F-150 Generation?
The removal principle stays similar, but trim access, screw locations, connector styles, and outlet modules change by generation. Ford introduced different dashboard layouts across the 11th, 12th, 13th, and 14th generations, so a procedure copied from a 2005 truck may not apply to a 2023 truck.
| F-150 generation | Approximate model years | Common access issue | Verification priority |
|---|---|---|---|
| 11th generation | 2004-2008 | Lower dash and center trim may hide 7mm screws | Confirm panel fasteners |
| 12th generation | 2009-2014 | Center-stack trim uses clips and integrated switches | Unplug switch connectors carefully |
| 13th generation | 2015-2020 | Console and dashboard modules vary by package | Match the socket connector |
| 14th generation | 2021-present | Multiple outlet types and larger electronic modules | Identify 12V versus 110V or USB |
| F-150 Lightning | 2022-present | Electric-truck trim and power modules differ | Follow Lightning-specific service information |
Ford owner manuals are the most reliable source for fuse identification because the fuse chart changes with equipment. Online parts catalogs can help match a socket, but a catalog listing does not prove that its connector or bezel fits every cab and trim level.
Which Replacement Is Right for Your Truck?
Choose an OEM Ford socket when factory fit, connector compatibility, and original appearance matter most. Choose a universal 12V socket when cost matters and you can verify the mounting dimensions; choose a USB module only when you no longer need the heating-element function and the module is rated for the vehicle’s circuit.
| Replacement type | Typical price | Installation time | Retains lighter function | Wiring risk |
|---|---|---|---|---|
| OEM Ford socket | $20-$60 | 30-60 minutes | Yes | Low if connector matches |
| Universal 12V socket | $10-$30 | 45-90 minutes | Usually yes | Moderate if splicing is required |
| Dual USB-A module | $15-$40 | 45-90 minutes | No | Moderate |
| Dual USB-C module | $20-$70 | 45-120 minutes | No | Moderate to high |
| Marine-grade outlet | $15-$50 | 60-120 minutes | Usually no | High if hole size differs |
An OEM replacement is usually the least troublesome choice for a daily-driven F-150 because the factory connector preserves polarity and strain relief. A USB upgrade can be useful for phones and tablets, but it is not suitable if you use the outlet for a tire compressor, heated seat accessory, radar detector, or traditional lighter.
USB-C power ratings also vary. A module advertised as “fast charging” may require USB Power Delivery electronics, a higher-current circuit, and adequate heat management. Do not connect a high-output charger to a circuit that exceeds the original fuse rating.
Should You Splice the Factory Wiring?
Avoid splicing when a direct-fit connector is available. If splicing is unavoidable, disconnect the battery, confirm polarity with the wiring diagram, use a properly crimped automotive connector or solder-and-seal joint, and protect the connection from console movement and moisture.
The center contact is normally positive and the outer shell is normally ground, but confirm the wiring on the specific truck. Reversed polarity can destroy USB electronics even when the fuse remains intact.
Common Problems and How to Fix Them
The Socket Spins Instead of Coming Out
A spinning outlet usually has a broken retaining sleeve, a missing indexing notch, or an installation that never locked into the dashboard panel. Remove the barrel, inspect the sleeve for cracks, and replace the sleeve or complete socket if the tabs no longer hold.
Do not tighten the bezel as though it were a threaded nut unless the replacement specifically uses a threaded retaining ring. Many factory sockets rely on snap tabs, not threads.
The Fuse Blows During Removal
A blown fuse indicates that the center power terminal contacted the grounded shell or another metal object. Disconnect the battery, remove the tool, inspect the socket for bent contacts, and replace the fuse only with the same rating specified for that truck.
If the replacement fuse blows immediately with the socket disconnected, the short may be in the harness or another accessory on the same circuit. Stop testing and trace the circuit rather than installing a larger fuse.
The New Socket Has No Power
Check the fuse, connector seating, ground continuity, and power at the connector with a multimeter. A good outlet should show battery voltage between its positive feed and a known chassis ground, then show proper ground continuity between its ground terminal and the chassis.
| Symptom | Likely cause | First repair action | Escalation point |
|---|---|---|---|
| No voltage at connector | Open fuse or feed wire | Check fuse chart and fuse | Trace harness |
| Voltage but no accessory operation | Poor ground or damaged socket | Test ground continuity | Replace socket |
| Fuse opens instantly | Shorted socket or wiring | Disconnect socket and retest | Diagnose harness |
| Intermittent charging | Bent contact or loose terminal | Inspect barrel and connector | Replace terminal or socket |
| Outlet works only with ignition on | Switched circuit design | Confirm manual specification | Do not rewire casually |
| Socket overheats | Overloaded accessory or poor contact | Remove accessory and inspect | Replace damaged socket |
A socket that works with a phone charger but fails with an air compressor may have a high-resistance contact, not a completely healthy circuit. High current creates heat at a weak connection, so repeated fuse replacement is not a repair.
The Barrel Is Melted or Seized
A melted barrel usually indicates prolonged high current, a loose adapter, a damaged contact, or an accessory that exceeded the circuit’s practical capacity. Replace the socket and inspect the connector for heat damage before reconnecting the battery.
If the plastic has fused around the metal sleeve, remove the entire trim panel if possible and work from behind. Cutting the barrel in place can damage the dashboard and leave metal fragments inside the panel.
How Much Time and Money Should You Expect?
A straightforward Ford F-150 socket removal typically takes 20-45 minutes and costs $10-$60 for a DIY replacement, excluding tools. A professional installation commonly costs $50-$120 in labor, while damaged wiring, melted plastic, or a difficult center-console disassembly can increase the total.
| Repair situation | DIY time | Typical parts cost | Typical professional labor |
|---|---|---|---|
| Remove and reinstall original socket | 20-45 minutes | $0 | $50-$90 |
| Install OEM replacement | 30-60 minutes | $20-$60 | $60-$120 |
| Install universal 12V outlet | 45-90 minutes | $10-$30 | $75-$150 |
| Install USB-C module | 45-120 minutes | $20-$70 | $90-$180 |
| Repair melted connector | 60-150 minutes | $15-$80 | $120-$300 |
These are typical North American repair ranges, not Ford-published prices. Dealer labor rates, regional pricing, trim complexity, and parts availability create large differences.
Can You Remove It Without a Specialty Tool?
You can remove some Ford F-150 sockets without a dedicated tool by using two small insulated picks to release the internal tabs from the barrel, but the method is less consistent than a T-handle tool. Work only with the negative battery cable disconnected and stop if the picks do not engage the retaining windows.
Insert one pick into each opposing opening, press the retaining points inward, and pull the barrel forward with the other hand if access allows. Cover the dashboard with a cloth and keep the pick tips insulated except for the working ends.
This method is not appropriate when the socket is melted, the metal barrel is badly distorted, or the rear of the assembly is inaccessible. In those cases, removing more trim provides better control and usually prevents greater damage.
Variations for Different Repair Situations
A socket replacement is not the same task as a fuse repair, a USB conversion, or removal of a stuck heating element. Match the procedure to the symptom before disassembling the dashboard.
- The lighter element is stuck: Disconnect the battery, let the socket cool, and remove the element with insulated pliers. Replace the fixed socket if the inner contacts are bent.
- Only the trim ring is damaged: Remove the panel and determine whether the bezel is separate. Some replacements include the complete socket rather than a stand-alone ring.
- The outlet is loose: Remove the barrel and inspect the sleeve tabs and indexing notch. Replacing only the bezel will not fix a broken retaining sleeve.
- The outlet is being converted to USB: Confirm the new module’s current rating, connector polarity, depth, and fuse requirement before cutting wiring.
- The truck has multiple outlets: Test and label each connector before removal. A center-console outlet may be on a different circuit from the lower dashboard outlet.
- The truck is a Lightning: Use Lightning-specific trim and electrical information. Do not assume a gasoline F-150 outlet module has the same connector or surrounding restraint system.
FAQ
Is the Ford F-150 cigarette lighter fuse always 20 amps?
No. A 20A fuse is common for automotive power outlets, but the correct fuse number and rating vary by F-150 year, cab, engine, and equipment. Use the owner’s manual or the fuse-panel legend for the specific truck, and never install a higher-rated fuse to prevent repeated failures.
Can I leave the battery connected while removing the socket?
You should disconnect the negative battery cable before removing the socket. Removing the fuse reduces circuit risk but does not make every nearby wire harmless, and a metal tool can still create a short if it contacts a powered circuit or ground.
Why does my replacement outlet not fit the hole?
Universal outlets vary in mounting diameter, sleeve depth, bezel diameter, and retention method. Measure the dashboard opening and compare the connector and locking features with the original socket before installation. A nominal 21mm outlet may still have a different body length or retaining flange.
Can a Ford F-150 12V outlet power an air compressor?
A 12V outlet can power some compact compressors, but the accessory must remain within the outlet’s fuse and current limits. Check the compressor’s amperage label, keep the engine running if the manufacturer permits it, and stop if the plug or socket becomes hot.
Should I replace a faulty socket with a USB-C charger?
Replace the socket with USB-C when phone and tablet charging is the primary use and you do not need a heating element or high-current 12V accessories. Select a fused, vehicle-rated module with confirmed polarity and adequate output rather than choosing solely by the advertised wattage.
When should a professional remove the outlet?
Use a professional when the socket is melted into the panel, the wiring connector is heat-damaged, an airbag-related panel must be removed, or the replacement requires harness modification. Professional service is also sensible when the fuse continues to blow with the socket disconnected.
The Bottom Line
To remove cigarette lighter in Ford F150 trucks, disconnect the negative battery cable, remove the correct trim panel, release the rear connector, and extract the barrel with a socket-removal tool or insulated picks. Verify the model-year design before forcing any tabs, then match the replacement to the original dimensions, connector, polarity, and fuse circuit.


