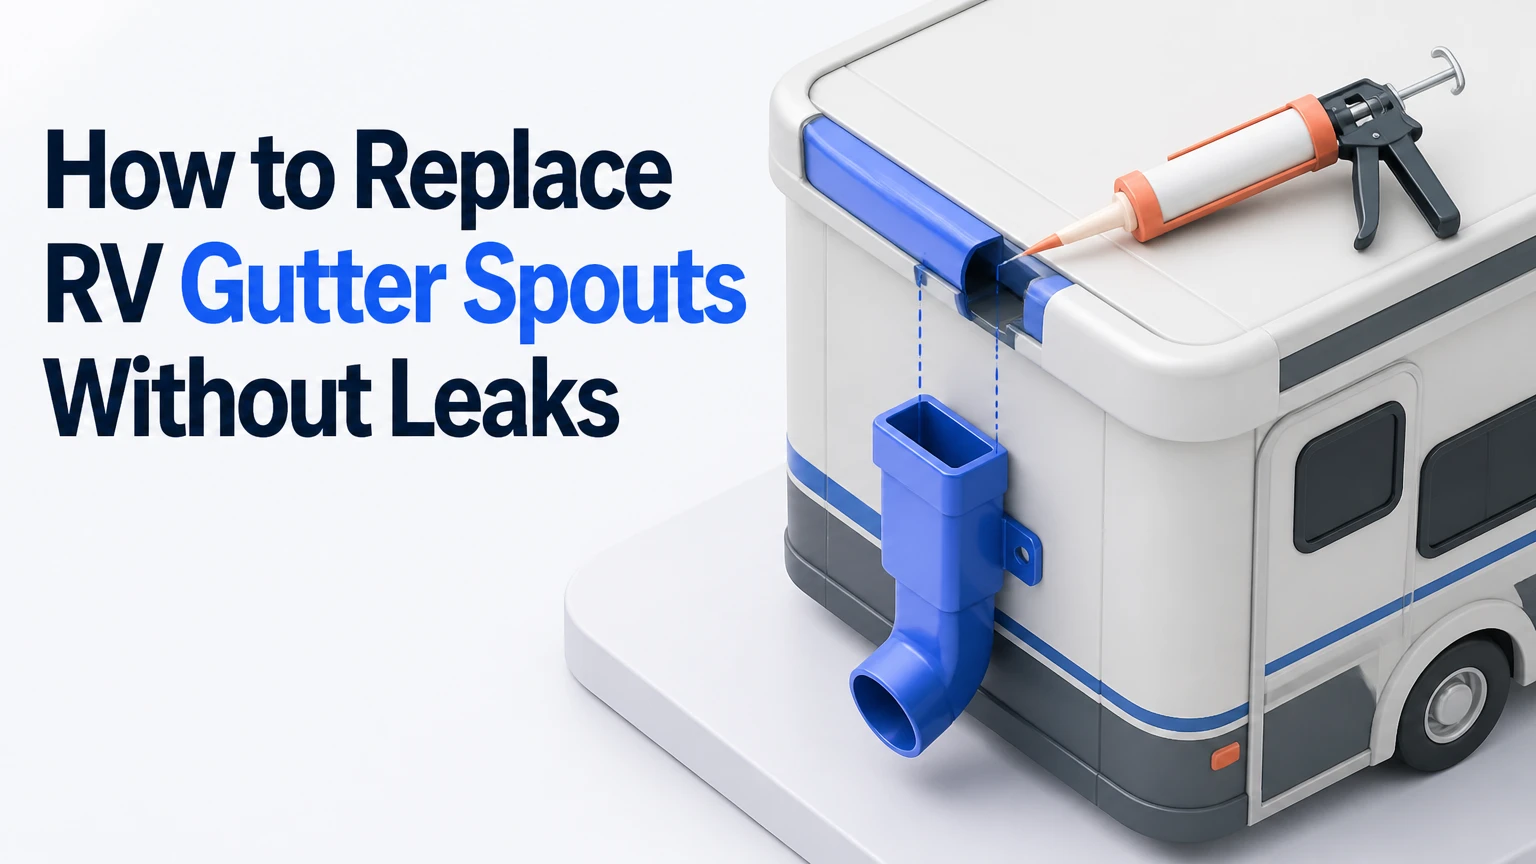
To replace RV gutter spouts, remove the old extension, clean the gutter-rail area, fit a compatible replacement with butyl tape, reinstall the retaining screw, and seal the joint with RV lap sealant. One spout typically takes 15-30 minutes, but correct profile, handedness, drainage angle, and gentle screw pressure determine whether the repair stays watertight.
Key Facts at a Glance
An RV gutter spout redirects roof runoff approximately 2-3 inches away from the sidewall.
A replacement spout commonly costs $2.50-$6.25 when purchased in a four-piece set.
Two inches is a practical minimum extension for clearing most RV sidewalls.
Butyl tape seals the concealed mounting interface; compatible RV lap sealant protects the exposed joint and screw head.
Snap-on spouts avoid drilling, while screw-in spouts provide better retention during highway travel.
A spout cannot repair a loose gutter rail, failed roof seal, delamination, or wet wall structure.
What Is an RV Gutter Spout?
An RV gutter spout is a short plastic, rubber, or thermoplastic extension fitted to the end of a roof rain gutter. The roof gutter rail collects runoff, and the spout projects that runoff beyond the sidewall so dirty water does not cascade over fiberglass, aluminum siding, windows, awnings, or entry doors.
Roof runoff carries dust, roof-coating residue, leaf tannins, and oxidized material. When the water follows the wall, those contaminants can create black streaks. A correctly positioned extension reduces staining and limits repeated wetting, but it does not replace roof maintenance or repair an existing water leak.
The component is small, yet its position matters. A spout angled upward can hold water against the rail, while a spout shorter than the wall overhang may discharge directly onto the sidewall. The outlet should point slightly downward and clear the wall by roughly 2 inches or more.
What an RV Gutter Spout Does Not Fix
An RV gutter spout does not seal a cracked roof membrane or restore a detached gutter rail. It also cannot reverse delamination, replace rotten wall framing, or stop water entering through a window, roof vent, marker light, or failed corner molding.
Inspect the rail before ordering parts. If the rail moves when pressed lightly, if the screw spins without tightening, or if sealant separates from the roof edge, repair the underlying attachment first. Installing a new extension onto a loose rail usually creates a cosmetic repair with a short service life.
Before You Start: Tools, Time, and Materials
Replacing one RV gutter spout normally requires 15-30 minutes and basic hand tools. Add 30-60 minutes for removing hardened sealant, repairing a stripped screw hole, or waiting for a clean, dry surface after washing.
Work from stable ground, not from the RV roof edge. Use a properly rated step ladder, keep three points of contact, and avoid placing weight on a slide-out topper, awning, or unsupported roof accessory.
Materials Checklist
| Item | Typical quantity | Purpose | Typical cost |
|---|---|---|---|
| Replacement gutter spout | 1 per location, 4-piece sets common | Redirects roof runoff | $10-$25 per set |
| Butyl tape | 2-4 inches per spout | Concealed compression seal | $6-$12 per roll |
| RV lap sealant | 1-2 teaspoons per joint | Exposed screw and joint seal | $8-$15 per tube |
| Isopropyl alcohol | 2-4 ounces | Final surface cleaning | $2-$5 per bottle |
| Replacement screw | 1 per spout | Retains rail and extension | $0.25-$1 each |
| Plastic scraper | 1 | Removes old sealant without gouging | $3-$8 |
| Manual screwdriver | 1 | Controls tightening force | $5-$15 |
Use a compatible self-leveling lap sealant on horizontal roof surfaces when the product label permits it. Use a non-sag or non-leveling RV sealant on vertical side joints if required by the manufacturer. Product instructions control because sealants vary by roof membrane, temperature range, and substrate.
Measure Before Ordering
Measure the existing gutter profile, extension length, screw location, and side orientation. Photograph the old part in place, including the outlet direction, because left- and right-hand pieces can look similar while fitting differently.
| Measurement or feature | Typical finding | Why it matters |
|---|---|---|
| Outlet projection | 1.5-4 inches | Determines wall clearance |
| Practical minimum projection | 2 inches | Usually moves discharge past the wall |
| Mounting method | Clip-on or screw-in | Determines installation steps |
| Rail flange depth | About 0.25-0.75 inch, model dependent | Determines whether the insert can slide behind the rail |
| Screw diameter | Commonly 1/8-3/16 inch | Prevents oversized fasteners |
| Side orientation | Left or right | Controls outlet direction at each corner |
Do not assume a universal fit because two products are both labeled “RV gutter spout.” Gutter rails differ in flange shape, thickness, corner radius, and screw placement.
Which RV Gutter Spout Should You Buy?
Choose a snap-on replacement when the original gutter rail and mounting base remain intact, a screw-in model when highway retention and sealing matter most, and a flexible rubber or TPE model when branches, storage covers, or repeated impacts threaten rigid plastic. The correct profile and orientation matter more than color.
| Spout type | Typical material | Typical length | Installation | Main limitation |
|---|---|---|---|---|
| Snap-on or clip-on | UV-treated ABS plastic | 1.5-2.5 inches | Clips over existing trim | Can loosen in transit |
| Screw-in or insert | Polycarbonate, ABS, or rubber | 2-4 inches | Fits behind rail and uses screw | Requires careful sealing |
| Flexible rubber or TPE | Rubber or thermoplastic elastomer | 2.5-3 inches | Clips or screws, model dependent | Less consistent availability |
| Extended outlet | Rigid plastic or rubber | 3-4 inches | Usually screw-in | May catch branches or covers |
Snap-On Spouts
Snap-on spouts are the fastest option when the gutter rail has a clean, undamaged lip. They normally require no drilling and can be useful for a temporary repair or a lightly used travel trailer.
Rigid ABS can become less tolerant of impact in cold weather. A loose clip can also fly off during highway travel, especially when the rail is oxidized, distorted, or contaminated with old sealant. Test the fit by pulling outward by hand before relying on the part.
Screw-In Spouts
Screw-in extensions provide the most secure attachment when the rail end and framing remain sound. The screw compresses the extension against the rail, while butyl tape and exterior sealant limit water entry around the concealed and exposed interfaces.
Screw-in installation is not automatically better. An oversized pilot hole, a stripped frame, or excessive drill torque can crack the plastic or damage the rail. Use a manual screwdriver for the final tightening.
Flexible Spouts
Flexible rubber or TPE extensions suit RVs stored under trees or used with tight protective covers. The material can bend instead of fracturing when a branch catches the outlet.
Flexible material is not ideal when the outlet must hold a precise angle over a wide clearance. Confirm that the flexible piece returns to a downward position and does not fold shut under the cover or against an adjacent awning component.
How to Replace RV Gutter Spouts
The replacement process has eight steps: remove sealant and fastener, extract the old part, clean the substrate, apply butyl tape, position the new extension, reinstall the screw, seal the exposed joint, and test drainage. The most important success factor is a clean, correctly oriented fit before sealant is applied.
Step 1: Inspect and Photograph the Existing Spout
Photograph the old spout from above and from the side, then confirm whether the rail is loose, cracked, or pulled away from the RV. Measure the existing projection and mark the outlet direction with masking tape.
A photograph prevents reversing left and right parts after removal. Inspection also identifies whether the replacement is a simple extension or part of a larger molded gutter assembly.
Success checkpoint: The rail remains firm, the screw location is visible, and the outlet direction is documented.
Common mistake: Ordering by color alone without matching the gutter profile.
Step 2: Remove Exposed Sealant
Use a plastic scraper to lift lap sealant from the screw head, the top of the spout, and the rail-end joint. Pull sealant away in small pieces instead of forcing a metal blade against fiberglass, aluminum, or a rubber roof membrane.
A heat gun is usually unnecessary and can soften trim, discolor fiberglass, or damage a membrane. If sealant is exceptionally hard, use only a product-approved sealant remover and keep it away from painted surfaces until compatibility is confirmed.
Success checkpoint: The screw head and mounting seam are accessible without deep scratches.
Common mistake: Leaving a thick ridge of old sealant beneath the replacement, which prevents the new part from sitting flat.
Step 3: Remove the Retaining Screw and Old Spout
Back out the retaining screw with the correct screwdriver bit. Support the gutter rail with your free hand, then slide or pull the old spout from behind the rail flange.
Do not pry aggressively against the rail. If the extension is clipped on, release the clip with a plastic trim tool. If the screw head is corroded, cut or drill only the fastener head while protecting the rail and surrounding roof material.
Success checkpoint: The old extension is removed and the rail flange remains straight.
Common mistake: Pulling the rail away from the RV while trying to remove a stuck insert.
Step 4: Clean and Dry the Mounting Area
Remove loose sealant and residue with a plastic scraper, then wipe the area with isopropyl alcohol on a lint-free cloth. Allow the surface to dry fully before applying butyl tape.
Do not use gasoline, acetone, lacquer thinner, or an unknown solvent on painted fiberglass, decals, EPDM, TPO, or PVC trim. Alcohol is commonly suitable for final cleaning, but the roof-material and sealant manufacturer’s instructions take precedence.
Success checkpoint: The rail and contact area are dry, smooth, and free of flaky residue, oil, and dust.
Common mistake: Applying tape over damp cleaner. Trapped solvent weakens adhesion and can soften some plastics.
Step 5: Apply Butyl Tape Behind the New Spout
Cut a 2-4 inch strip of butyl tape and place it on the concealed contact surface behind the replacement spout. Keep the tape inside the perimeter so it does not create a thick exposed bead that interferes with the rail.
Butyl tape works by compression rather than by becoming a hard adhesive film. A thin, continuous strip is preferable to several loose pieces because gaps can create water paths.
Success checkpoint: The tape covers the screw area and contact line without protruding into the drainage channel.
Common mistake: Substituting household double-sided foam tape, which is not designed for RV roof movement or long-term water exposure.
Step 6: Position the Replacement Extension
Slide the new spout behind the gutter-rail flange or clip it over the rail, depending on the design. Match the original side orientation, aim the outlet slightly downward, and verify at least approximately 2 inches of clearance beyond the wall.
Hold the part in place without tightening the screw and view it from ground level. Check that runoff will not hit a window frame, awning arm, slide seal, entry step, or adjacent trim.
Success checkpoint: The spout sits flat, points outward and down, and has unobstructed discharge.
Common mistake: Installing a longer part that contacts a storage cover or tree branch, creating more leverage on the rail.
Step 7: Reinstall the Screw Without Overtightening
Drive the original or correctly sized replacement screw through the rail and spout into the existing structural location. Tighten until the part is held firmly and the butyl tape compresses; stop before the plastic dimples, splits, or distorts.
A drill can strip a small RV screw hole in seconds. Use a low clutch setting if a drill is necessary, then finish by hand. A screw that spins freely indicates damaged substrate, not a need for more torque.
Success checkpoint: The spout cannot shift by hand, and the plastic remains flat around the screw.
Common mistake: Using a screw long enough to contact wiring or interior trim. Match the original length unless the manufacturer specifies another fastener.
Step 8: Seal the Screw Head and Upper Joint
Apply a small, continuous bead of compatible RV lap sealant over the screw head and along the upper joint where water could enter. Tool the bead lightly with a gloved finger or approved tool, keeping the outlet channel open.
Household silicone is a poor default for RV gutter repairs because it may adhere poorly to aged trim, complicate future resealing, and be incompatible with some roof materials. Dicor and other RV sealant products have different formulas, so select one approved for the actual roof and trim substrate.
Success checkpoint: The screw head is covered, the upper seam is sealed, and the drainage opening is unobstructed.
Common mistake: Sealing across the bottom outlet, which traps water inside the gutter extension.
Cost, Time, and Materials
A single DIY replacement commonly costs $5-$20 when the owner already has sealant and cleaning supplies. A four-spout refresh generally totals $25-$60, including a replacement set, butyl tape, lap sealant, and small consumables.
| Repair scope | Parts cost | DIY time | Typical condition |
|---|---|---|---|
| One snap-on spout | $3-$8 | 10-20 minutes | Intact rail and clean clip |
| One screw-in spout | $5-$15 | 20-40 minutes | Sealant removal and screw replacement |
| Four rigid spouts | $10-$25 | 1-2 hours | Same-profile replacement set |
| Four flexible spouts | $15-$35 | 1-2.5 hours | Impact-prone camping location |
| Stripped-hole repair | $5-$20 extra | 20-60 minutes extra | Damaged frame or rail substrate |
These are typical retail and DIY ranges, not a guaranteed quote. A mobile RV technician may charge a minimum service call even when the physical repair takes less than an hour.
When Can You Reuse the Existing Gutter Base?
You can reuse the existing base when the rail is firmly attached, the flange is straight, the screw hole still holds a fastener, and the replacement extension matches the base geometry. Reuse is unsafe when the base is cracked, warped, detached, or separated from deteriorated sealant.
A clip-on extension is appropriate only if the clip still grips the rail across its full contact area. If the old part broke because the rail flexes, replacing it with another identical clip may repeat the failure.
A screw-in replacement can often use the existing hole, but inspect the hole for crushed wood, enlarged metal, or corrosion. If the screw never tightens, stop and repair the substrate rather than filling the hole with sealant alone.
Common Mistakes and How to Fix Them
| Failure mode | Likely cause | Corrective action | Prevention |
|---|---|---|---|
| Water runs down the wall | Outlet is short, upward, or blocked | Reposition or use a 2-3 inch extension | Dry-fit and test the discharge angle |
| Spout falls off in transit | Weak clip or loose screw | Replace damaged clip or use screw-in style | Pull-test the part before travel |
| New plastic cracks | Screw overtightened or brittle ABS | Replace the cracked extension | Tighten manually until snug |
| Joint leaks | Dirty surface or incomplete seal | Remove loose sealant, clean, and reseal | Install only on a dry substrate |
| Screw spins freely | Stripped rail or wall framing | Move only if structure permits, or repair the hole | Use the original fastener size |
| Sealant will not adhere | Incompatible solvent, wet surface, or wrong product | Remove failed material and follow sealant instructions | Verify roof and sealant compatibility |
Repairing a Stripped Screw Hole
A lightly enlarged hole in wood-backed trim may accept a slightly larger compatible screw, but the fastener must not pierce interior wiring or create a new leak path. A wooden toothpick and epoxy repair is a limited workaround for small wood holes, not a structural repair for rotten framing or thin metal.
For severe damage, remove the rail section and repair the substrate with an RV technician or body-repair professional. A gutter spout screw should retain the rail; sealant cannot provide that mechanical support.
Diagnosing Persistent Black Streaks
A new spout reduces runoff on the sidewall but does not remove stains already embedded in oxidation or porous sealant. Wash the roof and wall with a manufacturer-approved cleaner, starting at the top and rinsing downward, and avoid aggressive scrubbing that removes the finish.
Persistent streaks near the middle of the wall may originate from a roof accessory rather than the gutter outlet. Check air conditioners, vent covers, solar wiring entries, ladder mounts, and corner molding.
Sealant Compatibility and Weather Rules
Install sealant only on a clean, dry surface within the product’s stated application temperature. Rain, dew, frost, and washing immediately before installation can compromise the joint, while very cold conditions make butyl tape stiff and difficult to compress.
Do not cover a drainage opening with lap sealant. Do not mix unknown silicone with an RV sealant unless the manufacturer confirms compatibility. Future repairs become harder when incompatible silicone contaminates the rail or roof edge.
Allow the sealant to form its specified skin or cure before exposing the repair to heavy rain or highway speed. A sealant bead that looks dry on top may remain soft underneath, especially in cool or humid conditions.
Situation-Based Variations
RVs Stored Under Trees
Use a flexible rubber or TPE extension if branches regularly strike the outlet. Keep the extension short enough to avoid catching branches, but long enough to clear the wall by approximately 2 inches.
RVs Using Protective Covers
Check the cover while it is installed. A rigid 3-4 inch spout can press against the fabric, transfer load to the gutter rail, and tear the cover. A flexible model or shorter outlet may reduce that stress.
Cold-Weather Repairs
Rigid plastic is more vulnerable to cracking during cold installation and impact. Warm the replacement indoors, avoid bending ABS, and let butyl tape reach room temperature before fitting the part.
Curved or Damaged Gutter Rails
A replacement extension must sit flush along the rail. If the rail is curved, crushed, or missing its flange, do not force a flat universal spout into place. Repair or replace the affected trim section first.
How Do You Test the New Spout?
Test the repair with a controlled stream of clean water directed into the roof gutter above the replacement, not with a pressure washer. Watch the outlet, upper seam, screw area, and sidewall for approximately two minutes.
Water should leave the extension in a downward arc and land beyond the wall. If the stream backs up, the extension is blocked or misaligned. If water appears behind the rail, stop the test, dry the area, and inspect the butyl and exposed sealant.
Retest after the first natural rainfall and inspect the inside wall near the attachment point. Early detection matters because a small gutter-rail leak can wet trim or framing before visible interior staining appears.
The Bottom Line
The best way to replace RV gutter spouts is to match the original profile and orientation, remove every loose piece of old sealant, use compressed butyl tape behind the part, and seal the exposed screw and upper joint with compatible RV lap sealant. Choose snap-on for an intact rail, screw-in for secure travel use, and flexible rubber for repeated branch or cover impacts.
A new extension protects the sidewall from dirty roof runoff, but it is not a substitute for repairing loose trim or roof leaks. After installation, confirm that water exits at least approximately 2 inches beyond the wall and remains outside the gutter-rail joint.
FAQ
Can I replace an RV gutter spout without removing the gutter rail?
Yes, most RV gutter spouts can be replaced without removing the full rail. Remove the end screw and old sealant, slide the insert behind the rail flange, and reinstall the fastener. Full rail removal becomes necessary only when the rail is loose, damaged, badly distorted, or detached from the wall.
Should RV gutter spouts point down or straight out?
An RV gutter spout should point outward with a slight downward angle. A straight-out outlet can work if it clears the wall, but an upward angle encourages water to pool against the rail and may redirect runoff beneath the seal. Dry-fit the part before sealing it.
How often should RV gutter spouts be replaced?
Replacement timing depends on ultraviolet exposure, impact, cold-weather storage, and travel vibration rather than a fixed calendar interval. Inspect spouts at least twice per year and before a long trip. Replace any extension that is cracked, loose, brittle, missing, or discharging against the wall.
Can I use a household gutter downspout extension on an RV?
Usually no. Residential downspout extensions are generally too large, too heavy, or shaped for a different gutter profile. An RV gutter rail requires a small extension that fits its flange and screw position. A lightweight flexible material may work only when its dimensions and attachment method match the RV trim.
Why does my new RV gutter spout still leak?
A new spout can leak when old sealant remains underneath, the butyl tape does not cover the concealed joint, the screw hole is stripped, or the exterior sealant is incompatible with the roof material. Remove the failed repair, dry the area, verify the fit, and reseal rather than adding another layer over the problem.
Can I install replacement spouts in the rain?
No. Install the parts on a clean, dry surface and follow the sealant manufacturer’s temperature and cure requirements. Rain or condensation can prevent adhesion and trap moisture beneath the butyl tape. If an emergency repair is necessary, use a temporary cover and complete the permanent seal when conditions improve.
Does a gutter spout prevent RV black streaks completely?
No. An RV gutter spout reduces runoff over the sidewall, but black streaks can also come from roof oxidation, failed sealant, vents, air conditioners, windows, and corner molding. Clean existing staining separately and inspect all roof-edge penetrations if streaks continue after the outlet is corrected.
What is the best replacement for a broken rigid plastic spout?
A flexible rubber or TPE spout is usually the better replacement when the rigid part broke after contact with branches, a cover, or an object. A screw-in polycarbonate or ABS model is preferable when the rail needs maximum retention and the installation area has adequate clearance.


