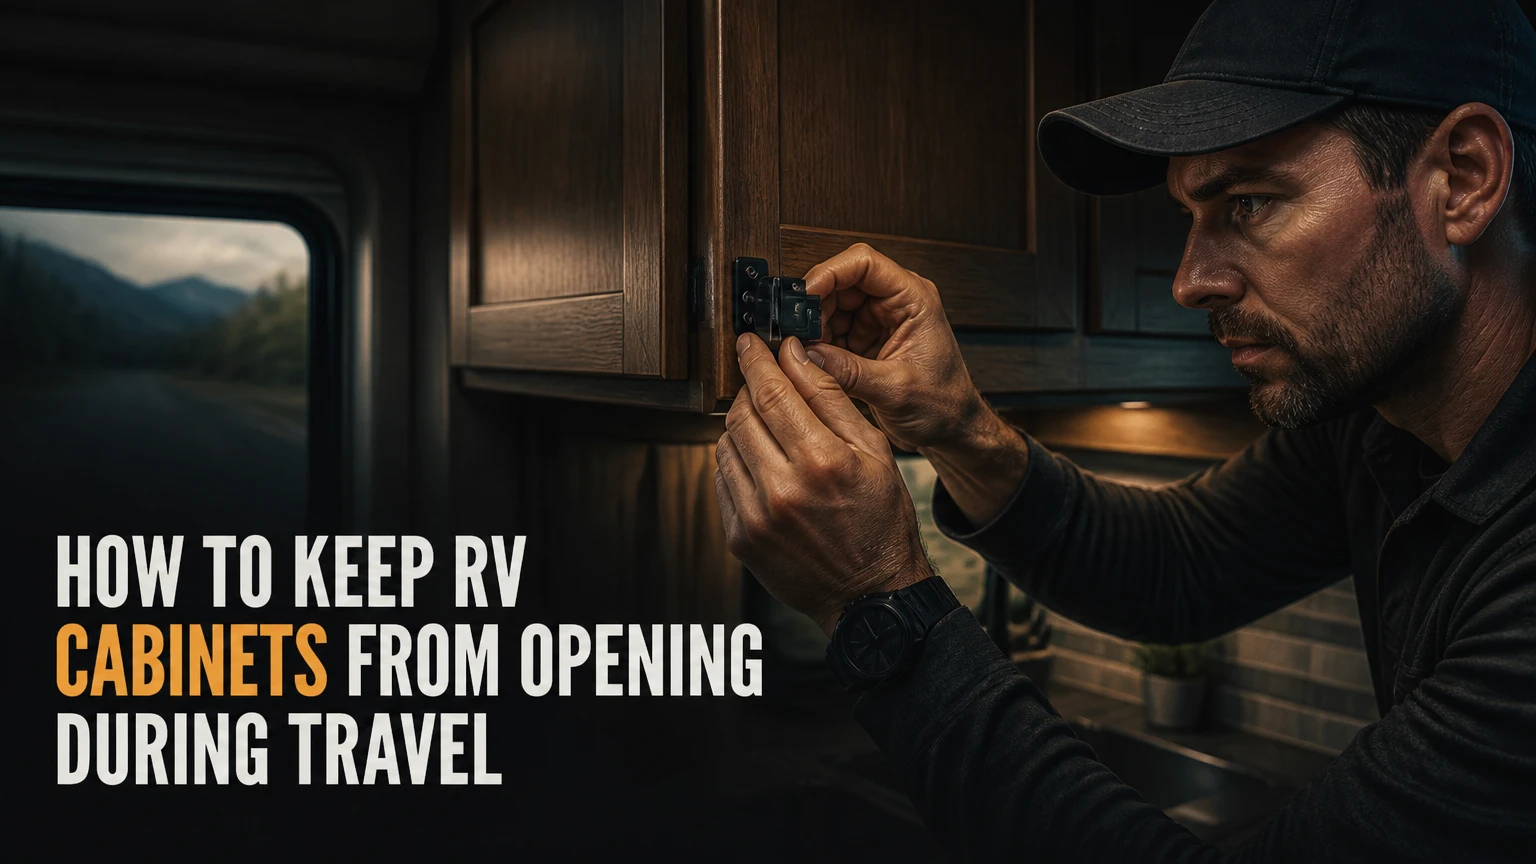
To keep RV cabinets from opening, install a positive mechanical latch or a properly sized secondary restraint, then reduce heavy door loads and verify strike-plate engagement with a firm pull test. A 10-15 lb grabber latch usually suits ordinary overhead doors, while rough roads or heavy contents call for a push-button latch or two-point restraint.
Key Facts at a Glance
- RV cabinet doors open when braking, cornering, and vibration overcome the existing catch’s holding force.
- A 10 lb latch is a typical starting point for a light overhead door with moderate contents.
- Push-button latches provide stronger positive retention than ordinary roller catches or weak magnets.
- Magnetic catches can supplement a latch, but a magnet’s advertised pull rating does not equal its highway-security rating.
- Heavy cans, cookware, and glassware should stay low and close to the cabinet hinge.
- Adhesive straps need a clean surface and typically 24 hours of curing time before tension is applied.
Why Do RV Cabinets Open During Travel?
RV cabinets open because moving contents create an outward force that residential-style catches were not designed to resist. Braking drives items toward the door, cornering pushes them sideways, and chassis vibration repeatedly unloads and reloads the latch.
A cabinet door with a 15 lb load can place much more than 15 lb of intermittent force at its outer edge when the contents shift. The force increases when the load sits far from the hinge, when the door is tall, or when the latch is loose by even a few millimeters.
The common failure sequence is predictable:
- Contents move toward the door.
- The door flexes or lifts slightly.
- A roller, magnet, or worn spring loses engagement.
- The door opens and the contents become a second impact.
- Repeated impacts loosen hinges, screws, and the cabinet face.
An RV cabinet latch therefore needs positive engagement, adequate pull resistance, and a sound mounting surface. A stronger latch cannot compensate for a cracked frame, stripped screws, or an overloaded shelf.
What Should You Check Before Buying Hardware?
Measure the door overlay, door thickness, frame width, latch clearance, and distance from the hinge before selecting a replacement. Weigh unusually heavy contents and inspect whether the door closes flush, because misalignment can make a correctly rated latch fail.
Use a ruler, calipers if available, a small luggage scale, painter’s tape, pencil, drill, drill-stop collar, screwdriver, and the intended screws. Open the cabinet and identify plumbing, wiring, and thin panels before drilling.
| Measurement | Typical RV range | Why it matters | How to record it |
|---|---|---|---|
| Door thickness | 12-19 mm | Determines screw length and bore depth | Measure at an edge |
| Door overlay | 10-25 mm | Locates latch body and strike | Measure past frame |
| Frame clearance | 15-40 mm | Determines internal latch space | Measure behind door |
| Heavy-door load | 5-20 lb | Sets required pull rating | Weigh contents |
| Hinge-to-latch span | 250-600 mm | Indicates leverage on the latch | Measure diagonally |
Do not drill through a hollow door merely because a product listing specifies a bore diameter. Many lightweight RV doors have a thin decorative skin over a hollow or honeycomb core, so a through-bolt, backing plate, or surface-mounted restraint may be safer.
Which RV Cabinet Restraint Should You Choose?
The best RV cabinet restraint depends on door weight, load position, road surface, appearance, and whether permanent drilling is acceptable. For most paved-road overhead cabinets, a 10 lb grabber latch is a balanced choice; heavy loads and rough roads justify a push-button latch or paired restraints.
| Restraint type | Typical holding specification | Typical cost | Installation time | Best application |
|---|---|---|---|---|
| Push-button latch | 15-20 mm bore; positive lock | $8-$15 | 20-30 minutes | Heavy contents and rough roads |
| Grabber latch | 5, 10, or 15 lb pull rating | $5-$12 | 10-20 minutes | Everyday overhead cabinets |
| Magnetic catch | 20-40 lb labeled pull | $2-$6 | 5-10 minutes | Light doors or secondary retention |
| Adhesive safety strap | 20-30 lb typical label | $1-$3 | 5-10 minutes | Rental-friendly, no-drill use |
| Tension bar | 4-8 mm cord or adjustable bar | $5-$25 | 1-10 minutes | Multiple doors and shelves |
How Do Mechanical Latches Compare With Magnets?
Mechanical latches retain a keeper through a physical profile, while magnetic catches depend on attraction between a magnet and a steel plate. A mechanical latch is generally the better primary restraint because vibration cannot separate it without moving the release mechanism.
A heavy-duty magnet can work on a small, lightly loaded door with a short hinge-to-latch distance. Its rating is usually measured under ideal alignment with clean, flat surfaces, not during repeated impacts on a moving vehicle.
Southco-style grabber latches are useful when the cabinet has internal room for a latch body and keeper. Push-button catches provide a flush appearance and a deliberate release, but installation requires accurate hole placement and careful control of drilling depth.
Are Magnetic Catches Strong Enough for RV Cabinets?
Magnetic catches are strong enough for light RV cabinet doors when the magnet and strike plate remain aligned and the contents produce modest outward force. Magnets alone are a poor choice for heavy cookware, tall pantry doors, or cabinets exposed to severe washboard vibration.
Select a high-pull magnet with a steel strike plate rather than relying on two small decorative cabinet magnets. Install the catch close to the opening edge, keep the mating surfaces parallel, and test the door after loading it with its normal contents.
A practical rule is to use magnets as a supplement when the cabinet contains glass, cans, or cookware. Two catches can distribute load across a wide door, but they do not correct a bowed door or a loose hinge.
What Is the Best No-Drill Solution?
An adhesive child-safety strap or an interior tension bar is the best no-drill solution for renters and owners who do not want to modify cabinet doors. Adhesive straps work on smooth, degreased surfaces; tension bars work better when several doors or an entire shelf need restraint.
Clean the mounting area with 90% isopropyl alcohol, allow it to dry completely, and apply fresh 3M VHB tape according to the strap manufacturer’s instructions. Leave the strap unloaded for at least 24 hours before applying tension, especially in cool weather.
A tension bar across shelf fronts is faster and more visible. The bar must contact solid sidewalls rather than flexible doors, and it should not block a propane shutoff, electrical panel, emergency equipment, or required exit route.
Before You Start
| Project factor | Typical requirement | Practical target |
|---|---|---|
| Time for one latch | 10-30 minutes | Add 15 minutes for alignment |
| Difficulty | Low to moderate | Moderate for flush push-button units |
| Hardware cost | $2-$15 per door | $10-$30 for a small RV |
| Drill bit | 2-3 mm pilot bit | Add a depth stop |
| Screw size | 3 x 12-16 mm typical | Match the hardware and substrate |
| Cure time for VHB | 24 hours typical | Longer below 60°F |
Materials: one latch and keeper per door, two latches for a wide or heavily loaded door, screws suited to the panel, painter’s tape, isopropyl alcohol, and wood glue with toothpicks for repairs.
Prerequisites: the door must close flush, hinges must be tight, and the cabinet frame must resist hand pressure. Remove or relocate contents before drilling.
How to Keep RV Cabinets From Opening
A reliable installation follows six actions: inspect the door, select the restraint, mark both parts, drill controlled pilot holes, mount the hardware, and test the loaded cabinet. The factor that most determines success is alignment, because a latch with a strong rating can still release when the keeper misses its engagement zone.
Step 1: Inspect the Door and Cabinet Frame
Open the cabinet and tighten loose hinge screws without forcing them into soft material. Check for a warped door, cracked laminate, swollen particleboard, or a frame that moves when you pull it outward.
Place the heaviest items on the lowest shelf and temporarily close the door. If the door still springs outward, correct the hinge or load problem before adding a latch.
Success checkpoint: the unloaded door closes flush and stays closed when you pull gently at the handle.
Common mistake: installing a stronger catch on a door whose hinge screws have already pulled out.
Step 2: Select and Position the Latch
Choose a 10 lb grabber latch for a typical overhead door, a 15 lb version for a heavier door or rougher route, and a push-button latch when positive locking matters more than simple installation. Use two smaller latches when a wide door flexes at its center.
Position the latch near the opening edge, usually 25-75 mm from the corner, while avoiding hinge hardware and thin unsupported laminate. For a grabber latch, confirm that the keeper can enter squarely without forcing the door sideways.
Success checkpoint: the latch body and keeper have a straight path and at least 2-3 mm of mounting material around each screw.
Common mistake: choosing the strongest-looking latch without checking its required clearance.
Step 3: Mark the Latch and Keeper
Close the door gently and apply painter’s tape to the door and frame. Mark the centerline of the latch body first, then transfer that line to the keeper location with a ruler rather than estimating by eye.
Use the hardware itself as a template when possible. Mark screw centers with a sharp pencil or awl, and confirm that the keeper does not land on a cabinet gap or unsupported edge.
Success checkpoint: opening the door leaves clear, opposing marks for the latch body and keeper.
Common mistake: marking the keeper while the door is sagging, which creates an alignment error after the hinge is tightened.
Step 4: Drill Controlled Pilot Holes
Drill shallow pilot holes with a 2-3 mm bit and a drill-stop collar. A practical depth for thin RV panels is often 6-10 mm, but the panel thickness and screw length determine the safe limit.
For a flush push-button latch, use the manufacturer’s specified hole saw or Forstner bit, commonly 15-20 mm. Stop frequently and inspect the opening rather than assuming a residential cabinet door has solid wood behind its face.
Success checkpoint: each screw enters without splitting the panel, and the large bore stops before damaging the opposite face.
Common mistake: drilling completely through a hollow door and cracking the decorative surface.
Step 5: Mount the Hardware by Hand
Install the latch body and keeper with compatible screws. Drive them until the hardware is seated, then finish the last turns by hand so the threads do not strip in lightweight MDF, plywood, or laminated particleboard.
If the material is weak, use shorter screws, a backing plate, threaded inserts, or through-bolts with washers where the rear side is accessible. Do not substitute a long screw that may contact wiring, plumbing, or the door’s outer skin.
Success checkpoint: the latch is tight, the door remains flush, and the hardware does not rotate under hand pressure.
Common mistake: overtightening until the screw spins freely, which removes the material needed for holding strength.
Step 6: Calibrate and Test the Closure
Close the door slowly and listen for a complete click. Pull firmly at the door edge, then repeat with the cabinet loaded normally; a closed latch should not release, shift, or require the door to be forced sideways.
If a grabber latch clicks but pops open, move the keeper toward the opening edge by 1-2 mm. Adjust in small increments, because excessive keeper movement can prevent full jaw engagement.
Drive a short test route over the road conditions the RV normally encounters. Recheck screws, hinge movement, and latch engagement after the first trip.
Success checkpoint: the loaded door remains closed during a firm pull and after a 10-15 minute test drive.
Common mistake: testing only an empty cabinet. Contents change the force applied to the door.
Typical Costs and Installation Times
| Solution | Cost for four doors | Installation time | Reversibility | Maintenance |
|---|---|---|---|---|
| Four grabber latches | $20-$48 | 40-80 minutes | Low | Inspect screws every trip |
| Four magnetic catches | $8-$24 | 20-40 minutes | Moderate | Check alignment monthly |
| Four adhesive straps | $4-$12 | 20-40 minutes | High | Replace loose tape |
| Two tension bars | $10-$50 | 5-20 minutes | Very high | Check end pressure |
| Four push-button latches | $32-$60 | 80-120 minutes | Low | Lubricate dry mechanism |
These are typical retail and DIY ranges, not guaranteed prices. Labor at an RV repair shop commonly adds a separate service charge, particularly when a technician must remove trim or reinforce hollow doors.
Common Mistakes and How to Fix Them
The Latch Clicks, but the Door Pops Open
A keeper mounted too far from the latch jaws causes incomplete engagement. Loosen the keeper, move it 1-2 mm toward the opening edge, and retest with the cabinet loaded.
Screws Pull Out of the Cabinet
A stripped hole cannot regain strength from a tighter screw. Remove the screw, pack the hole with glue-coated toothpicks or a suitable wood repair product, allow it to cure, trim it flush, and redrill a smaller pilot hole.
For repeated failures, add a backing plate or relocate the latch to a stronger frame section. Thin MDF needs reinforcement rather than repeated screw replacement.
The Push-Button Latch Sticks
Dust, misalignment, and side loading can make a push-button mechanism bind. Clean the mechanism, check that the keeper is centered, and use a dry PTFE or graphite lubricant if the manufacturer permits it.
Avoid flooding the latch with oily lubricant. Oil can collect road dust and turn a small mechanism into an abrasive paste.
Adhesive Straps Fall Off
Adhesive failure usually comes from grease, textured laminate, cold temperature, or insufficient cure time. Remove the old tape, clean with 90% isopropyl alcohol, let the surface dry, apply fresh compatible VHB tape, and wait 24 hours before tensioning.
Do not rely on adhesive alone on dusty, porous, damp, or peeling surfaces. A screwed strap or mechanical latch is safer for heavy contents.
The Door Opens Even With a Strong Latch
A strong latch does not prevent the contents from becoming a battering ram. Remove heavy glass and canned goods from the upper cabinet, use shelf lips or bins, and keep dense objects against the back and near the bottom.
Install two latches if the door bows between the hinge and latch. If the cabinet frame itself moves, reinforce the frame before increasing latch force.
Special Situations That Need Different Restraints
How Should You Secure RV Drawers?
Use a positive drawer catch, a cabinet-barrier system, or a secondary child-safety latch that prevents the drawer from traveling outward. A door latch mounted on the face does not stop a drawer because drawer slides create a different release path.
Keep drawer loads below the slide manufacturer’s rating and distribute dense items across the drawer. A drawer packed with tools can open during braking even when its spring catch appears functional.
How Do You Secure a Pantry or Tall Door?
Use a 15 lb or stronger mechanical latch, two-point retention, or an interior vertical bar for a tall pantry. Tall doors flex more than small doors, and shelves often place cans several inches from the hinge axis.
Add shelf lips or storage bins so contents cannot strike the door directly. Test the top and bottom corners separately because one latch may leave the opposite corner free to flex.
What Works on Washboard Roads?
Push-button catches, paired grabber latches, and an interior tension bar provide the most reliable combination for washboard roads. Use a mechanical primary latch and a secondary restraint when cabinet contents are heavy or breakable.
Inspect the installation more frequently on unpaved routes. Vibration can loosen screws and enlarge pilot holes even when the latch remains correctly aligned.
Can You Use a Bungee Cord Across Cabinet Handles?
A bungee cord can stop several handled cabinet doors from opening when anchored securely, but it is a temporary barrier rather than a replacement for a positive latch. Choose a cord that remains elastic without pressing hard enough to deform handles or door faces.
Never stretch a cord across an aisle where it could catch clothing or obstruct emergency movement. Remove the cord before accessing the cabinet and reinstall it before driving.
Expert Rules That Prevent Repeat Failures
Load placement matters more than many owners expect. Moving a 10 lb object from the back of a shelf to the front increases the leverage against the latch because the object has a longer moment arm from the hinge.
Two moderate latches can outperform one oversized latch. Spreading retention across the top and bottom of a flexible door reduces twisting, while one very strong latch can pull a weak corner out of alignment.
The latch rating is not the cabinet rating. A 15 lb pull-force specification describes the latch under defined test conditions; it does not certify the door, screws, frame, or contents for a crash or severe impact.
Treat every repair as a system repair. Hinges, frame stiffness, keeper alignment, screw engagement, shelf loading, and latch force must work together. Replacing only the visible catch often leaves the actual failure unchanged.
Pre-Trip Inspection Checklist
Perform the inspection before every extended trip and after the first drive following installation.
- Close each cabinet and confirm a complete mechanical click.
- Pull each door at its outer edge with moderate force.
- Check for loose hinge screws, keeper screws, and latch-body screws.
- Confirm that heavy items remain below the shelf lip.
- Verify that glass, cans, and cookware cannot contact the door.
- Test drawers separately from hinged doors.
- Check adhesive straps for lifting corners or stretched material.
- Keep tension bars and cords away from exits, appliances, and controls.
- Replace cracked plastic latches rather than gluing the moving parts.
- Recheck rough-road installations after each day of travel.
FAQ
Will childproof cabinet locks work in an RV?
Childproof locks can work for lightweight RV cabinet doors when the adhesive or screw mount is sound and the door has limited contents. Adhesive models are less suitable for textured, dusty, damp, or hot surfaces, while screw-mounted versions may need reinforcement in thin laminate.
How strong should an RV cabinet latch be?
A 10 lb latch is a typical starting point for a standard overhead cabinet with light to moderate contents. Use 15 lb retention, two latches, or a push-button mechanism for tall doors, heavy cookware, pantry loads, or frequent rough-road travel.
Should heavy items go in upper RV cabinets?
Heavy items should generally stay in lower storage near the floor and close to the cabinet’s rear wall. Upper cabinets create greater injury and damage risks when cans, cast-iron cookware, or glassware shift during braking or open a door.
Why do my RV cabinet doors sag?
RV cabinet doors sag when hinge screws loosen, the lightweight frame flexes, or the door material deforms under repeated vibration. Tighten the hinges, repair stripped holes, and realign the keeper before installing a stronger restraint.
Can I use regular home cabinet latches in an RV?
Regular home latches can work on small, lightly loaded doors if they provide positive engagement and are firmly mounted. Decorative roller catches and weak residential magnets are unreliable for heavy contents because they are not designed for continuous vehicle vibration.
How often should RV cabinet latches be replaced?
Replace an RV cabinet latch when its spring, jaws, magnet, strap, or mounting point shows wear, cracking, loss of force, or repeated release. Inspect mechanical hardware at least before each major trip, and replace adhesive restraints when the tape begins lifting.
The Bottom Line
How to keep RV cabinets from opening depends on matching the restraint to the door, contents, and roads. Install a correctly aligned 10-15 lb mechanical latch for ordinary travel, use a push-button latch or paired restraints for heavy or rough-road applications, and add shelf lips or storage bins so shifting contents cannot defeat the hardware. Test every loaded cabinet before driving.


