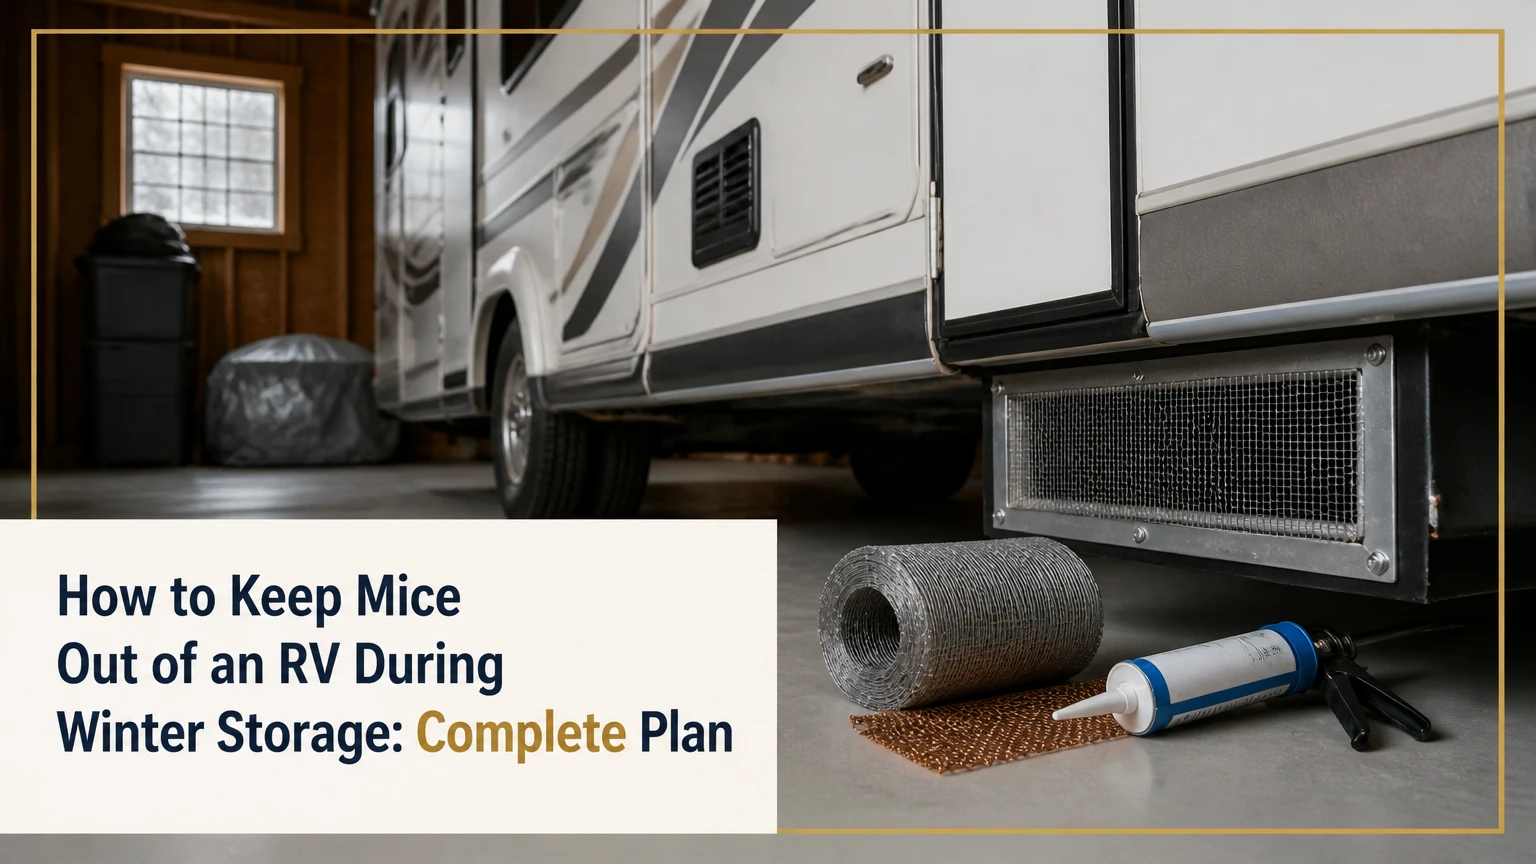
To keep mice out of an RV during winter storage, remove all food and nesting material, seal every opening near 1/4 inch or larger, screen exterior vents, and monitor with traps. A complete preparation usually takes 2-4 hours and costs about $20-$150, with physical exclusion doing more long-term work than scents or ultrasonic devices.
Key Facts at a Glance
A mouse can exploit a gap of approximately 1/4 inch, although the exact threshold varies with the animal and opening shape.
Physical exclusion, sanitation, and monitoring provide a more dependable defense than repellent products alone.
Stainless-steel or copper mesh resists moisture and chewing better than ordinary carbon-steel wool.
Typical preparation takes 2-4 hours, including cleaning, inspection, sealing, and vent screening.
A stored RV should be inspected weekly when practical, or at least every 2-4 weeks during winter.
Do not use rodenticide inside an unattended RV where a mouse could die inside a wall, duct, cabinet, or appliance cavity.
Why do mice enter an RV during winter storage?
Mice enter stored RVs because the vehicle provides a dry, insulated shelter near food odors, nesting fibers, and protected travel routes. An RV can remain attractive even when no food is visible because crumbs under slide floors, grease near the galley, pet-food residue, and waste compartments retain scent.
House mice are strong climbers and can travel along tires, electrical cables, stabilizer jacks, propane lines, and storage-skirt edges. They commonly investigate the undercarriage first, then move through plumbing penetrations, wiring openings, furnace compartments, refrigerator cavities, slide mechanisms, and damaged seals.
Rodent damage is expensive because mice chew insulation, upholstery, plastic tubing, and electrical wiring. Droppings and urine also contaminate surfaces, while nesting in a furnace or refrigerator compartment can create a fire or equipment hazard.
The 1/4-inch figure is a practical inspection threshold, not a guarantee that every smaller crack is safe. Flexible body tissue allows mice to use irregular gaps that appear narrower at one point, so seal openings around penetrations rather than measuring only the widest visible section.
What is the most reliable prevention strategy?
Integrated pest management combines exclusion, sanitation, monitoring, and limited deterrence. Exclusion blocks entry, sanitation removes reasons to remain, and monitoring reveals a failure before damage spreads.
A scent pouch can support a sealed RV, but it cannot compensate for an unsealed cable opening. Similarly, traps help detect activity but do not prevent a new mouse from entering. The strongest plan uses deterrents as supplementary measures, not as the primary barrier.
What should you do before storing the RV?
Prepare the RV in a fixed sequence: clean it, remove nesting materials, inspect entry routes, seal openings, screen vents, place monitoring traps, and document the final condition. Completing the work before the RV is moved prevents contamination or damage from being hidden behind stored gear.
Before You Start
| Requirement | Typical amount or range | Practical specification |
|---|---|---|
| Preparation time | 2-4 hours | Add 30-60 minutes for a large Class A |
| Initial cost | $20-$150 | Exclusion-heavy plans cost more upfront |
| Mesh | 1 roll, 10-25 feet | Stainless-steel or copper, corrosion-resistant |
| Sealant or foam | 1-3 cans or tubes | Use exterior-rated or pest-resistant product |
| Snap traps | 4-12 traps | Quantity depends on floor area and entry routes |
| Protective equipment | 1 pair each | Nitrile gloves, work gloves, eye protection, mask for cleanup |
Step 1: Remove food and clean every surface
Remove all food, including canned goods, dry goods, spices, birdseed, pet food, cooking oils, and open beverages. Vacuum floors, drawer tracks, sofa bases, under-bed compartments, cabinet corners, furnace registers, and the area beneath removable cushions.
Food removal matters even when mice cannot access the container directly. A cracked bag, odor on a shelf, or residue inside a trash compartment can keep an animal exploring the RV after the original attraction appears gone.
Wipe galley surfaces with detergent and water, then clean the refrigerator interior and dry it completely. Empty the wastebasket, clean the toilet area, and inspect exterior storage compartments for spilled bait, seed, or grease.
The CDC recommends ventilating enclosed spaces and using disinfectant before handling rodent-contaminated surfaces; the agency specifically advises against sweeping or vacuuming dry droppings because those actions can put contaminated particles into the air. Follow CDC rodent-cleanup guidance if you find droppings rather than treating them like ordinary dirt.
You will know Step 1 worked when: no edible item remains, no crumbs are visible under cushions or appliances, and the refrigerator, trash area, and floor vents are clean and dry.
Common mistake: leaving canned goods because mice cannot chew metal. Cans still carry food odor, and removing them also eliminates leakage, label glue, and forgotten damaged containers.
Step 2: Remove nesting material and reduce clutter
Take out cardboard boxes, paper towels, toilet paper, tissues, newspapers, loose insulation, fabric scraps, and spare blankets. Store necessary linens in sealed plastic containers with gasketed lids, not in cardboard cartons.
Mice use soft, dry fibers for nests, so a clean RV can still be attractive if it contains a full roll of paper towels and an open bedding compartment. Remove removable seat cushions when possible, or store them in a sealed interior container away from exterior walls.
Do not place dryer sheets, shredded paper, or cotton balls around the RV as a supposed barrier. Mice may ignore the fragrance and use fibrous materials as nesting components once the odor fades.
You will know Step 2 worked when: every remaining textile is sealed or elevated, and no loose material is available inside cabinets, storage bays, or under beds.
Common mistake: keeping a cardboard box of winter gear in the basement compartment. Cardboard absorbs moisture, conceals droppings, and offers ready-made nesting structure.
Step 3: Find entry points with a light and hand inspection
Inspect the RV after dark by placing a bright work light inside the living area and looking beneath the vehicle for visible light. A beam escaping through a floor, wall, or cabinet penetration identifies a likely sealing target, but the test cannot reveal every route.
Repeat the inspection from outside with a flashlight and mirror. Check where plumbing, electrical cable, brake wiring, propane lines, slide mechanisms, and leveling equipment pass through floors or sidewalls.
Pay particular attention to these locations:
- Around shore-power cable entry points and electrical bays
- Behind removable drawers and beneath kitchen cabinets
- Fresh-water, waste-water, and low-point drain penetrations
- Furnace, refrigerator, and water-heater service compartments
- Wheel wells, storage-bay doors, slide-out corners, and damaged underbelly fabric
- Roof or sidewall openings with cracked sealant
- Gaps around generator compartments and battery trays
Use a gloved hand to feel for drafts, loose underbelly material, and openings hidden behind insulation. A borescope can help inspect deep cavities, while a camera phone records each breach for later repair.
You will know Step 3 worked when: every observed gap has a photo, location note, and planned material. Do not rely on memory after crawling beneath the vehicle.
Common mistake: sealing only visible interior holes. Mice often enter through the undercarriage and reach the cabin through a concealed wall or floor void.
Step 4: Seal gaps with chew-resistant materials
Pack small openings tightly with stainless-steel mesh or copper mesh, then secure the material with compatible sealant. Use pest-resistant expanding foam only for larger irregular cavities, and cover foam with metal mesh because ordinary foam is not a dependable chew barrier.
Mesh works by creating a physical obstruction that teeth cannot easily remove. Stainless-steel mesh is a strong choice in wet undercarriage locations, while copper mesh is easy to shape and resists corrosion; both should be installed with gloves because cut edges can be sharp.
Do not seal required combustion-air openings, pressure-relief paths, refrigerator ventilation, furnace intake or exhaust routes, or manufacturer-designed drainage holes. A mouse barrier must not create a carbon-monoxide, fire, overheating, or moisture problem.
| Opening or location | Recommended treatment | Typical material cost | Important limitation |
|---|---|---|---|
| 1/8-1/4-inch pipe gap | Packed stainless or copper mesh | $15-$30 per roll | Secure against vibration |
| 1/4-1-inch irregular gap | Mesh plus exterior sealant | $8-$20 per tube | Do not block drainage |
| 1-4-inch cavity | Pest-resistant foam with mesh cover | $7-$15 per can | Foam alone is chewable |
| Damaged underbelly fabric | Metal patch and compatible tape | $15-$45 | Allow movement around components |
| Cable exit or shore-power opening | Split mesh collar or fitted grommet | $10-$35 | Preserve cable flexibility |
| Door or storage-bay seal | Replacement bulb or compression gasket | $15-$60 | Confirm complete compression |
Seal around the penetration, not directly against a hot exhaust component or moving slide mechanism. Let foam cure according to its label, trim excess only after curing, and inspect the finished repair for exposed soft edges.
You will know Step 4 worked when: no daylight or draft is detectable at the repaired opening, the material cannot be pulled out by hand, and moving components still operate normally.
Common mistake: filling a gap with ordinary spray foam alone. Mice can tunnel through cured foam, especially where the foam remains exposed inside a warm cabinet or underbelly.
Step 5: Screen appliance vents without restricting airflow
Install purpose-made rodent screens over refrigerator, furnace, and water-heater exterior access points when the RV manufacturer permits screening. Use fine, corrosion-resistant metal mesh that is secured around the perimeter and kept clear of burners, exhaust gases, intake airflow, and service access.
Refrigerator vents deserve special care because absorption refrigerator systems require designed airflow. A screen that is too fine, loose, or incorrectly positioned can collect dust and reduce ventilation. Never cover a vent with plastic, cloth, tape, or an improvised solid plate.
Check the furnace exhaust and water-heater exhaust after installation. Screens belong around an opening only when they do not obstruct the appliance’s operating path, and the appliance should be tested before storage if the RV will be heated or powered.
You will know Step 5 worked when: the screen is tight, no edge can be lifted by hand, and the appliance manual’s clearance and airflow requirements remain satisfied.
Common mistake: using insect screen because it is available. Fiberglass or plastic screen is easier to chew and may fail under heat or weather exposure.
Step 6: Add monitoring and optional deterrents
Place snap traps along walls, beneath cabinets, near suspected entry paths, and beside the kitchen area. Position traps perpendicular to the wall with the trigger end facing the travel route, and bait each trap with a pea-sized amount of peanut butter or another high-odor bait.
Monitoring traps are valuable because they provide evidence of activity. For an unattended RV, traps should be placed where they can be inspected safely and legally; a trap that catches a mouse and remains untouched for months can create odor and insect problems.
Scent products such as balsam-fir pouches, commercial plant-oil packets, or peppermint-based products may reduce exploration in some situations, but cold temperatures, ventilation, and time reduce their effect. Replace products according to the label, commonly every 30-60 days.
Ultrasonic devices have a narrower role. Sound does not reliably pass through cabinetry, walls, cushions, or stored cargo, and battery devices may stop during a long winter. An ultrasonic unit can supplement exclusion in a powered backyard storage setting, but it is a poor standalone solution for an unpowered lot.
| Method | Typical cost | Effective duration | Main advantage | Main weakness |
|---|---|---|---|---|
| Stainless or copper mesh | $15-$30 | Multi-year if secured | Blocks entry mechanically | Requires crawling and careful fitting |
| Pest-resistant foam plus mesh | $7-$15 per can | Several years when protected | Fills irregular cavities | Foam alone can be chewed |
| Scent pouches | $15-$40 per pack | 30-60 days | Easy supplemental coverage | Potency declines in cold and airflow |
| Ultrasonic device | $20-$50 per unit | While powered | No bait or odor | Limited through-wall performance |
| Snap traps | $1-$5 each | Until triggered or reset | Detects and removes mice | Requires inspection and safe placement |
| Rodenticide bait | $10-$30 | Label-dependent | Can reduce populations | Carcass, pet, wildlife, and legal risks |
Should you use poison inside a stored RV?
Do not use loose rodenticide inside a stored RV unless a licensed pest professional designs and monitors the placement. A poisoned mouse can die inside a wall, duct, ceiling, or appliance compartment, producing odor that is difficult to locate and remove.
The U.S. Environmental Protection Agency requires rodenticide products to carry label directions that govern placement, access, and handling. Follow the product label and local rules; never transfer bait into an unlabeled container or place it where children, pets, or wildlife can reach it.
How often should you inspect a stored RV?
Inspect a stored RV weekly when it is parked near buildings, fields, woodpiles, or feed, and inspect it at least every 2-4 weeks in lower-risk storage. Each visit should include trap checks, droppings inspection, exterior seal inspection, and confirmation that vent screens and shore-power collars remain secure.
Unattended winter storage requires stronger exclusion because scent products expire and traps may not be serviced. Spend more of the budget on sealing and less on consumable repellents when no one can visit the RV.
| Storage condition | Recommended inspection interval | Priority action |
|---|---|---|
| Concrete, enclosed facility | Every 4 weeks | Check seals and traps |
| Gravel lot near grass | Every 2 weeks | Inspect tires, jacks, and underbelly |
| Grass or field edge | Weekly | Check for fresh tracks and droppings |
| Backyard with shore power | Every 1-2 weeks | Check cord entry and powered devices |
| Remote unattended storage | Before storage and monthly if possible | Maximize exclusion and remove all food |
Which mouse-prevention methods work best?
Physical exclusion is the best primary method for every RV because it prevents entry without requiring power, odor, bait, or repeated replacement. Sanitation is the best companion method, while traps provide the most useful detection and removal tool for an RV that can be inspected.
| RV owner or condition | Best primary plan | Add-on method | Avoid relying on |
|---|---|---|---|
| Unattended storage | Mesh, sealant, vent screens | Exterior monitoring where lawful | Scent pouches alone |
| Family or pet use | Exclusion and sealed storage | Enclosed snap-trap stations | Accessible poison |
| Concrete storage | Seal floor and appliance penetrations | Four to six traps | Excessive chemical repellents |
| Grass or gravel storage | Full undercarriage inspection | Wheel and cord barriers | Unscreened vents |
| Powered backyard storage | Exclusion and traps | Ultrasonic unit as supplement | Ultrasonic unit alone |
| Previously infested RV | Clean, disinfect, seal, trap | Professional inspection | Fragrance masking |
Are dryer sheets, mothballs, or peppermint enough?
Dryer sheets are unreliable because fragrance fades and mice may incorporate them into nests. Mothballs are pesticide products intended for labeled uses, not open-air RV rodent control, and their vapors can expose people and pets while failing to block entry.
Peppermint oil can provide a temporary odor deterrent, but it evaporates and requires repeated replacement. Essential oils also require caution around cats, dogs, children, fabrics, and respiratory-sensitive occupants. Use a labeled commercial product according to its instructions rather than saturating an enclosed RV with oil.
What should you do if mice are already inside?
If fresh droppings, shredded material, urine odor, or chewed wiring appears, stop treating the problem as prevention and switch to removal, cleanup, and breach repair. Remove food, locate the active route, set several snap traps, seal the entry after capture, and inspect wiring and appliances for damage.
Do not sweep or vacuum dry droppings. The CDC recommends wetting rodent waste with disinfectant, allowing the stated contact time, wiping it up with disposable materials, and washing hands afterward; heavy infestations may require respirators and professional remediation.
How do you troubleshoot a failed barrier?
- Map the signs. Fresh droppings usually cluster along walls, under cabinets, near food areas, or close to a travel route.
- Inspect the nearest exterior penetration. Trace the cabinet wall, floor opening, wire bundle, pipe chase, and underbelly seam.
- Set four or more traps. Use wall-edge placement at several points rather than one trap in the middle of the floor.
- Check every 24-48 hours. Remove catches promptly and refresh bait when necessary.
- Repair the breach. Pack copper or stainless mesh into the opening and secure it against vibration.
- Inspect damage. Have chewed 120-volt wiring, propane components, furnace wiring, and safety systems evaluated before operation.
A musky odor without droppings can indicate a dead mouse inside a wall or duct, but it can also come from damp materials, sewage gases, or spoiled food. Locate the source before applying fragrance, because masking odor does not resolve contamination or an electrical hazard.
How much does winter mouse prevention cost?
A basic DIY plan typically costs $20-$60, while a more complete plan with metal mesh, pest-resistant foam, replacement door seals, screens, and traps commonly costs $75-$150. Professional rodent exclusion can cost several hundred dollars or more, depending on access, damage, storage location, and regional labor rates.
| Prevention level | Materials included | Typical cost | Typical labor time |
|---|---|---|---|
| Basic | Cleaning supplies, four traps, minor sealant | $20-$60 | 2-3 hours |
| Exclusion-focused | Mesh, foam, sealant, screens, traps | $75-$150 | 3-5 hours |
| Large motorhome | Multiple rolls, underbelly repairs, seals | $150-$300 | 4-8 hours |
| Professional exclusion | Inspection, repairs, monitoring plan | $250-$1,000+ | 2-6 service hours |
| Recurring deterrents | Scent packs or batteries each winter | $15-$100 yearly | 15-30 minutes per visit |
Prices are typical retail and service ranges, not fixed quotations. A travel trailer with intact seals usually costs less to protect than a Class A with slide-outs, generator compartments, and extensive underbody plumbing.
What are the most common mistakes?
The most common mistake is treating odor as a substitute for exclusion. Mice encounter strong smells in natural environments, while a sealed opening removes the route entirely.
Other failure modes include:
- Using ordinary steel wool outdoors: moisture causes rust and deterioration. Replace it with stainless-steel or copper mesh.
- Sealing combustion or exhaust openings: blocked ventilation can create carbon-monoxide or overheating hazards. Screen only where the appliance design allows it.
- Leaving shore power unprotected: the cord can create a climbing route into the electrical bay. Seal the cable exit with a fitted collar without damaging the cord.
- Placing one trap in the center of the RV: mice favor edges. Use multiple traps along walls and near suspected routes.
- Leaving snap traps unchecked for months: a dead mouse can decompose and attract flies and beetles. Inspect traps at each visit.
- Ignoring the tow vehicle or storage surroundings: woodpiles, birdseed, tall grass, and neighboring barns increase pressure around the RV.
- Skipping the spring reopening inspection: rodents may enter through a small winter storm-created gap after the initial preparation.
A practitioner rule of thumb is to spend roughly 80-90% of prevention effort on sanitation and exclusion when the RV cannot be visited regularly. Consumable deterrents are maintenance items, not permanent infrastructure.
Which plan fits your storage situation?
Unattended remote storage
Use a full exclusion inspection, remove all food and paper, screen permitted appliance vents, protect the shore-power entry, and place traps only where service access is realistic. Do not depend on a scent product that will expire before the next visit.
Grass or gravel storage
Focus on the undercarriage, tires, stabilizer jacks, wheel wells, and low plumbing penetrations. Cut vegetation away from the RV, remove nearby debris and feed, and inspect more often because mice can approach from concealed ground cover.
Concrete or enclosed storage
Concrete reduces some ground-level shelter but does not eliminate access through tires, cords, doors, roof seals, or adjacent stored items. Prioritize cabinet penetrations, storage-bay seals, appliance compartments, and evidence of activity inside the facility.
Family and pet households
Remove all accessible bait and use enclosed, secured traps where children and pets cannot reach them. Store oils, cleaners, and disinfectants outside the living area, and use the EPA label as the controlling instruction for any pesticide.
FAQ
Can mice get into an RV through the toilet or plumbing?
Mice generally enter through gaps around plumbing rather than traveling through a water-filled toilet trap. Inspect pipe penetrations under sinks, beneath the shower, around low-point drains, and near the waste-tank enclosure, then seal the surrounding gap without blocking drainage or required service access.
Should I cover the RV with a tarp to stop mice?
An RV cover does not stop mice because rodents can climb tires, jacks, cables, and nearby structures before entering through the underbody. Use a breathable, fitted cover only for weather protection, and keep it from creating loose folds or ground contact that provide nesting shelter.
Do mice chew through RV wiring?
Mice can chew insulation around wiring, especially in quiet, protected compartments. Inspect battery bays, generator compartments, fuse areas, appliance wiring, and engine compartments after any infestation, and have damaged 120-volt, propane-system, brake, or safety wiring repaired before using the RV.
Should I leave the RV plugged in during winter?
You may leave an RV connected to shore power when the storage arrangement and battery-maintenance requirements justify it, but protect the cable entry and inspect the electrical bay. A power cord does not repel mice, and damaged wiring can create a shock or fire hazard.
What bait works best in an RV mouse trap?
A pea-sized amount of peanut butter is a practical bait because it adheres to the trigger and produces a strong food odor. Place the trap along a wall with the trigger facing the travel path, then use several traps instead of increasing the bait amount on one trap.
Can I use expanding foam around every RV gap?
No. Expanding foam belongs in suitable structural voids and should be protected with metal mesh where rodents could reach it. Keep foam away from exhaust components, burners, moving slide parts, drainage paths, and ventilation openings, and follow the product’s curing and temperature instructions.
The Bottom Line
The most dependable answer to how to keep mice out of an RV during winter storage is to remove attractants, seal approximately 1/4-inch entry routes with durable mesh, protect approved exterior vents, and inspect with traps on a defined schedule. Physical exclusion determines success; scents and ultrasonic devices can only supplement that barrier.


