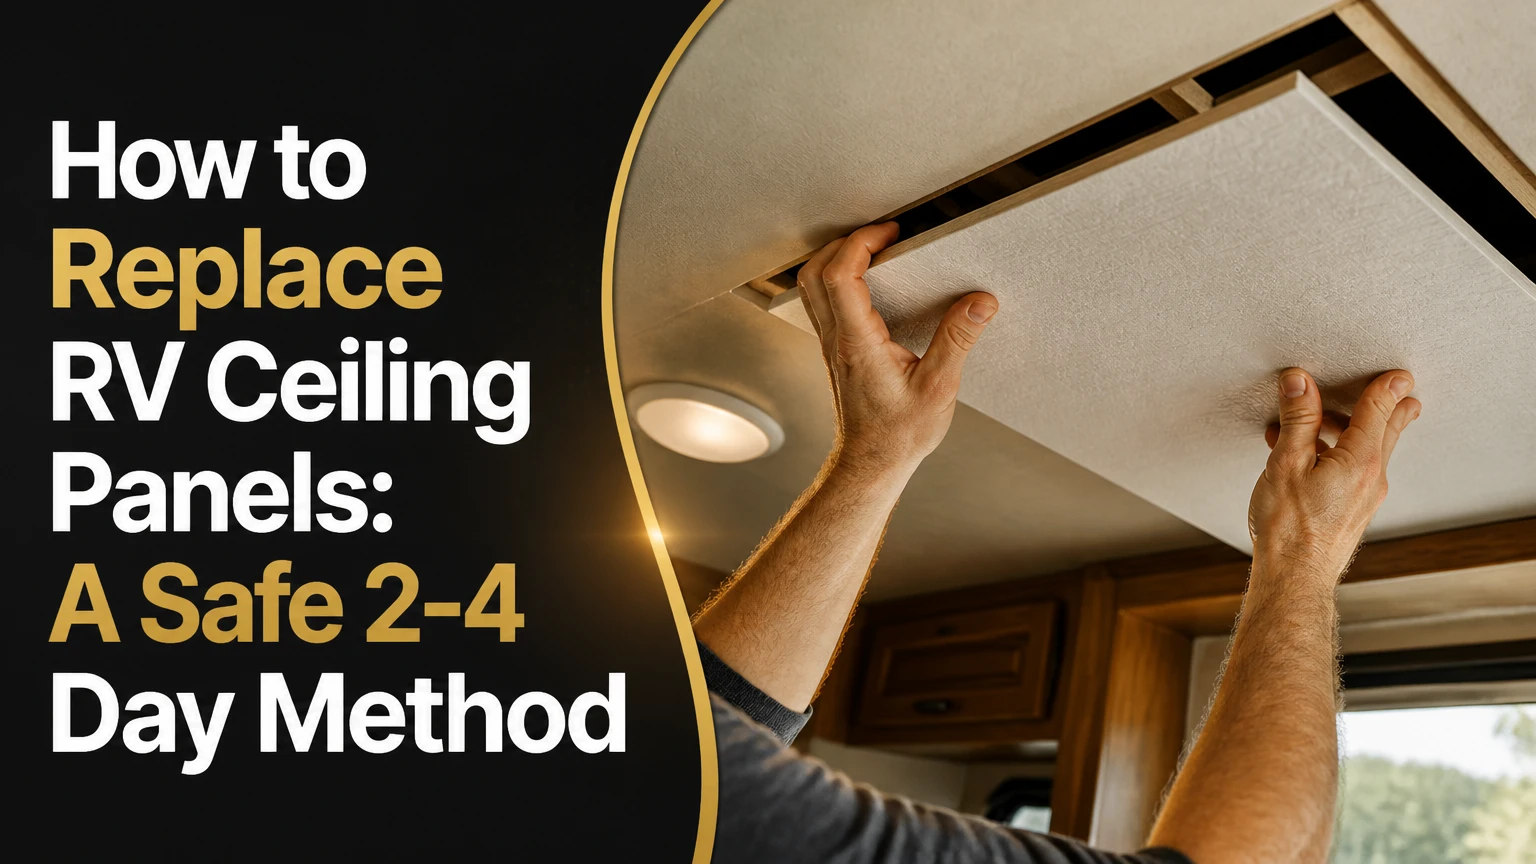
To replace RV ceiling panels, stop and repair the roof leak, remove the damaged interior finish, repair soft framing, cut lightweight replacement panels around every fixture, then bond and mechanically fasten the panels to the rafters. A typical DIY replacement takes 2-4 days and costs $300-$1,200, depending on ceiling area, panel material, and hidden water damage.
Key Facts at a Glance
- RV ceiling panels commonly use 1/8-inch luan plywood beneath vinyl, fabric, or decorative paper.
- New panel seams should land on structural rafters, not in foam insulation or unsupported airspace.
- PVC panels resist water better than luan, but heavy FRP and wood can reduce available cargo capacity.
- Exterior leaks must be repaired and the ceiling assembly dried before new panels are installed.
- Fasteners longer than the original specification can puncture the roof membrane or contact concealed wiring.
- A professional inspection is appropriate when framing remains wet, mold extends beyond a small surface area, or the roof structure has shifted.
How RV Ceilings Are Built
An RV ceiling is a lightweight sandwich assembly rather than a conventional residential ceiling. From outside to inside, the typical layers are a TPO, EPDM, or fiberglass roof membrane, thin plywood or OSB sheathing, wood or aluminum rafters, insulation, a luan ceiling substrate, and a vinyl, fabric, or decorative interior finish.
The exact arrangement varies by manufacturer and model year. Some motorhomes use laminated vacuum-bonded walls and ceilings, while older travel trailers may have stapled luan sheets over wood framing. That difference determines whether a panel can be removed locally or whether a larger bonded section must be cut out.
Water usually enters through roof lap joints, plumbing vents, skylights, antenna bases, air-conditioner gaskets, or front and rear roof transitions. The visible stain may be several feet away from the entry point because water travels along sheathing, insulation, and framing before reaching the interior finish.
What must be structurally sound?
Wood rafters must resist a screwdriver point without crumbling, and aluminum framing must remain attached at its joints without distortion. Insulation should be dry, odor-free, and free from extensive fungal growth.
A ceiling panel is not structural by itself. Adhesive transfers load across the panel surface, while staples or screws hold the panel against rafters during curing and resist vibration. If the rafter or roof sheathing has deteriorated, a new finish panel only hides the defect.
Which Replacement Panel Is Best?
The best RV ceiling panel depends on weight, moisture exposure, curvature, finish requirements, and the condition of the original attachment system. Vinyl-faced luan is usually the closest factory replacement, PVC is the easiest water-resistant renovation material, FRP suits utility areas, and solid wood is appropriate only when added weight has been calculated.
| Panel material | Typical thickness | Typical material cost | Typical weight impact | Best application |
|---|---|---|---|---|
| Vinyl-faced luan | 1/8-1/4 inch | $1.50-$3.00/sq. ft. | About 0.6 lb/sq. ft. | Factory-style restoration |
| Hollow-core PVC plank | 5-8 mm | $2.50-$5.00/sq. ft. | 0.7-1.2 lb/sq. ft. | Moisture-prone ceilings |
| Fiberglass-reinforced plastic | About 0.090 inch | $3.50-$6.00/sq. ft. | 1.0-1.5 lb/sq. ft. | Toy haulers and wet areas |
| Pine or cedar planks | 3/8-3/4 inch | $3.00-$8.00/sq. ft. | Up to 1.5 lb/sq. ft. | Decorative renovations |
| Painted raw luan | 1/8 inch | $0.80-$2.00/sq. ft. | About 0.5-0.7 lb/sq. ft. | Lowest-cost repair |
Vinyl-faced luan
Vinyl-faced luan most closely matches the original ceiling in many trailers and motorhomes. Its low mass reduces stress on adhesive joints, trim, and roof framing, and its factory finish avoids painting over a large interior surface.
Luan is not waterproof. The vinyl face resists short-term condensation, but exposed edges and the plywood back absorb water quickly. Seal cut edges with a compatible coating or edge tape, especially around roof vents and air-conditioner openings.
PVC tongue-and-groove planks
Hollow-core PVC planks work well when the ceiling has many small sections or when one person must install the material. Interlocking joints conceal narrow movement gaps and allow a damaged plank to be replaced more easily than a bonded sheet.
PVC is water-resistant, not a substitute for roof repair. Some construction adhesives contain solvents or plasticizers that can soften PVC, so verify compatibility on the adhesive technical data sheet and conduct a small cure test.
FRP panels
FRP provides a hard, cleanable surface for toy haulers, wet baths, and areas exposed to gear. Its stiffness makes it less forgiving on a curved or uneven ceiling, and its weight can require closer temporary bracing during installation.
FRP often needs compatible moldings, contact adhesive, or manufacturer-approved fasteners. Do not assume a general-purpose adhesive will bond to the resin surface.
Wood planks
Wood planks create a residential appearance but add more weight than most factory ceiling assemblies. A 200-square-foot ceiling gaining 1 pound per square foot adds roughly 200 pounds before trim, adhesive, and fasteners are counted.
That added mass reduces cargo carrying capacity and may affect axle loading. Wood also moves with humidity, so it requires sealed faces, sealed cut ends, and a movement-tolerant installation method.
Before You Start
Plan the repair around the roof condition, the panel layout, and the RV’s available cargo capacity. The following preparation data covers a typical 200-square-foot ceiling with two workers and one air-conditioner opening.
| Item | Typical requirement | Practical specification | Why it matters |
|---|---|---|---|
| Active work time | 16-32 hours | 2-4 days | Includes drying and adhesive cure |
| DIY material budget | $300-$1,200 | Based on 200 sq. ft. | Excludes major framing repair |
| Panel overage | 10%-15% | Add 20-30 sq. ft. | Covers mistakes and fixture cutouts |
| Adhesive quantity | 8-12 tubes | 10-ounce tubes | Depends on bead size and rafter spacing |
| Temporary supports | 2-4 units | Drywall T-bars or braces | Holds sheets during curing |
| Fasteners | 250-500 pieces | 1/4-inch crown staples or short screws | Quantity varies by rafter layout |
| Drying period | At least 48 hours | Longer in cool, humid conditions | Prevents trapping moisture |
Tools and materials
Prepare a moisture meter, utility knife, scraper, pliers, drill, bits, fine-tooth jigsaw blade, circular saw, straightedge, tape measure, cardboard, painter’s tape, caulk gun, roller, drop cloths, eye protection, gloves, and a respirator suitable for the suspected contaminant.
Use replacement panels, compatible polyurethane or construction adhesive, approved seam tape or molding, edge sealer, trim screws, and replacement fixture gaskets. Photograph every wire route before removing lights, speakers, vent rings, or air-conditioner trim.
When should you stop the DIY repair?
Stop when a screwdriver penetrates framing easily, the roof membrane has a large tear, the ceiling has widespread black or musty contamination, or the roof has sagged enough to alter drainage. A mobile RV technician or water-damage professional can separate cosmetic replacement from structural and contamination work.
Small areas of surface spotting are different from concealed contamination throughout insulation and framing. Do not dry-brush suspected mold, because that spreads particles through the living space.
How to Replace RV Ceiling Panels Safely
The following sequence works for most accessible, non-laminated RV ceilings. Confirm the original panel thickness, seam locations, fastener type, and fixture clearances before cutting replacement material.
Step 1: Find and Repair the Roof Leak
Inspect the exterior roof before removing interior panels. Check lap sealant, plumbing vent flanges, skylights, antenna mounts, roof accessories, air-conditioner gaskets, and front and rear termination points.
Use a moisture meter to compare stained areas with dry reference areas. A reading is useful as a comparison tool, but meter scales differ by material and brand, so do not treat one universal percentage as a pass or fail threshold.
Remove failed sealant only where required, clean the substrate, and apply a roof-compatible sealant according to its technical data sheet. Do not smear silicone over incompatible old sealant and call the leak repaired.
You will know it worked when: the source is sealed, the interior assembly is dry relative to an unaffected area, and no new moisture appears after controlled rain or leak testing.
Common mistake: replacing the interior finish while the roof remains wet. The new panel can conceal continued rot for months.
Step 2: Disconnect Power and Clear the Ceiling
Disconnect shore power, turn off the generator, and isolate the 12-volt battery system. Verify that ceiling lights are dead before removing fixtures, because some circuits remain energized from battery power after shore power is unplugged.
Remove light lenses, speakers, smoke detectors, vent trim, A/C registers, cabinet-end trim, and decorative moldings. Label each wire with masking tape and photograph connector positions.
Protect furniture and flooring with canvas or heavy drop cloths. Remove loose insulation with a vacuum equipped for fine debris, but avoid disturbing suspect mold until the contamination risk has been assessed.
You will know it worked when: every obstruction is documented, disconnected, and stored with its screws or mounting hardware identified.
Common mistake: pulling down a panel with wires still attached. That can damage a harness or pull a light box out of its framing.
Step 3: Remove the Damaged Ceiling and Inspect Framing
Start at an existing seam, trim edge, or damaged corner. Score vinyl or fabric with a utility knife, then use a wide scraper rather than a narrow pry bar that can gouge framing or roof sheathing.
Pull staples with end-cutting pliers and remove every loose fastener that could create a high spot under the replacement panel. If the substrate is bonded, cut manageable sections and peel them away gradually.
Probe wood rafters in several places, especially around stains and fixture openings. Replace soft sections or sister sound lumber alongside them using suitable structural screws and adhesive. Aluminum framing requires a different repair detail, often involving formed reinforcement or approved mechanical fastening.
You will know it worked when: the attachment lines are visible, the framing is firm, the insulation is dry, and no sharp fastener remains above the new panel.
Common mistake: sanding or painting over soft wood. Surface treatment does not restore lost structural strength.
Step 4: Measure, Lay Out, and Cut Replacement Panels
Measure the ceiling in multiple locations because RV walls may taper and roofs may curve. Mark rafter centerlines on the walls or on a temporary layout drawing, then position every seam over a rafter.
Create cardboard templates for air-conditioner openings, ceiling vents, lights, speakers, and curved corners. Transfer the template to the panel, leaving the opening slightly undersized until a final test fit confirms the trim ring will cover the edge.
Cut finished luan face-down with a fine-tooth circular-saw blade. Cut PVC according to the manufacturer’s direction, and support FRP continuously to prevent cracking. Painter’s tape over the cut line can reduce splintering on finished surfaces.
You will know it worked when: each panel fits with a controlled perimeter gap, every seam has structural support, and trim rings cover the cutouts without forcing the panel.
Common mistake: measuring only one end of a ceiling. A small taper can turn into a visible gap across a long sheet.
Step 5: Bond and Fasten the New Panels
Dry-fit every sheet before applying adhesive. Mark rafter lines on the finished face with removable tape, then apply compatible adhesive in continuous beads across rafters and in a controlled pattern over approved substrate areas.
Use a drywall T-bar hoist or two helpers to lift large sheets. Press the panel firmly against the adhesive, then install the original fastener type or an approved substitute into the rafter centerline.
The exact screw length depends on the original assembly. As a safety rule, measure the panel, adhesive bed, and framing thickness before choosing a fastener, and never use a length that could reach the roof membrane or concealed wiring. A 1/16-inch movement gap at sheet seams is typical for rigid panels, but follow the panel manufacturer’s expansion guidance.
You will know it worked when: the panel sits flat, adhesive contacts the intended substrate, fasteners enter solid framing, and no wire or roof component is contacted.
Common mistake: applying thick adhesive blobs. Large isolated blobs can create visible humps and cure slowly.
Step 6: Finish Seams and Reinstall Fixtures
Use factory-matched vinyl seam tape for a restoration, wood battens for painted luan or planks, and PVC H-molding or manufacturer-approved trim for rigid plastic sheets. Do not force a rigid molding over a panel that has no movement allowance.
Seal exposed luan edges before installing trim. Recut fixture openings only as necessary, pull labeled wiring through without pinching it, and reinstall light boxes, vent rings, speakers, and A/C trim using their original mounting points.
Replace an air-conditioner gasket or other compressed roof seal if the removal process disturbed it. Restore battery and shore power only after electrical connections are secure and no conductive debris remains.
You will know it worked when: seams are straight, trim lies flat, fixtures do not press against wiring, and the roof accessories remain sealed.
Common mistake: using trim to hide an unsupported seam. Decorative molding cannot transfer panel load into foam.
What Does RV Ceiling Replacement Cost?
A typical DIY RV ceiling replacement costs $300-$1,200 for materials, while professional work commonly totals $2,500-$7,000 or more when leak repair, demolition, framing, and fixture removal are included. Large fifth-wheels, laminated ceilings, extensive rot, and contaminated insulation push the price above those ranges.
| Cost category | Typical DIY range | Professional range | Main cost driver |
|---|---|---|---|
| Replacement panels | $160-$1,000 | $400-$1,500 | 100-250 sq. ft. and material |
| Adhesive and fasteners | $60-$180 | $150-$400 | Bead coverage and attachment method |
| Seam trim and sealants | $40-$180 | $100-$350 | Factory-match versus generic molding |
| Fixture removal and refit | $0-$100 | $300-$1,200 | Lights, vents, speakers, and A/C |
| Framing and water damage | $0-$500 | $800-$3,500 | Rot, insulation, and roof access |
| Labor | $0 | $1,200-$4,000 | About $120-$200 per shop hour |
How long does the repair take?
A straightforward replacement usually requires 16-32 active labor hours over 2-4 days. Leak inspection and repair may take 2-5 hours, demolition and preparation 4-8 hours, installation 8-16 hours, and adhesive or sealant curing adds calendar time even when no one is working.
Cold temperatures, high humidity, difficult fixture cutouts, and a single-person crew extend the schedule. Do not shorten the cure period because the panel feels stable after a few hours.
How Much Weight Can the RV Ceiling Add?
Calculate the added panel weight before choosing wood or FRP. Multiply ceiling area by panel weight per square foot, then add adhesive, molding, fasteners, and any replacement framing; compare the total with the RV manufacturer’s cargo carrying capacity and axle limits.
For example, replacing 200 square feet with material that weighs 1.5 pounds per square foot adds about 300 pounds before trim. A 0.6-pound-per-square-foot luan product adds about 120 pounds, creating a 180-pound difference over the same ceiling.
| Ceiling area | Luan at 0.6 lb/sq. ft. | PVC at 1.0 lb/sq. ft. | Wood at 1.5 lb/sq. ft. |
|---|---|---|---|
| 100 sq. ft. | 60 lb | 100 lb | 150 lb |
| 150 sq. ft. | 90 lb | 150 lb | 225 lb |
| 200 sq. ft. | 120 lb | 200 lb | 300 lb |
| 250 sq. ft. | 150 lb | 250 lb | 375 lb |
The RV’s CCC is not a cosmetic specification. Added ceiling mass remains in the vehicle during every trip and can reduce the capacity available for water, passengers, tools, and personal cargo.
Common Mistakes and How to Fix Them
New panels sag between rafters
Sagging usually indicates missing structural support, inadequate adhesive contact, poor curing conditions, or a damp substrate. Locate the nearest rafter with the original layout or a non-invasive stud-finding method, then clamp the panel with a compatible adhesive and short, correctly sized fastener.
Do not inject adhesive blindly through a finished surface if electrical wiring may be behind it. A decorative screw is acceptable only when its length and location are controlled.
Vinyl bubbles after installation
Bubbles usually come from trapped moisture, contaminated substrate, or adhesive outgassing. Allow the assembly to cure, identify whether the bubble contains moisture, then use a compatible vinyl repair adhesive and roller only for a small, dry, localized defect.
Large bubbles indicate a bonding failure rather than a cosmetic pinhole. Remove and rebond the affected section instead of slicing many openings into the finish.
Panel edges crack or splinter
Cracking results from unsupported cuts, a coarse blade, excessive feed speed, or incorrect finish orientation. Support the panel fully, use a fine-tooth blade, tape the cut line, and test the cut direction on scrap material first.
A clean cut does not compensate for an oversized opening. Leave enough material for the trim ring to cover and for the panel to retain stiffness.
Seams open during travel
Open seams usually result from unsupported edges, insufficient acclimation, rigid trim, or fasteners placed outside the rafter line. Recheck the framing map and add a backing strip where the design permits.
A moving RV twists more than a stationary room. Treat the ceiling as a lightweight vehicle interior, not as a fixed drywall ceiling.
Musty odor returns
A returning odor indicates unresolved moisture or contamination. Reinspect the roof, insulation, framing, and nearby wall or cabinet cavities; do not cover the smell with paint or fragrance.
Extensive porous-material contamination requires containment and appropriate remediation. Replacing only the visible ceiling surface can leave the source untouched.
Can You Replace Only Part of an RV Ceiling?
A partial RV ceiling repair is practical when the damage is localized, the surrounding panel is firmly bonded, and the replacement seam can land over structural support. Remove the damaged section back to the nearest sound seam or rafter, square the opening, add backing where needed, and finish the joint with tape, batten, or molding.
Partial repair is usually less disruptive and cheaper than removing the entire ceiling. It can look visibly different, however, because older vinyl fades and replacement material may have a different texture or gloss.
Curved or laminated ceilings
Curved ceilings require flexible material, narrow PVC planks, thin luan, or a manufacturer-approved forming method. Thick FRP and solid wood may bridge the curve, spring away from adhesive, or require excessive mechanical force.
Laminated assemblies deserve extra caution because the interior panel may be bonded to insulation and roof sheathing as one engineered unit. Cutting deeply can weaken the laminate or damage embedded wiring. A technician familiar with that construction should inspect large delaminated areas.
Ceiling air-conditioner openings
Air-conditioner openings require careful support and sealing because the unit and gasket create concentrated loads. Photograph the original opening, preserve the manufacturer’s required dimensions, and do not reduce the opening merely to make a replacement panel easier to fit.
Replace disturbed gaskets according to the A/C manufacturer’s procedure. Interior trim is not the primary roof seal.
Winter or humid-weather repairs
Adhesive cure rates decrease in cold conditions, while high humidity can prolong drying and encourage trapped moisture. Maintain the product’s specified temperature range, use a dehumidifier when safe, and measure the substrate rather than relying on surface appearance.
A heated interior can dry the visible panel while moisture remains in foam or framing. Check the assembly again before closing it.
How Do You Choose Between Luan, PVC, FRP, and Wood?
Choose vinyl-faced luan for the lightest factory-style result, PVC for a water-resistant renovation, FRP for hard-use areas, and wood only after calculating its permanent weight. No panel is best for every RV because each material changes the ceiling’s mass, flexibility, finish, and repairability.
| Situation | Recommended material | Typical reason | Main limitation |
|---|---|---|---|
| Original vinyl ceiling replacement | Vinyl-faced luan | Matches factory appearance | Absorbs water at cut edges |
| Full-time wet climate | Hollow-core PVC | Low absorption and easy cleaning | Adhesive compatibility varies |
| Toy-hauler cargo area | FRP | Impact-resistant surface | Stiffer and heavier |
| Vintage restoration | Matched luan and aluminum trim | Preserves original layout | Matching old texture takes time |
| Low-budget painted repair | 1/8-inch raw luan | Lowest material cost | Requires primer and finish coating |
| Residential-style renovation | Sealed wood planks | Decorative texture | Highest added weight |
A material is a poor choice when its weight or movement behavior conflicts with the vehicle. Solid beadboard may look attractive in a showroom but perform badly on a roof with limited CCC and frequent vibration.
The Bottom Line
Replacing RV ceiling panels successfully requires more than covering stains with new material. Repair the exterior leak, dry and inspect the sandwich assembly, preserve electrical and A/C clearances, place seams over rafters, and select a panel whose weight and flexibility suit the RV.
For most owners, vinyl-faced 1/8-inch luan offers the safest factory-style repair, while hollow-core PVC is the stronger choice for moisture resistance and easier solo installation. Follow the complete process for how to replace rv ceiling panels, and escalate the project when framing, roof structure, or contamination extends beyond a controlled cosmetic repair.
Frequently Asked Questions
Can I paint over a sagging RV ceiling?
Paint cannot correct a sagging ceiling because sagging usually results from failed adhesive, wet substrate, or unsupported panel edges. Remove enough finish to identify the cause, repair the framing or bonding, and use a compatible primer only after the substrate is dry and structurally sound.
What is the thinnest plywood for an RV ceiling?
Many RV ceilings use approximately 1/8-inch luan, but the correct thickness depends on the original panel, span, support spacing, and trim clearance. A thinner sheet may flex, telegraph adhesive ridges, or fail around openings, while a thicker sheet can interfere with fixtures and add unnecessary weight.
Can construction adhesive hold an RV ceiling panel?
Construction adhesive can hold an RV ceiling panel when the product is compatible with the panel, foam, luan, and framing materials. Apply the specified bead pattern to clean, dry surfaces and use temporary bracing or fasteners during cure. Test PVC and FRP products because solvent compatibility varies.
How do I find ceiling rafters without removing the whole panel?
Use existing fastener lines, cabinet and light-box locations, manufacturer drawings, gentle tapping, and a stud finder designed for the substrate. Confirm a suspected rafter with a small controlled inspection opening before driving fasteners, since aluminum framing and laminated assemblies can confuse electronic readings.
Should I replace wet insulation during a ceiling repair?
Replace fiberglass or foam insulation when it remains wet, compressed, contaminated, or odor-producing after drying. Trapped moisture can damage new luan and framing. Dry, clean, undamaged insulation may remain if its condition is documented and its moisture level matches an unaffected section.
Is RV ceiling replacement covered by insurance?
Insurance coverage depends on the policy, the cause of loss, maintenance exclusions, and whether the damage resulted from a sudden covered event or long-term leakage. Photograph the roof and interior before demolition, preserve damaged materials, and contact the insurer before major repairs when a claim may apply.


