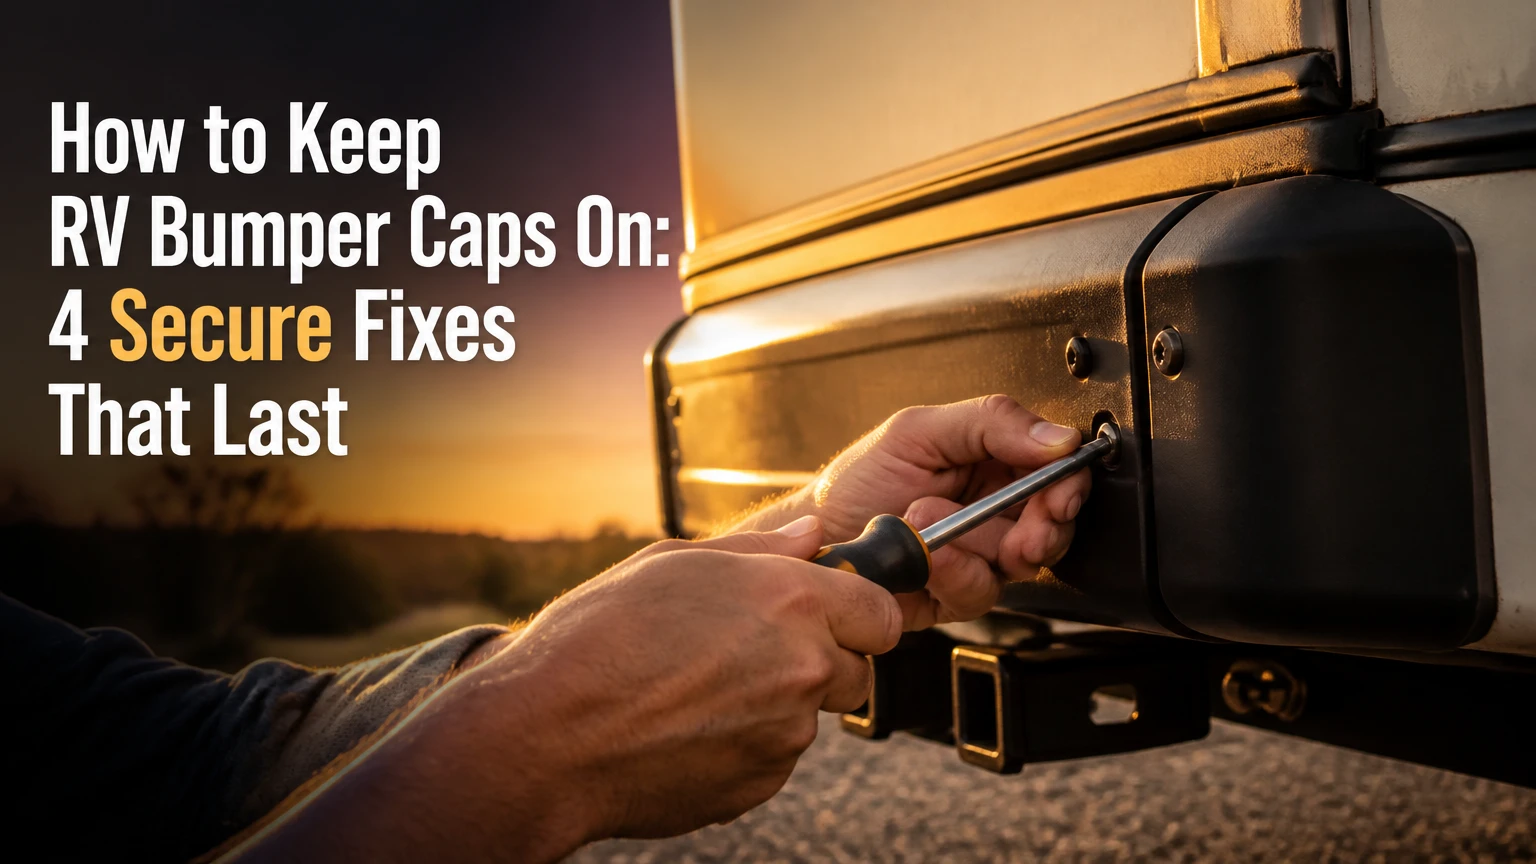
To keep RV bumper caps on, clean and inspect the bumper opening, confirm the cap fits the actual opening, then add mechanical retention when friction alone fails. A retaining pin, properly sized screw, tether, locking cap, or replacement vented cap prevents highway vibration from ejecting the plug and sewer hose.
Key Facts at a Glance
- Most RV sewer-hose bumpers are nominally 4 x 4 inches, but actual openings vary with steel thickness, paint, welds, dents, and rust.
- Friction-fit plugs are the least secure option because their holding force decreases when plastic hardens, shrinks, or becomes contaminated.
- A retaining pin provides stronger positive retention than tape, but drilling through a bumper requires corrosion protection around the new hole.
- Vented caps help moisture escape, while solid caps provide better exclusion of water and insects when the hose is completely dry.
- Magnets require a ferrous steel contact surface; aluminum, stainless steel, fiberglass, and many composite bumpers will not hold magnetic caps.
- A bumper cap that stays installed while parked can still fail on the road because the stored hose repeatedly impacts the inside of the plug.
Why Do RV Bumper Caps Fall Off?
RV bumper caps fall off when friction at the plug-to-steel interface is weaker than the combined effects of vibration, hose pressure, temperature change, and road debris. A loose opening, polished interior rust, degraded plastic, or an oversized sewer hose can reduce retention enough for the cap to leave during travel.
The cap is usually a friction-fit plug or a tabbed insert. The sewer hose then occupies much of the bumper’s internal space. Corrugated hose sections can act like a spring, pressing outward whenever the bumper flexes or the hose shifts. On rough roads, that pressure repeatedly loads the cap rather than producing one single release event.
Road grime also matters. Grease, silicone spray, wax, and wet mud reduce friction between plastic and painted steel. Sanding the opening can help, but sanding does not repair a cap that has become brittle or undersized from ultraviolet exposure.
Common causes and practical indicators
| Cause | Typical indicator | First corrective action |
|---|---|---|
| Undersized or aged plug | Plug moves with 3-5 mm finger pressure | Replace the cap |
| Smooth internal coating | Plug spins or slides after cleaning | Degrease and lightly abrade the opening |
| Excess hose pressure | Cap pops out after hose storage | Repack or shorten the stored hose loop |
| Severe rust expansion | Flaking steel and narrowed opening | Remove rust and repair the lip |
| Highway vibration | Cap remains secure in the driveway | Add a tether or mechanical retainer |
| Temperature change | Cap loosens in winter or after sun exposure | Use a cap rated for outdoor temperatures |
What Size Should an RV Bumper Cap Be?
An RV bumper cap should match the bumper’s actual opening, not only the nominal 4 x 4-inch label. Measure the opening width and height at several points, check the cap’s insertion sleeve, and account for the bumper’s wall thickness before ordering a replacement.
A nominal 4-inch square bumper commonly has an opening close to 4 inches, but manufacturer tolerances and interior welds can change the usable dimension. Paint buildup may reduce the opening by approximately 1/16 inch, while corrosion can make one side irregular. Measure both ends because the front and rear openings may not be identical.
Measure before buying or modifying
- Remove the existing plug and wipe the opening clean.
- Measure width and height at the top, middle, and bottom.
- Measure the cap’s insertable sleeve with calipers or a ruler.
- Inspect for a rolled edge, internal weld bead, bent corner, or rust lip.
- Record the bumper material, such as painted steel, galvanized steel, aluminum, or composite.
- Test-fit the replacement without forcing it past an obstruction.
A proper friction-fit cap should require firm hand pressure and should not wobble after installation. Do not rely on a cap that can be inserted and removed with almost no resistance. That fit may worsen after several trips.
How Do RV Bumper Caps Retain Themselves?
RV bumper caps retain themselves through friction, spring tabs, magnets, or a separate mechanical fastener. Friction and tabs are convenient for frequent access, while a pin, screw, tether, or locking hatch supplies positive retention when road vibration exceeds the cap’s holding force.
Retention and sealing are separate functions. A cap can stay attached but still allow rain into the bumper, while a tightly sealed plug can remain in place only until vibration overcomes its friction. Choose the retention method first, then decide whether the opening needs ventilation or insect screening.
Cap types compared
| Cap type | Typical pair price | Installation time | Retention mechanism | Ventilation detail |
|---|---|---|---|---|
| Rubber friction plug | $5-$10 | 1-5 minutes | Rubber-to-steel interference fit | Usually none |
| Plastic squeeze-tab cap | $8-$15 | 1-5 minutes | Spring tabs behind bumper lip | Often 1-2 holes |
| Magnetic vented cap | $20-$35 | 5-10 minutes | Neodymium or permanent magnets | Mesh or vent holes |
| Locking hatch closure | $25-$50 each | 15-30 minutes | Screws, bolts, latch, or pin | Varies by model |
| Plug with tether | $10-$25 | 5-15 minutes | Friction plus external tether | Usually none or small vent |
Which cap type is most secure?
A locking hatch or through-pin is usually the most secure choice for washboard roads, while a tabbed or magnetic cap is more convenient for normal highway use. A tether is the simplest backup when the cap may loosen but the owner wants to preserve the original bumper opening.
Magnetic products should be treated as a fit-specific option, not a universal upgrade. Magnet strength, contact area, paint thickness, bumper curvature, and road shock all affect performance. A magnet that feels strong when pulled straight away can slide more easily when dirt creates a gap or the cap is loaded sideways.
How Can You Secure Existing RV Bumper Caps?
Secure existing RV bumper caps by restoring the fit first, then adding a retaining device that matches the cap and bumper construction. A screw is fast for a light-duty highway repair, while a retaining pin or tether is better when repeated removal, severe vibration, or an expensive sewer hose justifies stronger protection.
Before You Start
| Requirement | Typical specification |
|---|---|
| Work time | 10-30 minutes for one or both ends |
| Difficulty | Easy for cleaning, moderate for drilling |
| Basic cost | $3-$15 for hardware and supplies |
| Tools | Degreaser, rag, ruler, drill, 1/8-inch pilot bit, final bit |
| Hardware | 1/4-inch hitch pin, linchpin, or 1/2-inch self-tapping screw |
| Safety equipment | Eye protection, gloves, wheel chocks |
| Prerequisite | RV parked, sewer hose removed, bumper accessible |
Step 1: Remove the cap and sewer hose
Remove the plug and take the sewer hose completely out of the bumper before inspecting the opening. A stored hose can conceal rust, a displaced internal weld, or a cracked cap sleeve.
Wash the cap with mild dish soap and water. Do not apply silicone lubricant to the sleeve because a slick surface can reduce friction. Dry the cap and bumper before testing the fit.
You will know it worked when: the opening and cap are free of grease, mud, and loose rust.
Common mistake: testing retention with the sewer hose still pushing against the cap.
Step 2: Inspect the opening and restore the fit
Inspect the first 2 inches inside the bumper with a flashlight. Remove loose scale with a wire brush, then use 80-grit sandpaper to dull glossy paint or polished steel. Do not remove sound metal merely to make the surface rougher.
Treat exposed steel with a rust-inhibiting primer and exterior enamel, following the coating’s drying instructions. Keep coating thickness modest around the opening because several heavy layers can make a previously correct cap too tight.
If the bumper lip is bent, straighten it with padded pliers or a small adjustable wrench. Stop when the cap sits squarely. A severely thinned or perforated lip needs metal repair, not tape or additional force.
You will know it worked when: the cap enters straight, resists hand removal, and has no visible side-to-side gap.
Common mistake: sanding aggressively until corrosion has removed the metal that provided the original lip strength.
Step 3: Refit or replace the cap
Push the cleaned cap fully into the bumper and mark its seated depth with a pencil or removable marker. A plug that stops early against an internal weld may appear tight while leaving much of the sleeve unsupported.
Replace rubber that is cracked, hardened, swollen, or permanently compressed. Replace plastic with whitening stress marks, broken tabs, or a sleeve that has shrunk enough to move freely.
A temporary shim can use two or three narrow layers of outdoor-rated repair tape around the cap sleeve. Keep the tape away from the very end so loose adhesive cannot enter the bumper. This is a temporary fit correction, not a substitute for a correctly sized cap.
You will know it worked when: the cap remains seated after ten firm hand pulls from different angles.
Common mistake: wrapping the entire sleeve in thick tape and forcing the cap into a corroded opening, which can deform the bumper lip.
Step 4: Add mechanical retention
Add a retaining pin, screw, or tether after the cap fits correctly. Mechanical retention should stop the cap from leaving the bumper, not compensate for a plug that is badly undersized or an opening that is structurally damaged.
Option A: Retaining pin
A retaining pin works best when the cap has a reinforced sleeve and enough material remains around the hole. With the cap fully seated, mark a hole near the outer end of the bumper, away from welds and the corner radius. Drill through one side of the bumper and the cap sleeve, then install a 1/4-inch hitch pin or linchpin.
A single-wall hole is usually preferable to drilling through the top and bottom walls. It is easier to seal, less likely to collect water, and less likely to weaken or distort the bumper. If the design requires a cross-pin, confirm clearance inside the bumper and cap before drilling.
Deburr the hole, apply rust-inhibiting primer to exposed steel, and use a stainless or zinc-plated pin with a retaining clip. Place the clip where it cannot contact the road or interfere with the hose.
You will know it worked when: the pin prevents cap removal but can still be removed without tools.
Common mistake: drilling through both bumper walls without sealing the holes, creating a water trap and an awkward obstruction for the sewer hose.
Option B: Self-tapping screw
A self-tapping screw is the fastest permanent-looking repair for a light-duty cap. Use a short 1/2-inch sheet-metal screw only when its length will pass through the bumper wall and engage the cap sleeve without reaching the stored hose.
Position the screw through the side or upper sidewall near the cap’s outer edge. Avoid the bottom surface, where road spray and impact are greatest. Drive the screw until the head is snug against the steel. Over-tightening can strip plastic, crack a cap, or pull the screw hole out of thin sheet metal.
Use a washer if the screw head could deform the cap. Seal the exposed hole with exterior automotive seam sealer or a small amount of paintable rust-protective coating after removing the screw, and inspect the hole at every service interval.
You will know it worked when: the cap cannot slide out, while the screw remains tight after ten manual vibration-like shakes.
Common mistake: using a screw long enough to contact or puncture the sewer hose.
Option C: External tether
A tether is suitable when drilling into the bumper is undesirable. Attach a UV-resistant coated cable or heavy outdoor cord to the cap and to a properly placed eyelet, existing bracket, or clamp on the bumper.
Leave enough slack for cap removal, but not enough for the cap to drag on the pavement. A tether does not stop the cap from moving slightly, so it should supplement a reasonable friction fit rather than replace one.
You will know it worked when: the cap can be removed for hose access and cannot reach the road if it comes loose.
Common mistake: using ordinary cotton cord, which absorbs water, rots, and loses strength under ultraviolet exposure.
Step 5: Test the cap before travel
Test the repaired cap in stages. Pull outward by hand, shake the bumper firmly, drive a short local route, and inspect the cap before entering a highway.
For a more realistic test, place the sewer hose in its normal storage position and verify that the hose does not press continuously against the cap. A hose loop packed tightly against the plug can defeat an otherwise sound friction fit.
You will know it worked when: the cap remains seated after a local drive, the retaining device shows no movement, and the hose has not shifted against the plug.
Common mistake: performing only a stationary pull test, which does not reproduce repeated vibration and hose movement.
Which Solution Fits Your Travel Conditions?
Highway travelers usually need a clean, correctly sized cap plus a tether or screw, while boondockers and washboard-road travelers benefit from a pin or locking hatch. Aluminum-bumper owners should avoid magnetic caps unless a ferrous mounting plate is intentionally installed.
Recommended solution by situation
| Travel situation | Recommended solution | Typical installed cost | Reason |
|---|---|---|---|
| Occasional paved-road use | New tabbed cap | $8-$15 | Fast access and moderate retention |
| Full-time highway travel | Vented cap plus tether | $20-$45 | Airflow with backup retention |
| Frequent gravel roads | Pinned cap | $10-$25 | Positive retention under vibration |
| Severe washboard roads | Locking hatch | $35-$75 | Fasteners resist repeated impact |
| Aluminum bumper | Tabbed cap plus tether | $15-$35 | Magnets cannot grip aluminum |
| Rust-damaged bumper | Metal repair plus new cap | $50-$200 | Restores the structural lip |
Is a vented cap better than a solid cap?
A vented cap is better when a damp sewer hose remains inside the bumper, because airflow helps moisture leave the steel tube and reduces the time the hose stays wet. A solid cap is better when maximum exclusion of rain and insects matters and the hose is drained, dried, and stored elsewhere.
Neither style makes a contaminated sewer hose safe to handle. Drain and rinse the hose according to the equipment manufacturer’s instructions before storage. Keep a vented cap’s mesh clear of mud and insect nests, because blocked mesh eliminates the intended airflow.
A solid cap can also trap condensation inside a steel bumper. That moisture may remain against the interior surface long after the exterior appears dry. In cold climates, freeze-thaw cycles can worsen existing rust and push against a tight plug.
Can Magnetic Caps Work on Aluminum Bumpers?
Magnetic RV bumper caps cannot hold directly to aluminum, fiberglass, composite, or nonmagnetic stainless-steel bumpers. Test the bumper with a small magnet before buying a magnetic cap, and check whether thick paint, a gap, or a nonmagnetic mounting ring reduces the holding force.
A magnetic cap can be convenient on a flat, ferrous steel face because removal requires no tools. It still needs a clean contact surface and adequate magnetic area. Road salt, grit, and surface rust can separate the magnet from the steel enough to reduce its grip.
Owners of aluminum bumpers can use a tabbed cap, screw, tether, or bolt-on hatch. Adding a steel plate solely for a magnet may introduce corrosion points and extra fasteners, so a direct mechanical solution is usually simpler.
What Should You Do If the Bumper Is Rusty?
Repair significant bumper rust before securing the cap. Surface rust can be cleaned and coated, but deep pitting, a split seam, a perforated wall, or a weakened opening needs metal repair or bumper replacement before a retaining device can work reliably.
Use a wire brush or abrasive pad to remove loose scale, then clean the surface with a suitable degreaser and let it dry fully. Apply a rust-converting or rust-inhibiting coating only where its product instructions permit use, then protect the repair with an exterior enamel or chassis coating.
Do not trap loose rust under tape. Expanding corrosion can change the opening’s shape, force the cap outward, and eventually reduce the bumper’s structural strength. If a hitch, spare-tire carrier, or other load attaches to the bumper, have a qualified RV or trailer technician inspect serious corrosion.
Common Mistakes and How to Fix Them
Using tape as the primary retainer
Tape can restore a small fit difference, but adhesive softens with heat, collects grit, and loses reliability when wet. Use tape only as a temporary shim, then replace the cap or install a tether or mechanical fastener.
Choosing a magnetic cap without testing the metal
A cap marketed for a standard bumper may not work on every RV. Perform the magnet test on the actual contact area, not on a nearby steel bracket that does not carry the cap.
Drilling where the hose will rub
A screw or pin inside the storage tube can abrade the corrugated sewer hose. Place the retainer near the opening, deburr every edge, and move the hose through the bumper by hand before travel.
Sealing a wet hose inside a rusting bumper
A solid plug does not dry a damp hose. Drain the hose, allow it to dry when practical, and inspect the bumper interior periodically, especially after winter road-salt exposure.
Over-tightening a screw
A screw that spins freely has probably stripped the plastic or thin steel. Move to a new location only if enough sound material remains, or replace the approach with a tether or pin.
Ignoring the cap’s removal needs
A permanent fastener can become inconvenient during campsite setup. Choose a linchpin, thumb screw, or accessible tether when the sewer hose must be removed frequently.
How Much Do RV Bumper Cap Repairs Cost?
A basic cap replacement typically costs $5-$15 and takes less than 10 minutes, while a vented magnetic pair commonly costs $20-$35 and a locking hatch repair typically reaches $35-$75 after hardware and sealant. Professional metal repair can cost $50-$200 or more when corrosion has weakened the bumper.
These are typical retail and repair ranges, not fixed prices. Brand, shipping, local labor rates, bumper access, and the condition of the steel create the largest differences.
| Repair path | Parts range | DIY time | Professional complexity |
|---|---|---|---|
| Clean and refit existing cap | $0-$5 | 15-30 minutes | Low |
| Replace friction or tabbed pair | $5-$15 | 5-10 minutes | Low |
| Add screw or linchpin | $3-$15 | 10-20 minutes | Low to moderate |
| Add UV-resistant tether | $10-$25 | 10-20 minutes | Low |
| Install locking hatch | $25-$50 each | 15-30 minutes | Moderate |
| Repair perforated bumper | $20-$100 materials | 1-3 hours | Moderate to high |
How Often Should You Inspect RV Bumper Caps?
Inspect RV bumper caps before every long trip and at least every three months during regular use. Check the cap fit, retaining hardware, tether condition, vent mesh, rust, and whether the sewer hose has shifted against the plug.
Replace a rubber plug when it is cracked, hardened, swollen, or permanently flattened. Replace a plastic cap when tabs are rounded, whitened, fractured, or unable to spring behind the bumper lip. Replace a tether when its coating splits or its attachment point corrodes.
A short inspection prevents a larger loss. A missing cap can expose the sewer hose to road debris, allow it to leave the bumper, and permit water or insects into the storage tube.
Frequently Asked Questions
Can I use zip ties to keep an RV bumper cap on?
Zip ties can provide a temporary tether if the cap and bumper have suitable attachment holes, but ordinary nylon ties become brittle under ultraviolet exposure and cold. Use a UV-rated outdoor tie as a short-term measure, then install a coated cable, proper tether, screw, or retaining pin for regular travel.
Should the sewer hose be stored inside the RV bumper?
An RV bumper can store a sewer hose when the bumper is structurally sound, the hose is drained, and the cap retains it securely. Do not use the bumper for storage if corrosion has perforated the tube or if the hose presses hard enough against the cap to move it.
Why does my new bumper cap still fall out?
A new cap can still fall out when the bumper opening is oversized, bent, oily, rust-damaged, or incompatible with the cap sleeve. Measure the opening, clean the first 2 inches, inspect the wall thickness, and add a tether or mechanical retainer if the fit remains marginal.
Can I glue an RV bumper cap in place?
Glue is usually a poor primary retainer because future sewer-hose access becomes difficult and many plastics have weak adhesive bonds under heat, water, and vibration. A correctly sized cap with a removable pin, screw, or tether provides more serviceable retention.
Do RV bumper caps keep rain out?
A properly fitted solid cap limits rain entry, but it cannot guarantee a waterproof seal on a damaged or distorted bumper. Vented caps trade some water exclusion for airflow, so use them with a drained hose and inspect the steel tube for moisture and rust.
What is the best fix for a cap lost on a washboard road?
A retaining pin or properly installed locking hatch is the best fix for repeated washboard travel because both provide positive mechanical retention. A friction plug or magnetic cap may work on paved roads but can release when repeated impacts load the cap and stored hose together.
The Bottom Line
To keep RV bumper caps on, measure the actual bumper opening, clean and repair the first 2 inches, replace degraded plastic, and add a removable mechanical retainer when friction alone is unreliable. Use a vented cap for damp-hose storage, avoid magnets on aluminum, and match the retention method to the roughest road your RV will travel.


