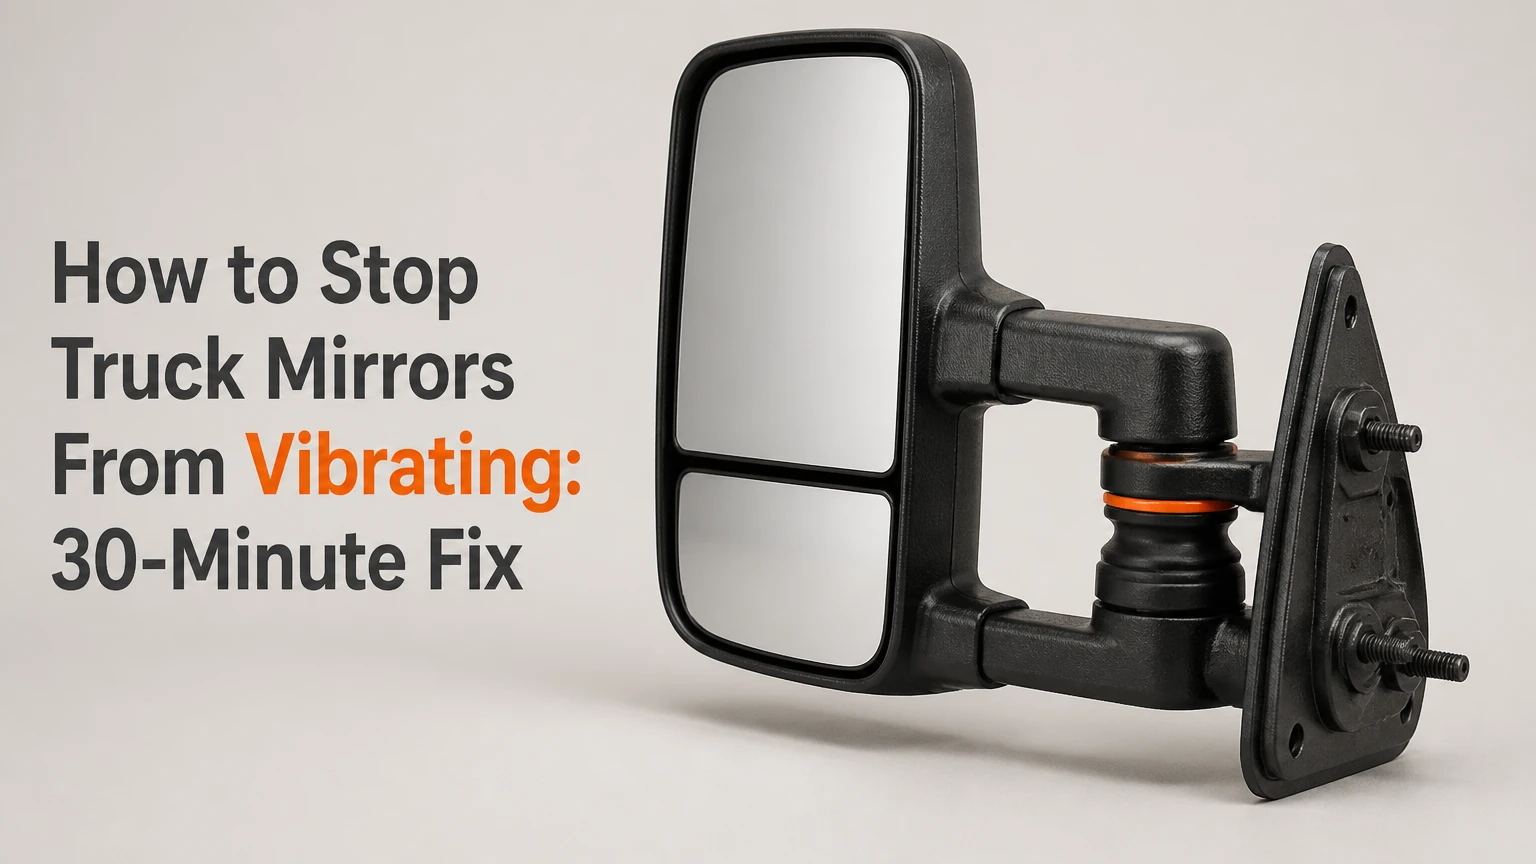
To stop truck mirrors from vibrating, first identify whether the glass, mirror housing, door mount, tires, or engine creates the movement. Tighten loose mounting hardware and pivot tension before adding damping material; then reinforce a flexing door or replace a damaged mirror. The correct repair usually takes 30 minutes to 2 hours.
Key Facts at a Glance
- A mirror that moves with the door usually has loose mounting hardware, a damaged pivot, or flexible door metal.
- Glass-only movement usually points to broken actuator clips, a loose backing plate, or failed retaining pads.
- Vibration that appears only at 55-70 mph can originate in tire balance, wheel runout, a driveshaft, or a mirror.
- Closed-cell foam can reduce minor glass flutter, but foam cannot repair a cracked actuator or loose mirror mount.
- Factory torque specifications are safer than universal torque numbers because mirror studs, nuts, and door structures vary by truck.
- A powered, heated, telescoping, camera-equipped, or blind-spot-monitored mirror may require wiring checks or calibration after replacement.
What Causes Truck Mirror Vibration?
Truck mirror vibration occurs when wind, engine harmonics, or road-induced movement excites a flexible part of the mirror system. The mirror glass, actuator plate, housing, arm, mounting studs, door skin, cab, wheel, and driveline can each transmit or amplify the oscillation.
A useful distinction is movement amplitude versus movement frequency. A loose pivot often creates a visible, low-frequency wobble when you push the housing by hand. Tire or driveshaft imbalance commonly creates a faster blur that appears within a repeatable road-speed range.
Large towing mirrors are especially sensitive because their extended glass increases aerodynamic leverage. A mirror mounted 150 mm farther from the door applies substantially more bending force than a compact factory mirror under the same wind load, so a previously adequate door skin can begin flexing after an aftermarket upgrade.
Is the glass moving, or is the whole mirror moving?
The fastest diagnosis is to watch the housing and glass separately while the truck is stationary. Ask a helper to hold a flashlight on the mirror while you gently push the housing, or use a phone video from inside the cab.
- Glass moves while the housing stays steady: inspect the glass clips, actuator plate, motor mount, and damping pads.
- Housing moves at the arm or pivot: inspect pivot tension, hinge wear, and fold-away mechanism.
- Entire assembly moves at the door: inspect mounting nuts, studs, washers, door metal, and backing structure.
- Both mirrors blur at the same speed: investigate tires, wheels, driveline, or cab vibration before replacing mirrors.
Do not perform a hand test beside moving traffic. A stationary inspection is enough to identify most loose components.
How Do You Diagnose the Vibration Before Repairing It?
Use the speed, operating condition, and location of the movement to isolate the source. A vibration that occurs during idle points toward the engine or cab, while vibration limited to highway speed points toward airflow, wheel rotation, tire imbalance, or a loose mirror assembly.
Begin with three observations:
- Does the vibration occur while parked in neutral?
- Does it change when the engine speed rises without vehicle movement?
- Does it appear at the same road speed regardless of engine gear?
A mirror that shakes while parked at idle is not being moved by tire rotation or road airflow. Check engine mounts, cab mounts, exhaust contact, fan imbalance, and low-rpm diesel harmonics. If the vibration changes sharply when the transmission shifts from neutral to drive, drivetrain loading or a deteriorated mount deserves inspection.
Vibration symptom table
| Symptom | Most likely source | First inspection | Typical next repair |
|---|---|---|---|
| Shakes at idle while parked | Engine mount, cab mount, accessory | Neutral and drive comparison | Mount or contact repair |
| Appears at 45-65 mph | Tire balance, wheel runout | Tire weights and tread condition | Balance, rotate, or replace tire |
| Appears at 55-75 mph under acceleration | Driveshaft or universal joint | Driveline play and angles | Driveline service |
| Housing moves at the door | Loose base nut or flexible door skin | Interior trim and mirror studs | Torque hardware or add backing |
| Glass alone blurs | Actuator clips or backing plate | Push glass gently by hand | Reseat glass or replace actuator |
| Starts after towing mirror installation | Excessive leverage or poor fit | Base gasket and arm movement | Backing plate, brace, or correct mirror |
| One mirror flutters in crosswind | Aerodynamic gap or damaged shell | Housing seams and seals | Repair shell or replace mirror |
Road speed is a clue, not proof. Wheel imbalance and mirror aerodynamic flutter can occur in the same speed range, so inspect the mirror while a tire shop checks wheel balance and radial runout.
Before You Start
Park on level ground, switch off the ignition, and disconnect the negative battery cable before working near powered mirror wiring. Use the truck’s service manual for torque values, glass removal direction, and airbag locations because door construction differs between a Ford F-Series, Chevrolet Silverado, Toyota Tundra, Ram HD, and Class 8 cab.
| Item | Typical requirement | Practical note |
|---|---|---|
| Diagnostic inspection | 10-20 minutes | Use a flashlight and phone camera |
| Basic tightening repair | 20-40 minutes | Usually requires trim tools and a socket set |
| Glass inspection | 20-30 minutes | Use eye protection and a plastic pry tool |
| Backing plate installation | 1-2 hours | Requires door-panel removal and plate fabrication |
| Typical parts cost | $0-$350 | Replacement mirrors can exceed $600 |
| Tools | 6-10 items | Torx bits, sockets, trim tool, torque wrench, ruler |
| Materials | 1 backing plate or 2-4 foam pads | Select material after diagnosis |
Support the mirror with one hand when removing a mounting nut. A large tow mirror can fall, pull its wiring harness, or crack the door paint if it is left unsupported.
Step 1: Inspect the Mirror and Door Mount
Remove the interior sail panel or access cover and inspect the mirror base, gasket, studs, nuts, wiring connector, and door metal. Do not remove the full door card unless the mounting nuts or backing structure remain inaccessible.
Look for shiny movement marks around washers, crushed foam gaskets, elongated mounting holes, cracked plastic, missing clips, and rust trails. A loose fastener often leaves a clean crescent or polished ring where the washer has moved against the painted door.
Check the outside while a helper gently pushes the housing in several directions. The mirror base should remain in contact with the door, and the door skin should not visibly oil-can or flex around the mounting points.
You will know the inspection is useful when: you can identify the first point that moves, rather than only seeing the final blur in the glass.
Common mistake: tightening an exterior trim screw when the actual looseness is at the internal mounting nuts. Exterior screws can crack plastic without adding structural stiffness.
Step 2: Check Tires, Wheels, and Driveline
Inspect tire pressure, missing wheel weights, uneven tread wear, bent rims, separated belts, and loose wheel hardware before blaming the mirror. A tire with a shifted belt can create a speed-specific cab vibration even when the tread appears normal.
Ask a tire shop to check dynamic balance and radial or lateral runout. Typical passenger and light-truck wheel balance tolerances are often near 0.25-1.0 ounces per assembly, but the shop should follow its equipment and tire manufacturer limits rather than a universal number.
For vibration under acceleration, inspect driveshaft joints, carrier bearings, slip yokes, pinion angles, and transmission mounts. Heavy-duty trucks can transmit driveline harmonics through the cab and mirror arms, especially after lift kits, suspension work, or a driveshaft replacement.
You will know this step is complete when: the truck passes a tire and wheel inspection, or a confirmed vehicle vibration has been repaired before mirror parts are purchased.
Common mistake: road-testing repeatedly with a damaged tire. Stop driving if the tire has a bulge, exposed cord, severe tread separation, or rapidly worsening vibration.
Step 3: Remove Access Trim and Protect the Wiring
Use a plastic trim tool to release the interior mirror cover. Remove visible screws first, then pull the panel straight away from its clips instead of twisting it.
Locate the mirror connector and wiring route. Powered, heated, telescoping, puddle-lamp, camera, and blind-spot systems may use multiple connectors, and a strained harness can make a mirror appear mechanically loose.
Disconnect the battery if the wiring passes near a door-mounted airbag or if the service manual requires it. Keep fasteners in a labeled container because different screw lengths can pierce wiring or distort the trim when reinstalled.
You will know this step is complete when: the mirror mounting hardware is visible and the harness has enough slack to support the assembly without pulling its connector.
Common mistake: allowing the mirror to hang from its wiring. Support the housing with a padded stand or a second person.
Step 4: Tighten the Mount and Adjust Pivot Tension
Support the mirror, loosen nothing unnecessarily, and tighten the internal mounting nuts evenly in a crisscross pattern. Use the manufacturer’s torque specification; if the specification is unavailable, obtain the exact value from a service manual, dealer, or mirror manufacturer rather than guessing.
Inspect the gasket while tightening. A torn or compressed gasket can allow movement and water entry even when the nuts are tight. Replace distorted washers with the correct diameter and thickness, and repair stripped studs instead of forcing a larger nut onto damaged threads.
For a fold-away mirror, locate the model-specific pivot tension adjuster only if the service documentation identifies one. Turn the adjuster in small increments, typically one-eighth to one-quarter turn, then test the fold force. The mirror should resist normal wind load but still fold through its designed range without binding.
You will know it worked when: the base no longer shifts under firm hand pressure, the pivot has no free play, and the mirror folds with consistent resistance.
Common mistake: overtightening a spring pivot or plastic housing. Excessive tension can crack the pivot carrier, overload the motor, or prevent impact folding.
Step 5: Stabilize Loose Mirror Glass
Remove mirror glass only when the housing is stable and the glass clearly moves independently. Many electric mirrors use snap-in clips, while others use adhesive pads or a motor-backed carrier, so confirm the removal method for the truck before prying.
Tilt the glass to expose the greatest access gap, wear eye protection, and use a broad plastic tool near the documented clip locations. Do not lever hard against a glass edge, because convex heated glass can crack and the backing plate can separate from the heater terminals.
For minor rattle, use thin closed-cell foam or manufacturer-approved replacement pads at the original contact points. Use only a small amount of flexible, removable RTV where the vehicle maker permits it; avoid bonding the glass permanently to the housing or motor plate.
You will know it worked when: the glass has no fingertip rattle, the electric adjustment remains smooth, and the heater wires are not stretched.
Common mistake: placing thick foam behind the center of the glass. Excessive thickness can preload the actuator, reduce adjustment range, or cause the motor gears to strip.
Step 6: Reinforce a Flexing Door or Tow-Mirror Mount
Install a backing plate when the mirror base is tight but the door skin visibly flexes under hand pressure or wind load. A typical fabricated plate may use 14-16 gauge steel or 3-6 mm aluminum, but the plate must fit the truck’s internal structure without contacting glass, regulators, airbags, or wiring.
Use large flat washers or a properly fitted plate to distribute load across the door. Protect dissimilar metals with a suitable coating, isolating washer, or corrosion barrier, and seal any drilled or exposed metal according to the truck manufacturer’s body-repair practice.
External stabilizer bars can reduce movement on some commercial or West Coast-style mirrors, but they require careful mounting. Drilling into a door or window frame can create corrosion, water leaks, structural damage, or an obstruction in the driver’s view.
You will know it worked when: the mirror base and surrounding door metal move together as one unit during a hand test.
Common mistake: adding a thick plate without checking clearance. A plate that contacts the window regulator can disable the window or damage the glass.
Which Repair Method Should You Choose?
The best repair is the least invasive method that removes the first moving component. Tightening is appropriate for loose hardware, damping suits minor glass rattle, structural reinforcement suits verified door flex, and replacement suits broken pivots, cracked housings, or incompatible aftermarket mirrors.
| Repair method | Typical parts cost | Typical time | Best application | Main limitation |
|---|---|---|---|---|
| Tighten mount and pivot | $0-$30 | 20-40 minutes | Loose factory mirror | Fails against cracked structure |
| Foam or approved damping pads | $5-$35 | 20-45 minutes | Glass-only rattle | Cannot fix actuator damage |
| Backing plate | $30-$120 | 1-2 hours | Heavy tow mirror and flexing door | Requires access and clearance |
| Stabilizer brace | $80-$250 | 1-3 hours | Commercial extended mirror | May require drilling |
| OEM mirror assembly | $250-$900+ | 1-2 hours | Broken or poor-quality mirror | Higher cost and possible calibration |
| Tire or driveline repair | $25-$800+ | 30 minutes to several hours | Vehicle-wide vibration | Does not repair a loose mirror |
Aftermarket towing mirrors deserve extra scrutiny. A low-cost extension can fit the mounting holes yet have a flexible arm, weak pivot, poor gasket compression, or an aerodynamic shape that generates more force than the original door was designed to carry.
OEM replacement is preferable when the mirror includes blind-spot warning, a camera, power folding, heating, or memory positioning. A replacement may need connector adaptation, camera aiming, blind-spot calibration, or a diagnostic scan, depending on the truck.
What Are the Most Common Repair Mistakes?
Mirror vibration repairs fail when the visible symptom is treated without finding the first loose or flexible component. Four mistakes occur repeatedly in driveway repairs.
- Using universal torque values: Mirror studs and door structures vary widely. A guessed value can strip a stud or crush a plastic base.
- Gluing glass to the housing: Epoxy can prevent future actuator, heater, or glass replacement and may transmit more vibration into the pane.
- Adding a brace before checking the door: A brace can hide loose hardware while introducing drilling, corrosion, and visibility problems.
- Ignoring speed correlation: A mirror replacement cannot cure a bent wheel, tire belt separation, worn universal joint, or damaged engine mount.
- Installing incompatible foam: Open-cell foam absorbs water and loses thickness; thick foam can overload the electric actuator.
- Leaving damaged wiring under tension: A mirror may work during installation and fail later when the harness flexes at the door hinge.
A practical rule is to repair one variable at a time. Tighten and retest before adding foam; repair the tire or driveline before fabricating a brace. That sequence prevents unnecessary parts and makes the result easier to verify.
How Do Costs and Repair Times Vary?
A simple loose-mount repair typically costs $0-$30 in materials and takes 20-40 minutes. A structural backing plate commonly costs $30-$120 and takes 1-2 hours, while a feature-rich OEM mirror may cost $250-$900 or more before painting, programming, or calibration.
The following ranges are typical North American retail and independent-shop figures, not fixed prices. Labor rates, truck configuration, mirror features, corrosion, and access behind the door can change the total substantially.
| Repair scenario | Parts range | Labor time | Possible added charge |
|---|---|---|---|
| Loose mounting nuts | $0-$30 | 0.3-0.7 hour | $50-$150 shop labor |
| Glass clips or pads | $10-$80 | 0.5-1.0 hour | Heated glass replacement |
| Backing plate fabrication | $30-$120 | 1-2 hours | Paint or corrosion treatment |
| Tow-mirror replacement | $250-$900 | 1-2 hours | Painting and connector work |
| Camera-equipped mirror | $500-$1,200 | 1.5-3 hours | $100-$300 calibration |
| Tire balance and inspection | $20-$100 | 0.5-1.0 hour | Tire or wheel replacement |
| Driveshaft or mount repair | $150-$1,000+ | 1-6 hours | Parts and driveline balancing |
Do not use vibration-reduction percentages as a promise. Results depend on mirror mass, arm length, door stiffness, wind angle, road surface, and the frequency of the underlying vibration, so a backing plate that works on one Silverado may do little on another truck with a damaged tire.
Which Fix Fits Your Truck?
Daily driver or light-duty pickup
Start with the mirror base, pivot, and glass clips. A factory half-ton mirror that vibrates after years of use usually needs hardware tightening, a gasket, a pivot repair, or a replacement actuator rather than a fabricated brace.
Avoid permanent modifications when the truck has a functioning factory mirror. If glass-only movement remains after the clips are secure, use the correct replacement backing pads instead of thick improvised foam.
Heavy towing or aftermarket telescoping mirrors
Inspect the mounting footprint and door flex before adjusting the pivot. Extended towing mirrors apply more leverage, especially at highway speed and with crosswinds, so a backing plate may be appropriate when the door structure visibly moves.
Do not rely on a snap-on extension as a structural repair. If the extension itself flutters, replace it with a properly supported mirror or a model designed for the truck’s mounting system.
Commercial truck or long-haul vehicle
Prioritize repeatable, serviceable repairs. Inspect mirror brackets, fasteners, bushings, aerodynamic shells, cab mounts, and engine harmonics during scheduled maintenance rather than adding adhesive as a permanent fleet solution.
A rigid brace can help a heavy external mirror, but fleet managers should verify driver sightlines, corrosion protection, door integrity, and local equipment requirements before approving drilled modifications. OEM assemblies are often the better choice when downtime and repeated adjustments cost more than the initial part.
When Should You Replace the Mirror?
Replace the mirror when the housing is cracked, the pivot has measurable play after adjustment, the actuator clips are broken, the mounting studs are stripped, or the mirror repeatedly loosens after correct torque. Replacement is also sensible when an aftermarket assembly has excessive arm flex or incompatible geometry.
A replacement will not solve vibration caused by a tire, wheel, driveshaft, engine mount, or flexible door. Confirm that the mirror is the source before ordering a part, especially when both sides shake at the same road speed.
For a powered mirror, match every required feature: heating, turn signal, puddle lamp, power fold, telescoping, memory, blind-spot sensor, camera, connector type, and finish. A visually identical mirror can still lack the correct actuator, sensor bracket, or camera position.
How Do You Verify the Repair?
Verify the repair in stages rather than driving immediately to maximum speed. First, confirm that the mirror has no hand-detectable free play and that power adjustment, folding, heating, and signal functions work normally.
Next, test on a safe road at the speed where the blur previously appeared. Compare the repaired side with the other mirror, then repeat under light acceleration and deceleration. If the vibration remains unchanged, stop adding mirror material and return to tire, wheel, driveline, or engine diagnosis.
Record the result with a short phone video from the driver’s normal position. The goal is a stable, usable rearward image, not zero microscopic movement, because every exterior mirror experiences some airflow and road input.
FAQ
Can tire balance cause a truck mirror to vibrate?
Yes. An imbalanced tire, bent wheel, separated tire belt, or driveline defect can transmit vibration through the suspension and cab into the mirror. Tire-related movement usually appears within a repeatable road-speed range and may affect the steering wheel, seat, or both mirrors. Have the wheels and tires inspected before replacing a stable mirror.
Will weatherstrip or foam tape stop mirror glass from shaking?
Thin closed-cell foam or approved replacement pads can reduce minor glass rattle when the housing and actuator are sound. Foam cannot repair broken clips, a loose motor plate, cracked glass, or a failed pivot. Use only enough material to remove free play, because thick foam can restrict electric adjustment and overload the actuator.
Why do towing mirrors vibrate more than standard mirrors?
Towing mirrors extend farther from the door and present a larger aerodynamic surface, which increases bending force at the base. Aftermarket arms may also use lighter plastic or less effective pivot bushings. Tight hardware, a sound gasket, a properly designed backing plate, and a structurally compatible mirror address those causes in sequence.
Can I use silicone to hold a truck mirror in place?
Flexible RTV silicone may help damp minor glass movement when the manufacturer permits it, but it should not replace mechanical clips or mounting hardware. Do not use epoxy to permanently bond adjustable glass to the housing. Permanent adhesive can destroy the actuator, heater connections, or replacement access.
Why does my mirror vibrate only when the truck idles?
Idle-only vibration usually comes from engine, cab, or accessory harmonics rather than wind. Compare neutral and drive, observe whether engine speed changes the blur, and inspect engine mounts, cab mounts, exhaust contact, and cooling-fan components. Raising idle speed is not a substitute for repairing a deteriorated mount or mechanical fault.
Is a mirror stabilizer bar worth installing?
A stabilizer bar can be worthwhile for a large commercial or towing mirror that has a rigid base but still flexes under airflow. It is unsuitable as a first repair for loose hardware, broken pivots, or tire vibration. Check sightlines, door clearance, corrosion protection, drilling requirements, and local equipment rules before installation.
The Bottom Line
To stop truck mirrors from vibrating, identify the first component that moves, then repair that component rather than masking the blur. Tighten the internal mount and pivot first, inspect the glass separately, check tires and driveline symptoms at the matching speed, and use reinforcement or replacement only when the structure or mirror design requires it. A stable mirror must remain adjustable, securely mounted, and fully visible under normal driving conditions.


