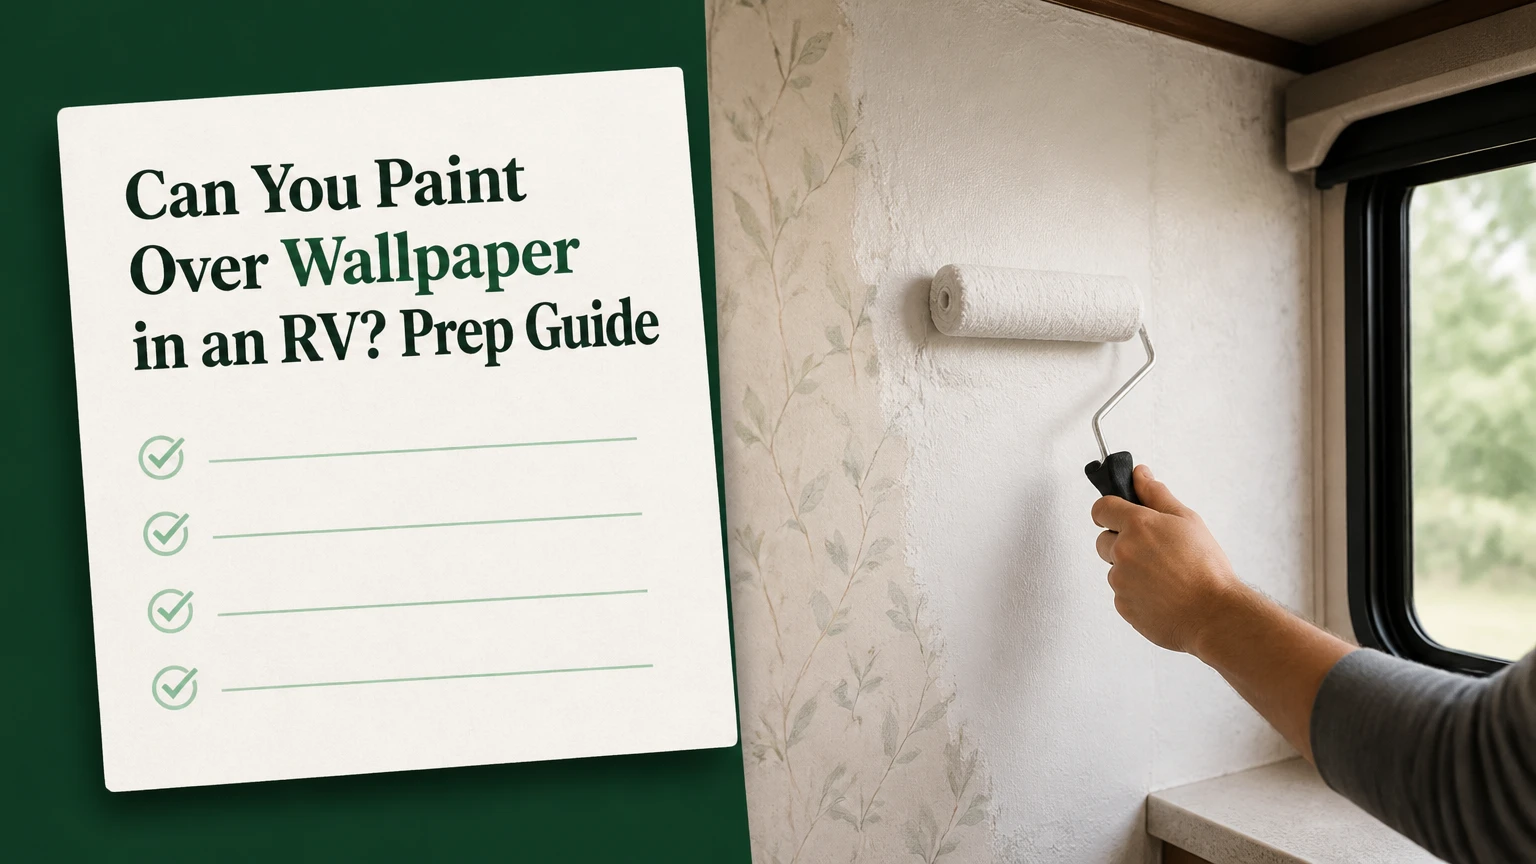
Yes, you can paint over wallpaper in an RV when the wall covering is firmly bonded, dry, and free from active water damage. Most RV “wallpaper” is vinyl film or Vinyl Border Overlap bonded to thin luan plywood, so adhesion depends more on cleaning, light scuffing, repairs, and high-adhesion primer than on the topcoat itself.
Key Facts at a Glance
- RV wall covering is commonly vinyl film laminated to luan plywood, not conventional household wallpaper.
- A bonding primer is required because smooth vinyl has low surface porosity and resists ordinary paint.
- Paint cannot reliably stabilize loose seams, bubbling vinyl, soft luan, or water-damaged wall panels.
- Typical DIY material cost is $100-$300 for a small to medium RV, excluding major substrate repairs.
- Most projects require 3-5 calendar days because primer and paint need drying and curing time.
- Satin acrylic latex is the usual interior finish, while semi-gloss is more practical near sinks and showers.
Can You Paint Over Wallpaper in an RV?
Painting over RV wallpaper is usually the lowest-risk renovation method when the factory wall film remains attached to sound luan. Removing bonded vinyl can tear the thin wood surface, expose seams, and create a rough substrate that requires skim coating before painting.
RV interiors experience conditions that ordinary stationary walls do not. Road vibration, humidity changes, temperature swings, and flexing wall panels can expose weak adhesion months after a seemingly successful paint job. A durable result therefore begins with a substrate inspection, not with a color choice.
Identify the Wall Covering First
Press a clean fingertip against an inconspicuous area. Vinyl film normally feels slightly plastic and may have a subtle embossed texture, while paper-backed wallpaper feels more fibrous and absorbs a tiny amount of moisture. Some RV walls also use printed laminate panels that look like wallpaper but behave more like plastic.
Test a hidden 2-inch area with the intended primer. Apply the product according to its label, allow it to dry, and press painter’s tape firmly over the test patch. Pull the tape back at a low angle. If the primer lifts the film, exposes adhesive, or remains gummy after the label’s drying period, stop and reassess the surface.
When Should You Not Paint Yet?
Do not paint over active leaks, soft wallboard, blackened wood, swollen seams, or wallpaper that releases from the panel with light pressure. Paint conceals the symptom while moisture continues weakening the luan and can cause larger delamination behind the new coating.
Repair roof, window, slide-out, plumbing, or exterior seal failures first. Allow the panel to dry fully, then remove loose material and evaluate whether the luan still has enough structural integrity for a cosmetic coating.
What Do You Need Before Starting?
A typical 20-30-foot travel trailer interior requires 1 gallon of bonding primer, 1-2 gallons of acrylic latex paint, 120-220 grit abrasive, cleaning solution, microfiber cloths, painter’s tape, a 3/8-inch nap roller, an angled brush, patching compound, and disposable gloves.
The project is moderate in difficulty and usually takes 12-20 hands-on hours spread across 3-5 days. The largest variable is repair time. A clean, intact wall can move quickly, while widespread seam failure may require panel replacement rather than painting.
Before You Start
| Requirement | Typical value | Practical specification |
|---|---|---|
| Working temperature | 50-85°F | Follow the primer and paint label |
| Relative humidity | Below 60% | Lower humidity improves drying |
| Primer quantity | 1 gallon | Covers approximately 300-400 square feet per coat |
| Paint quantity | 1-2 gallons | Depends on layout, color change, and coats |
| Roller nap | 3/8 inch | Limits texture on smooth wall film |
| Sandpaper | 120-220 grit | Use light pressure, not aggressive removal |
| Project duration | 3-5 days | Includes drying and cure periods |
| Typical DIY cost | $100-$300 | Excludes water-damage reconstruction |
Remove cabinet doors, switch plates, outlet covers, blinds, and hardware where practical. Label screws and photograph wiring locations before disconnecting anything. Cover appliances and upholstery because primer overspray and sanding dust are difficult to remove from porous fabrics.
Step 1: Inspect and Clean the RV Walls
Clean every painted area with a degreasing solution before sanding, because cooking vapor, hand oils, smoke residue, and silicone-based cleaners prevent primer from making consistent contact with vinyl.
Use a manufacturer-approved TSP substitute or diluted detergent suitable for the wall covering. True trisodium phosphate can be effective but requires careful handling and thorough rinsing. Do not leave cleaner residue on the panel.
Work in sections no larger than 4-6 square feet. Scrub with a non-abrasive pad, wipe with clean water, and dry with lint-free cloths. Allow the surface to dry completely, typically overnight. A damp seam can trap moisture beneath primer.
You’ll know it worked when: a clean white cloth stays clean after wiping the wall, and the surface feels dry rather than slick or greasy.
Common mistake: using a silicone-containing household spray after cleaning. Silicone residue can create fisheyes and adhesion defects.
Step 2: Stabilize Seams and Repair Damage
Repair loose seams, nail holes, dents, and failed corner joints before applying primer. Paint follows the existing surface, so it will not hide a curling edge or flatten a raised bubble.
For a loose wallpaper seam, apply a small amount of compatible wallpaper seam adhesive beneath the lifted edge, press it flat with a seam roller, and hold it with low-tack painter’s tape until the adhesive cures. Remove tape slowly to avoid lifting the film.
Use lightweight spackle for small cosmetic holes and an elastomeric or flexible patching compound where minor movement is expected. Sand repairs flush after drying. Do not use rigid filler across a moving joint, because the filler can crack when the RV flexes.
A seam that repeatedly opens may indicate panel movement, moisture, or failed factory bonding. Decorative battens can conceal a stable seam, but they cannot correct a wet wall.
You’ll know it worked when: seams lie flat, repairs feel level under your fingertips, and no soft area remains around windows, corners, or plumbing fixtures.
Common mistake: filling a water-damaged area without repairing the leak. The patch will discolor, soften, or detach.
Step 3: Lightly Scuff the Vinyl Surface
Lightly abrade glossy vinyl with 120-220 grit sandpaper to reduce sheen and provide mechanical tooth for the bonding primer. Sand by hand or with a low-speed random orbital sander using minimal pressure.
The objective is not to remove the factory film. Aggressive sanding can cut through the thin vinyl layer and expose luan, paper backing, or adhesive, which creates an uneven and less stable surface.
Use 120-150 grit on glossy, textured film and 180-220 grit when the surface already has a low sheen. Stop when the gloss becomes uniformly dull. Vacuum or wipe away dust with a microfiber cloth or tack cloth that leaves no oily residue.
You’ll know it worked when: reflected light appears softened across the wall, with no deep scratches or exposed brown substrate.
Common mistake: sanding only around visible defects. Primer adheres inconsistently when glossy islands remain between scuffed areas.
Step 4: Mask Trim, Ceilings, Floors, and Fixtures
Mask adjacent surfaces after dust removal and immediately before priming. Use 1.5-2-inch quality painter’s tape along trim, ceiling edges, windows, cabinet faces, and electrical plates.
Press the tape edge firmly with a plastic putty knife or clean fingertip. RV trim often has irregular edges, so inspect the seal from several angles before opening the primer.
Cover floors with a drop cloth rather than relying on tape alone. Remove tape while the final coat is still slightly flexible, usually within the product’s recommended window, because fully hardened paint can tear at the edge.
You’ll know it worked when: the tape edge remains continuous around corners and no exposed upholstery or appliance surface sits within the roller’s path.
Common mistake: masking over dust. The tape then releases early and allows primer to creep beneath it.
Step 5: Apply the Correct Bonding Primer
Apply one uniform coat of a high-adhesion bonding primer designed for glossy or non-porous surfaces. Use a synthetic brush for edges and a 3/8-inch roller for broad panels, keeping the film thin enough to avoid runs.
Water-based products such as Zinsser Bulls Eye 1-2-3, Zinsser STIX, or KILZ Adhesion may reduce odor in a confined RV, but the specific label must permit the intended surface. Oil-based products such as KILZ Original or Zinsser Cover-Stain can block smoke, tannin, and adhesive discoloration more aggressively, although they produce stronger fumes.
Shellac-based primers such as Zinsser BIN dry quickly and block severe stains, but their alcohol solvents require strong ventilation and careful respiratory protection. Never choose shellac simply because it dries fast in a closed RV.
Allow primer to dry and cure according to its technical data sheet. A typical recoat window may be 1-4 hours, while practical light-duty curing can take 24-48 hours under cool or humid conditions.
| Primer category | Typical recoat time | Main advantage | Main limitation |
|---|---|---|---|
| Water-based bonding primer | 1-4 hours | Lower odor and easier cleanup | May not block severe stains |
| Oil-based primer | 4-24 hours | Strong stain and adhesive blocking | Odor, solvents, slower drying |
| Shellac-based primer | 15-60 minutes | Excellent stain sealing | High odor and flammability |
| Standard drywall primer | 1-4 hours | Low cost on porous drywall | Poor choice for glossy vinyl |
You’ll know it worked when: the primed wall has an even, non-tacky film and a small tape test does not remove primer after curing.
Common mistake: applying ordinary flat-wall primer directly to vinyl. Porous-wall primers do not automatically create reliable adhesion on plastic-like film.
Step 6: Test Adhesion Before Painting
Perform an adhesion test after the primer has cured. Cut a small crosshatch through the primer with a utility knife in a hidden area, apply firm painter’s tape, and remove it sharply at approximately 180 degrees.
No meaningful lifting should occur. If the primer peels in squares or pulls away in sheets, improve cleaning, scuffing, or primer selection before covering the entire RV.
This test matters because a wet primer can appear attached while remaining weak underneath. The topcoat may then pull the primer away from the wallpaper during rolling.
Which Primer Should You Choose?
Choose water-based bonding primer for an intact, clean wall when odor and cleanup matter most. Choose oil-based primer for smoke staining, adhesive bleed, or uncertain contamination, and reserve shellac primer for severe localized stains or situations where rapid sealing outweighs solvent odor.
Primer selection should follow the defect rather than personal brand loyalty. A low-odor product is not automatically weaker, and a solvent-based product is not automatically necessary for every RV interior.
Step 7: Paint Two Thin Topcoats
Apply two thin coats of quality acrylic latex interior paint after the primer passes the adhesion test. Satin usually balances washability, light reflection, and the ability to disguise minor wall texture; semi-gloss is more suitable for splash-prone areas.
Use a wet edge and avoid repeatedly rolling areas that have begun to set. Apply the second coat only after the first reaches the manufacturer’s recoat time, commonly 2-4 hours under favorable conditions.
Do not use heavy coats to conceal seams. Thick paint remains softer longer, collects dust, and can crack or telegraph movement when the RV travels.
| Finish | Typical location | Cleaning performance | Visual trade-off |
|---|---|---|---|
| Flat | Low-contact ceiling areas | Low | Hides texture, marks easily |
| Eggshell | Dry bedroom walls | Moderate | Softer appearance, limited scrubbing |
| Satin | General RV interior | High | Mild sheen reveals some defects |
| Semi-gloss | Kitchen and bathroom | Very high | Reflects more wall irregularity |
You’ll know it worked when: color is uniform, roller texture is consistent, and no tackiness remains after the final coat dries.
Common mistake: closing the RV immediately after painting. Poor air exchange slows solvent and water evaporation and can leave the coating soft.
How Long Should RV Paint Cure Before Travel?
Plan for 3-5 days from cleaning through light travel, even when the paint label lists a shorter recoat time. Primer may be ready for paint within several hours, but the finished coating needs additional time before vibration, abrasion, and tightly closed storage conditions.
Keep the RV stationary, ventilated, and within the product’s temperature range. Avoid loading against freshly painted walls, reinstalling tight cabinet hardware, or washing the surface during the early cure period.
| Project stage | Typical hands-on time | Typical waiting period |
|---|---|---|
| Cleaning and inspection | 4-6 hours | Overnight drying |
| Repairs and sanding | 3-6 hours | 2-24 hours for filler |
| Priming | 2-4 hours | Label time, often 4-24 hours |
| Two paint coats | 4-8 hours | 2-4 hours between coats |
| Final cure | 30-60 minutes inspection | 24-72 hours before travel |
These are typical planning ranges, not universal specifications. Product labels control because temperature, humidity, film thickness, and ventilation change drying behavior.
How Much Does It Cost to Paint RV Wallpaper?
A typical DIY RV wallpaper painting project costs $100-$300 for primer, paint, abrasives, masking materials, rollers, brushes, patching compound, and protective coverings. Professional pricing commonly ranges from $1,000-$3,000, but extensive repairs, difficult cabinetry, and full-time interior access can increase the quote.
Paint quantity depends on wall area and color contrast. A dark factory pattern covered with white paint may require an extra topcoat, while a light wall receiving a similar color may use less material.
| Cost item | Typical quantity | Typical US price |
|---|---|---|
| Bonding primer | 1 gallon | $30-$70 |
| Acrylic latex paint | 1-2 gallons | $40-$120 |
| Sandpaper and tack cloths | 1 package each | $10-$25 |
| Tape and drop cloths | 2-4 rolls, 1 cloth | $20-$50 |
| Rollers, brushes, trays | 1 set | $20-$50 |
| Patch and seam adhesive | 1-2 containers | $10-$35 |
| Professional labor | 20-40 hours | $1,000-$3,000 |
Local prices vary by country, brand, RV size, and whether the contractor removes fixtures. Obtain a written quote that separates surface repairs, masking, primer, topcoat, and cabinet work.
Should You Remove RV Wallpaper Instead?
Paint over intact RV wallpaper when the film is firmly bonded and the goal is a faster, lower-risk cosmetic update. Remove or replace the covering when it is broadly delaminated, contaminated, moldy, water-damaged, or structurally detached from the luan.
Stripping bonded factory film can damage the thin plywood face. Solvents and steam can also soften adhesives or drive moisture into seams, so removal is not automatically a more permanent solution.
| Method | Typical labor | Substrate risk | Best use |
|---|---|---|---|
| Paint over intact film | 12-20 hours | Low | Sound walls with cosmetic discoloration |
| Remove loose sections, then paint | 20-35 hours | Moderate | Localized seam or bubble failure |
| Strip all film | 30-60 hours | High | Severely failed or contaminated covering |
| Replace wall panels | 40+ hours | Variable | Soft luan or active structural damage |
An alternative is to install narrow battens, lattice strips, or lightweight wall panels over stable areas. Fasteners must avoid wiring and plumbing, and added weight matters in a mobile vehicle.
What Commonly Goes Wrong?
Paint Bubbles or Blisters
Bubbling usually indicates trapped moisture, grease contamination, adhesive softening, or insufficiently cured primer. Let the area dry, cut away the loose coating, identify the moisture source, patch the edge, re-prime, and repaint.
Do not press a wet bubble flat and cover it. The defect will usually return because the underlying adhesion problem remains.
Wallpaper Seams Curl After Painting
Curling seams indicate failed edge adhesion or movement beneath the coating. Inject seam adhesive under the edge, press it flat, tape it in position, and allow full cure before spot-priming and repainting.
If multiple seams open in the same wall zone, inspect for moisture or panel flex rather than repairing each seam independently.
Stains Bleed Through
Smoke, tannin, rust, and adhesive residue can migrate through water-based paint. Seal each affected area with an appropriate stain-blocking primer, often oil-based or shellac-based, then apply the acrylic topcoat after the sealer cures.
Acrylic paint alone is a poor stain barrier. The defect may appear hours after the surface initially looks finished.
Paint Peels in Sheets
Sheet peeling usually means the substrate was glossy, dirty, damp, or incompatible with the primer. Scrape only loose material, clean the exposed area, scuff intact film, test a new bonding primer, and expand the repair only when adhesion is proven.
Seams Remain Visible
Paint does not erase changes in surface height. Skim a stable seam with flexible compound, sand it level, prime the repair, or use a deliberate batten detail when movement makes a perfectly invisible joint unrealistic.
Which Approach Fits Your RV?
Weekend DIY Renovation
Use water-based bonding primer and satin acrylic latex when the RV is clean, dry, and parked for at least three days. This route minimizes odor and simplifies cleanup, but it requires patience during cure periods.
Full-Time RV Living
Use low-odor products where possible and paint one zone at a time so sleeping and cooking areas remain usable. Strong solvent primers can offer useful stain blocking, but ventilation is harder in an occupied vehicle, so localized sealing may be safer than coating every wall with shellac.
Resale-Focused Renovation
Prioritize consistent color, straight trim lines, stable seams, and reversible improvements. Neutral satin paint can modernize the interior, while decorative battens may hide unavoidable factory seams without encouraging a buyer to believe damaged panels were repaired.
Painting is not a substitute for structural repair. That limitation matters more than the choice between two reputable primer brands.
FAQ
Can You Paint Over RV Wallpaper Without Sanding?
You can sometimes omit sanding when the primer manufacturer specifically approves the intact surface and a hidden adhesion test succeeds, but light scuffing remains the safer standard for glossy vinyl. Sanding removes sheen and improves mechanical grip; it should not cut through the factory film.
Can You Paint Over RV Wallpaper With Regular Latex Paint?
Regular acrylic latex paint can work as the finish coat, but it should not be applied directly to unprimed RV wallpaper. A compatible bonding primer must first create adhesion to the non-porous vinyl surface and block any stain or adhesive migration.
Can You Paint RV Ceiling Wallpaper?
You can paint RV ceiling wallpaper if the ceiling film is firmly attached, dry, and compatible with the primer. Use thin coats, control roller loading, and inspect for roof leaks first. Overhead bubbling often signals moisture rather than a simple paint problem.
What Color Hides RV Wallpaper Seams Best?
Low-contrast neutral colors such as warm white, greige, or light taupe usually make shallow seams less noticeable than high-contrast colors. Satin sheen improves cleaning but can reveal ridges, so eggshell may be acceptable in a dry bedroom where wall washing is limited.
How Long Will Painted RV Wallpaper Last?
A properly prepared interior may remain serviceable for approximately 5-8 years under typical use, but durability depends on travel frequency, humidity, wall movement, cleaning, and the condition of the original film. Active moisture or loose seams can shorten that period dramatically.
Is Painting Over RV Wallpaper Better Than Removing It?
Painting is usually better for intact factory film because it preserves the bonded wall structure and reduces substrate damage. Removal becomes preferable when the covering has widespread moisture damage, mold, or delamination that primer cannot stabilize.
The Bottom Line
You can paint over wallpaper in an RV when the vinyl film is firmly attached and the luan behind it is dry and sound. Clean thoroughly, repair and lightly scuff the surface, use a compatible bonding primer, apply two thin acrylic coats, and keep the RV stationary while the finish cures. Proper preparation determines whether the project lasts through travel.


