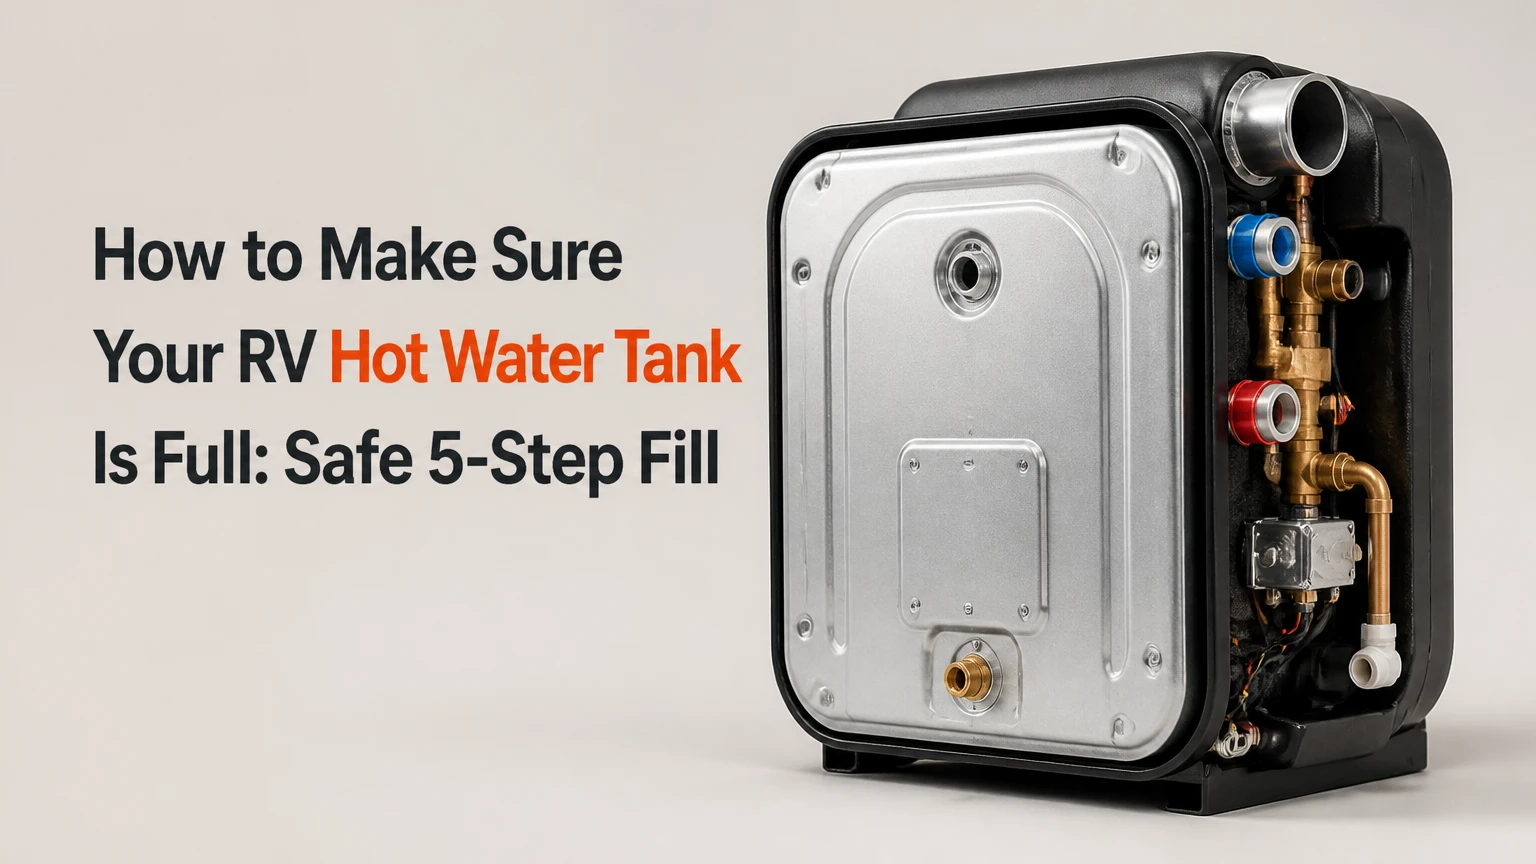
To make sure your RV hot water tank is full, install the correct drain plug or anode rod, place the bypass valves in normal service mode, supply pressurized water, and open each hot faucet until air stops and water flows steadily. Keep propane and 120-volt heating switched off until that water flow is established.
Key Facts at a Glance
- An RV storage water heater must contain water before its propane burner or electric element operates.
- A steady hot-side faucet stream confirms that water has reached the plumbing outlet, but it does not prove the tank is completely free of air.
- A three-valve bypass normally uses open cold and hot lines with the center bypass valve closed.
- A typical 6-gallon RV tank fills in 2-10 minutes, depending on pressure, hose flow, and plumbing condition.
- Suburban steel tanks use replaceable anode rods, while many Dometic or Atwood aluminum tanks use nylon drain plugs.
- The temperature and pressure relief valve is a safety device, not a routine fill indicator; repeatedly lifting the lever can cause leakage.
Before You Start
The filling procedure usually takes 10-20 minutes, including faucet purging and inspection. The task is straightforward for an owner who can identify the exterior water-heater compartment, but bypass arrangements differ between RV manufacturers, so the water-heater manual and valve labels take priority.
| Requirement | Typical specification | Why it matters |
|---|---|---|
| Fresh-water hose | 25-50 feet, potable-water rated | Supplies city water without hose contaminants |
| Pressure regulator | 40-50 psi adjustable range | Protects RV plumbing from excessive campground pressure |
| Water source | City connection or 12V pump | Pressurizes the heater inlet |
| Drain component | Suburban anode rod or Dometic nylon plug | Seals the tank opening and protects compatible threads |
| Heating controls | LP and 120V switches OFF | Prevents dry firing while filling |
| Fill time | 2-10 minutes typical | Longer times require inspection for restrictions or leaks |
| Safety equipment | Gloves and eye protection | Protects against hot water and scale during service |
Turn off the water heater at its interior control panel before connecting water. If the heater was recently operating, wait until the tank and drain fitting cool completely. Never remove a drain plug or anode rod from a pressurized or hot tank.
Identify the Heater Before Filling
A conventional storage heater has an exterior access door, a cylindrical tank, a cold-water inlet, a hot-water outlet, and a relief valve. Common capacities are 6, 10, or 12 gallons. A tankless unit has no storage tank or drain plug and uses a heat exchanger instead.
Suburban’s owner instructions state, “Never operate the water heater without water in the tank.” That warning applies to both the gas burner and the electric heating element, although an electric element often fails especially quickly when energized in an empty tank.
How Does an RV Water Heater Fill?
An RV storage water heater fills through the cold-water inlet, usually located at the bottom or lower side of the tank. Incoming water displaces air and pushes stored water toward the hot-water outlet at the top. Opening a hot faucet gives displaced air a route out of the plumbing rather than allowing an air lock to remain.
A small air space at the top of many storage tanks is intentional. Water expands as it heats, and that expansion space reduces unnecessary pressure cycling. Do not try to make the tank completely airless by repeatedly opening the relief valve. The objective is a water-filled tank with the manufacturer’s expansion space preserved.
The city-water inlet uses campground pressure. The onboard pump uses water from the fresh tank and normally cycles as faucets open. Both sources can fill the heater, but a pump may run longer if the fresh tank is low or the pump has not been primed.
Step 1: Seal the Drain Opening
Install the correct drain plug or anode rod before adding water. Confirm the water heater is cool and depressurized, then inspect the component for damaged threads, severe corrosion, or a deteriorated sealing washer.
Suburban water heaters generally use a steel tank with a sacrificial anode rod. The rod is commonly removed with a 1 1/16-inch socket, although the exact service procedure belongs to the model manual. Many Dometic and Atwood aluminum tanks use a 1/2-inch nylon drain plug instead. Do not substitute a brass or steel plug in an aluminum tank because dissimilar-metal corrosion can damage the tank threads.
Use only the sealant recommended by the heater manufacturer. Some plugs seal with tapered threads, while others require approved thread tape or pipe sealant. Wrap tape in the tightening direction, keep the first thread clear, and tighten firmly without forcing the fitting.
Success checkpoint: The drain fitting is seated, dry, and compatible with the tank material.
Common mistake: Owners sometimes tighten a plastic plug with excessive force. Nylon can split, and the resulting leak may appear only after the tank is pressurized.
Step 2: Choose and Connect the Water Source
Connect a potable-water hose to the RV city-water inlet, then place a pressure regulator between the campground spigot and the hose. A regulator set near 45-50 psi is a typical conservative operating point, but the RV manufacturer’s specification controls.
For tank filling from the onboard supply, add enough water to the fresh tank for the pump to maintain suction. Turn on the pump and open a cold faucet briefly until the pump stops cycling rapidly. A dry or poorly primed pump cannot fill the water heater reliably.
| Water source | Typical pressure or capacity | Fill advantage | Limitation |
|---|---|---|---|
| Regulated city water | 40-50 psi | Continuous supply at the campsite | Requires hose, regulator, and pressurized hookup |
| Unregulated campground water | 60-100+ psi possible | Fast apparent flow | Can damage RV plumbing and fixtures |
| Fresh-water tank and 12V pump | 20-55 psi typical pump output | Works without a campsite hookup | Limited by tank capacity and battery power |
| Portable container transfer | 1-5 gallons per container | Useful for emergency top-up | Requires a functioning pump or manual filling method |
Open the supply valve gradually. Rapidly opening a high-pressure connection can make the plumbing hammer and can expose a weak fitting. Inspect the exterior compartment and the floor beneath the heater while pressure builds.
Success checkpoint: Water enters the RV without leaks, the pump stops normally, or city-water flow remains stable.
Common mistake: Connecting city water without a regulator can expose an RV to pressure well above the coach plumbing rating.
Step 3: Set the Water Heater Bypass to Normal Mode
Place the bypass system in normal service mode, not winterization mode. In the common three-valve arrangement, open the cold-water inlet valve, open the hot-water outlet valve, and close the center bypass valve.
Valve handles parallel to the pipe commonly indicate open, while handles perpendicular to the pipe commonly indicate closed. That convention is useful but not universal. Some RVs use check valves, two valves, a single diverter valve, or a panel with labels that differ from the physical orientation.
| Bypass arrangement | Cold inlet | Hot outlet | Center bypass | Filling result |
|---|---|---|---|---|
| Common three-valve system | Open | Open | Closed | Tank fills normally |
| Winterization three-valve system | Closed | Closed | Open | Antifreeze bypasses the tank |
| Two-valve system | Open | Open or check valve active | Not fitted | Tank fills if outlet is unobstructed |
| Diverter-valve system | Service position | Service position | Internal route closed | Follow the manufacturer’s label |
If the tank was winterized, the bypass may still be set to protect it from antifreeze. A partially open bypass can let cold water blend into the hot line, producing water that flows normally but never becomes hot.
Success checkpoint: The water-heater manual’s normal-use diagram matches the valve positions.
Common mistake: Treating every parallel handle as open without tracing the pipes. Verify the actual flow path, especially when the valve panel is hidden behind cabinetry.
Step 4: Purge Air From Every Hot Faucet
Open the hot side of the faucet farthest from the water heater, then leave it open until the stream becomes continuous. Repeat the process at the kitchen sink, bathroom sink, shower, and exterior shower if fitted.
Air may sputter for several seconds or several minutes. The time depends on tank size, pipe length, water pressure, and the amount of air introduced during winterization. Keep the water heater controls off while purging.
Open one outlet at a time when possible. A single open hot faucet gives the air a predictable escape route and makes the change from air to water easier to observe. If a faucet has a single lever, move it fully toward HOT rather than leaving it in the center position.
Success checkpoint: Each hot outlet produces a steady stream without hissing, spurting, or repeated air pockets.
Common mistake: Closing the faucet as soon as the first water appears. Initial water proves that water reached the outlet, but several air pockets can remain in the tank outlet and hot-water lines.
The faucet-flow test is safer and more useful than lifting the temperature and pressure relief lever. The relief valve can be difficult to reseat after scale enters the seat, creating a persistent exterior leak. If the valve must be serviced, first turn off heating, let the water cool, shut off the supply, and relieve pressure through a faucet.
Step 5: Confirm the Tank and Plumbing Are Ready
Inspect the heater compartment after the hot faucets run steadily. Look for water around the drain fitting, pressure-relief valve, burner compartment, and pipe connections. A dry exterior compartment and uninterrupted hot-side flow provide the practical operating confirmation needed before heating.
Do not use the relief valve as a routine “100 percent full” test. A brief stream from the valve indicates water is present at the valve opening, but it does not measure tank volume, prove correct bypass routing, or verify that the electric element is submerged. The valve should remain closed unless the owner’s manual specifies a service test and the tank is cool enough for safe handling.
Turn on one heating source only after the fill checks pass. Gas ignition can take a few attempts after a long shutdown, while electric heating may take 30-60 minutes to produce a fully heated 6-gallon tank. Check for leaks again after heating begins.
Success checkpoint: Hot faucets flow steadily, the drain fitting remains dry, no water appears at the relief-valve outlet, and the heater compartment contains no leak.
Common mistake: Turning on propane and electricity together to shorten recovery time before confirming the tank is full. Combined operation can reduce heating time, but it also increases the consequences of a missed filling error.
Which RV Water Heater Type Requires a Full Tank?
Conventional Suburban and Dometic storage heaters require a water-filled tank before heating. Tankless RV heaters do not store a tankful of water, but they still require an open supply path, adequate flow, correct pressure, and functioning freeze protection.
| Heater type | Storage volume | Common power | Filling requirement | Typical recovery |
|---|---|---|---|---|
| Suburban SW6DE | 6 gallons | LP and 120V AC | Fill tank before either mode | 30-60 minutes |
| Dometic WH-6GEA | 6 gallons | LP and 120V AC | Fill tank before heating | 30-60 minutes |
| 10-gallon storage heater | 10 gallons | LP, AC, or both | Fill tank and purge outlets | 45-90 minutes |
| Girard or Truma tankless | 0 gallons stored | Usually LP and 12V controls | Establish flow through heat exchanger | Hot water after ignition delay |
| Aqua-Hot hydronic system | Model-dependent | Diesel, electric, or engine heat | Fill domestic-water circuit | Continuous or rapid recovery |
A tankless unit is not immune to plumbing problems. Flow below the ignition threshold, often around 0.5-0.9 gallons per minute depending on model, can produce cold water or repeated burner cycling. Tankless systems are also less suitable for very low-flow “navy showers” unless the specific unit is designed for that operating pattern.
Engine heat exchangers and hydronic systems can warm domestic water while driving or running a separate burner. Their domestic-water circuit still needs to be filled and purged according to the system manual.
What Fill Time Is Normal?
A 6-gallon RV water heater generally fills in 2-10 minutes under ordinary conditions. A 10-gallon unit may take 4-15 minutes, although a weak pump, restrictive filter, low campground pressure, or long plumbing run can extend the time.
| Condition | Typical fill time | Interpretation |
|---|---|---|
| 6-gallon tank, 45-50 psi city water | 2-6 minutes | Normal when valves and fittings are open |
| 10-gallon tank, 45-50 psi city water | 4-10 minutes | Normal for a full purge |
| Fresh tank with moderate 12V pump | 5-15 minutes | Depends on pump output and battery voltage |
| Faucet still sputtering after 15 minutes | More than 15 minutes | Inspect pump suction, bypass, and leaks |
| No hot-side flow after 5 minutes | 0-5 minutes elapsed | Stop and check drain plug, inlet valve, and obstruction |
Flow time alone cannot prove a full tank. A bypass can create water flow at the hot faucet while the tank remains empty, and a blocked outlet can prevent flow even when the tank is full. Valve position and the water-heater design must be considered with the faucet test.
Common Mistakes and How to Fix Them
| Mistake or symptom | Likely cause | Immediate correction | When repair is needed |
|---|---|---|---|
| Electric element fails after startup | Heater energized with empty tank | Switch off power immediately | Replace element after confirming wiring and cause |
| Hot faucets stay cold | Bypass valve remains open | Match valves to service diagram | Diagnose check valve or crossover if settings are correct |
| Air sputters indefinitely | Empty fresh tank or suction leak | Refill tank and inspect pump inlet | Repair pump, filter housing, or intake fitting |
| Water leaks at drain | Split plug, damaged washer, loose anode | Depressurize and replace component | Repair damaged tank threads |
| Relief valve drips continuously | Scale, failed valve, lost expansion space | Cool, depressurize, and inspect | Replace relief valve if leakage persists |
| Rotten-egg odor | Sulfur bacteria or degraded anode | Sanitize and inspect anode | Replace anode and flush tank if odor returns |
Why Is the Hot Water Still Cold?
Cold water from every hot faucet usually means the bypass route remains open, the heater has no power or gas, or the thermostat and ignition system have failed. Start with the plumbing configuration because a bypass error can imitate a heating failure.
Confirm the center bypass valve is closed and the cold and hot tank valves are open. Then verify propane supply, 12-volt control power, the exterior gas valve position, and the 120-volt breaker or heater switch. Do not remove burner covers or test live electrical terminals unless you are qualified to do so.
Why Does Air Keep Coming From the Hot Side?
Persistent sputtering usually indicates a continuing air supply or a leak before the pump, rather than a tank that simply needs more time. Check the fresh-water level, winterization siphon valve, pump strainer, hose connections, and filter housing.
With city water connected, isolate the pump and observe whether air continues. With the pump operating, listen for repeated cycling when all faucets are closed. A pump that cycles without demand can indicate a plumbing leak.
Why Is Water Leaking From the Relief Valve?
A relief valve that leaks continuously may have scale on its seat, may be worn, or may be discharging because of excessive pressure or thermal expansion. Turn off the heater and allow the water to cool before diagnosis.
Shut off the water source and open a hot faucet to reduce pressure. If the valve continues to leak after the system is cool and repressurized, replacement is usually the correct repair. A relief valve is a safety component, so never cap, plug, or bypass it.
What Changes After Winterization?
After winterization, remove the drain plug only when the heater is cool and pressure-free, flush the tank, reinstall the compatible plug or anode, and return the bypass valves to normal service. If RV antifreeze entered the domestic plumbing, flush faucets and follow the RV manufacturer’s sanitizing instructions before drinking the water.
Winterization commonly leaves the tank empty and the bypass open. The first fill therefore requires more air purging than a normal campsite connection. Open the hot faucet gradually, because trapped air can release in bursts from a shower hose or exterior sprayer.
Do not mistake pink antifreeze at a faucet for evidence that the water heater is filling. Antifreeze can travel through the bypass line while the storage tank remains isolated.
Maintenance That Prevents Filling Problems
Inspect the drain component at least annually and whenever the tank is drained. Suburban anode rods are sacrificial parts; replace one when most of the magnesium or aluminum material has disappeared and the steel core is substantially exposed.
Flush sediment from the tank after cooling and depressurizing it. Sediment can reduce usable volume, obstruct the drain opening, and interfere with relief-valve seating. Follow the heater manual for flushing pressure and cleaning methods.
Drain the tank before freezing weather and during long storage when the manufacturer recommends it. Leaving water in a tank for a short camping interval is generally normal, but storage practices should account for freezing risk, water quality, odor, and the owner’s manual.
Typical Repair and Replacement Costs
Prices vary by brand, region, labor rate, and access difficulty. The figures below are typical parts-only or consumer-service ranges, not guaranteed quotations.
| Repair item | Typical parts cost | Typical labor time | Main compatibility concern |
|---|---|---|---|
| Dometic nylon drain plug | $5-$15 | 10-20 minutes | Correct thread size and plastic material |
| Suburban anode rod | $15-$35 | 20-45 minutes | Tank model, length, and socket clearance |
| Electric heating element | $20-$60 | 30-90 minutes | Voltage, wattage, gasket, and access |
| Temperature-pressure valve | $20-$50 | 20-60 minutes | Correct temperature and pressure rating |
| Complete 6-gallon heater | $600-$1,200 | 3-8 hours | Cutout size, gas, wiring, and plumbing |
| Tankless replacement | $800-$2,000 | 4-10 hours | Flow rate, LP capacity, venting, and controls |
A failed electric element after dry firing is often cheaper to repair than a damaged tank. A leaking tank, distorted mounting area, or corroded gas compartment requires professional evaluation because replacement involves gas, electrical, and combustion-safety considerations.
Expert Rules That Prevent Expensive Errors
A steady faucet stream is necessary but not sufficient. A bypassed heater can supply the hot-water line without filling the tank, which is why valve tracing matters more than timing alone.
Do not “test” the relief valve for convenience. Relief valves protect against dangerous temperature or pressure conditions, but their lever is not designed to be used as a daily fill gauge. A damaged seat can turn a harmless verification attempt into a constant leak.
Treat the water-heater material as a compatibility decision. An anode rod belongs in the compatible Suburban tank, while a nylon plug belongs in many aluminum Dometic or Atwood tanks. Similar-looking fittings are not interchangeable.
Heating mode does not determine fill status. Propane ignition, an electric switch light, or engine heat-exchanger operation says that a heat source is available. None of those signals proves that water covers the heating element or fills the tank.
FAQ
Can I fill the RV water heater without opening a faucet?
Water can enter a sealed heater, but opening a hot faucet is the practical way to release displaced air from the tank outlet and interior lines. Keep one hot faucet open during filling, then close it only after the flow becomes steady and free of air.
Should I leave the RV water heater bypassed when camping?
No. Leave the bypass active only during winterization, tank maintenance, or a deliberate decision to avoid filling the heater. For normal camping, the cold and hot tank lines should be open and the bypass route closed according to the RV’s plumbing diagram.
How much water does an RV water heater use?
A storage heater holds its rated volume, commonly 6 or 10 gallons, but usable shower water lasts longer because the hot stream mixes with cold water at the faucet. A tankless heater stores zero gallons and uses water only while a fixture flows.
Can low campground pressure prevent the tank from filling?
Yes. Very low pressure can produce weak filling and prolonged sputtering, especially through a sediment filter or partially closed inlet. Check the regulator, hose, filter, and campground spigot, but never remove pressure protection to increase flow.
Is it safe to turn on propane before the tank is full?
No. Propane heating must remain off until the tank is filled and hot-side faucets produce steady water. The burner can overheat an empty storage tank, while an electric element can fail rapidly when it is not submerged.
How do I know whether my RV has a tankless water heater?
Look for an exterior heater panel without a drain plug, anode rod, or cylindrical storage tank. The owner’s manual, model label, and controls often identify Girard, Truma, or Furrion tankless equipment. Tankless units still require correct water flow and pressure.
The Bottom Line
To make sure your rv hot water tank is full, keep the heater off, seal the correct drain opening, connect regulated city water or a primed 12V pump, set the bypass for normal service, and purge every hot outlet until the stream is steady. Inspect for leaks before selecting propane or 120-volt heat, and never rely on the relief-valve lever as the primary fill test.


