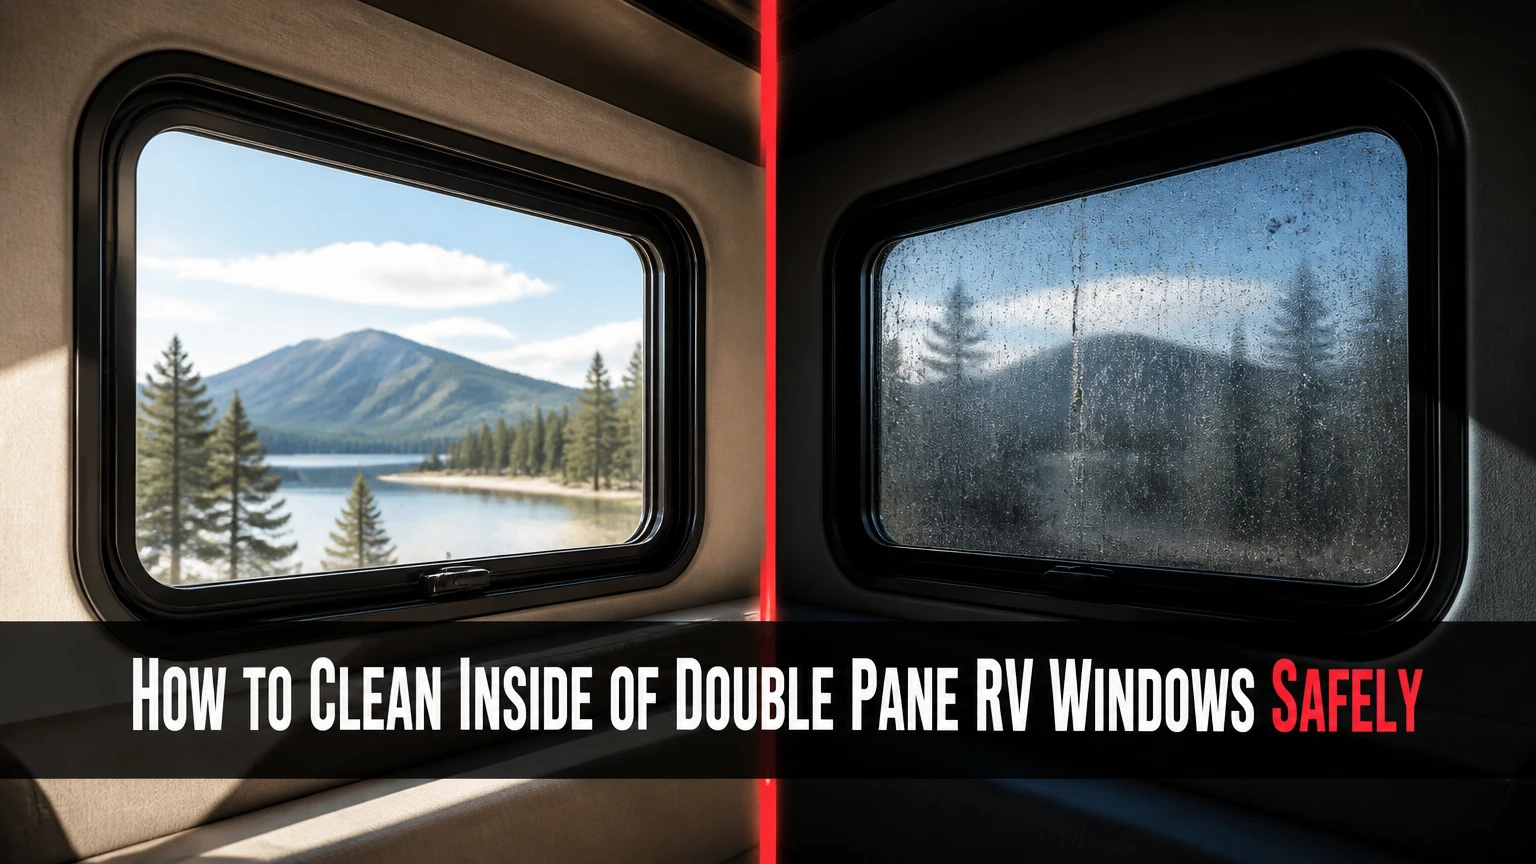
You cannot clean the inside cavity of a sealed double-pane RV window with ordinary glass cleaner. A fogged or stained insulated glass unit, or IGU, must be removed and opened for professional cleaning and resealing, or replaced as a complete glass unit. The safest choice depends on the damage, window design, and repair cost.
Key Facts
Double-pane RV windows contain two glass panes, a spacer, desiccant, and a perimeter seal.
Interior fog, droplets, white haze, or streaks usually indicate a failed IGU seal.
Exterior washing cannot remove contamination trapped between the panes.
Drilling tempered RV glass is a high-risk procedure that can cause sudden shattering.
Resealing typically costs less than replacement but requires careful glass handling and compatible materials.
Permanent glass etching cannot always be removed by polishing, even after moisture is eliminated.
Why the Interior Gets Dirty
The inside of a double-pane RV window becomes cloudy when moisture enters the sealed cavity. The two panes are separated by a perimeter spacer, while desiccant inside or adjacent to that spacer absorbs residual moisture during manufacturing. A primary seal and secondary seal normally keep outside air and water away from the cavity.
When the seal loses continuity, humid air enters. Temperature changes then turn that vapor into condensation on the internal glass faces. A white film may also develop when mineral deposits remain against the glass and chemically alter or etch the surface.
A failed seal does not always produce visible water first. Early symptoms can include a gray edge haze, narrow vertical streaks, or fog that appears only in the morning. A window that clears temporarily in warm, dry weather can still have a failed seal.
What symptoms identify a failed seal?
Interior fogging, droplets between panes, persistent white haze, and cavity-side streaks identify a likely failed seal. Condensation on the room-facing surface, by contrast, can result from high indoor humidity and may disappear when the surface is wiped.
Use a flashlight at a shallow angle to inspect the glass. Look for a reflection that changes between the outer and inner pane. If the haze remains inaccessible to a cloth on either exposed surface, the contamination is inside the IGU.
| Symptom | Likely location | Recommended response |
|---|---|---|
| Wipeable water film | Interior or exterior surface | Clean glass and reduce humidity |
| Fog between panes | IGU cavity | Reseal, repair, or replace IGU |
| White edge haze | Internal glass face | Inspect for etching before polishing |
| Water droplets after rain | Failed perimeter seal | Stop leaks and arrange repair |
| Cracked or chipped pane | Glass structure | Replace affected pane or IGU |
Can You Clean Inside of Double Pane RV Windows?
You can clean the cavity only by opening the insulated glass unit, separating the panes, removing contaminated spacer material, cleaning the internal faces, and rebuilding the perimeter seal. Removing the interior garnish or wiping the exposed glass does not reach the sealed space.
A complete repair is closer to IGU rebuilding than routine window washing. The work requires a stable padded bench, glass-handling equipment, compatible spacer material, a moisture-controlled workspace, and sealant designed for insulated glazing. Large panes and frameless assemblies are poor first projects because they flex easily and provide little edge protection.
A professional glass or RV window shop may repair the existing glass pack, replace the glass pack, or install a complete replacement window. Ask which component the quoted price covers. “Window replacement” can mean only the IGU, the aluminum frame, or the entire opening assembly.
Which Repair Method Is Safest?
Professional IGU repair or replacement is safer than drilling holes through the glass. Resealing can preserve the existing frame and glass when the panes remain structurally sound, while a new IGU provides the most predictable seal and optical result.
The drilling method sometimes promoted online is not a normal cleaning procedure. Tempered glass can shatter from localized drilling, edge damage, or concentrated pressure. A hole may also compromise the spacer, expose the cavity to new humidity, and fail to remove mineral etching.
| Method | Typical cost per window | Typical time | Best use |
|---|---|---|---|
| Professional defogging and resealing | $150-$450 | 1-2 days | Sound panes with failed seals |
| DIY glass-pack rebuild | $35-$100 in materials | 4-8 hours | Experienced glass workers |
| Replacement IGU | $250-$700 | 1-2 hours installation | Damaged or etched glass |
| Complete window assembly | $450-$1,000+ | 1-3 hours installation | Unavailable frame or severe damage |
| Drilling and rinsing | $15-$40 claimed materials | 1-2 hours claimed | Not recommended for tempered glass |
Prices are typical North American ranges, not fixed quotations. Size, glass thickness, tint, radius, frame brand, shipping, and custom fabrication can change the total substantially.
Before You Start
Treat the following requirements as prerequisites rather than optional accessories. The most important success factor is keeping dust and humid air out of the cavity during reassembly.
| Requirement | Typical specification | Why it matters |
|---|---|---|
| Workspace | Enclosed, clean, air-conditioned room | Reduces humidity and airborne dust |
| Workbench | Larger than the glass pack, padded with blankets | Prevents edge pressure and scratches |
| Time | 4-8 hours DIY, excluding cure time | Allows controlled separation and cleaning |
| Weather | Relative humidity below 50% preferred | Limits moisture trapped inside |
| Helpers | 1 person for small units, 2 for large units | Prevents frame twisting |
| Safety gear | Cut-resistant gloves, eye protection, long sleeves | Protects against glass fragments |
Tools and materials
Prepare the exact materials before removing the window:
- Painter’s tape and labeled bags for screws
- Plastic trim tools and a sharp utility knife
- Suction cups rated for the glass weight
- Fresh microfiber cloths that contain no fabric softener
- Distilled water and a neutral, non-ammoniated glass cleaner
- Isopropyl alcohol, preferably 70% or higher, for final residue removal
- New desiccant spacer material made for insulated glass
- Manufacturer-compatible IGU primary and secondary sealants
- New butyl tape for the exterior mounting flange
- A nonmetallic scraper for sealant residue
- A straightedge, calipers, and tape measure
- A camera for documenting frame orientation and hardware
Do not substitute household silicone because it may be chemically incompatible with IGU spacer and seal systems. Follow the window manufacturer’s sealant specification and cure instructions.
Step 1: Remove the RV Window
Remove the interior clamp ring and release the exterior frame only after a helper is positioned outside. Most framed RV windows are held by an interior ring and screws, but construction varies by manufacturer, so photograph the assembly before loosening hardware.
- Remove valances, blinds, screens, and trim that obstruct the clamp ring.
- Label each screw location and record screw length.
- Remove the interior perimeter screws evenly.
- Ask a helper to support the window from outside.
- Cut only the exterior sealant or butyl bond that holds the frame to the wall.
- Push the frame outward evenly, without levering against the RV siding.
- Place the assembly on a padded bench with the glass protected.
You will know the step worked when the window leaves the opening without bending the frame or tearing the wall skin. A distorted frame can prevent the replacement IGU from sealing correctly.
The common mistake is pulling from one corner. Corner force twists the frame and can crack the glass or damage the RV wall cutout.
Step 2: Identify the Glass Pack and Measure It
Confirm whether the fogged component is a removable IGU or an integrated frameless assembly before attempting separation. Measure the glass pack after removal, because ordering a replacement from the rough wall opening can produce an incorrect height or thickness.
Record these dimensions:
- Overall glass width and height
- Individual pane thickness
- Cavity or spacer thickness
- Glass tint, coating, and radius
- Spacer color and visible manufacturer marking
- Drain holes, corner keys, handles, and frame channels
- Orientation of the inner and outer panes
| Measurement | Common RV range | Measurement method |
|---|---|---|
| Pane thickness | 3-5 mm | Caliper at an exposed edge |
| Spacer cavity | 6-12 mm | Measure frame or spacer profile |
| Small side window width | 300-700 mm | Overall glass pack |
| Large living-area width | 700-1,500 mm | Overall glass pack |
| Glass-to-frame bedding | 2-5 mm | Inspect rubber or channel |
These ranges are typical, not universal specifications. A replacement must match the original geometry, safety glass designation, tint, and frame clearance.
The common mistake is ordering by the RV model alone. RV manufacturers often changed window suppliers during a model year, and two visually similar windows may use different glass-pack dimensions.
Step 3: Separate the Panes Carefully
Separate the panes by cutting the failed perimeter seal while keeping edge pressure low. Do not pry aggressively, strike the glass, or insert a metal blade deeply near a corner, because tempered glass is vulnerable to edge damage.
- Secure the glass pack flat on a padded surface.
- Apply painter’s tape across both exposed faces in a loose grid.
- Cut through the old flexible spacer or seal in shallow passes.
- Work around the perimeter, keeping the blade parallel to the glass.
- Use suction cups to lift one pane only after the seal releases.
- Support the pane vertically on a padded rack.
You will know the step worked when the panes separate without chips, star cracks, or flexing sounds. Any damaged pane should be replaced rather than reinstalled.
The common mistake is treating the spacer as a rigid structural bar. The spacer may contain desiccant and may release debris as the old seal is cut.
Step 4: Clean and Inspect the Internal Glass
Clean the internal glass faces with distilled water and a neutral cleaner, then use isopropyl alcohol for the final residue wipe. Avoid abrasive pads, razor scrapers on coated glass, acetone near painted frames, and strong acids unless the glass manufacturer specifically approves them.
- Remove loose sealant and spacer residue with a plastic scraper.
- Wipe each internal face with distilled water and a clean microfiber cloth.
- Use a small amount of neutral glass cleaner for oily deposits.
- Rinse with distilled water so tap-water minerals are not left behind.
- Finish with isopropyl alcohol on a lint-free cloth.
- Inspect under angled light after the glass dries.
You will know the surface is clean when no fingerprints, lint, water rings, or rainbow-like solvent residue appear under angled light.
The common mistake is assuming every white mark is removable dirt. Mineral deposits can etch glass, and etching remains visible after cleaning because the damage is microscopic surface alteration rather than a removable layer.
Can vinegar or steel wool remove the haze?
Diluted vinegar may loosen some external hard-water deposits, but it is not a dependable treatment for internal IGU etching. #0000 steel wool and cerium oxide can scratch or alter coated glass when used without manufacturer approval, so a glass technician should evaluate severe haze before polishing.
Do not use household ammonia, chlorine bleach, powdered cleanser, or abrasive melamine foam on internal faces. Low-E coatings and tinted surfaces may be present even when the coating is not visible.
| Contamination | Suitable first treatment | Expected result |
|---|---|---|
| Fingerprints | 70% isopropyl alcohol | Complete removal |
| Loose dust | Distilled water, microfiber | Complete removal |
| Light mineral film | Neutral cleaner, distilled rinse | Often removable |
| Heavy scale | Glass-shop assessment | Variable |
| Chemical etching | Professional polishing or pane replacement | Often permanent |
| Scratches | No cleaning solution | Replacement or specialist repair |
Step 5: Install a New Spacer and Seal
Install a new desiccant-containing spacer and compatible IGU sealant on perfectly clean, dry glass. The rebuild fails when the spacer is contaminated, the cavity contains humid air, or the secondary sealant does not bond to the glass and spacer materials.
- Confirm the replacement spacer width matches the original cavity.
- Apply the spacer evenly around one pane, following the manufacturer’s edge setback.
- Keep corners smooth and avoid gaps or overlaps.
- Position the second pane without sliding it across the spacer.
- Press evenly around the perimeter.
- Apply the specified secondary sealant continuously around the outer edge.
- Allow the full manufacturer-specified cure time before handling.
You will know the step worked when the spacer remains uniformly positioned, the sealant forms one uninterrupted bead, and no cavity dust is visible under angled light.
The common mistake is assembling on a damp day or in an open garage. Moisture trapped during assembly can condense inside the rebuilt unit as soon as the temperature falls.
Use the product data sheet for cure time, bead depth, primer requirements, and compatible substrates. Polyurethane, polyisobutylene, hot-melt butyl, and structural silicone are not interchangeable simply because each is sold as window sealant.
Step 6: Reinstall and Leak-Test the Window
Reinstall the sealed glass pack with new exterior butyl tape and tighten the interior clamp ring gradually in a cross pattern. The clamp ring should secure the window without distorting the frame or squeezing all bedding material from one side.
- Remove old butyl and loose sealant from the RV wall opening.
- Inspect the wall cutout for rot, delamination, or distortion.
- Apply continuous butyl tape around the mounting flange.
- Set the frame into the opening in its original orientation.
- Install screws finger-tight, then tighten them in alternating positions.
- Trim excess butyl after it skins and compresses.
- Spray the exterior perimeter with water from a garden hose.
- Inspect the interior for leaks without using a pressure washer.
You will know the step worked when the frame sits evenly, the butyl compresses continuously, and no water reaches the interior after a controlled hose test.
The common mistake is overtightening. Excessive screw force can bow the frame, squeeze out the gasket, and recreate a pathway for water.
Repair, Rebuild, or Replace: Which Option Fits?
A rebuild is usually the economical choice when the frame and panes are sound, while replacement is better when glass etching, cracks, unavailable spacers, or repeated seal failure make the existing pack unreliable. Drilling is cheaper initially but carries disproportionate breakage and recurrence risk.
| Decision factor | DIY rebuild | Professional rebuild | New IGU or window |
|---|---|---|---|
| Typical material or service cost | $35-$100 | $150-$450 | $250-$1,000+ |
| Vehicle downtime | 1 day plus cure | 1-2 days | 1-3 hours installation |
| Fabrication lead time | 0-7 days | 1-2 days | 2-12 weeks typical |
| Optical result | Depends on glass condition | Usually consistent | New glass clarity |
| Tempered-glass risk | High for beginners | Controlled by technician | Lowest during installation |
| Warranty | Usually none | Shop-dependent | Factory or supplier warranty |
Who should choose professional repair?
Choose a professional RV window or architectural glass shop when the unit is large, curved, frameless, tinted, coated, or difficult to remove. Professional service also makes sense when the RV is in regular use and a failed DIY seal would cost another removal, shipping, and installation cycle.
Ask whether the quote includes removal, cavity cleaning, new spacer, secondary sealant, reinstallation, and leak testing. Request the warranty period in writing, because some shops warranty labor and seal failure separately.
When is replacement the better decision?
Replace the IGU when either pane is cracked, deeply etched, scratched, delaminated, or incompatible with available spacer materials. Replacement is also preferable when the same window has fogged repeatedly after earlier resealing.
A new glass pack may preserve the existing RV frame, reducing wall-seal work. A complete window assembly is appropriate when the frame is bent, corroded, unavailable, or no longer fits the wall opening.
Common Mistakes and How to Fix Them
The window fogs again after repair
Immediate or recurring fog usually means the rebuilt cavity was not airtight or humid air was trapped during assembly. Inspect the secondary seal for pinholes, gaps at corners, incomplete adhesion, and contamination.
A professional can pressure-test or disassemble the unit. Do not simply add exterior caulk over the visible edge, because surface caulk may hide the leak without restoring the IGU seal.
The glass remains cloudy after cleaning
Persistent cloudiness after distilled-water cleaning indicates etching, coating damage, or a residue that requires specialist inspection. If angled light reveals a rough or milky surface, replacing the affected pane often costs less than repeated polishing attempts.
Water leaks around the RV wall opening
A perimeter leak usually involves damaged butyl, an uneven flange, a distorted frame, or an opening that has absorbed water. Remove the interior trim and identify whether water enters at the mounting flange, frame joint, or glass seal before resealing.
The frame will not sit flat
Stop tightening screws when the frame bows. Check for old butyl, wall delamination, protruding fasteners, or an incorrect glass-pack thickness. Correct the mounting surface rather than forcing the assembly into position.
Condensation appears only on the room side
Room-side condensation does not prove IGU failure. Measure indoor humidity with a hygrometer, increase ventilation, use the RV’s exhaust fan, and avoid drying wet clothing inside. If the moisture lies between the panes and cannot be wiped, the IGU seal remains the primary suspect.
Situational Variations
Frameless RV windows
Frameless RV windows often use bonded construction or a concealed mounting system, so removal can damage the exterior seal or fiberglass if approached like a framed window. Obtain the manufacturer’s installation method before cutting adhesive, and use a glass shop when the window is bonded directly to the body.
Winter storage and cold climates
Cold storage amplifies visible fogging because the temperature difference across the glass increases condensation. Dry the RV interior, ventilate during storage, inspect roof and wall seals, and use a breathable cover rather than sealing damp air inside the coach.
Hard-water staining after exterior washing
External hard-water spots are a surface-cleaning problem, not an IGU-cavity problem. Start with distilled water and a neutral cleaner; if approved for the glass, use a dedicated mineral-deposit remover on the exposed surface while protecting rubber, paint, and sealants.
How to Prevent Future RV Window Fogging
Inspect the exterior perimeter, frame joints, weep paths, and wall seal at least twice each camping season. RV chassis movement, leveling stress, roof leaks, thermal cycling, and repeated pressure washing can all shorten seal life.
Use these maintenance practices:
- Wash with a neutral, non-ammoniated cleaner and soft microfiber cloths.
- Keep pressure-washer spray away from window edges and frame joints.
- Level the RV without lifting or twisting the chassis with excessive jack force.
- Repair cracked exterior sealant before storing the vehicle.
- Ventilate showers and cooking moisture through roof vents.
- Photograph new fogging so a warranty claim has a dated record.
A window that is clear today can still have a weakened seal. Early repair may preserve the glass before mineral deposits etch the internal faces.
Cost and Time Planning
DIY material cost is typically $35-$100 per small IGU rebuild, but the financial calculation should include failed glass, replacement sealant, shipping, and the value of several hours of labor. A professional repair commonly takes 24-48 hours because sealant cure time matters.
| Project condition | Labor time | Typical total cost | Practical recommendation |
|---|---|---|---|
| Small, flat framed window | 4-6 hours DIY | $35-$150 | Suitable for experienced DIYer |
| Large flat dual-pane window | 6-8 hours DIY | $75-$250 | Use two helpers |
| Curved or tinted IGU | 1-2 days shop time | $250-$700 | Professional service preferred |
| Etched or cracked glass | 1-3 hours installation | $450-$1,000+ | Order replacement glass |
| Multiple fogged windows | 2-5 shop days | $600-$2,500+ | Request a multi-window quote |
These figures are planning ranges, not manufacturer prices. Custom radii, obscure tint, insulated shipping, and remote-service travel can add materially to the quote.
FAQ
Can I clean between RV window panes without removing the window?
No practical surface-cleaning method reaches a sealed IGU cavity without opening the glass pack or replacing it. Removing only the interior clamp ring exposes the frame and mounting area, not the space between the panes. A professional may remove the IGU while leaving the RV frame installed, depending on its construction.
Is fog inside a double-pane RV window dangerous?
Fog itself is not normally dangerous, but it indicates moisture entry and a failed insulating seal. The larger concerns are reduced visibility, damaged coatings, progressive etching, and water reaching the RV wall or frame. Replace a window promptly if fog obstructs a driver’s view or the glass has structural damage.
Can rubbing alcohol remove white haze from an RV window?
Isopropyl alcohol removes oils, adhesive residue, and some organic contamination from exposed glass. It does not reverse mineral etching or repair a failed IGU seal. Apply it only to compatible exposed surfaces, keep it away from painted frames and rubber components, and test a small area first.
How long does a resealed RV window last?
A professionally rebuilt IGU may last for years, but service life depends on glass preparation, spacer compatibility, sealant adhesion, frame movement, and installation quality. No universal lifespan applies to every RV window. A recurrence within days or weeks usually indicates a repair defect or another frame-seal problem.
Should I replace one fogged window or all of them?
Replace only the failed unit when other windows remain clear and their frames are sound. Consider a multi-window inspection when several units of the same age show edge haze, because the same seal design, climate exposure, and chassis movement may affect the remaining windows.
The Bottom Line
The correct way to clean inside of double pane RV windows is to repair or replace the failed insulated glass unit, not to wash the cavity through the exposed surfaces. Choose professional resealing when the panes are intact, choose a new IGU when etching or damage is advanced, and avoid drilling tempered glass because the short-term savings do not justify the breakage and moisture risks.


