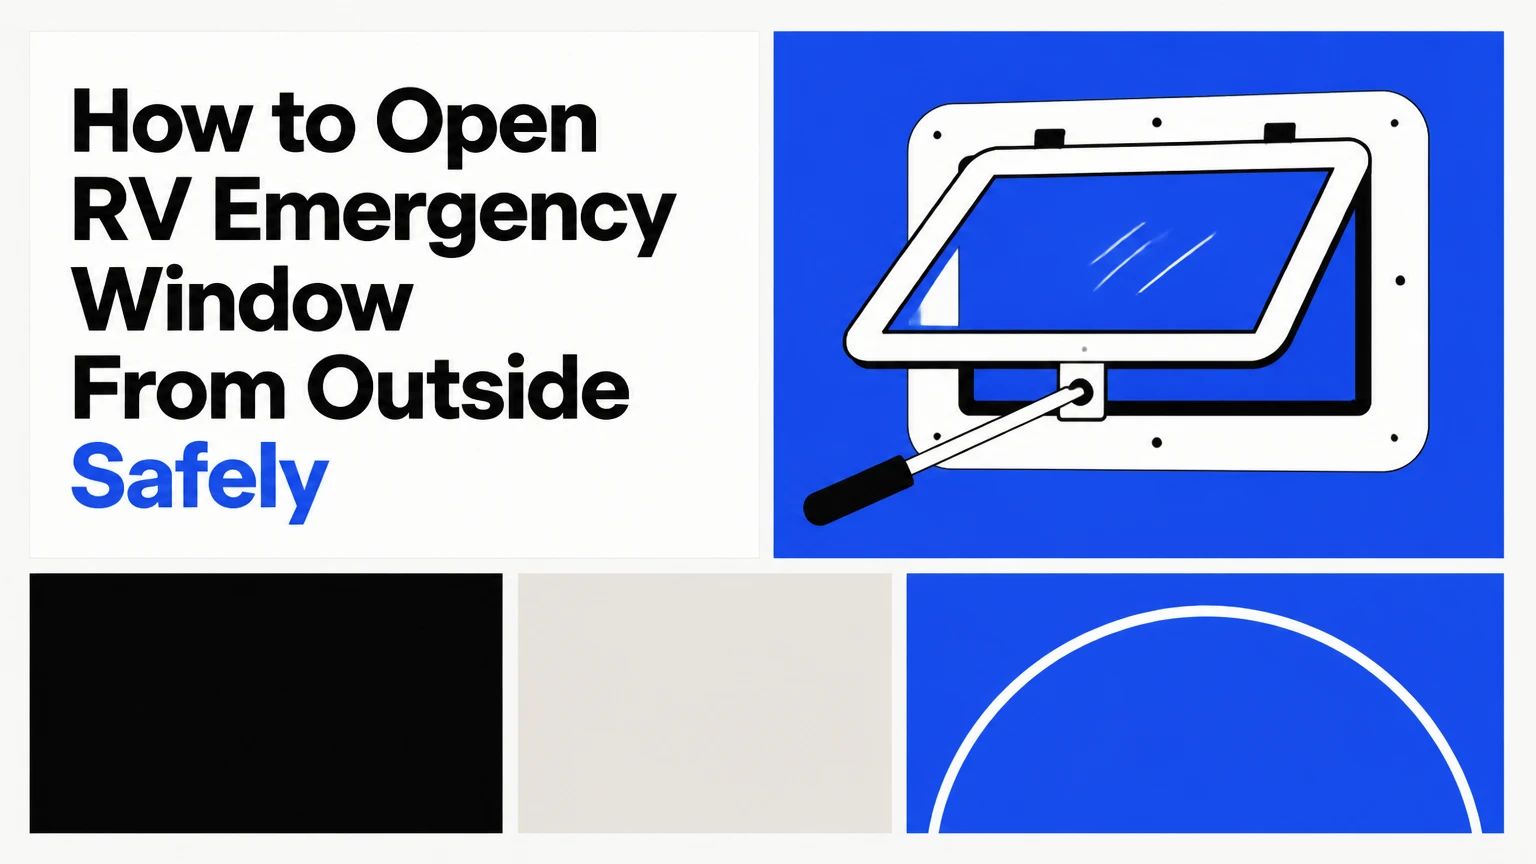
An RV emergency window, also called an egress window, is normally designed to open from inside, not outside. If a person is trapped inside, call emergency services and alert nearby responders; if the RV is merely locked out, use a spare key, locksmith, or RV technician instead of prying the frame or manipulating the latch.
Key Facts at a Glance
Most RV egress windows have no exterior handle, key cylinder, or release tab.
Common designs include top-hinged awning windows, horizontal sliders, and older jalousie windows.
A locked-out owner should treat the window as a poor access route because exterior force can damage fiberglass, aluminum framing, seals, and tempered glass.
In a life-threatening emergency, trained responders may use a spring-loaded center punch or other rescue equipment, while protecting occupants from falling glass.
Typical replacement costs range from about $200-$700 for the assembly, with labor and wall repairs potentially adding substantially more.
A VIN-specific owner’s manual and a practiced interior release procedure are more reliable than a generic internet method.
How to Open RV Emergency Window From Outside: The Safe Answer
An RV emergency window generally cannot be opened normally from outside because its release hardware is located on the interior. The correct response depends on the situation: call emergency services for an occupant in danger, use a locksmith or RV service for a lockout, and inspect the window before applying any force.
The phrase “emergency window” describes the window’s escape function, not an exterior rescue-access function. An occupant typically removes or releases the insect screen, operates a red handle or release bar, and pushes the bottom of a hinged pane outward. Some models use a pull cord, rotating lever, push-out frame, or a removable screen.
RV construction makes improvised entry particularly risky. A thin fiberglass skin may cover foam insulation and a lightweight interior frame, so leverage applied to the window can crush the wall rather than release the latch. Tempered glass also behaves differently from laminated automotive glass: a concentrated impact can cause sudden shattering, while a broad impact may bounce and redirect force toward the operator.
The most important distinction is urgency. A child, unconscious adult, fire victim, or person exposed to smoke requires emergency services immediately. An owner standing outside a locked coach has time to choose a method that preserves the window and the wall.
What Type of RV Egress Window Do You Have?
Identify the RV window type before deciding what assistance is needed. A top-hinged awning egress window has a bottom release area and swings outward; a slider has overlapping panes and a center latch; a jalousie window uses multiple glass slats and a crank.
Look at the window from a safe position and record the manufacturer, model, approximate opening size, and visible hardware. Photograph the frame and any label before contacting an RV parts supplier. Window appearance alone is not enough to identify a replacement because rough opening dimensions, corner radius, hinge design, and latch spacing also matter.
| Window type | Normal movement | Common interior hardware | Exterior access reality |
|---|---|---|---|
| Top-hinged awning egress | Bottom edge swings outward and upward | Red lever, release bar, or pull cord | Usually flush, with no useful handhold |
| Horizontal slider | One pane moves left or right over another | Center latch or overlapping lock | Latch may be visible, but manipulation risks glass and frame |
| Jalousie window | Several horizontal slats rotate together | Crank and worm gear | Slats may break, but the opening is often too narrow for entry |
| Frameless push-out | Entire pane pivots from a concealed edge | Interior latch or friction mechanism | Exterior seal and pane offer little safe leverage |
How Does the Interior Release Work?
Most hinged RV egress windows release at the bottom and pivot on a hinge along the top edge. The occupant normally operates the marked interior hardware, then pushes the pane outward far enough to create a usable escape opening.
The exact sequence varies by manufacturer. Some recreational vehicles use red T-handles, while others use a red release strip, two rotating catches, or a pull ring attached to a latch mechanism. A screen may conceal the release, and a window that has not been exercised for years may have a seal bonded to the glass.
Never assume a red component is universal. Read the owner’s manual, inspect the label beside the frame, and practice the release while the RV is parked. The release should operate without excessive force. If the handle bends, the frame flexes, or the pane does not move after unlatching, stop and arrange service.
What Should You Do if Someone Is Trapped Inside?
Call the local emergency number first, provide the RV’s exact location, and tell the dispatcher whether the occupant is conscious, injured, exposed to fire, or at risk from heat or carbon monoxide. Emergency responders can select an entry point and equipment based on the occupant’s position and the RV’s construction.
While waiting, unlock the main door if possible, check every accessible door and compartment, and ask the occupant to operate the egress release if they are conscious. Do not climb onto the roof, pull on the top hinge, or strike glass beside the person. Move bystanders away from the window and keep pets and children behind the responder’s working area.
A responder may decide that rapid glass removal is safer than trying to defeat an inaccessible latch. That decision depends on the glass type, occupant location, fire conditions, and available protective equipment. Untrained owners should not copy tactical entry techniques because broken glass can fall inward, and a damaged wall can compromise the rescue opening.
What If the Emergency Is Fire, Smoke, or Carbon Monoxide?
Treat fire, smoke, and suspected carbon monoxide as evacuation emergencies, not lockout problems. Call emergency services, move people away from the RV when possible, and avoid entering a smoke-filled coach without professional respiratory protection.
Carbon monoxide has no reliable smell or visible warning. If an alarm sounds and someone is unresponsive, responders need the location and symptoms, not a detailed description of the window latch. A nearby exterior door, roof exit, or already-open window may provide a safer route than forcing a sealed pane.
Which Outside Entry Option Fits the Situation?
The safest access option is the least destructive one that matches the urgency. A spare key or mechanical override is appropriate for a routine lockout, a locksmith is suitable for a door or compartment problem, and emergency responders are appropriate when a person faces immediate harm.
| Situation | First call or action | Typical response time | Likely cost range |
|---|---|---|---|
| Routine door lockout | Mobile locksmith or RV technician | 30-120 minutes | $80-$250 |
| Lost key with documented ownership | RV dealer or locksmith for keying | 1-7 days for some parts | $100-$400 |
| Child, adult, or pet in immediate danger | Fire department or emergency services | Location-dependent, often minutes | Usually no owner service charge |
| Damaged latch with no occupant at risk | RV repair shop or mobile technician | Same day to several days | $150-$500 plus parts |
| Window already unlatched but seal stuck | RV technician or careful maintenance | 1-3 hours | $100-$350 |
| Broken egress glass | Glass or RV body repair provider | Same day to several weeks | $200-$700 assembly, more with wall repair |
Prices are typical North American service ranges, not guaranteed quotes. Travel distance, after-hours charges, the RV’s location, insurance, imported window parts, and body-wall damage can change the final invoice.
Can a Locksmith Open the Emergency Window?
A locksmith may help with the RV’s door, storage compartment, or ignition system, but many locksmiths will not manipulate an egress window because the hardware is not designed for exterior unlocking. Ask specifically whether the technician works on recreational vehicles before paying a call-out fee.
An RV technician is often better equipped to identify the window manufacturer, preserve the seal, remove interior trim, and source a matching assembly. Give the technician the RV year, make, model, window location, and photographs. Those details reduce the chance of ordering a visually similar but dimensionally incompatible unit.
Why Is Prying an RV Egress Window Usually a Bad Idea?
Prying an RV emergency window is usually a poor trade because the force needed to deform a latch can damage the window frame, fiberglass skin, hinge, seal, or wall core. The window may remain closed while the repair expands from a replacement latch into structural bodywork.
The top hinge is especially vulnerable. Pulling at the upper edge transfers force into the narrow aluminum frame and fasteners, while levering against the exterior wall can crush the laminated sidewall. A pry tool can also slip into the glass edge, where small chips may become a complete fracture.
Improvised wire hooks and slim tools are unreliable for the same reason. They may snag a screen cord on one model but tear the weather seal or scratch the glass on another. Publishing a universal exterior latch technique would be misleading because latch geometry differs across manufacturers and model years.
Practitioner rule: if the window is not already released, do not apply increasing force simply because the first attempt failed. A failed low-force attempt is evidence that the design, seal, or latch requires a different service procedure.
What If the Window Is Unlatched but Stuck?
An RV egress window that is unlatched but immobile usually has a bonded rubber seal, dirt in the frame channel, swollen weather stripping, or a misaligned hinge. Confirm that every latch is fully released, then use a plastic trim tool around the accessible seal rather than metal against the glass or painted frame.
Work around the perimeter in short sections. A mild, manufacturer-approved rubber-safe cleaner can remove residue, and a silicone product intended for window seals may reduce future sticking if the manual permits it. Do not spray petroleum solvent onto EPDM or unknown rubber, because incompatible chemicals can swell or degrade the seal.
The success checkpoint is a pane that moves evenly with light hand pressure from the intended direction. If one corner remains fixed, stop. Uneven resistance can indicate a twisted frame or hinge fastener problem, and forcing the pane may turn a maintenance issue into a replacement.
Common Failure Modes and Safe Recovery
| Symptom | Likely cause | Safe recovery | Avoid |
|---|---|---|---|
| Handle moves but pane stays shut | Sun-baked seal or adhesive residue | Plastic trim tool and seal inspection | Metal screwdriver against glass |
| One corner opens first | Frame misalignment or hinge bind | Stop and call RV service | Twisting the pane diagonally |
| Latch feels loose | Broken fastener or internal linkage | Photograph hardware and order parts | Repeatedly cycling the damaged latch |
| Screen will not release | Screen spline or frame distortion | Remove screen only as the manual directs | Pulling the mesh or cord sharply |
| Water appears after service | Compressed or displaced gasket | Reseal with compatible RV sealant | Household caulk over wet surfaces |
| Glass has a corner chip | Edge impact or installation stress | Keep people clear and arrange replacement | Pressing on the damaged pane |
Is Breaking the Window Ever Justified?
Breaking an RV window may be justified only when a person faces immediate danger and responders determine that rapid entry is necessary. A center punch or purpose-built rescue tool is generally more predictable than a household hammer, but every glass break creates laceration, eye, inhalation, and falling-debris hazards.
The exact attack point and tool choice belong to trained responders who can see the occupant, identify the glass, and control the scene. Owners should not strike a pane near a person’s head, use a blunt hammer repeatedly, or reach through before the remaining glass is controlled.
After emergency entry, keep people away from the opening and cover it temporarily with a rigid panel and weather-resistant material without pressing debris into the frame. Arrange professional inspection before driving, because the replacement may involve the pane, gasket, hinge, latch, trim, or wall opening.
| Repair component | Typical part range | Typical labor range | Main price variable |
|---|---|---|---|
| Single tempered pane | $80-$250 | $100-$300 | Size and custom shape |
| Complete egress assembly | $200-$700 | $150-$400 | Brand, frame, and rough opening |
| Replacement gasket or seal | $30-$150 | $100-$250 | Profile and adhesive system |
| Damaged hinge or latch | $25-$180 | $100-$300 | Hardware compatibility |
| Fiberglass or laminated-wall repair | $200-$2,000+ | $300-$1,500+ | Core damage and finish matching |
These are typical planning ranges rather than manufacturer pricing. A custom window, obsolete jalousie part, specialty tint, or water-damaged wall can exceed the table substantially.
How Do Window Designs Change the Risk?
Top-hinged awning windows are often the least suitable for exterior manipulation because the pane sits against a continuous seal and the latch is concentrated at the bottom inside the frame. Horizontal sliders may appear easier because two panes overlap, but a visible seam does not mean the latch is safely reachable.
Jalousie windows can have individually replaceable slats, yet breaking or removing one slat rarely produces a body-sized opening. Older crank mechanisms may also contain fragile parts that are difficult to source. Frameless windows present another complication: their external glass edge and concealed hardware can be damaged before the owner gains meaningful access.
| Design feature | Practical advantage | Main limitation | Best owner action |
|---|---|---|---|
| Red interior release | Easy recognition during evacuation | Usually inaccessible outside | Practice operation inside |
| Top piano hinge | Predictable outward escape movement | Hinge can tear from frame under force | Never pull from the top |
| Friction hinge | Holds pane at an open angle | May seize from corrosion or dirt | Inspect during annual service |
| Tempered glass | Breaks into small granules when shattered | Still causes cuts and eye injuries | Keep rescue tools accessible |
| Removable screen | Allows fast interior release access | Screen may stick or tear | Test screen removal annually |
How Should You Prepare an RV for Window Emergencies?
Prepare the RV by documenting every exit, practicing the interior release, maintaining the seals, and storing an approved rescue tool where it remains accessible without entering the locked coach. An exterior storage compartment is useful only if its key or combination is available during a lockout.
Create an exit map for every sleeping area. Record whether each window is hinged, sliding, or fixed; note the release direction; and identify any bed, cabinet, or curtain that blocks the opening. Children and older adults should practice with an adult supervising outside and inside, without climbing through the window during the first drill.
Use the following annual checklist:
- Read the current owner’s manual and confirm the marked egress openings.
- Open each release while the RV is parked and stationary.
- Clean the frame and inspect the gasket for cracking, shrinkage, or adhesion.
- Confirm that screens, curtains, and furniture do not block the opening.
- Photograph the window label, dimensions, and latch arrangement.
- Store a flashlight, gloves, eye protection, and a purpose-built glass rescue tool in an accessible location.
- Test smoke and carbon monoxide alarms according to their instructions.
- Keep a spare door key with a trusted person or in a secure, non-obvious access system.
An exterior key box should not be openly visible or attached where it can be removed easily. Follow campground, insurer, and local security requirements when choosing a storage location.
What Information Does an RV Technician Need?
An RV technician needs the vehicle identification number, coach year and model, window location, outside dimensions, rough opening dimensions if available, and photographs of the frame and hardware. “Rear bedroom emergency window” is useful context, but it does not identify a replacement part by itself.
Measure the visible frame only when the window is intact and safe to approach. Do not remove trim or fasteners merely to obtain measurements during a lockout. The technician may need to inspect the window from inside, which is another reason to use a professional rather than forcing an exterior opening.
Record the glazing type if labeled. Tempered, acrylic, polycarbonate, and laminated products require different handling and may not fit the same gasket or frame. A replacement that fits the hole but lacks the required egress opening or release arrangement may create a safety and compliance problem.
What Are the Most Common Expert Mistakes?
The most common mistake is treating an emergency exit as an alternate entrance. Egress hardware prioritizes fast occupant escape, weather sealing, and security, so the exterior face often provides no safe operating point.
A second mistake is underestimating the RV wall. A residential-looking sidewall can contain thin fiberglass, aluminum framing, adhesive layers, and foam, none of which tolerates the same leverage as a steel door frame.
A third mistake is replacing only visibly broken glass. A hard impact can distort the frame, loosen the hinge, compress the gasket, and damage interior trim even when the pane is the only obvious failure.
A fourth mistake is storing all rescue equipment inside the locked RV. A tool that cannot be reached during a lockout is not an exterior emergency-access plan.
A fifth mistake is failing to verify the owner’s manual. RV manufacturers may use different release sequences on coaches built in the same year, and generic instructions can cause an occupant to pull the wrong component.
Can You Use a Credit Card, Coat Hanger, or Slim Tool?
A credit card, coat hanger, or slim tool is not a reliable or safe universal solution for an RV egress window. These objects can damage weather stripping, scratch acrylic glazing, tear a screen, or deform a lightweight frame without releasing the latch.
They may also create a security problem by defeating a latch design that was never intended for outside operation. If a person is trapped, call emergency services rather than experimenting with improvised tools. If no one is at risk, a locksmith or RV technician can assess the door and window without turning a lockout into body damage.
How Long Does Repair Usually Take?
A straightforward window replacement commonly takes 1-3 hours of shop labor after the correct assembly arrives, while a custom or obsolete window can require several days or weeks for sourcing. Emergency cleanup may take less time, but temporary boarding does not make the RV weatherproof for prolonged travel.
| Service stage | Typical duration | Possible delay |
|---|---|---|
| Emergency assessment | 15-45 minutes | Remote location or active hazard |
| Locksmith or RV technician arrival | 30-120 minutes | After-hours demand |
| Seal-only service | 1-3 hours | Cured adhesive or frame distortion |
| Standard window replacement | 1-3 labor hours | Part availability |
| Custom window sourcing | 3 days-6 weeks | Obsolete profile or special glazing |
| Wall and fiberglass repair | 1-5 business days | Moisture, delamination, or color matching |
Ask for a written estimate that separates access, parts, labor, travel, cleanup, and wall repair. Photograph the damage before work begins for insurance documentation, and retain the removed parts if a claim or warranty review may follow.
The Bottom Line
An RV emergency window is normally an inside-only escape route, so opening one from outside is not a routine owner procedure. For a life-threatening situation, call emergency services and let trained responders choose the entry method; for a lockout, use a spare key, locksmith, or RV technician to avoid damage to the glass and wall.
The safest long-term solution is preparation: identify every egress window, practice the interior release, maintain the seals, document replacement dimensions, and keep emergency equipment accessible outside the locked coach. Those steps solve the access problem before someone has to decide whether a window is worth breaking.
Frequently Asked Questions
Can an RV emergency window be opened from the outside without damage?
Usually, no. Most RV egress windows hold their release hardware inside the frame and provide no exterior handle or key cylinder. A window that is already unlatched may only need seal maintenance, but a locked pane should be handled by a locksmith, RV technician, or emergency responder depending on the situation.
Are all RV emergency windows marked with red handles?
No. Red handles and release bars are common, but manufacturers also use pull cords, rotating catches, push-out mechanisms, and other marked hardware. The owner’s manual is the reliable authority for a particular RV because a similar-looking window can use a different release sequence.
Is an RV emergency window stronger than a normal RV window?
An egress window is designed to provide a usable escape opening, not necessarily to resist forced entry more effectively than every other RV window. Its frame, glazing, hinge, and release mechanism vary by model, so owners should not infer strength or access behavior from size alone.
Should I keep a window breaker outside my RV?
Keeping a purpose-built rescue tool in an accessible exterior compartment can improve emergency preparedness, provided the compartment remains available during a lockout and the tool is stored securely. The tool does not replace emergency services, and users should understand that breaking glass creates immediate injury and weather-exposure hazards.
How do I stop an RV window seal from sticking?
Clean the seal and frame with a product approved for the window’s rubber or glazing material, then use a compatible seal conditioner if the manufacturer permits it. Inspect for cracking, swelling, and distortion. Do not force a bonded pane, because uneven pressure can damage the gasket, hinge, or frame.
Will RV insurance cover a broken emergency window?
Coverage depends on the policy, deductible, cause of damage, and whether the incident involved vandalism, collision, rescue, or accidental breakage. Photograph the window, frame, interior, and surrounding wall before repairs, then ask the insurer whether emergency boarding and structural inspection are covered.


