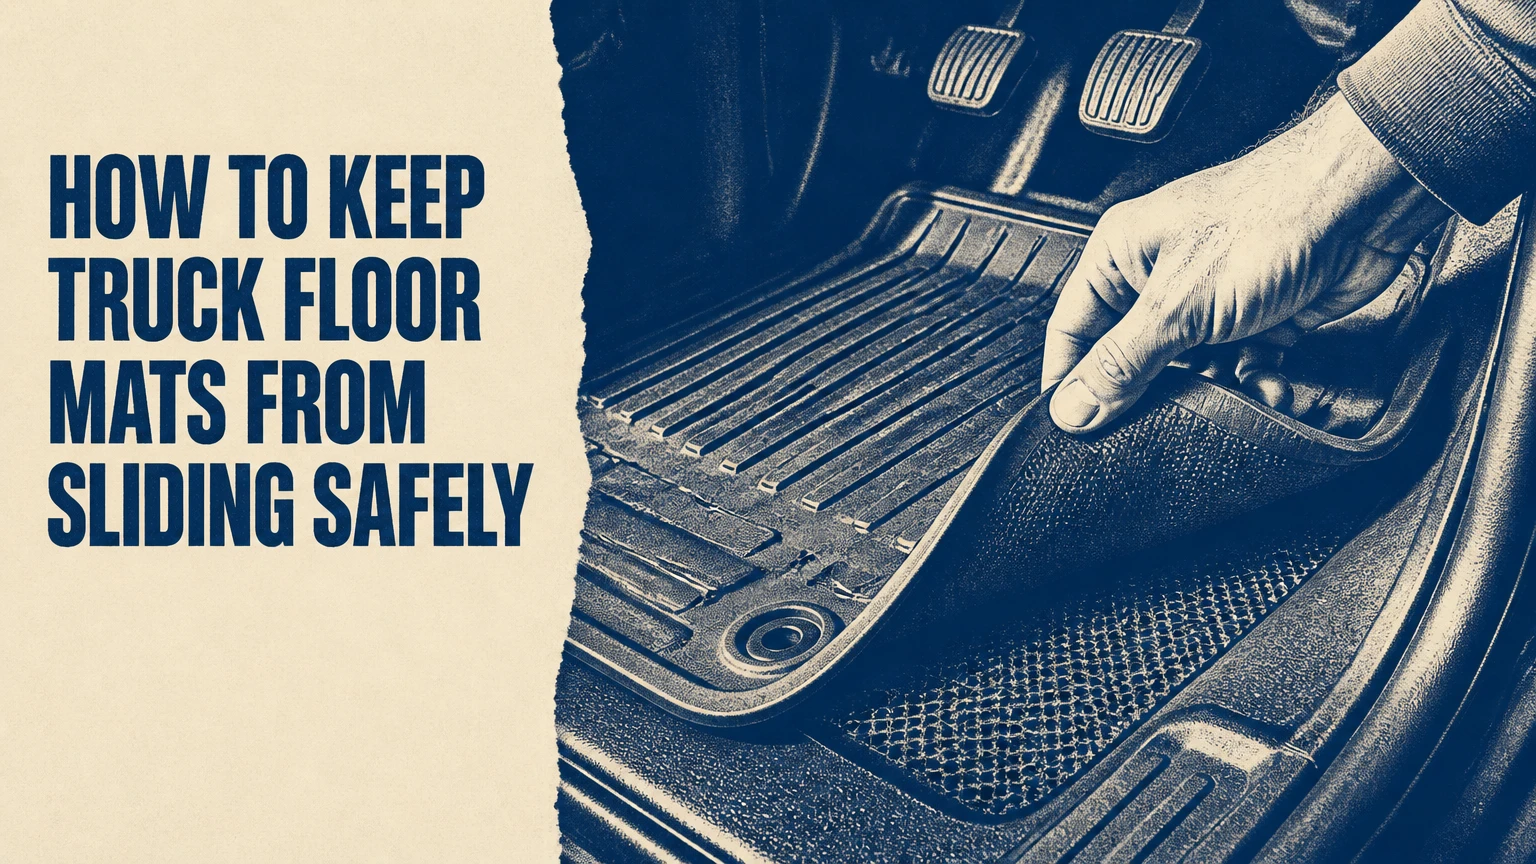
To keep truck floor mats from sliding, match the restraint to the cab floor: use factory anchors or carpet-specific fasteners on carpet, and cleaned, dry surfaces with removable fasteners or high-temperature tape on vinyl. Reposition or replace any mat that reaches a pedal, bunches at the firewall, or cannot remain flat during a full pedal-clearance test.
Key Facts at a Glance
Factory retention posts and matching mat grommets provide the most reliable driver-side restraint.
Carpet anchor screws typically cost $12-$25 and install in about 10 minutes without drilling the metal floor pan.
Anti-slip mesh costs about $5-$15, but it is a temporary aid rather than a primary restraint for heavy use.
Vinyl and rubber floors require removal of silicone protectants before pressure-sensitive adhesive can bond.
Never stack a loose carpet mat under a rubber liner in the driver footwell.
A secure mat must stay flat and clear of the accelerator, brake, clutch, and parking-brake controls through their full travel.
How to Keep Truck Floor Mats From Sliding by Floor Type
The safest method depends primarily on whether the truck has carpet, molded vinyl, or rubber flooring. Carpet can accept hooks, spikes, and twist-in posts, while smooth flooring needs a fastener that bonds to a clean surface or a mat designed with mechanical floor clips.
Floor material is only half the diagnosis. The mat underside, grommet position, thickness, shape, and relationship to the pedals determine whether a restraint will work. A smooth-backed universal mat can slide on carpet even when the carpet itself is in good condition, and an oversized liner can interfere with pedals despite having a non-slip backing.
What actually stops a truck floor mat from moving?
Truck floor-mat retention uses one or more of three mechanisms: mechanical interlocking, friction, or chemical adhesion. Mechanical interlocking physically connects the mat to a post or clip; friction increases resistance between the backing and floor; chemical adhesion bonds a fastener to the flooring or mat.
| Restraint method | Suitable floor | Typical cost | Typical install time | Main limitation |
|---|---|---|---|---|
| Factory post or twist-lock | Carpet, molded carpet | $0 included, $10-$25 replacement | Under 5 minutes | Requires matching grommets |
| Carpet anchor screw | Factory carpet | $12-$25 per set | About 10 minutes | Leaves a small carpet opening |
| Rubber mesh underlay | Carpet, limited vinyl use | $5-$15 per roll | About 5 minutes | Can creep under repeated foot loads |
| Hook-and-loop fastener | Carpet or smooth floor | $10-$20 per roll | 10-15 minutes | Hooks lose grip in worn carpet |
| Double-sided acrylic tape | Clean vinyl or rubber | $8-$18 per roll | About 10 minutes | Residue, heat, and moisture can reduce service life |
| Dual-lock fastener | Smooth vinyl or rubber | $15-$30 typical | 15-20 minutes | Adds thickness beneath the mat |
The strongest choice is usually a compatible factory anchor, because the restraint is flush, removable, and positioned by the vehicle manufacturer. Adhesive fasteners are useful on smooth floors, but they are not a substitute for a missing driver-side anchor when a mechanical retrofit is practical.
What should you inspect before buying anything?
Inspect the driver mat while seated in your normal driving position. Push the mat toward the firewall, pull it toward the seat, and check whether either edge can reach a pedal or fold beneath the accelerator.
Look for these conditions:
- Missing factory anchor: The floor has a post, hook, or hole, but the mat lacks the matching grommet or retainer.
- Wrong mat shape: The mat bunches beside the transmission tunnel or rises against the firewall.
- Worn backing: Nibs, hooks, or rubber ribs have flattened and no longer resist lateral movement.
- Excess thickness: A second mat or thick liner changes pedal height and reduces clearance.
- Contaminated floor: Silicone dressing, oil, mud, and moisture prevent adhesive from bonding.
- Damaged grommet: The mat hole has stretched, cracked, or pulled through its reinforcement.
A useful practitioner rule is simple: if the mat can move far enough to touch a pedal by hand, assume driving forces can move it there too. Do not attempt to solve a poor fit with stronger tape.
Before You Start: Tools, Cost, and Safety
Plan on 5-20 minutes for a basic installation and $0-$30 for materials, depending on whether the truck already has usable factory anchors. The most important prerequisite is a correctly sized driver-side mat that lies flat without folding at the firewall.
| Project type | Materials | Tools | Typical cost | Time |
|---|---|---|---|---|
| Factory-anchor refit | Compatible mat, replacement clips if needed | Trim tool, flashlight | $0-$25 | 5 minutes |
| Carpet retrofit | Two carpet anchor screws, reinforced grommets | Marker, scissors, vacuum | $12-$25 | 10-15 minutes |
| Vinyl adhesive fix | Acrylic tape or dual-lock, isopropyl alcohol | Lint-free cloth, ruler | $8-$30 | 15-20 minutes |
| Temporary carpet aid | Rubber mesh underlay | Scissors, vacuum | $5-$15 | 5-10 minutes |
Use 70% or 90% isopropyl alcohol only on a flooring material that tolerates it, and test an inconspicuous area first. Keep adhesive, loose tape edges, and tools away from the pedals. Never cut or drill through the floor pan without confirming the location of wiring, brake lines, fuel lines, sensors, and underbody components.
Step 1: Remove, Clean, and Dry the Truck Floor
Remove the mat completely and vacuum the footwell, including the carpet fibers around each anchor point. On vinyl or rubber flooring, wipe the contact zones with a clean cloth and a small amount of isopropyl alcohol, then allow the surface to dry for at least five minutes.
The cleaning goal is not cosmetic. Interior protectants such as silicone-based dashboard dressing leave a low-energy film that prevents pressure-sensitive adhesive from wetting the floor. Mud and grit also create a sliding layer beneath a friction-backed mat.
You will know the surface is ready when the cloth no longer picks up oily residue and the floor feels dry rather than slick. The common mistake is applying tape immediately after cleaning, while alcohol or moisture remains trapped beneath the fastener.
Step 2: Confirm the Mat Fits and Locate the Anchor
Place the driver mat in its intended position, with its front edge aligned to the carpet contour and its sides clear of the pedals. Locate every factory post, hook, hole, or molded retention feature before marking or attaching anything.
A compatible mat should have reinforced grommets that sit directly over the truck’s retention points. Do not stretch a grommet sideways to reach a post, because the mat can pull the post out of alignment or distort the footwell coverage.
Press the mat flat with your hand. You will know the fit is acceptable when the mat does not buckle against the firewall, transmission tunnel, seat rail, or kick panel. The common mistake is anchoring a universal mat before confirming that its dimensions are safe.
Step 3: Attach a Carpet Mat to Factory Anchors
Fit the mat’s reinforced grommets over the factory posts, hooks, or twist-locks, then apply the specified locking motion without forcing the fastener. Test the mat by pulling it in four directions with moderate hand pressure.
Factory retention systems vary by truck. Some use a round post and snap-in eyelet; others use a rotating lock, button, or hook. The vehicle owner’s manual and the mat manufacturer’s instructions take priority over a generic installation method.
You will know the installation worked when the grommet remains centered on the post and the mat returns to the same position after each pull. The common mistake is using a mat with decorative holes that resemble anchor holes but lack reinforced edges.
What if the factory anchor is missing?
Replace the correct factory clip when the floor attachment point remains intact. Replacement clips commonly cost $10-$25 and preserve the original flush fit.
If the truck has no usable retention point, install a carpet-specific twist-in anchor only after checking the underside of the floor. Position the anchor in a reinforced part of the mat, away from wiring channels and seat hardware. Do not drill through the metal floor merely to create a mat attachment.
Step 4: Install Carpet Anchor Screws or Carpet Hooks
Place the properly fitted mat on the carpet and mark the location through its reinforced grommet. Move the mat aside, twist the plastic carpet anchor clockwise into the carpet fibers until its flange sits flush, then reinstall the mat over the post.
Aftermarket products such as Eagle Klaw and Mat-Loc-style anchors are designed to grip carpet rather than penetrate the vehicle’s metal floor. A pair of anchors is often enough for a driver mat when the mat is correctly shaped, although some wide mats use more retention points.
You will know the anchor is seated when the base does not rotate freely and the mat cannot slide more than a few millimeters under firm hand pressure. The common mistake is placing an anchor too close to the mat edge, where the backing can tear around the grommet.
Step 5: Secure a Vinyl or Rubber Floor With Fasteners
Cut four fastener sections, each approximately 75-100 millimeters long, and place them near the mat corners without allowing any strip to project beyond the mat edge. Press the mat into position for at least 30-60 seconds per contact area.
For removable installations, industrial hook-and-loop or dual-lock fasteners are usually more practical than permanent adhesive. For a flat rubber mat on smooth vinyl, high-temperature acrylic double-sided tape can work when the surface is clean and the mat has enough contact area.
You will know the bond is ready when the mat remains flat after a firm sideways push and no corner lifts. The common mistake is placing adhesive on a dusty floor or on top of Armor All-type protectant, which can cause early release.
Do not rely on adhesive alone when the mat is heavily curled, deeply ribbed, wet, or exposed to continuous mud. Adhesive needs broad, stable contact. A mechanically retained, vehicle-specific liner is the better answer when those conditions are unavoidable.
Which Truck Mat Restraint Should You Choose?
Factory anchors are the best overall choice for a compatible driver mat. Carpet anchor screws are the best low-cost retrofit for missing carpet retention points, while hook-and-loop, dual-lock, or acrylic tape suit smooth vinyl when the mat is flat and removable access matters.
| Option | Best application | Removal | Heat or wear concern | Safety assessment |
|---|---|---|---|---|
| Factory anchor | Daily driver with matching grommets | Easy | Low when undamaged | Preferred driver-side method |
| Carpet anchor screw | Older carpeted truck without clips | Moderate | Carpet wear around post | Strong retrofit |
| Rubber mesh pad | Temporary carpet stabilization | Very easy | Creep after repeated use | Secondary aid only |
| Hook-and-loop | Light-to-medium use, removable mat | Easy | Hook contamination or adhesive softening | Acceptable with testing |
| Acrylic double-sided tape | Flat mat on clean vinyl | Difficult | Residue and cabin heat | Conditional |
| Dual-lock fastener | Frequent mat removal on vinyl | Moderate | Extra thickness | Strong if pedal clearance remains |
| Custom-fit thermoplastic liner | High-use daily or fleet truck | Moderate | Edge deformation in extreme heat | Strong replacement solution |
Is hook-and-loop better than double-sided tape?
Hook-and-loop is usually better when the mat must be removed for cleaning, because the fastener separates without destroying the bond every time. Double-sided tape provides a lower-profile attachment on smooth vinyl, but removal may leave adhesive residue and can damage a soft mat backing.
On carpet, use the hook side only when the carpet pile is dense enough to engage it. Worn, looped, or heavily contaminated carpet can defeat hook-and-loop fasteners, making a twist-in anchor more reliable.
Is a custom-fit liner worth the extra cost?
A custom-fit liner is worth considering when the existing mat has poor geometry, curled edges, or a damaged underside. Vehicle-specific liners from manufacturers such as WeatherTech and Husky commonly use exact retention locations, molded contours, and raised edges that reduce movement without relying entirely on adhesive.
A liner is not automatically safe. Confirm that its retaining holes match the truck, that the accelerator and brake remain unobstructed, and that the liner does not overlap another mat. A rigid liner with the wrong model-year fit can create the same pedal hazard as a loose cloth mat.
How Much Do the Main Fixes Cost?
A realistic materials budget ranges from $0 for reconnecting an intact factory mat to $30 for a removable dual-lock installation. A complete custom-fit liner often costs approximately $50-$180, depending on truck model, row coverage, material, and brand.
| Solution | Typical material price | Installation time | Expected service pattern | Best value |
|---|---|---|---|---|
| Reconnect factory mat | $0-$25 | Under 5 minutes | Long-term with intact clips | Existing compatible mat |
| Two carpet anchors | $12-$25 | 10-15 minutes | Long-term, inspect yearly | Budget carpet repair |
| Mesh underlay | $5-$15 | 5-10 minutes | Temporary, reposition as needed | Low-use passenger area |
| Hook-and-loop roll | $10-$20 | 10-15 minutes | Periodic replacement | Removable light-duty setup |
| Acrylic tape | $8-$18 | 15-20 minutes | Replace when bond weakens | Flat vinyl mat |
| Custom-fit liner | $50-$180 | 5-15 minutes | Multi-year, inspect edges | Daily or commercial use |
These are typical retail ranges, not fixed prices. Labor charges, imported products, truck size, and replacement trim can increase the total.
Common Mistakes and How to Fix Them
Improper stacking, weak surface preparation, poor fit, and incorrect fastener placement cause most recurring mat movement. Each failure has a different remedy, so adding more tape is rarely the first step.
Stacking a rubber mat over a carpet mat
Remove the lower loose mat and install one correctly retained liner. Two layers can slide against each other, raise the pedal area, and prevent the upper mat from sitting on the factory retention points.
Using a smooth-backed mat on carpet
Replace the mat with one having carpet-gripping nibs and compatible grommets, or add a carpet anchor. A smooth underside has little useful friction, regardless of how thick the mat feels.
Applying tape over dirt or silicone dressing
Remove the fastener, clean the floor with an appropriate solvent, and allow complete evaporation before applying new material. Do not simply press the old tape harder, because contamination remains at the bond line.
Letting tape extend beyond the mat
Trim every strip flush with the mat’s contact zone. Exposed adhesive collects grit, catches footwear, and can transfer residue onto the floor or carpet.
Anchoring a curled or oversized mat
Replace the mat if its front edge folds, reaches the pedals, or presses against the firewall. Mechanical retention cannot correct an unsafe shape.
Assuming summer heat will not matter
Inspect adhesive fasteners after hot-weather parking, especially when the cabin becomes very warm. If corners soften, lift, or migrate, use a mechanical anchor or a properly fitted liner instead of upgrading tape indefinitely.
Situational Recommendations for Truck Owners
Daily commuters with carpeted floors should first use the factory retention system and then consider a vehicle-specific thermoplastic liner if the original mat is worn. The priority is a flush, repeatable attachment that survives frequent entry, exit, and cleaning.
Fleet and work-truck operators need a different balance. Mud, water, heavy boots, and repeated removal shorten the life of adhesive systems, so a flat rubber mat with mechanical retention is preferable where the truck supports it; cleanable dual-lock fasteners are a secondary option on smooth vinyl.
Budget-conscious owners can solve many carpet problems with two compatible aftermarket carpet anchors costing about $12-$25. That solution is appropriate only when the mat fits correctly and the anchors can be installed without contacting hidden wiring or other vehicle components.
| Truck situation | Recommended setup | Avoid | Inspection interval |
|---|---|---|---|
| Daily carpeted commuter | Factory clips or custom-fit liner | Smooth universal mat | Monthly |
| Older carpeted work truck | Carpet anchor screws and flat mat | Loose layered mats | Weekly |
| Vinyl fleet truck | Flat rubber mat with dual-lock or rated tape | Nibbed carpet-only backing | Weekly |
| Wet or muddy cab | Mechanical retention and washable liner | Adhesive as sole restraint | After each deep clean |
| Passenger footwell | Mesh pad or fitted mat | Using a driver mat as a loose spare | Every cleaning |
How Do You Test Whether the Mat Is Safe?
A truck floor mat passes the safety test only when it stays flat, remains attached, and cannot contact any pedal through normal movement. Check the mat before driving, after installation, and whenever the mat or floor has been cleaned.
Use this sequence:
- Sit in your normal seat position.
- Push the mat forward, backward, and sideways with both hands.
- Depress the brake, accelerator, and clutch fully several times.
- Check the gap around each pedal and the firewall.
- Slide your feet on and off the mat as you would while entering and exiting.
- Recheck the anchor or adhesive after the test.
NHTSA consumer safety guidance has repeatedly emphasized securing driver-floor mats and avoiding stacked mats because pedal interference can create an immediate control hazard. The practical standard is stricter than “the mat usually stays put.” The mat must remain clear when pressure, footwear, moisture, and repeated movement act on it together.
Troubleshooting Persistent Sliding
Persistent movement usually indicates a fit, substrate, or retention problem rather than insufficient friction. Identify the direction of travel and the location where the mat first loses contact.
| Symptom | Likely cause | Corrective action | Do not do this |
|---|---|---|---|
| Slides toward firewall | Oversized or curled front edge | Replace with fitted mat | Add tape over a folded edge |
| Slides toward seat | No mechanical anchor | Install factory or carpet anchor | Rely on a loose rug pad |
| Corner lifts on vinyl | Contaminated surface or curl | Clean, flatten, and refasten | Bond over silicone dressing |
| Velcro releases from carpet | Worn or unsuitable pile | Use twist-in anchor | Add more hook strips blindly |
| Mat touches accelerator | Wrong dimensions or stacking | Remove and replace immediately | Continue driving to “monitor” it |
| Tape melts or shifts | Heat or unsuitable adhesive | Use mechanical retention | Assume thicker tape solves fit |
If the mat still moves after a correctly installed anchor, inspect the grommet itself. A torn eyelet can let the mat slide around a fixed post, and replacing the clip alone will not solve that failure.
Frequently Asked Questions
Can I use a rug pad under a truck floor mat?
A thin rubberized mesh pad can reduce movement on carpet, especially in a passenger footwell, but it is not the preferred driver-side restraint. Mesh can creep, compress, and collect moisture under repeated foot pressure. Use a factory anchor or carpet fastener when the mat can approach the pedals.
Can I use duct tape to stop a truck mat from sliding?
Duct tape is a poor long-term restraint because its adhesive softens, collects dirt, and leaves residue in hot vehicle interiors. Duct tape also does not create a reliable mechanical connection between a driver mat and the floor. Use a compatible anchor or purpose-made automotive fastener instead.
Do anti-slip spikes damage truck carpet?
Small molded nibs or spikes can mark carpet fibers over time, but they usually create less damage than an incorrectly placed screw or clip. Spikes cannot replace a retention anchor when the mat is heavy, oversized, or close to the pedals. Inspect the carpet and mat backing during routine cleaning.
Can adhesive tape hold a rubber mat on a vinyl truck floor?
Adhesive tape can hold a flat rubber mat on clean, dry vinyl when the contact area is broad and the product is rated for automotive temperature exposure. Tape may fail on textured, dusty, oily, wet, or highly flexible surfaces. Test pedal clearance after installation and replace the system if corners lift.
How often should truck floor mat anchors be checked?
Check driver-side anchors at least monthly for private use and weekly for fleet or work-truck use. Inspect after pressure washing, deep cleaning, carpet replacement, or moving the seat. Replace stretched grommets, cracked posts, loose carpet anchors, and softened adhesive before the next drive.
Should the driver and passenger mats use the same restraint?
The driver mat requires the highest level of retention because it can reach control pedals. A passenger mat may use a removable mesh underlay when it cannot contact controls, but matching factory anchors remain preferable. Never transfer a passenger-side universal mat to the driver footwell without checking its shape and attachment points.
The Bottom Line
To keep truck floor mats from sliding, reconnect compatible factory anchors first, use carpet anchor screws for a correctly sized carpet mat without usable clips, and use cleaned-surface fasteners for a flat mat on vinyl or rubber. Remove stacked mats, replace curled or oversized mats, and confirm complete pedal clearance before driving.


