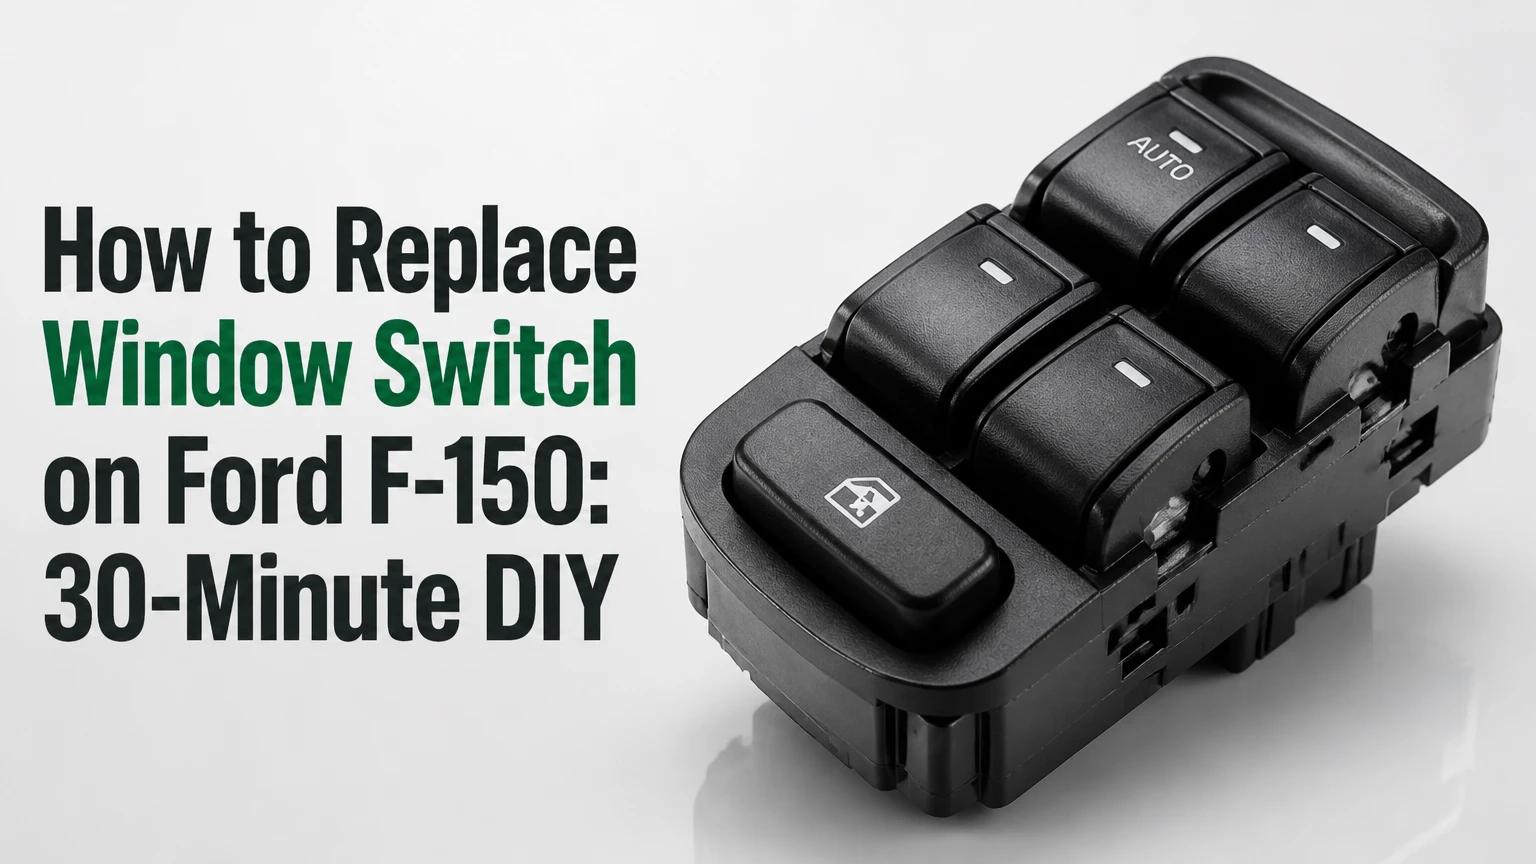
To replace a window switch on a Ford F-150, disconnect the negative battery cable, remove the door’s switch bezel, unplug the harness, transfer the switch into the bezel, and test the window before reassembly. Most accessible switches take 10-30 minutes; correct year, trim, connector, and mirror-function fitment determine success.
Key Facts at a Glance
A Ford F-150 power-window switch reverses motor polarity to move the glass up or down.
The driver master switch can control every powered window, while a passenger or rear switch usually controls one window.
Most switch replacements require a plastic trim tool, a small screwdriver, and sometimes a T10 Torx driver.
Typical DIY parts cost is $15-$40 for aftermarket switches and $55-$115 for many genuine Ford assemblies.
A window that works from one switch but not another points toward the failed switch or its connector.
Automatic window reversal after installation often requires calibration before parts replacement.
How to Replace Window Switch on Ford F-150
The basic replacement sequence is the same across many F-150 generations, but the retaining method is not universal. Older trucks commonly use a clipped switch in a removable bezel, while many later assemblies use Torx screws or an integrated control module. Do not force the bezel until you have identified whether its rear edge hooks into the armrest.
The repair normally avoids removing the entire door panel. Full panel removal becomes more likely when the connector has fallen inside the door, the bezel is broken, the switch is part of a larger integrated panel, or the window glass must be supported because it is stuck open.
What the Window Switch Controls
The F-150 window switch sends battery voltage through a reversible motor circuit. Pressing the switch in one direction sends current through the motor with one polarity; pressing the opposite direction reverses polarity and makes the motor rotate the other way.
The driver master switch may also contain the window-lockout button, illumination circuitry, mirror controls, power-fold mirror controls, and communication electronics on newer trucks. A passenger-door switch usually has fewer functions, but its connector and pin arrangement still depend on the truck’s year and equipment.
A switch failure does not automatically mean that the motor is bad. A worn contact, cracked solder joint, broken rocker linkage, water-corroded terminal, or failed electronic module can interrupt control while the motor remains serviceable.
Which Replacement Switch Does Your F-150 Need?
The correct Ford F-150 replacement switch must match the model year, cab or door position, trim equipment, connector, button layout, and mirror functions. A switch that physically fits the opening can still fail to operate the window or can disable power-fold, heated, or illuminated controls.
| Switch location | Normal function | Fitment details to verify | Typical replacement price |
|---|---|---|---|
| Driver master switch | Controls driver, passenger, and rear windows | Window count, lockout, mirror controls, connector | $25-$115 |
| Front passenger switch | Controls passenger window | Door side, connector, illumination, one-touch feature | $15-$60 |
| Rear-door switch | Controls one rear window | SuperCrew or SuperCab door, connector, lockout behavior | $15-$55 |
| Used OEM assembly | Replaces matching original module | Exact part number, broken tabs, corrosion, donor trim | $10-$50 |
Ford changed switch designs across major generations, and even vehicles from the same year can differ by trim. Lariat, King Ranch, Platinum, and trucks with power-fold mirrors often use a more feature-rich driver assembly than an XL with manual mirrors. Use the VIN or the number printed on the original switch as the final fitment check.
Before You Start
| Requirement | Typical specification | Why it matters |
|---|---|---|
| Repair time | 10-30 minutes | Adds time for testing and careful trim removal |
| Difficulty | Easy to moderate | Plastic clips and connectors are the main risk |
| Plastic trim tool | 1 tool, preferably nylon | Reduces gouging and clip damage |
| Small pick or flat screwdriver | 1 insulated tool | Releases connector locks and switch clips |
| Torx driver | T10 typical on many later assemblies | Some versions use another size or no screws |
| Replacement switch | 1 VIN-matched assembly | Prevents connector and feature mismatch |
| Battery wrench | 8 mm or 10 mm commonly used | Size varies by terminal design |
Park the truck on level ground, switch the ignition off, and keep the key away from the vehicle. If the window is open, keep hands clear of the regulator and do not lean tools into the door cavity.
Step 1: Disconnect the Negative Battery Cable
Open the hood and disconnect the negative battery terminal before unplugging the switch. Isolating the battery reduces the chance of shorting adjacent terminals, blowing a fuse, or waking a body-control module while the connector is exposed.
Wrap the disconnected cable end so it cannot spring back onto the battery post. Wait several minutes before working if the truck has retained accessory power or multiple electronic modules remain active.
Success checkpoint: The cable cannot touch the negative post, and interior window controls no longer operate.
Common mistake: Removing the positive terminal first. The negative cable is the safer first choice because it reduces accidental shorting between a tool and grounded body metal.
Step 2: Release the Switch Bezel
Slide a nylon trim tool under the bezel’s outer edge and twist gently to release one clip at a time. Work around the perimeter instead of lifting one corner aggressively, because concentrated force can crack the bezel or break its alignment hooks.
On many 1997-2014 F-150s, the switch panel lifts after its spring clips release. On many 2015 and newer trucks, the panel has a rear hook or reinforced structure that must disengage in a particular direction. A cold interior makes plastic brittle, so warming the cabin first is worthwhile in winter.
Success checkpoint: The bezel lifts far enough to expose the wiring without stretching or pulling the harness.
Common mistake: Using a metal screwdriver directly against the visible trim. If a metal tool is unavoidable, cover its tip with tape and protect the trim with a thin cloth, though nylon remains safer.
Step 3: Unlock and Disconnect the Harnesses
Press the locking tab on each connector and pull the connector body straight away from the switch. Pulling on the wires can loosen a terminal inside the plug and create an intermittent fault that looks like another failed switch.
Inspect the connector before installing the replacement. Look for green or white corrosion, pushed-back terminals, overheated plastic, broken locks, and moisture. A new switch cannot correct a terminal that no longer grips its pin.
If corrosion is light, use electrical-contact cleaner approved for plastic and allow the connector to dry fully. Do not pack the connector with grease unless the product and Ford service procedure specify the correct terminal treatment.
Success checkpoint: Every connector is free, its lock is intact, and no terminal has moved backward in the housing.
Common mistake: Probing sealed connectors with an oversized test lead. Oversized probes spread female terminals and can create a permanent loose connection.
Step 4: Remove the Old Switch From the Bezel
Turn the bezel over and identify the switch retention method. Clip-retained assemblies use plastic ears around the switch body; screw-retained assemblies commonly use small Torx screws, often T10, but the exact size should be confirmed before applying force.
For a clipped assembly, depress the retaining ears evenly with a pick while pushing the switch out from the button side. Release one side slightly, then the opposite side, rather than prying the housing diagonally.
For a screw-retained assembly, remove every visible retaining screw and store them in a small container. Do not assume that a tight switch needs more prying; one hidden screw or clip can remain engaged.
Success checkpoint: The old module separates without cracked bezel ears, bent terminals, or loose button caps.
Common mistake: Forcing the switch through one corner. Broken retention ears may allow the replacement to rattle or sit below the surrounding trim.
Step 5: Install the New Switch
Compare the old and new assemblies before transferring anything. Confirm the connector shape, button arrangement, mounting ears, illumination windows, mirror controls, and part number or catalog application.
Seat the replacement switch squarely into the bezel. For clip-retained units, press until each ear clicks over the housing. For screw-retained units, start every screw by hand, then tighten only until snug because small plastic bosses strip easily.
Do not install a passenger switch in a driver master-switch opening simply because the button outline appears similar. The driver assembly may contain additional circuits for window lockout and mirrors.
Success checkpoint: The module sits flush, every retaining tab is engaged, and no button binds when pressed.
Common mistake: Installing the switch before comparing the connector. A visually similar aftermarket part may have reversed or incomplete pin assignments.
Step 6: Reconnect the Harnesses and Refit the Bezel
Push each connector into its matching socket until its lock clicks. Give the connector body a light tug, not the wires, to verify that it is latched.
Align the bezel’s rear hook or locating tab first when the design uses one. Lower the panel into position and press around the perimeter until all clips seat flush with the armrest.
Before pressing hard, confirm that no harness is trapped between the bezel and the door structure. Pinched wiring can cause a short, a rattle, or a window that works only when the armrest is flexed.
Success checkpoint: The bezel is level with the surrounding trim, all edges are secure, and the switch buttons move normally.
Common mistake: Pressing the panel down while a rear alignment hook is still outside its slot. The plastic can bow or crack even though the clips appear engaged.
Step 7: Restore Power and Test Every Function
Reconnect the negative battery cable, switch the ignition to the accessory or run position, and test the replaced window in both directions. If the new part is the driver master switch, test every window, the lockout button, mirror adjustment, mirror folding, and switch illumination when equipped.
Operate each window in short cycles first. Listen for grinding, clicking, slow movement, or glass tilt, because those symptoms indicate a regulator, guide, motor, or mechanical problem rather than a switch problem.
Success checkpoint: The affected window moves smoothly up and down, the button returns to center, and all functions controlled by the replaced assembly work.
Common mistake: Reassembling without testing. A wrong switch or loose connector is easiest to correct while the bezel remains accessible.
Does the Switch Actually Need Replacement?
A Ford F-150 window switch is a strong suspect when one control fails while another control operates the same window, or when pressing the button produces no electrical output despite verified power and ground. A fuse, broken door-jamb wire, failed motor, regulator, or anti-pinch calibration problem can create similar symptoms.
Use the Local-Control Test
Operate the passenger window from the passenger switch and the driver master switch. If the passenger switch works consistently but the driver control does not, the driver master switch, its connector, or the wire between the switch and control system deserves attention.
If neither switch operates the window, inspect the fuse, wiring, motor, regulator, and ground before buying a switch. If the driver master controls every window except one, the master switch can still be defective, but the individual door circuit remains a competing possibility.
Check the Fuse and Door-Jamb Wiring
Verify the power-window fuse using the fuse diagram for the exact truck. Never substitute a fuse with a higher rating. A repeatedly blown fuse suggests a short or mechanically overloaded motor, not a switch that should simply be replaced.
Open and close the affected door while operating the window. A broken conductor inside the flexible rubber boot between the door and body can work intermittently, especially on high-mileage trucks. Repair the wire properly with an automotive-grade crimp and heat-shrink connection, or replace the damaged harness section.
Test Voltage Carefully
A multimeter can confirm whether the switch receives power and changes output when pressed, but wire colors and pin assignments vary by year. Use the wiring diagram for the specific F-150 rather than assuming that a particular pin is ground.
A 12-volt reading at the switch does not prove that the circuit can carry motor current. A corroded connection may show battery voltage with no load and collapse when the motor is commanded. Voltage-drop testing under load provides better evidence than an open-circuit voltage check.
How Much Does an F-150 Window Switch Replacement Cost?
Typical DIY cost is $15-$40 for an aftermarket switch, $55-$115 for many genuine Ford assemblies, and approximately $175-$210 for a shop or dealership repair when parts markup and labor are included. Local labor rates, trim features, and whether diagnosis is billed separately can move the final price outside those ranges.
| Repair option | Typical parts cost | Typical labor or time | Main trade-off |
|---|---|---|---|
| Budget aftermarket | $15-$35 | 10-30 DIY minutes | Lower price, variable fit and lighting |
| Reputable aftermarket | $25-$60 | 10-30 DIY minutes | Better warranty, catalog quality varies |
| Genuine Ford OEM | $55-$115 | 10-30 DIY minutes | Best feature and fitment match |
| Used OEM | $10-$50 | 15-40 DIY minutes | Original design, unknown wear |
| Independent repair shop | $80-$160 total labor and diagnosis | 0.5-1 hour billed | Regional hourly rate variation |
| Dealership repair | $175-$210 typical total estimate | 0.5-1 hour billed | Higher markup, factory diagnostic access |
RepairPal’s published window-switch estimates are useful as a broad planning reference, but they are not a guaranteed quote for every model year or location. A shop may charge diagnosis even when the final repair takes less than an hour.
Should You Buy OEM, Aftermarket, or Used?
Genuine Ford is the safest choice when the driver switch includes power-fold mirrors, memory functions, unusual illumination, or a high-trim interior. A reputable aftermarket unit can be appropriate for a basic local window when the seller provides a VIN-compatible part number and a meaningful warranty.
| Replacement type | Best use case | Expected service risk | Buying check |
|---|---|---|---|
| Genuine Ford OEM | Lariat, King Ranch, Platinum, complex mirror functions | Highest price, lowest feature mismatch risk | Verify VIN and Ford part number |
| Reputable aftermarket | Basic window controls and budget repairs | Button feel and LED color may vary | Confirm connector and return policy |
| Used OEM | Older truck with discontinued or expensive part | Existing contact wear or broken clips | Inspect tabs, pins, and rocker action |
| Salvage-yard switch | Temporary repair or rare older trim | Unknown water and sun exposure | Match donor door and equipment exactly |
Aftermarket switches are not automatically poor quality, but the lowest-priced units may have different backlighting colors, weaker rocker pivots, or a connector that fits only physically. Used switches can contain the same worn copper contacts that caused the original failure, so their condition should be treated as uncertain.
What If the Window Reverses or Bounces Back?
A 2015-and-newer F-150 window that rises and immediately lowers may need one-touch or anti-pinch calibration rather than a new switch. The control module may interpret lost position data, resistance, or an interrupted battery connection as an obstruction.
Use this common calibration sequence:
- Turn the ignition on.
- Lower the window completely and keep holding the switch down for about two seconds.
- Raise the window completely and keep holding the switch up for about two seconds.
- Repeat once if the one-touch function does not return.
Keep the glass path clear during calibration. If the window still reverses after clean tracks, correct alignment, and calibration, inspect the regulator, run channel, motor current, and anti-pinch system. Do not defeat the safety feature by repeatedly forcing the glass upward.
What If the Window Is Stuck Down?
A stuck-down window requires weather protection before switch diagnosis. Cover the opening with plastic sheeting secured outside the glass path, and do not leave the truck unattended with the cabin exposed.
If the motor can be heard but the glass does not move, the regulator, cable, guide, or glass attachment may have failed. If the motor is silent, check the switch, fuse, wiring, and motor power. Supporting the glass by hand while operating the switch is unsafe because the regulator can release suddenly.
Full door-panel removal may be necessary when the glass must be secured, the regulator is broken, or the connector has been pulled into the door. A switch-only repair should not be used as a substitute for stabilizing unsupported glass.
Common Mistakes and How to Fix Them
| Mistake | Result | Recovery |
|---|---|---|
| Buying by year only | Wrong connector or missing mirror controls | Match VIN, trim, door, and original part number |
| Pry force concentrated at one corner | Cracked bezel or broken hook | Replace damaged bezel and release clips evenly |
| Pulling wires instead of connectors | Loose terminal and intermittent operation | Inspect terminal tension and repair the connector |
| Skipping the post-installation test | Reassembly of a faulty or mismatched part | Test every controlled function before clipping bezel fully |
| Installing a higher-rated fuse | Harness or module damage during a short | Use the specified rating and diagnose the overload |
| Replacing the switch for a bounce-back fault | Unnecessary parts expense | Perform window initialization and inspect glass resistance |
One practitioner rule is especially useful: if the window works when the door is held at a particular angle, suspect the door-jamb harness before condemning the switch. Switch contacts rarely respond to door position, but broken flexing conductors often do.
Another counterintuitive point is that a switch can feel normal and still fail electrically. The rocker’s physical movement only proves that the plastic linkage moves; it does not prove that the internal copper contacts carry current.
A final rule is to compare the replacement under bright light before installation. Missing terminals, a different button icon, or a slightly different mirror selector can reveal an incompatible assembly faster than any electrical test.
Passenger and Rear-Door Variations
Passenger and rear-door F-150 switches generally use the same removal concept, but the surrounding bezel shape and connector count differ from the driver master panel. Remove the local bezel, unplug the single switch harness, release the retaining clips or screws, and install the matching replacement.
SuperCab and SuperCrew rear doors do not necessarily share the same trim geometry. Check the cab configuration as well as the model year, because a catalog listing that says “rear door” may cover only one body style.
A rear switch that fails while the driver lockout is active may be operating normally. Press the driver’s window-lock button and retest before disassembling the rear door.
When Should You Stop and Use a Professional?
Stop the DIY repair when the connector is melted, the glass is unsupported, multiple windows fail simultaneously, the battery cable triggers electrical faults, or the replacement requires programming that the part documentation does not explain. A professional can access factory wiring diagrams, scan body modules, and perform loaded circuit tests.
A switch replacement is not a good repair for a window that grinds, tilts, drops into the door, or moves slowly in only one section of its travel. Those symptoms point toward a regulator, guide, motor, or mechanical alignment fault, and replacing the control button will not restore reliable movement.
FAQ
Can I replace the F-150 window switch without removing the door panel?
Yes, many F-150 window switches are accessible through the removable switch bezel, so the complete door panel is unnecessary. Full panel removal may still be required for a broken bezel, trapped harness, damaged connector, stuck glass, regulator failure, or a design in which the switch is integrated into a larger panel.
Why does only the driver window work on my Ford F-150?
A driver-only window can result from a failed passenger or rear switch, a driver master-switch fault, a window-lockout setting, a door-jamb wire break, or a shared power problem. Test the affected window from its local switch and the master switch, then check the fuse and connector before choosing a replacement part.
Do I need to disconnect the battery to change a window switch?
Disconnecting the negative battery cable is the safest practice because the switch connector contains powered circuits and exposed terminals. Keep the cable isolated from the post, and expect one-touch windows or other retained settings to require reinitialization after power is restored.
How do I know whether my F-150 needs a window motor instead?
A motor becomes more likely when the switch clicks but the window moves slowly, grinds, sticks, or fails from both the local and master controls. A switch is more likely when one control operates the window and another does not, provided the connector and wiring are intact.
Can a bad window switch drain the battery?
A failed switch can contribute to battery drain if an internal contact remains closed or a module stays awake, although a parasitic draw can also come from a door module, latch, light, or aftermarket accessory. If the battery goes flat overnight, measure key-off current instead of assuming the switch is responsible.
Will a replacement switch need programming?
Many basic replacement switches operate immediately after installation, while some later F-150 assemblies interact with body electronics, one-touch calibration, or memory features. Follow the part instructions and initialize the window after reconnecting the battery; programming requirements depend on the exact year and equipment.
The Bottom Line
Replacing a Ford F-150 window switch is usually a 10-30 minute repair involving the battery cable, switch bezel, wiring connector, retaining clips or Torx screws, and a final function test. Diagnose the fault first, match the switch by VIN and equipment, and calibrate one-touch operation when required. That process is the reliable answer to how to replace window switch on ford f150 without damaging the door trim or installing the wrong module.


