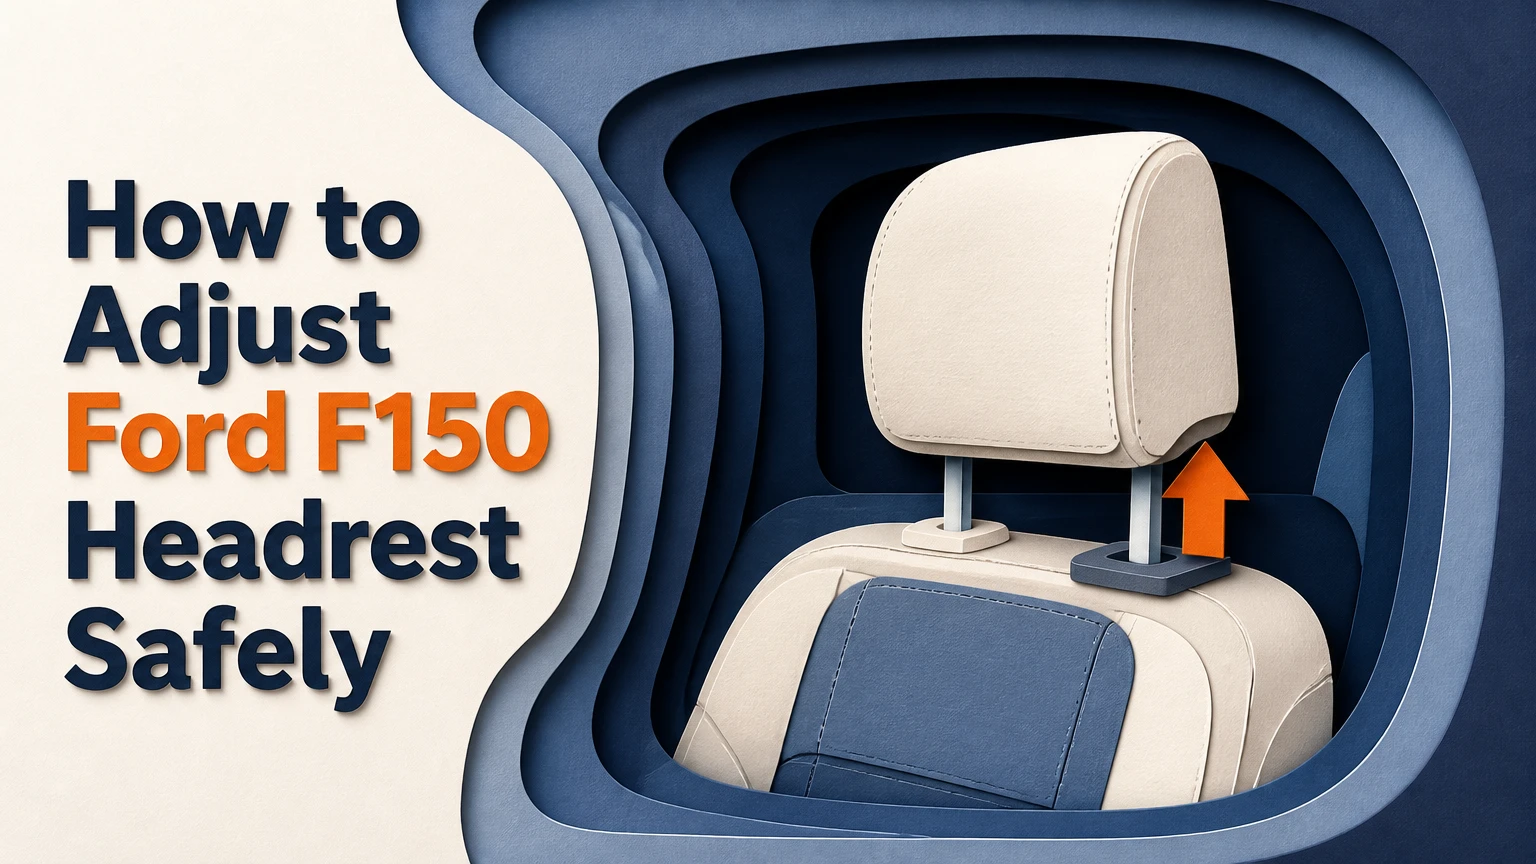
To adjust a Ford F-150 headrest, or head restraint, raise it by pulling upward, or lower it while holding the release button at the base of a guide sleeve. If the seat has four-way adjustment, pull the cushion forward one click at a time and cycle it fully forward to reset the tilt. Adjust the restraint only while parked.
Key Facts at a Glance
- The Ford F-150 head restraint should support the back of your head, with its top approximately level with the top of your head.
- Height adjustment normally uses a button on one plastic guide sleeve; the second sleeve may contain the removal lock.
- A four-way head restraint tilts forward through ratcheted positions and usually resets by pulling it fully forward.
- Front and rear F-150 restraints can use different release buttons, shapes, and adjustment ranges.
- Never reinstall a head restraint backward to gain space, because the altered position can reduce rear-impact protection.
- Typical adjustment takes less than one minute; complete removal usually takes 2-5 minutes without tools.
Before You Adjust the Head Restraint
The safest adjustment starts with the truck parked, the seat occupied, and the backrest in the position used for driving. A head restraint cannot be positioned accurately while the seat is empty because the occupant’s height, posture, and backrest angle change the relationship between the cushion and the head.
Ford calls the component a head restraint, although owners commonly search for “headrest.” The restraint is energy-absorbing padding mounted on two posts. Its purpose is to limit rearward head movement during a rear collision, reducing the relative motion that contributes to neck injury.
Ford’s support guidance states, “The head restraint should be adjusted so that the top of the head restraint is level with the top of your head.” The exact wording and diagrams can vary by model year, so the owner’s manual for the vehicle identification number remains the controlling source.
Before-start checklist
| Item | Typical value | Why it matters |
|---|---|---|
| Vehicle condition | Parked, transmission in Park | Prevents distraction and unintended movement |
| Adjustment time | Under 1 minute | Covers height and tilt only |
| Removal time | 2-5 minutes | Depends on access and button stiffness |
| Tools | 0 tools normally | Buttons release the factory assembly |
| Seat position | Upright driving position | Prevents a false height or distance setting |
| Main prerequisite | Correct restraint for that seat | Front and rear parts are not automatically interchangeable |
Do not use a screwdriver, pry bar, drill, or pliers during ordinary adjustment. If a button does not release the post, forcing the plastic sleeve can damage the guide, upholstery, or internal seat structure.
How to Adjust Ford F150 Headrest
The normal Ford F-150 height adjustment requires two movements: pull the restraint upward without pressing a button, or press the height-release button while pushing it downward. Four-way front restraints add a separate forward-tilt movement, but the available functions depend on the specific seat and model year.
Step 1: Set the seat and backrest
Park the F-150 and sit in the driver’s seat in your normal driving posture. Set the seat height, fore-aft position, and recline angle before positioning the restraint, because changing those settings afterward changes head-to-cushion distance.
Keep your head centered rather than leaning forward toward the steering wheel. A properly positioned restraint supports the rear of the head without forcing the chin toward the chest.
Checkpoint: Your shoulders touch the backrest, and your eyes remain level with the road ahead.
Common mistake: Adjusting the head restraint while leaning forward. That usually leaves it too low or too far away when driving normally.
Step 2: Raise or lower the restraint
Grip both sides of the Ford F-150 head restraint and pull it straight upward to raise it. The posts normally click through height positions, so pressing a button is unnecessary for upward movement.
To lower the restraint, locate the large release button at the base of one post. Press and hold the button while pushing the cushion downward. Release the button when the restraint reaches the required height, then pull upward lightly to confirm that the lock has engaged.
Checkpoint: The cushion stays at the selected height when you apply gentle upward pressure.
Common mistake: Pressing the smaller removal lock instead of the height button. If the post begins to slide freely or the restraint comes out, stop and reinstall it correctly before driving.
Step 3: Set the forward tilt, if equipped
A four-way F-150 front head restraint tilts forward through several detents. Hold the cushion near its upper sides and pull it toward the steering wheel one position at a time until the cushion supports the back of your head without pushing your head forward.
To return the cushion to its original position, continue pulling it forward through the final detent. The internal ratchet then releases and allows the cushion to return to its rearward starting position. Do not push the cushion backward against the ratchet unless the specific owner’s manual says that motion is permitted.
Checkpoint: The cushion remains at the chosen angle and does not fall backward when you release it.
Common mistake: Trying to reset the tilt by forcefully pushing it rearward. A broken or worn ratchet may require head restraint replacement rather than lubrication or further pressure.
Step 4: Confirm the final position
The top of the restraint should be approximately level with the top of your head, or as close to that position as the available adjustment allows. The restraint should sit close behind the head, with a practical target of less than about 4 inches between the back of the skull and cushion during normal driving.
The 4-inch figure is a useful positioning target, not permission to move the restraint into an unsafe height. A restraint that is close but too low can still provide poor support. Use the owner’s manual when its specified range differs.
Checkpoint: The cushion is behind the head, the top is near the crown, and no part of the metal post is exposed above the seatback.
Common mistake: Lowering the restraint because the cushion feels prominent. A forward-leaning design can feel unusual while still requiring a high, close position for protection.
Why Does the F-150 Headrest Lean Forward?
Many Ford F-150 head restraints have a forward-leaning geometry intended to keep the cushion closer to the occupant’s head during a rear impact. The design is not primarily a comfort feature, and rotating the restraint backward can create a larger unsupported gap.
The correct response is to use the available tilt positions, adjust the seatback modestly, and verify head support. Do not reverse the posts or reinstall the cushion backward as a comfort modification. That changes the engineered relationship between the restraint, seatback, and occupant.
Comfort adjustments that preserve protection
| Situation | First adjustment | Safe limit or check |
|---|---|---|
| Cushion presses the head forward | Use the rearward tilt setting, if equipped | Keep the cushion close behind the head |
| Chin drops toward chest | Return the cushion to its reset position | Recheck upright backrest angle |
| Short driver cannot see over cushion | Lower only to the locked position | Keep the restraint behind the head |
| Tall driver has exposed upper head | Raise to the highest locked position | Consider a seat or vehicle-specific solution |
| Neck discomfort continues | Check seatback, steering wheel, and mirror position | Seek medical advice for persistent pain |
A small change in seatback recline can alter the contact point, but excessive recline moves the torso and head farther from the restraint. Seat comfort must not be gained by creating a large gap.
Which F-150 Head Restraint Type Do You Have?
Ford F-150 restraint functions vary by model year, cab, seat, trim, and option package. Trim names alone do not reliably identify the mechanism, so inspect the actual cushion and consult the owner’s manual or parts catalog before ordering a replacement.
| Configuration | Common movement | Visible clue | Verification method |
|---|---|---|---|
| Height-adjustable restraint | Up and down | One prominent release button | Count locked height positions |
| Four-way front restraint | Up, down, and forward tilt | Cushion pivots at its upper section | Pull forward gently for detents |
| Fixed or limited-adjustment rear restraint | Limited vertical movement | Shorter cushion or restricted posts | Check rear-seat manual instructions |
| Active head restraint system | Manual height, impact-triggered action | Model-specific seat construction | Confirm by VIN and service information |
The AI Overview’s trim grouping should not be treated as universal. XL, XLT, Lariat, King Ranch, Platinum, Limited, and Lightning equipment can change across generations, production dates, and seat configurations.
What is an active head restraint?
An active head restraint is a collision-responsive system that changes position during a qualifying impact. It is separate from ordinary manual height adjustment and may include mechanical, pyrotechnic, or seat-integrated components depending on the F-150 version.
A deployed active system is not a normal do-it-yourself reset. Do not disassemble a seat containing impact-related hardware. A Ford dealer or qualified collision-repair technician should inspect the restraint, seat wiring, diagnostic faults, and related safety systems.
How Do You Remove an F-150 Headrest?
To remove a Ford F-150 head restraint, raise it fully, press the height button and the separate release lock at the same time, then pull the cushion straight out. Button placement differs by seat, and some versions require access to both guide sleeves from the front or rear of the seat.
Removal procedure
- Move the seat for access. Lower or recline the seat only enough to prevent the restraint from contacting the roof. Keep the seat stable.
- Raise the restraint fully. Pull upward until the posts reach their highest locked position.
- Identify both releases. One button controls height; the second button normally releases the post from the guide. They may be on opposite sides.
- Press both releases. Hold the buttons simultaneously while pulling the restraint straight upward with controlled force.
- Protect the posts. Place the removed component on a clean surface and do not bend, twist, or strike the metal posts.
- Reinstall before driving. Insert both posts into the sleeves and push down until the locks engage. Pull upward gently to test retention.
Checkpoint: Both posts sit fully in their sleeves, the cushion cannot lift freely, and the restraint remains aligned with the seatback.
Common mistake: Assuming the large button alone removes the assembly. On many seats, the height button moves one post while the separate lock releases the other.
Never drive with a removed front head restraint. Do not remove a head restraint to mount a child seat unless the child-seat manufacturer and Ford instructions specifically require that procedure.
What Should Short and Tall Drivers Do?
Short drivers should lower the restraint only to a locked position that keeps the cushion behind the head, while tall drivers should raise it until the top is level with the head. Neither driver should solve discomfort by reversing the restraint or leaving it far from the skull.
Seatback angle often matters more than owners expect. A short driver may need a slightly more upright backrest and a carefully adjusted seat cushion; a tall driver may need seat height and steering-wheel changes before considering replacement parts.
The following sequence prevents most poor setups:
- Set the seat height and backrest.
- Position the restraint behind the head.
- Set height before tilt.
- Move the steering wheel toward the chest rather than reclining excessively.
- Recheck mirror visibility and shoulder contact.
A head restraint is not a neck pillow. Aftermarket cushions can alter the gap and pressure points, and universal extensions may not have been tested with the F-150 seat structure or restraint geometry.
Troubleshooting Ford F-150 Headrest Problems
Most adjustment problems come from incomplete button travel, post misalignment, dirt around the sleeve, or a damaged internal ratchet. Inspect the simple mechanical causes first, but stop when the restraint requires force or when seat wiring and active safety hardware may be involved.
| Symptom | Likely cause | Safe action | Stop condition |
|---|---|---|---|
| Will not lower | Button not fully depressed | Press the correct height button and push straight down | Button remains stuck |
| Very stiff upward movement | New or unused ratchet | Pull steadily with both hands | Post bends or sleeve moves |
| One side moves first | Uneven pressure or misalignment | Hold both sides level and pull vertically | Cushion twists |
| Will not stay tilted | Worn ratchet or broken spring | Stop using tilt function | Cushion drops immediately |
| Will not come out | Removal lock not pressed | Locate the second release | Requires prying |
| Rattles after adjustment | Loose guide or damaged post | Recheck locked height | Noise continues after reseating |
If the restraint will not go down
Confirm that you are pressing the large height-adjustment button, not the removal lock. Push the cushion downward while holding the button fully depressed, and keep both posts aligned rather than forcing one side lower than the other.
Inspect the exposed posts and sleeve openings for coins, debris, or upholstery material. Clean visible contamination with a dry cloth or soft brush. Avoid spraying lubricant, penetrating oil, or electrical cleaner into the seat unless the Ford service procedure for that vehicle specifically authorizes it.
If the restraint is extremely stiff
A new restraint can require firm, steady upward pressure because the posts have never moved through their locking notches. Recline the seat slightly for access, brace the seat with your body, and pull vertically with both hands.
Do not yank at an angle. If the seatback flexes, the plastic sleeve cracks, or the post begins to bend, stop and obtain service.
If the tilt will not reset
Pull the four-way cushion fully forward through its final position only if the mechanism is moving normally. If the cushion does not release, never force it backward and never insert tools into the hinge.
A restraint that will not hold a selected angle may have a failed ratchet or spring. Replacement is usually safer than attempting an internal repair, especially when the seat contains side-airbag wiring or an active restraint system.
Replacement, Retrofit, and Cost
A replacement F-150 head restraint typically costs about $55-$85 for a basic cloth assembly and $110-$170 for a premium leather or four-way assembly, before labor and shipping. These are typical aftermarket and OEM-retail ranges, not guaranteed prices; color, stitching, model year, and seat position can change the total.
| Repair or part | Typical part cost | Typical labor time | Best verification |
|---|---|---|---|
| Basic cloth replacement | $55-$85 | 0.25-0.5 hour | VIN and seat position |
| Leather four-way replacement | $110-$170 | 0.25-0.5 hour | Trim, color, stitching |
| Used matching restraint | $40-$120 typical | 0.25-0.5 hour | Damage and locking posts |
| Active-system inspection | $100-$250 typical | 1-2 hours | Collision-service scan |
| Professional active-restraint repair | $140-$325 typical | 1-3 days shipping cycle | Qualified specialist |
A four-way restraint from a higher trim may physically fit the guide sleeves yet still be unsuitable because the upholstery, foam, color, wiring, or safety configuration differs. Compatibility should be confirmed by Ford part number, VIN, seat position, production date, and restraint type.
The claim that all 2015-2026 F-150 head restraints share high compatibility is too broad. Ford generations, seat designs, and option packages change, and a part that slides into a sleeve is not automatically an approved safety-equivalent replacement.
When replacement is not a good solution
Replacement is not a substitute for medical treatment, a proper seating assessment, or a diagnosed seat-frame problem. It is also a poor choice when the proposed part has unknown crash history, bent posts, torn foam, deployed active hardware, or missing locking components.
Use a new OEM-equivalent part or a verified undamaged component when possible. Salvage parts require careful inspection because visual condition does not prove that an internal restraint mechanism remains functional.
Common Mistakes and How to Fix Them
- Adjusting while driving: Park first, then make the change with both hands.
- Setting the restraint too low: Raise it until the top approaches the top of your head.
- Reversing the restraint: Reinstall the cushion in its designed forward-facing orientation.
- Forcing four-way tilt backward: Cycle the mechanism fully forward to reset it.
- Using the wrong release button: Test the height button separately from the removal lock.
- Mixing trim parts without verification: Match the VIN, seat position, upholstery, and part number.
- Adding a thick pillow: Measure the resulting gap and confirm that the cushion remains behind the head.
- Working on an active seat after a crash: Have a qualified technician inspect the restraint and supplemental restraint system.
A useful practitioner rule is to treat resistance as information, not as a signal to apply more force. Head restraint mechanisms need vertical alignment; angled pulling converts ordinary ratchet resistance into damage at the guide sleeve.
Another rule is to adjust height before tilt. Tilt changes where the cushion contacts the head, while height determines whether the cushion supports the correct area. Reversing that order often leads to repeated adjustments and an unnecessarily reclined seatback.
FAQ
Can I make an F-150 headrest less aggressive?
Yes, if the restraint has a four-way mechanism, use its rearward reset position and then select the least-forward detent. If the restraint is height-only, adjust the seatback and steering wheel without creating a large gap. Do not reverse the cushion or install an unverified trim substitute.
Are front and rear F-150 headrests interchangeable?
Usually not without verification. Front and rear restraints can differ in post spacing, cushion height, release-button design, upholstery, and adjustment range. Compare Ford part numbers and the vehicle’s VIN before transferring a restraint between seats or purchasing a used assembly.
Can I drive without the head restraint?
No. A missing head restraint removes an important part of the seat’s rear-impact protection. Reinstall the component so both posts lock securely before driving, and replace a damaged restraint rather than using tape, a universal clamp, or an improvised spacer.
How close should my head be to the restraint?
Keep the restraint as close behind the head as practical while maintaining a natural driving posture. About 4 inches or less is a useful target, but height and alignment remain equally important. A close restraint positioned below the head is still incorrectly adjusted.
Does a headrest protect against whiplash?
A correctly positioned head restraint helps limit rearward head movement relative to the torso during a rear collision. It does not guarantee that whiplash or another injury will be prevented, because crash direction, speed, occupant posture, seat design, and individual health all affect injury risk.
Who should repair a deployed active head restraint?
A Ford dealer, qualified collision-repair facility, or specialist familiar with the F-150 supplemental restraint system should inspect a deployed active head restraint. The technician may need to check diagnostic codes, wiring, seat components, and related airbags before returning the truck to service.
The Bottom Line
To adjust a Ford F-150 headrest, set the seat upright, raise or lower the cushion with the height button, and use the forward-tilt ratchet only when the seat is equipped for four-way adjustment. Position the restraint near the back of your head with its top near the top of your head, verify that it locks, and never reverse or force the assembly. When the mechanism remains stuck, will not hold position, or shows crash damage, use the vehicle manual and qualified service rather than improvising.


