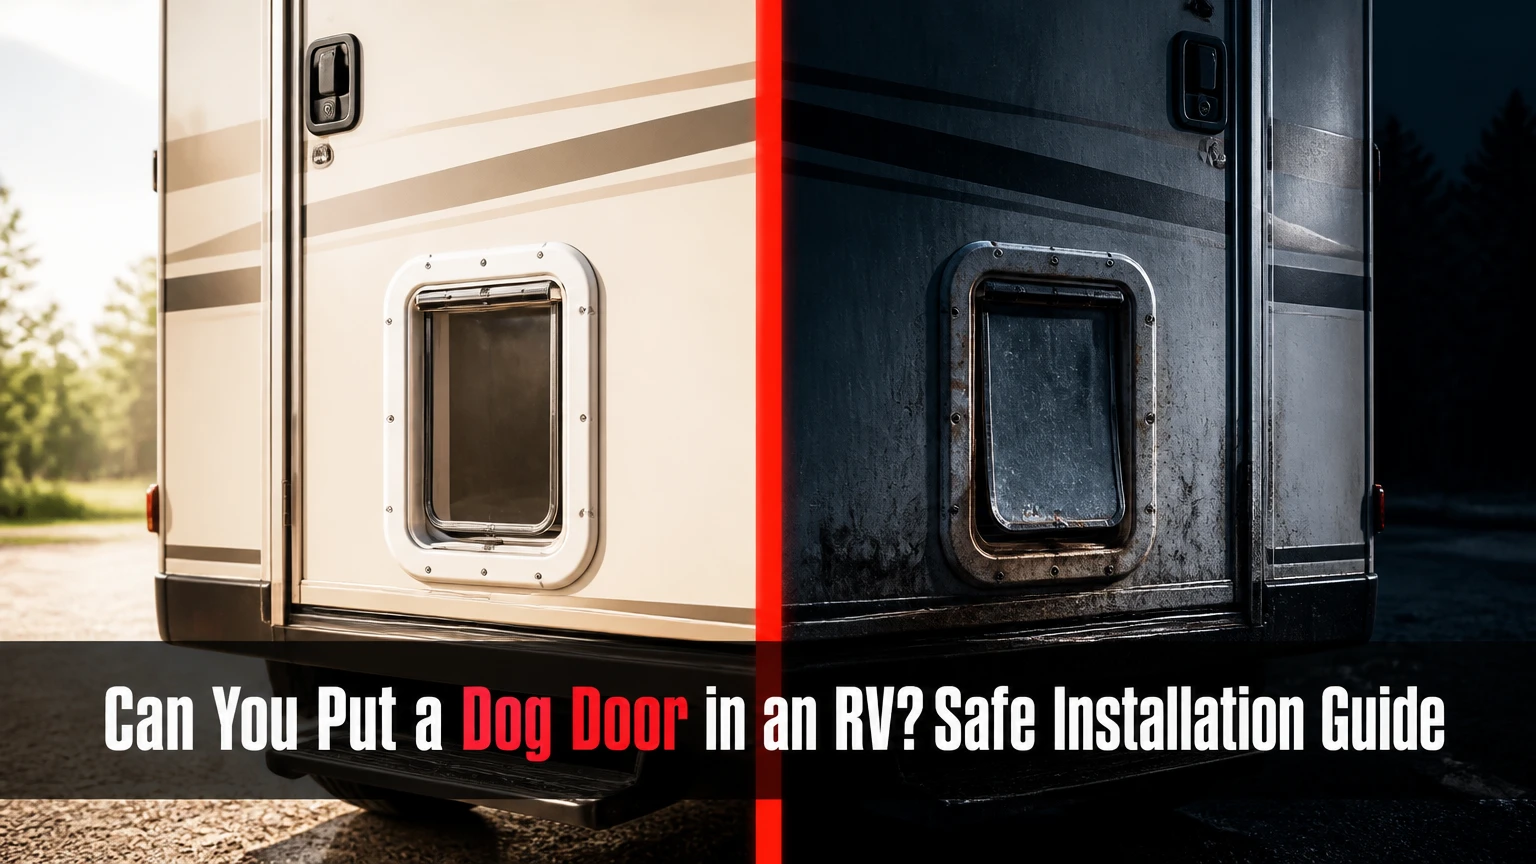
Yes, you can put a dog door in an RV, but the correct installation depends on the RV’s door construction, wall composition, available clearance, and the dog’s size. The safest choices are usually a removable screen-door insert or a professionally installed wall unit, while cutting the main entry door or sidewall requires careful measurement, utility inspection, structural framing, and flexible RV sealant.
Key Facts at a Glance
- An RV dog door can fit a screen door, entry door, exterior wall, or baggage-compartment door.
- A removable screen insert typically costs $40-$120 and takes 30-90 minutes to install.
- A permanent wall installation typically costs $150-$500 in hardware and $400-$900 or more with professional labor.
- RV walls are often laminated panels with foam insulation, not residential stud cavities.
- The interior locking panel must be closed before driving, even when the flap has magnets or an electronic lock.
- A dog door should be sized by the dog’s measured shoulder height and chest width, not by breed name alone.
Can You Put a Dog Door in an RV?
An RV can accept a dog door when the chosen panel has enough flat surface, clearance, and structural support for the frame. Installation is comparatively simple in a screen door, moderate in a removable storage door, and much more consequential in a fiberglass or aluminum sidewall because cutting can expose wiring, plumbing, framing, or insulation.
The main decision is not whether an opening is physically possible. It is whether the opening can be sealed, reinforced, locked, and used without creating a fall hazard or weakening the coach. A dog door placed above the entry steps may be convenient for the dog but dangerous for an older, arthritic, or excitable animal.
RV manufacturers use several construction methods. A Class C coach may have a laminated fiberglass wall over foam, whereas an older travel trailer may use aluminum framing, interior paneling, and a different insulation cavity. Inspect the specific wall before selecting a door kit.
Why RV Construction Changes the Installation
Residential pet doors usually clamp through a rigid, predictable door or wall thickness. RV panels may be thinner, curved, laminated, hollow, or supported by concealed aluminum members, so an ordinary pet-door tunnel may not clamp correctly or may compress the wall.
A high-density stud finder is not a reliable universal method for locating RV utilities. Foil-backed insulation, aluminum framing, laminated skins, and dense wiring can produce false readings. Use the RV manufacturer’s wiring and plumbing diagrams when available, inspect accessible service areas, and treat every unverified cutting zone as a potential hazard.
Which RV Dog Door Type Fits Your Rig?
The best RV dog-door type depends on permanence, security, weather exposure, and the location available. A screen-door insert is the lowest-risk option, while a through-wall unit offers the best placement flexibility but creates the greatest risk of leaks and construction damage.
| Dog-door type | Typical hardware cost | Typical DIY time | Reversibility | Best use |
|---|---|---|---|---|
| Screen-door insert | $40-$120 | 30-90 minutes | High | Weekend camping and rentals |
| Main entry-door unit | $80-$250 | 2-4 hours | Low | Flat, reinforced entry doors |
| Through-wall unit | $150-$500+ | 4-8 hours | Very low | Full-time use away from steps |
| Baggage-door conversion | $70-$200 | 2-4 hours | Medium | Dedicated kennel or mudroom |
| Electronic or microchip door | $200-$600+ | 3-8 hours | Low | Multi-pet or wildlife control |
Screen-Door Inserts
A screen-door insert clamps or fastens into the lower portion of the existing screen door. It avoids cutting the RV shell and can usually be removed before travel, but the screen door itself is not a secure exterior barrier when the main door is open.
Screen inserts have limited insulation. They also allow more air exchange, dust, insects, and temperature loss than a sealed wall unit. Use one when the coach is occupied, the climate is moderate, and the dog can remain safely inside the screened area.
Main Entry-Door Installations
A pet door in the primary entry door preserves the RV wall, but the opening may lead directly toward the fold-out steps. Measure the dog’s landing path, not merely the flap dimensions. A dog that exits at speed can miss a step or collide with the handrail.
Check the entry door’s inner and outer skins before cutting. Some RV doors contain a hollow core, while others include reinforcement or an integrated window assembly. A door replacement can cost several hundred dollars or more if the cutout fails.
Through-Wall Installations
A wall-mounted RV dog door provides the most control over height and landing area. The installation requires a tunnel that matches the wall thickness and a rigid perimeter that prevents the outer and inner skins from crushing when screws tighten.
A through-wall cutout is permanent. It can also affect warranty, resale disclosure, water resistance, and the coach’s appearance. Do not cut until the manufacturer confirms that the selected location is free of structural members and utilities.
Baggage-Compartment Conversions
A baggage-door conversion places the pet door in an exterior storage hatch, often leading into a custom kennel or enclosed interior passage. The arrangement contains muddy paws better than a door opening directly into the living area, but it sacrifices storage and requires ventilation, insulation, and secure kennel construction.
The compartment must not contain fuel, batteries, chemicals, generators, sharp tools, or hot equipment. A storage bay that seems convenient may be unsafe for an animal unless it is converted into a genuine, temperature-controlled pet space.
How Do You Size an RV Dog Door?
Measure the dog’s chest width, shoulder height, and body depth, then compare those measurements with the manufacturer’s clear flap opening. The dog should pass without rubbing its shoulders, but the opening should not be so large that it creates unnecessary heat loss or permits an escape.
Measure these points while the dog is standing naturally:
- Chest width: the widest point behind the front legs, adding approximately 1 inch for clearance.
- Shoulder height: floor to the top of the shoulders, then compare it with the bottom of the opening.
- Body depth: nose to the base of the tail, useful for tunnel length and turning space.
- Step-over height: the vertical distance from the floor or landing surface to the bottom of the flap.
| Dog example | Typical chest width | Typical shoulder height | Suggested clear flap width |
|---|---|---|---|
| Toy breed, 5-12 lb | 4-6 in | 7-10 in | 5-7 in |
| Small dog, 13-25 lb | 6-8 in | 10-14 in | 7-9 in |
| Medium dog, 26- fifty-five lb | 8-11 in | 14-20 in | 9-12 in |
| Large dog, 56-85 lb | 11-14 in | 20-26 in | 12-15 in |
| Giant dog, 86+ lb | 14-18 in | 26-32 in | 15-19 in |
The table provides typical planning ranges, not a substitute for measuring the individual dog. Puppies may outgrow a properly fitted opening within months. Measure the adult expected size if the installation is permanent.
How Much Clearance Does the Dog Need?
The bottom of the flap should generally sit near the dog’s chest floor line, with a low step-over that does not force the dog to jump. Maintain a comfortable landing area beyond the opening, especially where a door opens onto stairs, a narrow patio, or uneven ground.
Do not place a large opening close to the floor solely to reduce the dog’s step-over. That position can intersect the RV’s lower rail, wiring path, or structural framing. Choose a different panel or use a ramp when safe dog movement requires more room.
What Do You Need Before Cutting an RV?
A permanent RV dog-door installation typically needs the manufacturer’s template, a drill, a fine-tooth jigsaw blade, painter’s tape, a measuring square, a utility inspection method, replacement framing material, stainless or coated fasteners, and RV-compatible polyurethane or elastomeric sealant.
Before You Start
- Time: 4-8 hours for a first-time wall installation, excluding sealant cure time.
- Difficulty: Moderate for a door or hatch, advanced for a structural wall.
- Hardware: Typically $150-$500 for a wall-rated pet-door kit.
- Tools: Drill, 3/8-inch bit, jigsaw, fine metal-cutting blade, file, square, tape measure, caulk gun, and protective eyewear.
- Materials: Manufacturer tunnel, spacer strips, corrosion-resistant screws, backing material, sealant, and cleaning solvent approved for the RV skin.
- Prerequisites: Confirmed measurements, utility clearance, a dry work area, and a temporary way to secure the opening.
Avoid household silicone as the primary exterior seal. Silicone can adhere poorly to some RV coatings and complicate future repairs. Use the sealant specified by the pet-door manufacturer and compatible with the RV’s fiberglass, aluminum, painted surface, or membrane.
How Do You Install a Dog Door in an RV?
Install an RV dog door by confirming the location, transferring the template, cutting conservatively, rebuilding the exposed wall core, clamping the frames evenly, and sealing the perimeter. The most important success factor is not cutting technique; it is verifying that the opening avoids wiring, plumbing, framing, windows, and door hardware.
Step 1: Confirm the Location
Choose a flat area with enough frame clearance and a safe interior landing. Open nearby cabinets, remove trim where possible, and inspect the opposite side of the panel for pipes, wires, ducts, tanks, and reinforcement.
For a wall installation, obtain the RV’s build drawings or ask the manufacturer for utility routing. Mark a smaller pilot location first if the kit permits. Never rely on a stud finder alone.
Success checkpoint: The complete frame and tunnel fit on a flat surface with the dog’s landing area clear.
Common mistake: Positioning the door by exterior appearance while ignoring the interior floor, furniture, or stairwell.
Step 2: Test the Dog’s Route
Use cardboard to reproduce the proposed opening and tunnel depth. Hold the mock-up in place while the dog approaches, turns, steps through, and lands.
A dog door does not solve access if the animal must climb a steep step, squeeze between furniture, or cross a hot metal threshold. Add a stable ramp or landing platform before cutting if the route requires one.
Success checkpoint: The dog can move through the planned path without jumping or twisting.
Common mistake: Testing only the flap size and not the full exit route.
Step 3: Transfer and Verify the Template
Level the manufacturer’s template with painter’s tape and trace the cut line exactly. Measure from two fixed edges, then check both diagonals to confirm the rectangle is square.
Mark the planned screw locations and verify that the tunnel depth matches the measured wall or door thickness. Do not assume a 1.5-2.5-inch tunnel fits every RV; actual wall depth varies substantially by model and panel.
Success checkpoint: The opening dimensions, frame dimensions, and tunnel depth agree with the installation manual.
Common mistake: Cutting the traced outside frame instead of the specified rough opening.
Step 4: Drill Pilot Holes and Cut Slowly
Drill corner holes using the bit size specified by the manufacturer, often around 3/8 inch. Insert a fine-tooth blade suitable for the panel material, support the cutout, and move slowly to reduce gelcoat chipping and delamination.
Protect wiring and interior finishes with a cutting barrier. If the blade encounters metal, unusual resistance, moisture, or an unexpected cavity, stop immediately and inspect rather than forcing the cut.
Success checkpoint: The cutout matches the template without tearing the laminate or enlarging the corners.
Common mistake: Cutting from an inaccessible angle and allowing the jigsaw shoe to scratch the exterior skin.
Step 5: Reinforce the Exposed Core
A laminated wall cut exposes foam or honeycomb material that cannot carry clamping pressure. Remove only loose material inside the tunnel perimeter, then install the kit’s tunnel and rigid spacer or backing material so tightening pressure bears on the frames rather than the soft wall core.
Do not remove an aluminum stud, roof rail, or structural member to make the opening fit. Relocate the door if the frame conflicts with structural reinforcement.
Success checkpoint: The inner and outer frames meet firmly without crushing, bowing, or dimpling the wall.
Common mistake: Tightening screws into foam and expecting the foam to retain the frame.
Step 6: Apply the Exterior Seal
Clean and dry both bonding surfaces according to the sealant instructions. Apply one continuous, substantial bead around the exterior frame, including the corners, without leaving gaps that could channel water into the wall.
Use the specified RV sealant, such as a compatible polyurethane or elastomeric product. Product compatibility matters because some sealants attack plastics, fail on certain membranes, or make later frame removal unnecessarily difficult.
Success checkpoint: Sealant forms an unbroken gasket under the entire exterior flange.
Common mistake: Applying a thin decorative bead after mounting instead of creating a sealed gasket beneath the flange.
Step 7: Clamp the Frames Evenly
Insert the tunnel and mate the interior and exterior frames. Tighten the screws by hand in an alternating, crosswise pattern until the sealant compresses evenly.
Overtightening can warp the frame, squeeze out the gasket, crack fiberglass, or crush the wall. The manufacturer’s torque guidance overrides general rules because frame materials differ.
Success checkpoint: The flap swings freely, the frame is level, and the wall surface remains flat.
Common mistake: Tightening one corner completely before the opposite corners.
Step 8: Cure, Test, and Lock
Tool away excess sealant, inspect the top and side joints, and allow the product to cure for the stated period, often 24-48 hours. Then perform a controlled hose test, beginning with light water flow above the frame rather than spraying directly at the seal.
Test the locking panel, flap magnets, hinge, and electronic access before allowing unsupervised use. The rigid travel panel must remain closed whenever the RV is moving.
Success checkpoint: No moisture appears inside after the hose test, and the lock prevents flap movement.
Common mistake: Driving before the sealant cures or treating a magnetic flap as a highway travel lock.
How Much Does an RV Dog Door Cost?
An RV dog door costs about $40-$120 for a screen insert, $80-$250 for a door-mounted unit, and $150-$500 or more for a through-wall kit. Professional installation commonly adds $150-$350 for a hatch or door and $400-$900 or more for a complex wall installation.
| Installation choice | Hardware | Professional labor | Typical total | Main hidden cost |
|---|---|---|---|---|
| Screen insert | $40-$120 | $50-$100 | $90-$220 | Replacement screen panel |
| Entry door | $80-$250 | $200-$400 | $280-$650 | Door replacement after a failed cut |
| Baggage hatch | $70-$200 | $150-$350 | $220-$550 | Lost storage or kennel materials |
| Fiberglass sidewall | $150-$500 | $400-$900+ | $550-$1,400+ | Utility relocation or leak repair |
| Electronic wall door | $200-$600+ | $400-$900+ | $600-$1,500+ | Batteries, reader, and weather cover |
Labor varies by region, access, wall construction, and whether the installer must remove cabinetry or interior trim. Ask for a written scope that identifies sealant, reinforcement, water testing, and responsibility for hidden utility damage.
Which Option Is Safest for Each RV Situation?
A removable screen insert is safest for temporary use, a baggage-door conversion suits a dedicated pet compartment, and a professionally installed wall door is usually safest for full-time use when the dog needs a level landing away from the entry steps. The main entry door is acceptable only when its construction and exit path are verified.
| Situation | Recommended option | Avoid when | Reason |
|---|---|---|---|
| Occasional campground use | Screen insert | Cold, wet, windy weather | Reversible and inexpensive |
| Small dog near entry steps | Entry door with ramp | Dog is elderly or unstable | Direct access with controlled landing |
| Large dog, full-time living | Through-wall door | Utilities are undocumented | Better height and interior routing |
| Muddy dog or multiple pets | Baggage conversion | Bay contains equipment | Creates a contained transition area |
| Wildlife-prone campsite | Electronic door | Power and signal are unreliable | Limits access by unauthorized animals |
An electronic or microchip door can improve wildlife control, but no reader should be trusted until tested in the installed location. Metal framing, foil insulation, battery limitations, and wet conditions can affect performance. A collar tag system may be more predictable than relying on an implanted microchip reader alone.
What Can Go Wrong With an RV Dog Door?
The most common failures are water intrusion, crushed wall cores, damaged wiring, unsafe step placement, and a flap that opens during travel. Each failure usually begins with an incorrect assumption about the RV’s construction or the door’s intended use.
- Leak around the top edge: Remove failed sealant, dry the wall completely, clean compatible surfaces, and reseal the flange. Do not conceal active moisture with a surface bead.
- Frame bows inward: Loosen the screws, inspect tunnel length and backing, then reinstall with rigid spacers. The wall should not carry clamping pressure.
- Dog falls at the steps: Close the opening temporarily and add a ramp, landing platform, or different door location.
- Flap opens on the highway: Use the manufacturer’s rigid locking panel. A magnet or electronic latch is not automatically rated for aerodynamic pressure.
- Reader fails after installation: Test the door away from metal, then check the installed antenna position, batteries, collar tag, and manufacturer-approved extensions.
- Cut exposes a wire or pipe: Stop, disconnect relevant power sources, document the damage, and use an RV technician. Do not patch a cut cable inside an inaccessible laminated wall.
- Sealant will not adhere: Remove incompatible residue and verify that the new sealant matches the exterior material and frame plastic.
One practitioner rule is worth emphasizing: if the cutout reveals a structural member, move the door rather than notch the member. A pet door is an accessory; the wall structure protects the coach and should remain intact.
Can You Install an RV Dog Door Without Cutting?
You can provide pet access without cutting the RV by using a screen insert, a temporary window panel, or a portable exercise pen connected to the open door under supervision. These alternatives preserve the shell and suit renters, leased vehicles, and owners who are unsure about long-term placement.
A screen insert is the simplest reversible solution, but it does not create a secure opening when the main entry door is open. A window insert can work for small dogs only when the window manufacturer permits the modification and the insert supports weather sealing.
A portable pen outside the RV is not a substitute for an unattended dog door. Campground rules, wildlife, heat, theft, and leash requirements may prohibit or complicate that arrangement.
Are RV Dog Doors Allowed at Campgrounds?
Campground policies vary, and many parks prohibit unattended pets, exterior enclosures, or modifications that create an unsecured opening. Check the campground’s pet rules before using an automatic door, especially where wildlife, leash laws, or quiet-hour policies apply.
A dog door can also affect campground pest control. Leaving an opening active at night may allow raccoons, snakes, rodents, or insects into the coach. Close the physical lock whenever the dog is not actively using the passage.
Insurance and warranty consequences also vary. Ask the RV manufacturer, dealer, and insurer whether a wall cutout affects structural warranty coverage or requires professional installation documentation.
How Should You Train a Dog to Use the Door?
Train the dog with the flap held open first, then introduce light resistance and the locking mechanism over several short sessions. Reward calm passage in both directions, and never push the dog through a flap that catches its collar or restricts its shoulders.
Begin indoors with treats on both sides. Add the threshold and landing platform next, then practice at different times of day. For a motorized door, teach the dog to wait for the unlock signal rather than pawing at the reader.
Inspect the flap after training. A dog that repeatedly slams through the panel may loosen fasteners or damage the seal, particularly in a thin entry door.
FAQ
Can a dog door weaken an RV wall?
A correctly reinforced opening should not materially weaken the surrounding panel, but cutting an aluminum frame, roof support, or other structural member can cause serious damage. A wall-rated pet-door kit distributes pressure through its tunnel and frames; foam alone cannot safely support clamping force.
Can you put a dog door in a travel-trailer door?
A travel-trailer door can accept a pet door when the door is flat, thick enough for the tunnel, and free of reinforcement or hardware at the cut location. Measure the door core and inspect both faces first, because some trailer doors contain components that are not visible from the surface.
Will an RV dog door stay closed while driving?
An RV dog door should stay closed during travel only when its rigid security panel or manufacturer-rated travel lock is engaged. Magnetic flaps and electronic access systems control normal pet use, but they should not replace the physical travel lock against vibration and aerodynamic airflow.
Does an RV dog door let cold air in?
An RV dog door increases heat loss compared with an unmodified wall, especially when the flap is large, poorly sealed, or held open. Dual-flap insulation, a tight tunnel, a flexible perimeter seal, and a closing panel reduce drafts, but no pet door provides the same insulation as the original wall.
How do you keep bugs out of an RV dog door?
Use a tight-fitting flap, intact weather-stripping, and an automatic closing mechanism, then inspect the lower corners for gaps. Screen inserts provide less insect protection than sealed wall units. At night, close the solid panel if insects or wildlife remain a problem.
Should a professional install a dog door in an RV?
Hire an RV technician when the proposed opening is in a laminated sidewall, near utilities, beside a window, or above entry steps. DIY installation is more reasonable for a removable screen insert or a replaceable baggage hatch when the template and panel construction are fully understood.
The Bottom Line
You can put a dog door in an RV, but the safest choice is determined by the panel, not by the pet-door label. Choose a screen insert for reversible occasional use, a baggage hatch for a properly built kennel, or a reinforced wall unit for full-time access away from steps. Before cutting, verify utilities, measure the dog, preserve structural members, use compatible RV sealant, and engage the physical travel lock before every drive.


