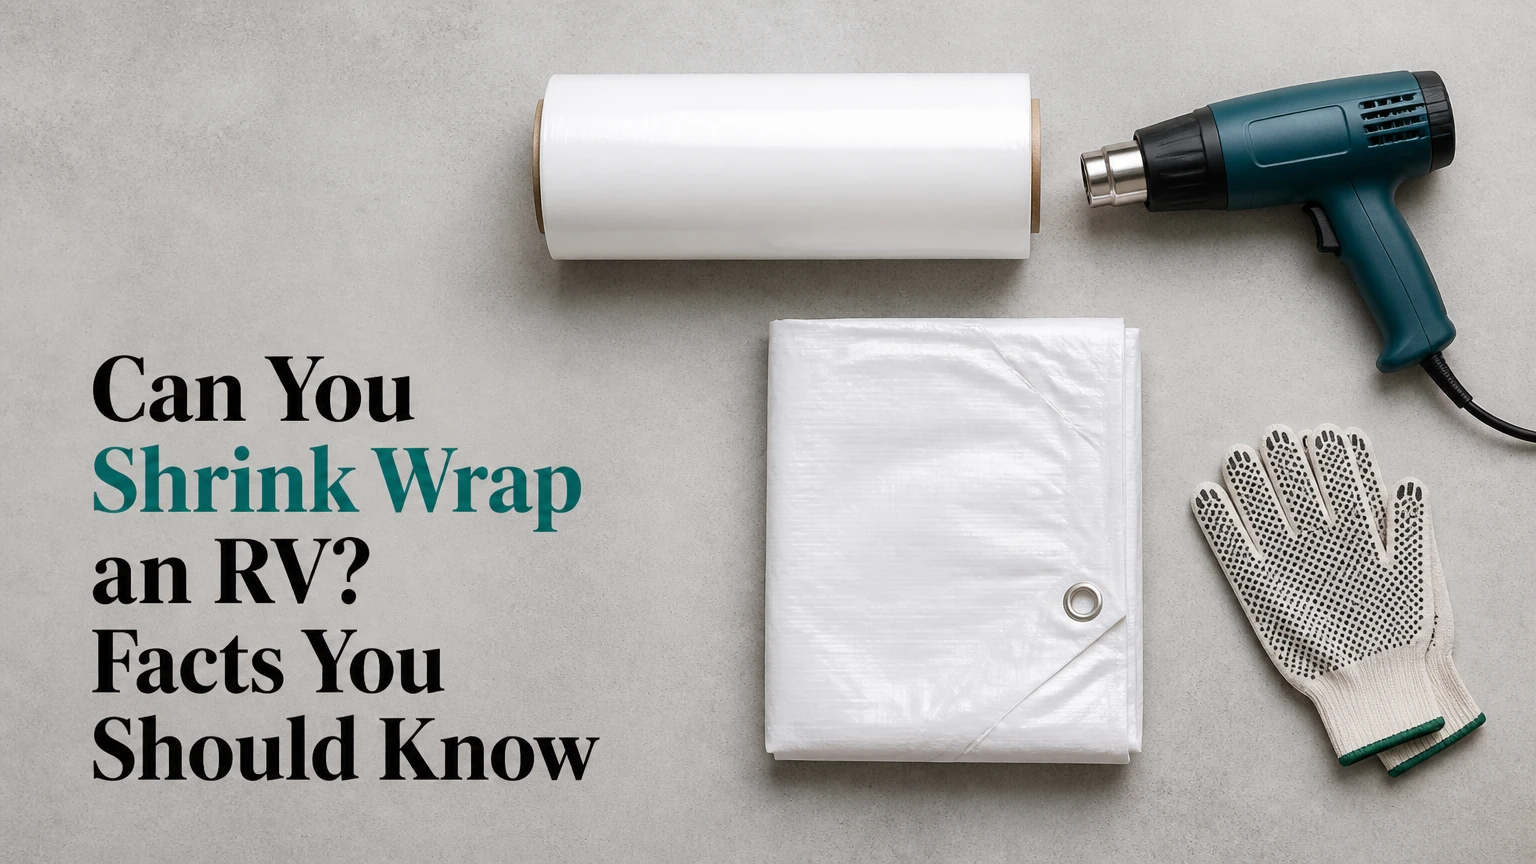
Yes, you can shrink wrap an RV, and professional shrink wrapping can protect a stored travel trailer, fifth wheel, or motorhome from windblown debris, precipitation, and some UV exposure. RV shrink wrap is not automatically airtight, maintenance-free, or suitable for every roof design, so ventilation, roof support, fire safety, and correct anchoring determine the result.
Key Facts at a Glance
RV shrink wrap normally uses 7-mil to 12-mil low-density polyethylene film that contracts when heated.
A professional RV wrap commonly costs about $15-$30 per linear foot, with access, height, and slide-outs changing the final price.
Shrink wrap is generally a single-season enclosure, while a quality fabric cover can last approximately 2-4 seasons.
White film usually limits solar heat gain better than blue or clear film in sunny storage locations.
Vents manage condensation, but they do not make a wet or poorly winterized RV safe to enclose.
A propane heat tool and elevated RV roof create a serious fire and fall hazard for untrained installers.
What Is RV Shrink Wrapping?
RV shrink wrapping is the installation of a purpose-made polyethylene film shell around an RV for storage or transport protection. The film is draped over a prepared framework, attached to perimeter strapping, and heated so it contracts around the vehicle without resting directly on vulnerable accessories.
The process resembles marine and industrial shrink wrapping, but an RV has more protrusions and access requirements than a boat hull. Awning hardware, slide-out toppers, satellite dishes, solar panels, roof vents, ladders, antennas, mirrors, and sharp body corners can puncture film or concentrate heat.
Shrink wrap is a protective enclosure, not a structural shelter. It can shed rain and reduce wind movement, but it cannot replace a roof, guarantee zero condensation, or safely carry unlimited snow. The installer must create a drainage shape and leave controlled air exchange.
How Does the Shrink-Wrap Process Work?
Polyethylene shrink film contains polymer chains that contract when exposed to controlled heat. Installers first secure the loose film with woven polyester strapping, then sweep a specialized heat tool across the material; the film tightens as it cools.
Industrial vehicle and boat film commonly contracts by up to about 30 percent, although actual contraction depends on film formulation, temperature, tension, folds, and heating technique. A heat gun must remain in motion. Concentrated heat can melt a hole, damage fiberglass gelcoat, soften decals, ignite combustible material, or distort a plastic roof component.
The finished shell feels tight because the film has contracted around the strap and support arrangement. That tension reduces flapping, which is one reason shrink wrap can cause less rubbing than a loose tarp. The same tension can pull against weak attachment points if the perimeter band is poorly positioned.
Is RV Shrink Wrap Suitable for Every RV?
RV shrink wrap works best for stationary storage where the owner wants a close-fitting seasonal enclosure. It is less suitable for an RV that will be accessed frequently, moved during winter, stored beneath strict fire restrictions, or fitted with delicate roof equipment that cannot be adequately padded.
A stored RV should be clean, completely dry, mechanically stable, and winterized before wrapping. Enclosing a damp carpet, wet basement compartment, leaking roof, or unvented propane appliance can preserve the problem instead of solving it.
Which RVs Usually Benefit?
| RV type | Typical storage profile | Main wrapping issue | Practical recommendation |
|---|---|---|---|
| Travel trailer under 25 feet | Moderate height, seasonal storage | Awnings and roof vents | DIY may work with training and a second person |
| Fifth wheel, 30-40 feet | Tall front cap, multiple slide-outs | Height and complex geometry | Professional installation is usually safer |
| Class A motorhome, 35-45 feet | Large roof, mirrors, HVAC units | Fall, fire, and film-area risks | Use an insured professional crew |
| Toy hauler, 25-35 feet | Rear ramp and roof accessories | Large flat surfaces and door seams | Use reinforced access and drainage planning |
| Class B camper van | Compact body and lower roof | Solar, antennas, and door access | A reusable breathable cover may be more practical |
A shrink-wrap contractor should inspect the RV before quoting. The inspection should identify roof material, slide-out positions, sharp edges, roof-mounted equipment, desired access doors, storage duration, and likely wind and snow exposure.
When Should You Avoid Shrink Wrapping?
Avoid shrink wrapping when the RV must be driven, opened repeatedly, or inspected internally every few days. The shell must be cut for movement, and a cut enclosure usually requires replacement rather than simple reopening.
Avoid the method when a storage facility prohibits open-flame tools or plastic enclosures. Also check the RV manufacturer’s warranty language and your insurer’s requirements before covering roof seals, appliances, or exterior systems. Shrink wrap does not repair delamination, stop an active leak, or correct an overloaded suspension.
What Film Thickness and Configuration Should You Choose?
Film thickness should match the RV’s size, accessory profile, weather exposure, and expected handling. Typical vehicle shrink-wrap products range from 7 mil for lighter applications to 10-12 mil for demanding transport or severe exposure, but thicker film does not eliminate the need for padding and ventilation.
| Film configuration | Typical specification | Appropriate scenario | Important limitation |
|---|---|---|---|
| Entry-level film | 7 mil LDPE | Small trailer, mild climate, short storage | Lower puncture margin |
| Standard heavy-duty film | 8.5-9 mil LDPE | Large trailer, fifth wheel, normal winter | Still vulnerable at sharp projections |
| Industrial film | 10-12 mil LDPE | Transport, high abrasion, alpine exposure | Heavier, costlier, and harder to handle |
| White film | 7-12 mil, UV-inhibited | Sunny storage and warm shoulder seasons | Does not stop all internal heat |
| Blue or clear film | 7-12 mil, colored or transparent | Cold, shaded storage where solar gain is useful | Can increase cabin heating in sunlight |
White film is generally the safer default for sunny storage because it reflects more solar radiation than dark or transparent film. Blue or clear film may allow more solar warming, but that benefit can become a condensation and interior-temperature problem during bright days followed by cold nights.
Film ratings are not interchangeable across suppliers. Ask for the film’s actual thickness, shrink percentage, UV-inhibitor rating, tear behavior, and recommended exposure period. A claim such as “12-month protection” describes a typical product rating, not a guarantee for every climate.
Do You Need Vents and a Zipper Door?
Yes, most RV enclosures need controlled ventilation, and an access door is useful only when the RV will be entered without cutting the shell. Weatherproof shrink-wrap vents are commonly positioned at high and low points to encourage air exchange rather than sealing the film completely.
A practical installation may use four to six vents, but the correct quantity depends on enclosure volume, geometry, climate, and the installer’s system. Vents cannot dry an RV that was wrapped wet. Interior desiccant can reduce localized moisture, but it cannot replace dry winterization and roof-leak repair.
Adhesive-backed zipper doors are commonly available in approximately 36-inch and 48-inch widths. A zipper door adds convenience, but each opening creates a potential weak point, so the installer must reinforce and heat-seal its perimeter.
How Do You Shrink Wrap an RV?
A professional installation typically takes about 2.5-4.5 hours, excluding difficult access, repairs, or extensive framing. The success factor is not the final heating pass; it is the quality of preparation, support, ventilation, and attachment before heat reaches the film.
Before You Start
| Requirement | Typical amount or range | Why it matters |
|---|---|---|
| Installation crew | 2-4 people | Controls large film safely |
| Preparation and framing | 1.5-2.5 hours | Protects equipment and creates drainage |
| Draping and heating | 1-2 hours | Varies with height and slide-outs |
| Shrink film | 7-12 mil LDPE | Matches climate and puncture exposure |
| Perimeter strapping | Woven polyester, full perimeter | Transfers shrink tension safely |
| Vents | Often 4-6 units | Limits trapped humid air |
| Padding | Foam, carpet, or purpose-made guards | Protects film from protrusions |
| Heat source | Electric or propane tool | Requires fire-safe operating space |
Keep a fire extinguisher, gloves, eye protection, long sleeves, a ladder or approved roof-access system, shrink-wrap repair tape, and a utility knife available. Never use an open-flame propane tool near gasoline vapors, propane leaks, dry vegetation, exposed foam, or combustible storage materials.
Step 1: Wash and Dry the RV
Clean the exterior and roof, remove leaves from roof drains, and allow every surface to dry fully. Wash before padding because trapped grit can abrade decals and fiberglass under the contracted film.
Inspect roof seams, slide seals, window seals, vents, and access doors. Repair active leaks before enclosing the RV. You will know this step worked when no visible moisture remains around roof fixtures, wheel wells, storage bays, or slide-out seals.
Common mistake: Wrapping immediately after washing. A damp roof cavity or wet awning fabric can remain humid for the entire storage period.
Step 2: Prepare and Retract Exterior Equipment
Retract slide-outs unless the installer has designed the wrap around extended slides, close awnings, secure stabilizers, remove loose accessories, and protect antennas or satellite dishes according to their manufacturer’s instructions. Disconnect or isolate equipment that could be damaged by heat.
Cover sharp edges with foam, carpet remnants, approved pads, or rounded protective guards. Pay special attention to awning arms, ladder brackets, solar-panel frames, TV antennas, roof corners, mirror mounts, and slide-out corners.
Common mistake: Assuming the smooth RV body is the only contact surface. A single unpadded bracket can puncture a 9-mil film shell during contraction or a wind event.
Step 3: Build a Roof Spine and Drainage Shape
Create a center ridge or support framework so the wrapped roof has a pitched profile rather than a flat basin. Installers may use padded lumber, PVC supports, foam arches, or a purpose-built frame, provided the system cannot damage the roof.
The frame must distribute pressure and keep the film away from roof fixtures. Do not place concentrated lumber loads on weak roof panels, skylights, vents, or unsupported slide toppers. You will know the shape is adequate when water has a clear path toward the sides and no broad depression can hold snow.
Common mistake: Treating a flat shrink shell as self-draining. Contracted film can still sag between supports, and pooled water or snow can overload the roof.
Step 4: Install the Perimeter Band and Tie-Downs
Run high-strength woven polyester strapping around the RV, generally below the lowest appropriate body line and above areas that could be crushed. Tension the band evenly and add tie-downs to suitable structural points, not fragile trim, jack covers, or gutters.
The band provides the anchor that receives the film’s contraction force. If the band rises while heating, the shell can loosen or pull against bodywork. You will know it is ready when the strap remains aligned during a dry fit and does not pinch doors, seals, or painted edges.
Common mistake: Tightening the strap against a decorative molding. A strong band attached at a weak height can damage the exterior while still failing in wind.
Step 5: Drape and Position the Film
Center the film over the roof spine and allow equal side coverage, leaving enough lower material to fold around the perimeter band. A typical installation leaves about 6-12 inches beyond the attachment line, but the exact allowance depends on the film width and seam design.
Keep the film off the ground as much as possible to prevent dirt contamination. Smooth large folds without stretching the material by hand. Confirm that doors, vents, and planned access points are located before heating begins.
Common mistake: Discovering that one side is short after the film has contracted. Measure the RV and film layout first, especially around a fifth-wheel front cap.
Step 6: Attach, Seal, and Heat the Shell
Fold the film around the perimeter strap and heat-seal or tape the attachment according to the product system. Start heating at the lower perimeter, then work upward in controlled passes while keeping the tool moving continuously.
A propane heat tool can reach extremely high output, and some commercial tools are rated near 300,000 BTU. That figure is equipment capacity, not a required temperature for every film or a safe distance from the RV. Electric heat guns reduce open-flame risk but usually shrink more slowly.
The finished film should be tight without excessive distortion, deep burn marks, or melted attachment points. You will know the heating pass worked when the shell resists moderate hand pressure and remains clear of protrusions.
Common mistake: Chasing every wrinkle with extra heat. Overheating a localized fold often creates a hole before it creates a better finish.
Step 7: Install Vents, Access, and Repairs
Install the planned high and low vents after confirming that their locations do not expose interior seals or wiring. Add a zipper door if required, reinforce the opening, and seal seams, pleats, and small burn holes with compatible shrink-wrap tape.
A repair patch should extend beyond the damaged area and be pressed firmly onto clean, dry film. Do not rely on ordinary household duct tape for a season-long exterior repair because adhesive failure and residue can follow temperature cycling.
Common mistake: Cutting a large inspection opening and leaving it unreinforced. The opening can become a tear starter under wind tension.
Step 8: Inspect After the First Weather Event
Inspect the shell after the first strong wind, rain, or snowfall, then check it periodically during storage. Look for strap migration, ponding, torn seams, blocked vents, loose tie-downs, film contact with hot exhaust components, and snow accumulation.
Remove snow according to the contractor’s instructions without dragging a shovel across the film. A shrink shell should not be treated as a snow-load engineering system. You will know the installation remains sound when the shell stays supported, drained, ventilated, and clear of hot or sharp components.
How Much Does RV Shrink Wrapping Cost?
Typical professional RV shrink wrapping costs about $15-$30 per linear foot, while a DIY material kit often costs approximately $300-$600 before heat-tool rental or purchase. Height, film thickness, access doors, slide-outs, framing, local labor, and removal can move the final price substantially.
| RV example | Typical professional price | Typical installation time | Main price driver |
|---|---|---|---|
| 20-foot travel trailer | $300-$500 | 2.5-3.5 hours | Small footprint and simple roof |
| 30-foot fifth wheel | $600-$900 | 3-4.5 hours | Height, front cap, slide-outs |
| 40-foot Class A | $1,000-$1,400 | 4-6 hours | Large film area and roof access |
| Small camper van | $250-$450 | 2-3 hours | Doors, solar equipment, lower volume |
These figures are typical planning ranges, not national price schedules. Ask whether the quote includes framing, vents, zipper doors, repair tape, removal, disposal, travel fees, and sales tax. Some contractors price by linear foot, while others quote by total film area and labor hours.
DIY can appear cheaper, but the heat tool, access equipment, second worker, protective materials, and failed-film replacement can erase much of the difference. The financial risk is also asymmetric: a punctured film roll is inconvenient, while heat damage to a roof vent, decal, or fiberglass panel can be expensive.
Is Shrink Wrap Better Than a Cover or Tarp?
Shrink wrap is usually better for stationary, wind-exposed storage when close fit and low flapping matter most. A breathable fabric cover is generally better for repeated access and reuse, while a basic tarp is the lowest-cost option but has the highest abrasion and failure risk.
| Protection method | Typical cost | Typical useful life | Moisture and wind behavior |
|---|---|---|---|
| Professional shrink wrap | $300-$1,400 per season | 1 season | Tight fit, vented, low flapping |
| DIY shrink-wrap materials | $300-$600 plus tools | 1 season | Depends on installation quality |
| Premium fabric cover | $200-$600 | 2-4 seasons | Reusable, more breathable, can billow |
| Basic blue tarp | $30-$80 | Weeks to 1 season | Waterproof initially, prone to chafing |
| Steel carport | $3,000-$15,000 or more | 10-30 years | Reusable shelter, site and permit dependent |
Shrink wrap can reduce abrasion because it does not repeatedly slap against the paint like a loose tarp. It can still damage graphics or trim if a protrusion contacts a tightly tensioned film edge, especially during thermal movement.
A fabric cover is easier to remove for inspections and usually costs less over multiple seasons. Its drawbacks include billowing, tie-down wear, water retention against non-breathable surfaces, and possible rubbing at corners.
A tarp is acceptable for a short emergency period when properly supported and separated from the RV. It is a poor long-term strategy if wind, ice, or repeated temperature changes are expected.
How Do You Control Condensation and Snow?
Ventilation controls vapor accumulation, but it does not guarantee a dry interior. Snow protection depends on a pitched support structure, adequate anchoring, and active inspection because shrink film itself has no universal rated snow-load capacity for every RV roof.
Condensation forms when humid air contacts a surface that falls below the air’s dew point. An enclosed RV can experience wet sleeping areas, damp upholstery, wet floors, or residual moisture from winterization, even when rain cannot enter through the film.
Use a dry RV, keep roof and wall vents functioning where safe, install enclosure vents, and inspect for blocked openings. Do not create an airtight plastic envelope around a fuel-burning appliance or operate an appliance inside the enclosure.
Snow should shed toward the sides rather than collect in a flat center span. In heavy-snow regions, a rigid RV shelter may provide more predictable load management than seasonal plastic. Local snow and wind conditions can exceed the assumptions behind a generic shrink-wrap installation.
What Happens in High Wind?
A correctly attached shrink shell normally moves less than a loose cover, but wind can still lift a poorly anchored perimeter or exploit a small cut. Tie-downs should connect to sound structural points, and the contractor should account for the storage site’s prevailing wind direction.
Do not wrap an RV beside sharp fencing, loose branches, or construction debris. Windblown contact can puncture the film, and a small puncture can enlarge when the surrounding material remains under tension.
What Are the Most Common Installation Failures?
The most expensive failures usually begin before the heat tool is switched on. Poor drying, inadequate roof pitch, weak anchoring, and unprotected protrusions create more problems than ordinary surface wrinkles.
| Failure mode | Likely consequence | Immediate correction |
|---|---|---|
| Wet RV enclosed | Mold, odor, corrosion, damp upholstery | Open or remove wrap, dry and inspect |
| No roof spine | Ponding, snow weight, film sag | Add support before final enclosure |
| Loose perimeter strap | Shell lift, wrinkles, wind entry | Retension and reinforce attachment |
| Unpadded accessory | Puncture or torn seam | Patch, pad, and reheat carefully |
| Stationary torch movement | Melted hole or fire damage | Stop, cool, patch with compatible tape |
| Blocked or missing vents | Condensation and heat buildup | Restore controlled cross-ventilation |
One counterintuitive rule matters: a tighter shell is not always a better shell. Excessive heating can thin the film around folds and create brittle, overstressed areas that fail later under cold temperatures.
Another practitioner rule is to inspect attachment height before tensioning. A strap that looks secure below a fiberglass body line may crush a storage-door frame or rub against a painted edge after the film contracts.
If a hole appears, stop heating the area and let it cool. Clean and dry the surrounding film, apply a compatible patch with generous overlap, and inspect again after the next weather event. Large tears, damaged seams, or film touching a hot exhaust outlet require professional repair.
Should You DIY or Hire a Professional?
DIY shrink wrapping is reasonable for a small, simple travel trailer when the owner has safe access, a trained helper, a suitable installation system, and a storage location that permits the work. Professional installation is the safer choice for a tall Class A, large fifth wheel, complex slide-out layout, or high-value RV.
DIY Is More Reasonable When
- The RV is under approximately 25 feet long.
- The roof has few accessories and no unresolved leaks.
- The owner can work with at least one helper.
- The site permits plastic wrapping and the selected heat source.
- The owner can maintain fall protection and keep ignition sources away from fuel.
A professional crew typically completes preparation, framing, draping, and heating in one visit. Contractors also have wider film rolls, proper strapping tools, repair materials, and experience managing wrinkles around slide-outs and front caps.
Professional Installation Is Preferable When
- The roof is more than 12 feet above the ground.
- The RV contains expensive graphics, solar systems, or delicate roof appliances.
- The storage location faces heavy snow or sustained wind.
- The owner lacks experience with propane heat tools.
- Insurance or a storage facility requires documented workmanship.
Ask the contractor for proof of liability insurance, the film specification, vent plan, removal terms, and the method used near decals, roof membranes, and combustible components. A low quote that excludes removal or assumes a flat roof can become expensive after a storm.
What Should You Do Before Removing the Wrap?
Remove the shell on a dry, calm day when the RV and film are above freezing enough to cut without brittle cracking. Professional removal usually involves cutting vertical sections away from the vehicle, avoiding roof membranes, seals, wiring, and painted surfaces.
Do not pull large contracted sheets across the RV. The film can drag grit over the clearcoat or catch on antennas and roof fixtures. Bag the material as it comes off, and check local recycling rules because clean polyethylene may be accepted by specialty agricultural or industrial-film programs while contaminated film may not be.
After removal, inspect roof seams, graphics, window seals, vents, slide-outs, and areas that were padded. Wash away adhesive residue with a product approved for the RV’s finish, then allow the vehicle to dry before installing a reusable cover or returning it to service.
Frequently Asked Questions
Can You Drive an RV After Shrink Wrapping It?
No. RV shrink wrap is intended for stationary storage or controlled transport preparation, not normal road travel. Road speed creates wind pressure, vibration, heat around exhaust components, and debris impact that can tear the film or obscure required lights, mirrors, plates, and visibility. Remove the enclosure before driving.
Does Shrink Wrap Stop RV Roof Leaks?
No. RV shrink wrap can shield the exterior from additional precipitation, but it does not repair a roof membrane, sealant joint, skylight, vent, or window leak. Find and repair the source before wrapping. Trapping an existing leak can conceal progressive water damage and increase drying time.
Can You Shrink Wrap an RV With Slide-Outs?
Yes, but slide-outs require a purpose-built layout that protects topper fabric, corners, seals, and moving joints. Most storage installations retract slide-outs, then pad the retracted geometry. If a slide-out must remain extended, the installer should design separate support and access treatment rather than forcing flat film across the mechanism.
Is RV Shrink Wrap Waterproof?
RV shrink-wrap film is water-resistant to waterproof as a material, but the completed enclosure is not guaranteed to remain waterproof at every seam, vent, zipper, or puncture. Drainage, attachment, repairs, and inspection determine performance. Vented shrink wrap also intentionally allows air exchange, so it is not an airtight capsule.
How Long Can an RV Stay Shrink Wrapped?
A typical seasonal installation is designed for roughly one storage season, although UV-inhibited products may carry exposure ratings of 12-24 months under specified conditions. Weather, sunlight, film quality, tension, and punctures control actual service life. Inspect monthly rather than relying on the product rating alone.
Can You Enter an RV While It Is Wrapped?
Yes, if the installer adds a reinforced zipper access door. Without a planned door, cutting an opening compromises the enclosure and usually requires repair or replacement. Entry also requires normal RV safety precautions, including ventilation, appliance shutdown, and checking for moisture or unusual odors.
The Bottom Line
Can you shrink wrap an RV facts you should know? Yes, RV shrink wrapping can be an effective seasonal storage method when the RV is dry, repaired, padded, properly supported, vented, and securely anchored. White 8.5-9 mil film is a common starting point for larger RVs, while 10-12 mil film suits harsher handling or exposure.
Shrink wrap is not automatically better than a reusable cover. Choose the plastic shell for stationary, weather-exposed storage where reduced flapping and close protection justify a seasonal cost of roughly $300-$1,400. Choose a breathable fabric cover for repeated access, reuse, and simpler removal. Hire a professional whenever height, fire risk, complex equipment, or severe weather exceeds your practical experience.


