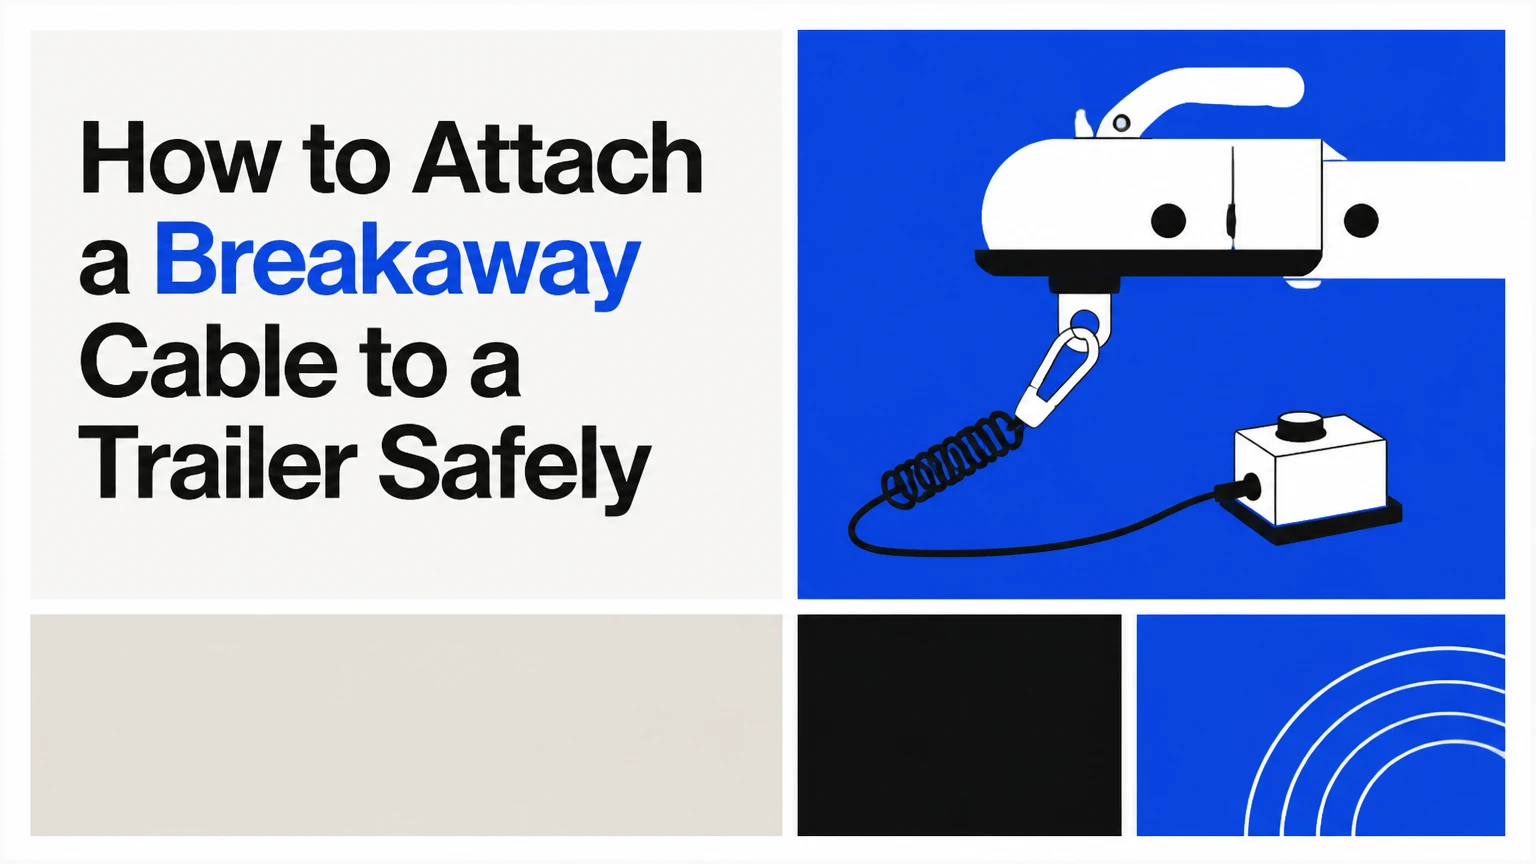
A trailer breakaway cable connects the trailer’s emergency brake switch to a fixed structural point on the tow vehicle. Attach the vehicle-side hook or loop independently to the vehicle frame or a manufacturer-provided recovery eyelet, keep enough slack for turns, and test the switch, battery, and brakes before towing.
Key facts at a glance
A breakaway cable must attach to the tow vehicle, not to the trailer, hitch ball, removable ball mount, or receiver pin.
The cable should pull the breakaway switch pin only after the trailer separates, not during normal cornering.
Electric trailer brakes require a charged onboard breakaway battery to operate after separation.
A breakaway cable is separate from the safety chains and should not be woven through their links.
A typical replacement cable costs $8-$20; a complete switch-and-cable kit commonly costs $25-$50.
A parked pull-pin test should be brief, because extended brake application can discharge the battery and overheat components.
What Is a Trailer Breakaway Cable?
A trailer breakaway cable is a high-strength, usually nylon-coated steel cable that connects a trailer-mounted breakaway switch to the tow vehicle. If the trailer uncouples, the cable pulls a removable pin from the switch and activates the trailer’s emergency braking circuit.
The cable is a trigger, not the brake itself. On trailers with electric drum brakes, the switch sends battery power to the electric brake magnets. On hydraulic surge-brake trailers, the cable typically operates a mechanical actuator or applies a trailer-mounted emergency brake mechanism, depending on the design.
The breakaway system is a last-resort safety device. It does not replace a correctly latched coupler, rated safety chains, functioning service brakes, or proper loading.
How does a breakaway system work?
An electric breakaway system normally follows four events:
- The trailer separates from the tow vehicle.
- The cable becomes taut and pulls the plastic pin from the switch.
- The switch closes the emergency-brake circuit.
- The dedicated trailer battery supplies current to the electric brake assemblies.
A hydraulic surge trailer may use a different arrangement. The cable can pull a lever, engage a secondary actuator, or apply a mechanical brake mechanism. Read the trailer or breakaway-kit instructions before assuming that a 12-volt battery is involved.
The emergency system is designed to slow and hold the separated trailer. “Lock the wheels” is an unreliable description because braking force varies with battery condition, brake adjustment, tire grip, axle load, and the specific switch or actuator.
What Should You Check Before Attaching the Cable?
Before connecting a breakaway cable, confirm the trailer brake type, inspect the switch and pin, and identify a fixed anchor point on the tow vehicle. The attachment takes less than a minute when the components are compatible, but a missing battery or damaged cable makes the connection ineffective.
Before-you-start checklist
| Item | Typical requirement | Acceptance check |
|---|---|---|
| Attachment time | 20-60 seconds | Cable clips on without crossing chains |
| Full system test | 5-10 minutes | Brakes respond and pin is reinserted |
| Replacement cable | $8-$20 | Correct length and connector |
| Complete kit | $25-$50 | Switch, pin, cable, and wiring |
| Cable length | 4-6 feet typical | Reaches fixed anchor without dragging |
| Electric-system battery | 12 volts, commonly 5 Ah | Battery is charged and securely mounted |
You may need a flashlight, gloves, a tape measure, a battery tester or multimeter, and the trailer manufacturer’s wiring diagram. A wrench is necessary only when the tow vehicle has a threaded eyelet or the cable uses a clevis connection.
Do not begin by attaching the cable to the nearest convenient metal part. The correct point must remain connected to the tow vehicle if the ball mount, receiver insert, or hitch accessory fails.
How to Attach a Breakaway Cable to a Trailer
To attach a trailer breakaway cable, seat the switch pin, connect the cable to a fixed tow-vehicle anchor, route the cable above the pavement, and set slack so ordinary turns do not pull the pin. Finish by testing the trailer’s emergency braking system and reinstalling the pin.
Step 1: Inspect the switch, pin, and cable
Find the breakaway switch on the trailer tongue, usually near the coupler and battery box. Push the activation pin fully into the switch housing, then check that the pin remains seated without excessive looseness.
Inspect the entire cable for broken strands, flattened sections, severe kinks, corrosion, heat damage, or a damaged swage. Replace a cable with visible steel-wire damage. Tape or zip ties cannot restore its rated strength.
Check the switch mounting screws and wiring. A loose switch can move instead of pulling the pin, while corroded terminals can prevent current from reaching the brakes.
You will know Step 1 worked when: the pin is fully seated, the switch is rigidly mounted, and the cable has no damaged strands.
Common mistake: testing by leaving the pin out while the trailer is unattended. The brakes may remain applied and the battery may discharge.
Step 2: Identify an independent tow-vehicle anchor
Choose a fixed frame-mounted eyelet, welded tow hook, or manufacturer-provided safety-cable attachment point on the tow vehicle. A receiver hitch may be suitable only where the attachment eyelet is part of the fixed receiver structure and remains with the vehicle.
The anchor must be independent of the trailer coupler and removable ball mount. Do not use the hitch ball, ball nut, ball mount, removable drawbar, receiver locking pin, electrical socket bracket, bumper trim, or a thin license-plate bracket.
The reason is structural. If the ball mount slides out of the receiver, a cable attached to that ball mount leaves with the trailer. The breakaway switch then has no connection to the tow vehicle and cannot activate.
You will know Step 2 worked when: the selected anchor remains attached to the vehicle frame even if the coupler and ball mount separate.
Common mistake: clipping to a hole that looks strong but is only part of a removable hitch accessory. Consult the vehicle or hitch manufacturer if the eyelet’s rating and construction are unclear.
Step 3: Connect the vehicle end and set the slack
Clip the cable’s spring hook or carabiner to the fixed anchor. For a loop-ended cable, pass the approved pin or rated connector through the loop and the fixed eyelet; do not improvise with thin wire, a key ring, or a plastic clip.
Make a broad, natural loop rather than a tight knot. The cable must accommodate the trailer’s maximum expected turn without pulling the switch pin, yet become taut if the trailer moves far enough to separate from the tow vehicle.
Turn the tow vehicle through the practical steering range while parked, or simulate the longest cable path created by a tight maneuver. Keep the cable off the ground and away from the exhaust, driveshaft, tires, jack, chains, and sharp hitch edges.
There is no universal slack measurement because trailer drawbar length, anchor location, hitch height, and turning angle differ. A 4-6-foot cable is typical, but length alone does not prove correct installation.
You will know Step 3 worked when: the cable remains clear during a tight turn, does not drag, and would pull the pin before the trailer could travel freely away from the vehicle.
Common mistake: wrapping excess cable tightly around the coupler. Tight wraps create kinks and can shorten the effective distance enough to trigger the brakes during a turn.
Step 4: Test the electrical or mechanical system
Park on level ground, chock the trailer wheels, and disconnect the tow vehicle from the trailer only if the manufacturer’s test procedure requires it. For an electric system, pull the pin briefly and listen for brake magnet engagement or verify braking resistance according to the kit instructions.
Never place any part of your body under a trailer during this test. Do not attempt to drag a heavy trailer with the pin removed. A qualified helper can apply very light movement only when the trailer is securely controlled and the manufacturer permits that method.
For a voltage check, a charged 12-volt battery should show approximately 12.6-12.8 volts at rest for a fully charged lead-acid or AGM battery, although battery type, temperature, and charging state affect the reading. Voltage at the battery does not prove that the switch, wiring, ground, and brake magnets work.
Reinsert the pin immediately after testing. Confirm that the brakes release and that the cable hangs in a controlled loop.
You will know Step 4 worked when: the switch activates the brakes, the pin resets fully, and the trailer battery remains connected and secured.
Common mistake: assuming the 7-way connector supplies emergency braking after separation. Once the trailer leaves the vehicle, that connector may no longer provide a circuit, which is why the dedicated battery exists.
Which Breakaway Cable Type Fits Your Trailer?
Coiled cables reduce ground drag, while straight cables offer simple, inexpensive replacement and flexible routing. Connector choice matters less than the strength and location of the anchor, because a premium hook attached to a removable ball mount is still an unsafe installation.
| Cable or connector | Typical specification | Advantage | Limitation |
|---|---|---|---|
| Straight nylon-coated cable | 4-6 feet; $8-$20 | Low replacement cost; durable | Requires careful slack and routing |
| Coiled cable | 3-6 feet relaxed or extended | Resists pavement drag | Can lose recoil after weather exposure |
| Spring hook | 5-8 mm gate opening typical | Fast one-handed connection | Gate can corrode or deform |
| Threaded clevis | 6-10 mm pin typical | Positive mechanical retention | Slower attachment and removal |
| Loop end | 10-15 mm loop opening typical | Few moving parts | Needs a rated separate connector |
Use stainless or sealed components on a boat trailer exposed to saltwater. Use a heavier protective coating and a robust connector where a commercial trailer operates around gravel, chemicals, or frequent loading.
A coiled cable is not automatically safer. If the coil is stretched near its limit during a turn, it can pull the pin even though the cable never touches the pavement. A straight cable is not automatically inferior when it is correctly routed and inspected.
How Should the Cable Relate to the Safety Chains?
The breakaway cable should remain a separate connection and should not be woven through, knotted around, or joined to the safety chains. Safety chains support the trailer temporarily after a coupling failure; the breakaway cable must pull the switch independently as separation develops.
Crossing the cable through chain links creates several risks. Chain movement can trap the cable, the cable can wrap around a tightening chain, and the chain may take up the available slack before the pin is pulled.
The cable can pass near the chains when the route is clear, but it should not depend on chain tension or chain position. Keep the cable above the road surface in both straight travel and turning positions.
How Do Electric and Surge-Brake Systems Differ?
Electric trailer brakes use a breakaway switch and dedicated battery, while hydraulic surge brakes often use a mechanical breakaway cable connected to the actuator. The correct test, wiring, battery requirement, and replacement part depend on the brake system and kit design.
| Brake system | Breakaway trigger | Energy source | Main inspection point |
|---|---|---|---|
| Electric drum brakes | Pull-out electrical switch pin | 12-volt trailer battery | Battery, ground, switch, magnets |
| Electric disc brakes | Pull-out electrical switch pin | 12-volt trailer battery | Controller-compatible brake wiring |
| Hydraulic surge brakes | Mechanical cable or actuator lever | Mechanical movement or actuator design | Lever, cable, actuator, fluid system |
| Hydraulic electric-over-hydraulic | Electrical or manufacturer-specific trigger | Trailer battery and hydraulic unit | Kit wiring and actuator instructions |
Some hydraulic systems use a battery-backed electrical switch, while others use a mechanical lanyard. Never connect or test a surge-brake system as though it were a standard electric-brake trailer.
A breakaway cable cannot compensate for air in hydraulic lines, worn brake shoes, poor electric grounds, or a misadjusted actuator. Those service-brake problems require separate repair.
What Are the Most Common Attachment Mistakes?
The most dangerous mistakes attach the cable to a removable hitch component, route it through the safety chains, or leave insufficient clearance for turns. Correcting the connection requires changing the anchor and cable path, not merely tightening the clip.
| Mistake | Immediate consequence | Corrective action |
|---|---|---|
| Attach to ball mount | Cable may separate with the mount | Move it to a fixed frame eyelet |
| Weave through chains | Cable can bind or remain slack | Route it independently |
| Leave cable dragging | Coating wears; steel corrodes | Shorten or reroute with a broad loop |
| Use a small key ring | Connector can deform or break | Install a rated hook or clevis |
| Leave pin pulled | Brakes and battery overheat | Reinsert immediately; replace damaged parts |
| Ignore battery age | Brakes may not activate | Load-test or replace the battery |
Expert rule: anchor strength beats connector convenience
A large carabiner does not improve an attachment point that is part of a removable receiver insert. Always evaluate the complete load path, from switch cable to vehicle frame.
Expert rule: turning clearance must be checked dynamically
A cable that looks correctly adjusted while straight can become too short during a tight backing maneuver. Perform the check with the actual trailer coupled, because hitch geometry changes the cable angle.
Expert rule: a breakaway test is not a brake-adjustment test
Pulling the switch pin confirms the emergency circuit, but it does not establish that service brakes are balanced, correctly adjusted, or capable of stopping a loaded trailer. Schedule brake inspection separately.
What Should You Do When the System Fails?
When a breakaway system fails, first determine whether the problem is mechanical, electrical, or related to the trailer brake assembly. Do not tow until the system activates reliably, because a cable that is attached correctly cannot overcome a dead battery, open circuit, or failed actuator.
The brakes do not activate
Check the following in order:
- Confirm the pin is fully removed during the test.
- Measure battery voltage and inspect the battery terminals.
- Check the switch input and output voltage with a multimeter.
- Inspect the ground connection and wiring near the tongue.
- Examine brake magnets, drums, or the hydraulic actuator.
Corroded switch contacts, broken ground wires, and discharged batteries are common causes. Replace a sealed or damaged switch instead of attempting to rebuild it unless the manufacturer provides a service procedure.
The trailer brakes remain applied
A missing or partly seated pin can leave the emergency circuit active. Turn off the tow vehicle, reinsert the pin completely, and verify that the brakes release before moving the trailer.
If the pin is seated but the brakes remain engaged, disconnect the trailer safely and investigate a shorted wire, failed switch, stuck actuator, or brake-controller fault. Do not continue driving with the emergency circuit energized.
The switch box becomes hot or melts
A pulled pin can send continuous current through the system, causing heat buildup and battery discharge. Reinsert the pin immediately; replace a melted switch, damaged wiring, or heat-deformed connector rather than relying on temporary repairs.
The exact permissible test duration varies by manufacturer. A brief test of a few seconds is safer than leaving the pin out for 5-10 minutes, particularly on systems with high-current electric brakes.
The cable frays or rusts
Replace the entire cable when the steel core is exposed, strands are broken, the swage has loosened, or corrosion has reduced flexibility. A cable failure during separation may prevent the pin from leaving the switch.
Inspect the cable at every hookup and after contact with road salt, mud, fuel, or seawater. Lubricate only the connector hinge if its manufacturer permits it, and do not coat the cable in a substance that traps abrasive grit.
Which Cable Setup Fits Different Situations?
A coiled cable suits frequent recreational towing, a straight corrosion-resistant cable suits long or harsh-duty service, and a manufacturer-matched mechanical lanyard suits surge-brake boat trailers. The best choice depends on brake type, anchor position, exposure, and inspection frequency.
| Towing situation | Recommended setup | Typical cost | Main qualification |
|---|---|---|---|
| Weekend RV trailer | Coiled cable with spring hook | $15-$35 | Confirm extended length at full turn |
| Utility trailer | Straight nylon-coated cable | $8-$20 | Prevent pavement contact |
| Commercial equipment trailer | Heavy straight cable and clevis | $20-$50 | Inspect after job-site abrasion |
| Saltwater boat trailer | Stainless or marine-grade cable | $20-$60 | Rinse and dry after launching |
| Long drawbar trailer | 6-foot or manufacturer-approved cable | $15-$40 | Check turning clearance carefully |
For a trailer with no suitable factory anchor, have a qualified hitch or trailer technician install a rated attachment point. Drilling a thin bumper panel does not create a structural anchor.
How Much Do Replacement and Installation Costs Usually Run?
A replacement cable commonly costs $8-$20, a complete switch-and-cable kit $25-$50, and a premium system with a battery box and charger approximately $65-$130. A routine hookup takes under one minute, while installing and wiring a complete electric breakaway system usually takes 30-60 minutes for an experienced DIY installer.
| Work or component | Typical price | Typical time | Scope |
|---|---|---|---|
| Cable only | $8-$20 | 5-15 minutes | Existing switch and anchor remain usable |
| Switch and cable kit | $25-$50 | 20-45 minutes | May require wiring and mounting |
| Battery box and charger kit | $65-$130 | 30-60 minutes | Includes battery-related installation |
| Professional inspection | $40-$120 | 20-45 minutes | Local labor rates vary |
| Marine stainless replacement | $20-$60 | 10-20 minutes | Cable and connector only |
Prices vary by trailer size, brake design, connector material, and local labor. A replacement cable does not include a new battery, switch, wiring harness, or brake repair unless the listing explicitly says so.
FAQ
Can I attach the breakaway cable to the hitch ball?
No. The hitch ball is part of the coupling assembly, so a damaged ball, ball nut, or ball mount can leave the breakaway cable disconnected with the trailer. Attach the cable to a fixed frame-mounted eyelet or an approved eyelet built into the fixed hitch structure.
Should the breakaway cable be shorter than the safety chains?
The cable should be routed so it can pull the switch pin if the trailer separates, but no universal length rule applies to every trailer. Test the actual combination through its expected turning range, and follow local regulations or the trailer manufacturer’s routing requirement.
Can I use a regular carabiner for a trailer breakaway cable?
Use a connector supplied for trailer breakaway service or one with suitable strength, geometry, and environmental resistance. A climbing carabiner, key ring, or lightweight hardware-store clip may have an unsuitable gate, locking method, or corrosion resistance.
Does a trailer breakaway cable replace safety chains?
No. Safety chains and the breakaway cable have different functions. Chains provide temporary physical retention after coupler failure, while the breakaway cable activates the trailer’s emergency braking system; both must be connected independently before travel.
How often should I replace a breakaway cable?
Replace the cable when inspection finds fraying, exposed steel, rust, kinks, heat damage, a loose swage, or a deformed connector. In harsh service, inspect at every hookup and consider preventive replacement based on exposure and the manufacturer’s maintenance guidance rather than a fixed universal interval.
What if my trailer battery is dead?
Do not tow an electric-brake trailer until the breakaway battery is charged, tested, or replaced. The vehicle’s 7-way connector may charge the battery during normal connection, but it cannot reliably power the emergency brakes after the trailer has separated.
The Bottom Line
To attach a breakaway cable to a trailer safely, seat the switch pin, clip the cable independently to a fixed tow-vehicle frame point, route it clear of pavement and moving parts, and set slack through a real turning check. Test the battery and emergency brakes briefly, then reinstall the pin before towing.


