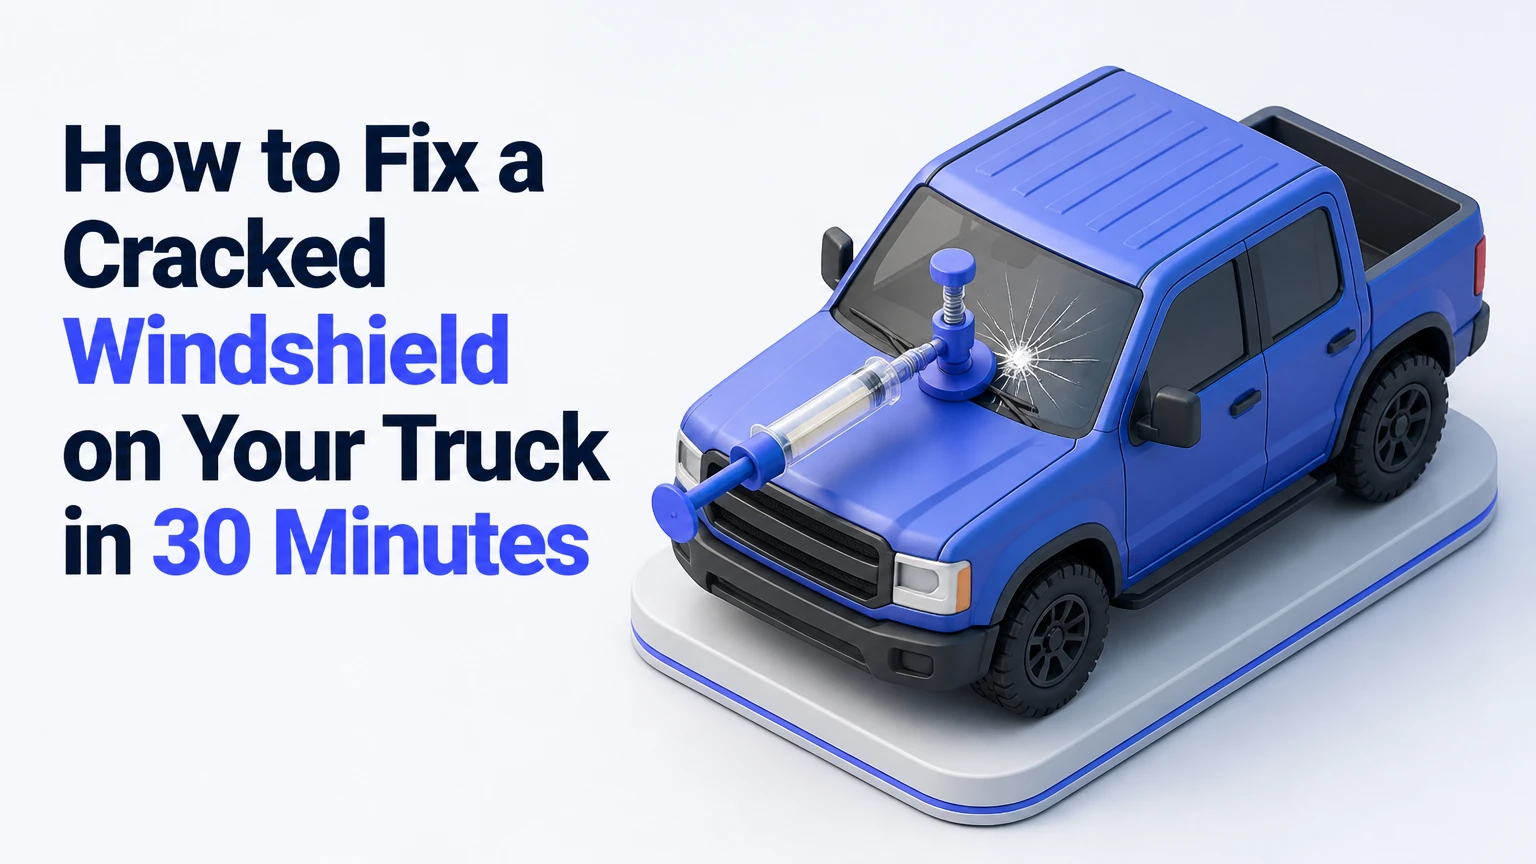
To fix a cracked windshield on your truck, first determine whether the damage is a repairable chip or a replacement-level crack, then clean and dry the break, inject windshield resin with a bridge tool, and cure it with UV light. A small, fresh impact can take 30-45 minutes; edge cracks, driver-view damage, and spreading fractures need professional replacement assessment.
Key Facts at a Glance
Truck windshields use laminated safety glass with a Polyvinyl Butyral, or PVB, interlayer.
A resin repair seals and stabilizes suitable damage, but it does not restore glass to factory-new condition.
A chip near the windshield edge, a crack in the driver’s primary viewing area, or damage through both glass layers usually requires professional evaluation.
Typical DIY kits cost $10-$30 and take 30-60 minutes, while professional chip repair commonly costs $60-$150.
Windshield replacement typically takes 1-3 hours, followed by an adhesive cure period and possible ADAS camera calibration.
Clear packing tape placed over a fresh impact keeps out water and road grit until repair begins.
Can Your Truck Windshield Be Repaired?
A truck windshield is usually repairable when a small impact has damaged the outer glass layer, the break is clean, and the damage does not compromise the driver’s view or approach the perimeter. A technician should assess long cracks, edge-originating cracks, multiple impact points, and any fracture that continues spreading.
Windshield repair works best immediately after a rock strike. Rain, washer fluid, dust, road salt, and silicone-based glass treatments can enter the fracture and reduce resin bonding. Place a small piece of clear tape over a fresh chip, keeping adhesive away from the surrounding glass, and arrange repair before washing the truck or driving through heavy rain.
The often-repeated “quarter-sized chip” rule is a useful screening guide, not a universal safety standard. Repair limits vary by damage shape, location, glass curvature, technician equipment, and local inspection requirements. A one-inch bullseye in the passenger-side lower corner presents a different risk from a half-inch star directly in the driver’s sightline.
What Happens Inside Laminated Truck Glass?
Laminated automotive glass contains two glass sheets bonded to a PVB plastic interlayer. A stone impact commonly fractures the outer sheet while the PVB layer helps hold the windshield together, which is why a chip does not normally cause the entire windshield to collapse.
A repair bridge creates a seal over the impact point. Vacuum cycles draw air and moisture out of the fracture, and pressure cycles push low-viscosity acrylic resin into the microscopic channels. UV exposure polymerizes the resin. The filled break becomes less visible and more resistant to spreading, although a small mark at the original impact point commonly remains.
The windshield also contributes to occupant protection and roof-crush resistance. Federal Motor Vehicle Safety Standard 212 addresses windshield retention during a crash, while FMVSS 205 covers glazing materials. Those standards apply to vehicle manufacturing and replacement glazing practices; they do not make every cracked windshield safe to repair.
Which Windshield Damage Can You Repair?
The damage shape, position, cleanliness, and visibility matter more than crack length alone. A professional may repair a small bullseye or combination break, but a crack that reaches the edge, obstructs the driver’s view, or has accumulated contamination has a lower chance of a durable, acceptable result.
| Damage type | Typical appearance | Usual repair outlook | Main concern |
|---|---|---|---|
| Bullseye | Circular ring around impact | Often repairable under about 1 inch | Hidden dirt in the impact pit |
| Star break | Several short radial lines | Often repairable when fresh | Radials can spread under vibration |
| Combination break | Ring plus radiating lines | Repairable when compact | Resin may not reach every branch |
| Linear crack | Single visible fracture | Case-dependent up to several inches | Length, depth, and end location |
| Edge or stress crack | Starts at edge without clear impact | Usually replacement assessment | Windshield perimeter stress |
| Multiple impacts | Two or more separate breaks | Case-dependent | Structural weakening and poor appearance |
Damage Size and Location
Many repair shops use approximately 1 inch for impact diameter and 6 inches for a straightforward linear crack as conservative screening points. Some equipment and repair standards allow longer cracks, sometimes approaching 12 inches, but a longer repair is not automatically equivalent to replacement-quality glass.
Damage within roughly 2 inches of the edge is commonly rejected because the perimeter carries high stress and the crack can continue beneath the molding. A crack that terminates near the edge may also be connected to a hidden fracture that cannot be filled reliably.
Reject DIY repair when the impact sits in the driver’s direct viewing area, the windshield has a hole through the inner layer, the crack has spread since the impact, or the glass has delaminated. A repair that leaves a distracting optical distortion can create a greater driving hazard than the original small mark.
When Is DIY Repair Reasonable?
DIY resin repair is reasonable for a fresh, isolated bullseye or small star break on the outer layer, provided the impact is outside the driver’s main sightline and at least several inches from the windshield edge. A bridge-style injector kit is more reliable than a simple syringe because it provides repeated vacuum and pressure cycles.
DIY repair is not a substitute for replacement after vandalism, a collision, a large impact hole, a crack extending from the edge, or extensive spiderwebbing. Pickup trucks used on gravel roads, construction sites, and rough trails deserve a lower tolerance for questionable repairs because vibration and body flex can reopen weak areas.
Before You Start
| Requirement | Typical specification |
|---|---|
| Total working time | 30-60 minutes |
| Resin curing time | 15-30 minutes under UV |
| Ambient glass temperature | About 50-85°F, or 10-29°C |
| DIY kit | Bridge injector, injector seal, resin, pit filler, curing film |
| Cleaning supplies | Isopropyl alcohol, lint-free cloth, razor blade |
| Protection | Nitrile gloves, safety glasses, shade or garage |
| Prerequisite | Damage is fresh, stable, outer-layer only, and outside primary view |
Do not use a heat gun close to the glass. Sudden localized heating can enlarge the break. A hairdryer on low, held well away from the surface, can help evaporate minor moisture, but a dry, shaded repair area is safer than aggressive heating.
Step-by-Step: Repair a Small Truck Windshield Crack
Step 1: Protect and Inspect the Impact
Park the truck under cover, switch off the engine, and inspect both sides of the glass. Cover a fresh chip with clear tape until the repair area is ready, then remove the tape without pulling loose glass from the impact crater.
Look for an impact point, radial lines, edge proximity, and any crack visible from the cabin. Mark the outer endpoints with a washable marker if the lines are difficult to follow.
You will know it worked when: the break has a clearly identifiable center and no active spreading occurs during inspection.
Common mistake: starting with a crack that already touches the edge or crosses the driver’s viewing zone.
Step 2: Clean and Dry the Glass
Remove loose glass fragments from the impact pit with the kit’s pick or a sharp scribe. Wipe the surrounding surface with isopropyl alcohol on a lint-free cloth, then allow it to evaporate completely.
Avoid spraying household glass cleaner directly onto the break. Ammonia, surfactants, waxes, and water-repellent coatings can remain inside the fracture and interfere with resin adhesion.
If the break is wet, park the truck in a dry garage and allow extra drying time. Use only low, indirect airflow. Never use an open flame, torch, or high-temperature heat gun near laminated glass.
You will know it worked when: the pit is free of loose fragments and the surrounding glass feels dry without a visible liquid film.
Common mistake: scraping across the intact glass with excessive force and creating new scratches.
Step 3: Center the Bridge Injector
Position the suction-cup bridge so the rubber seal sits directly over the impact pit. View the alignment from inside the cab because a few millimeters of offset can leave part of the break outside the resin path.
Press the bridge firmly onto clean glass, then install the injector barrel according to the kit instructions. Tighten the barrel until the rubber seal compresses evenly, but do not overtighten it enough to flex the glass.
You will know it worked when: the seal contacts the glass around its full circumference and the injector points directly at the impact center.
Common mistake: mounting the bridge over a dirty or curved section where the seal leaks air.
Step 4: Load the Windshield Resin
Add the quantity specified by the kit, commonly 3-6 drops for a compact chip. Keep the resin bottle and injector in the shade because many repair resins begin curing under ultraviolet light.
Low-viscosity resin flows through fine radial fractures. Some kits include a thicker pit-filling resin for the final surface depression. Do not substitute household superglue, epoxy, nail polish, or cyanoacrylate adhesive, which can discolor, cure unevenly, and complicate later professional repair.
You will know it worked when: the resin is visible in the injector chamber and no air leak appears around the seal.
Common mistake: adding excessive resin and forcing it onto the exterior glass rather than into the fracture.
Step 5: Run Vacuum and Pressure Cycles
Follow the kit’s plunger sequence, usually involving 5-10 minutes under vacuum followed by 10-20 minutes under pressure. Vacuum removes trapped air and moisture; pressure drives resin into the narrow channels created by the impact.
Inspect the break from inside the cab during each cycle. Dark lines and reflective voids should gradually become less pronounced, although complete visual disappearance is uncommon. If the kit permits, repeat one vacuum-pressure cycle rather than applying extreme force.
Do not use a lighter to warm the windshield. A small temperature change can make glass expand unevenly and turn a repairable chip into a long crack.
You will know it worked when: resin reaches the visible branches and the dark voids reduce substantially without the crack extending.
Common mistake: leaving the injector under pressure indefinitely. Excessive pressure can damage the seal or enlarge a weak fracture.
Step 6: Fill the Surface Pit
Release pressure and remove the injector carefully. Place one small drop of pit filler over the remaining impact crater, then cover it with the supplied curing film.
Use the edge of a razor blade or the film itself to spread the filler across the pit without trapping a large air bubble. Pit filler improves smoothness and reduces dirt retention, but it does not conceal every impact mark.
You will know it worked when: the film lies flat and the filler covers the crater without overflowing widely onto the surrounding glass.
Common mistake: applying pit filler before the deeper resin has entered the fracture.
Step 7: Cure and Scrape the Repair Flush
Expose the covered repair to direct sunlight or the kit’s UV lamp for the stated period, commonly 15-30 minutes. Cloudy weather, winter sunlight, tinted glass, and shaded garage conditions can require longer curing or a dedicated UV lamp.
Remove the curing film after the resin hardens. Hold a fresh razor blade nearly perpendicular to the glass and scrape cured excess resin from the surface using controlled strokes. Keep fingers behind the blade and wear eye protection.
You will know it worked when: the surface feels flush to a fingertip and no tacky resin remains.
Common mistake: scraping at a shallow angle, which can peel the pit filler away instead of leveling it.
Which Repair Option Should You Choose?
The best option depends on damage location, damage complexity, vehicle use, and whether the truck has camera-based driver assistance. DIY repair costs the least, mobile service minimizes downtime, and replacement provides the correct solution for structural or visibility-related damage.
| Option | Typical price | Typical time | Best use | Main limitation |
|---|---|---|---|---|
| DIY bridge kit | $10-$30 | 30-60 minutes | Fresh bullseye or star chip | Variable appearance and seal quality |
| Mobile professional repair | $60-$150 | 20-45 minutes | Isolated chip at home or work | Weather can affect scheduling |
| In-shop repair | $80-$200 | 30-60 minutes | Complex chip or controlled conditions | Truck must travel to shop |
| Windshield replacement | $300-$1,200+ | 1-3 hours | Edge crack, view obstruction, major break | Adhesive cure and calibration may add time |
| Commercial truck replacement | $500-$2,000+ | 2-5 hours | Large glass, specialty cab, fleet vehicle | Glass availability and vehicle downtime |
These are typical U.S. consumer ranges, not guaranteed quotes. A heavy-duty truck may cost more because of glass size, acoustic or heated glass, embedded antennas, special molding, limited parts availability, and labor access.
Mobile Versus In-Shop Service
Mobile repair is practical for a stable chip when the truck can remain dry and shaded during service. In-shop repair provides better control over temperature, humidity, lighting, and access to specialized equipment, which matters more for combination breaks and long-crack attempts.
A professional technician should explain whether the proposed repair follows the shop’s damage standards and whether the result carries a workmanship warranty. A repair warranty commonly covers spreading from the original damage, but exclusions may include new impacts, edge cracks, contamination, and pre-existing damage.
When Replacement Is the Safer Choice
Replacement is usually the safer choice when the crack reaches an edge, blocks the driver’s view, affects the inner glass layer, has multiple branches over a large area, or continues growing after a repair attempt. Replacement is also appropriate when the glass has delamination, severe pitting, or optical distortion across the viewing area.
Ask for glass that matches the truck’s original specifications. A replacement may need the correct tint band, antenna, heating element, rain sensor bracket, molding, acoustic layer, and camera mounting geometry.
What Does Truck Windshield Repair Cost?
A small professional chip repair typically costs $60-$150 in the United States, while DIY kits commonly cost $10-$30. Full replacement commonly ranges from $300 to more than $1,200 for pickups, with specialty commercial trucks, premium glass, labor, and ADAS calibration increasing the final invoice.
| Cost component | Typical range | When it applies | Cost driver |
|---|---|---|---|
| Basic chip repair | $60-$100 | Single small impact | Local labor rate |
| Additional chip | $20-$50 | Same service visit | Extra setup and resin |
| Standard pickup glass | $300-$700 | Conventional windshield | Model and parts supply |
| Heated or acoustic glass | $600-$1,200+ | Premium truck configuration | Embedded components |
| ADAS calibration | $150-$400+ | Forward camera disturbed | Static or dynamic procedure |
| Mobile service fee | $0-$100 | Technician travels to truck | Distance and market |
Comprehensive auto insurance often covers rock damage, but deductible waivers differ by state, insurer, and policy. Commercial fleet policies may use separate glass coverage or require an approved vendor. Confirm coverage before authorizing work, especially if a replacement includes calibration.
How Long Should You Wait Before Driving?
A chip repair is generally ready once the resin has fully cured and the injector has been removed, often within 30-60 minutes. A replacement windshield requires the adhesive manufacturer’s stated minimum drive-away time, which may range from about 1 hour to several hours depending on adhesive, temperature, humidity, and truck design.
Do not assume a one-hour interval applies in every condition. Cold temperatures, low humidity, contaminated bonding surfaces, or a large windshield can extend the safe cure period. The installer should provide the specific drive-away time and tell you when to reinstall trim, wash the truck, or use a high-pressure car wash.
After replacement, check for wind noise, water leaks, loose molding, distorted vision, and warning lights. Do not drive if the windshield moves, the adhesive bead is visibly incomplete, or the forward camera reports a fault.
How Do Temperature and Weather Affect Repair?
Windshield resin should be applied to clean glass at a moderate temperature, commonly around 50-85°F. Direct sun can cure resin inside the injector before pressure cycles finish, while very cold glass makes resin thicker and reduces penetration into fine fractures.
Rain introduces moisture and contaminants. High wind can blow dust into the impact pit and reduce suction-cup stability. If outdoor conditions are poor, use a clean garage with adequate lighting and ventilation, keeping the repair area out of direct ultraviolet light until the final curing step.
A hot windshield also creates thermal-stress risk. Do not pour cold water onto sun-heated glass, blast it with a high-temperature defroster, or place a cold injector against a surface that is extremely hot.
What Are the Most Common Repair Mistakes?
The most damaging mistakes are attempting replacement-level damage, trapping contamination inside the crack, misaligning the injector, overheating the glass, and driving before replacement adhesive cures.
- Using household adhesive: Superglue and epoxy do not have the flow behavior or optical properties of windshield repair resin. They can turn white, remain brittle, and make later glass replacement more difficult.
- Cleaning with sprayed glass cleaner: Liquid can enter the fracture and leave residue. Use a small amount of isopropyl alcohol on a cloth around the break.
- Repairing direct sunlight: UV can cure resin in the barrel or syringe before injection. Work in shade, then move the truck into sunlight only for curing.
- Ignoring an edge crack: Perimeter damage can spread under vibration and temperature changes even when the visible line appears short.
- Using excessive force: A plunger is not a jack. Extreme pressure can enlarge the impact or fracture the windshield further.
- Skipping ADAS calibration: A camera that is only slightly misaligned can change lane-departure or automatic emergency-braking performance.
One practitioner rule is especially useful: if the damage changes noticeably during inspection, stop DIY work. Active spreading indicates that the glass is under stress, and an injector cannot correct the underlying structural problem.
What If the Repair Still Looks Bad?
A visible white mark after curing does not automatically mean the repair failed. The original impact crater often remains visible, and a small cosmetic trace is acceptable when the fracture is stable and outside the driver’s viewing area.
A dark line or reflective void that remains unchanged may indicate trapped air, contamination, incomplete resin penetration, or damage in the inner layer. A fully cured repair usually cannot be removed and repeated successfully because the hardened resin blocks the original channels.
If the crack continues spreading, the repair has opened, or the defect interferes with vision, stop driving except to reach a qualified glass shop when safe. Replacing the windshield is the normal next step.
What If Resin Cures in the Injector?
Resin that cures inside the syringe or barrel usually indicates direct UV exposure or excessive delay before injection. Do not force a blocked plunger because pressure can eject hardened fragments or damage the tool.
Discard cured disposable components and follow the kit manufacturer’s cleaning instructions. Do not pour acetone or another solvent into the windshield fracture unless the manufacturer specifically permits it, because solvent residue can contaminate the glass and worsen the repair.
What If Pit Filler Peels Away?
Pit filler commonly peels when the surface was wet, the film contained an air pocket, curing was incomplete, or the razor was held at a shallow angle. Remove loose material, clean the pit with a small amount of isopropyl alcohol, allow it to dry, and apply a fresh small drop.
If the underlying crack remains stable but the pit filler will not bond, the defect may be cosmetic. If the fracture is spreading, obtain professional assessment instead of repeatedly applying surface resin.
How Do You Handle ADAS and Windshield Replacement?
Advanced driver-assistance systems, including forward collision warning, automatic emergency braking, lane-centering, and lane-departure warning, may use a camera mounted behind the windshield. Replacement can change the camera’s position, glass curvature, optical properties, or mounting angle, so calibration may be required.
The vehicle owner’s manual and the glass installer determine the required procedure. Some trucks require static calibration with targets, some require dynamic calibration during a road drive, and others require both. A diagnostic scan may also be needed to clear faults.
A repair of a small chip away from the camera generally does not require calibration, but damage directly in front of the camera can affect image quality. Ask the installer to document whether calibration was checked, which procedure was performed, and whether the dashboard contains any remaining warning message.
What Should Fleet and Off-Road Truck Owners Do?
Fleet operators should repair fresh chips during the same service window whenever possible because highway mileage, cab vibration, temperature cycling, and frequent gravel exposure increase the chance of spreading. Keep clear tape, a clean microfiber cloth, and the vehicle’s glass-service contact information in each truck.
Off-road owners should use a lower repair threshold. Cab flex, rigid suspension, washboard roads, and rapid temperature changes can turn a marginal repair into a replacement within days. A mobile professional or commercial glass shop is usually the better choice for a long crack, an edge break, or a windshield containing embedded electronics.
Inspect the windshield at every fuel stop after a known impact. A crack that grows by even an inch during a route is no longer a routine chip-repair decision.
Frequently Asked Questions
Can I drive with a cracked windshield on my truck?
You can sometimes drive a short distance with a stable, small chip outside the driver’s view, but a long, spreading, edge, or sightline crack creates a safety and potential legal problem. Cover a fresh impact with clear tape, avoid temperature shocks, and arrange prompt professional inspection rather than using normal driving as a test.
Will a windshield repair stop a crack from spreading permanently?
Windshield resin repair reduces the likelihood of spreading by filling fractured channels, but no repair guarantees permanent stability. New impacts, truck vibration, body flex, temperature cycling, contamination, and edge stress can create a new fracture. A workmanship warranty may cover spreading from the original damage under specified exclusions.
Can Rain-X or another water repellent be used before repair?
Do not apply Rain-X or another hydrophobic coating over an unrepaired impact. The coating can contaminate the fracture and reduce resin bonding. If a coating is already present, tell the technician; the shop may need to clean or prepare the area differently, although contamination may still prevent a clear repair.
Is a cracked windshield covered by truck insurance?
Comprehensive coverage often includes rock and road-debris damage, but deductible waivers and glass-only coverage vary by policy and location. Commercial truck insurance may require an approved repair network or different claims process. Ask the insurer whether repair has a zero deductible, whether replacement has a separate deductible, and whether calibration is covered.
Should I replace wiper blades after windshield replacement?
Replace damaged or hardened wiper blades when the windshield is replaced because worn rubber can scratch new glass and leave contaminated streaks across the camera or driver-view area. Do not lift or operate the wipers until the installer confirms that the molding and adhesive cure process allows normal use.
The Bottom Line
To fix a cracked windshield on your truck, protect the impact immediately, classify the damage, and use a bridge-style resin kit only for a small, fresh outer-layer break away from the edge and driver’s sightline. Choose professional repair for uncertain or complex damage, and choose replacement for edge cracks, spreading fractures, impaired visibility, major breaks, or glass associated with ADAS calibration.


