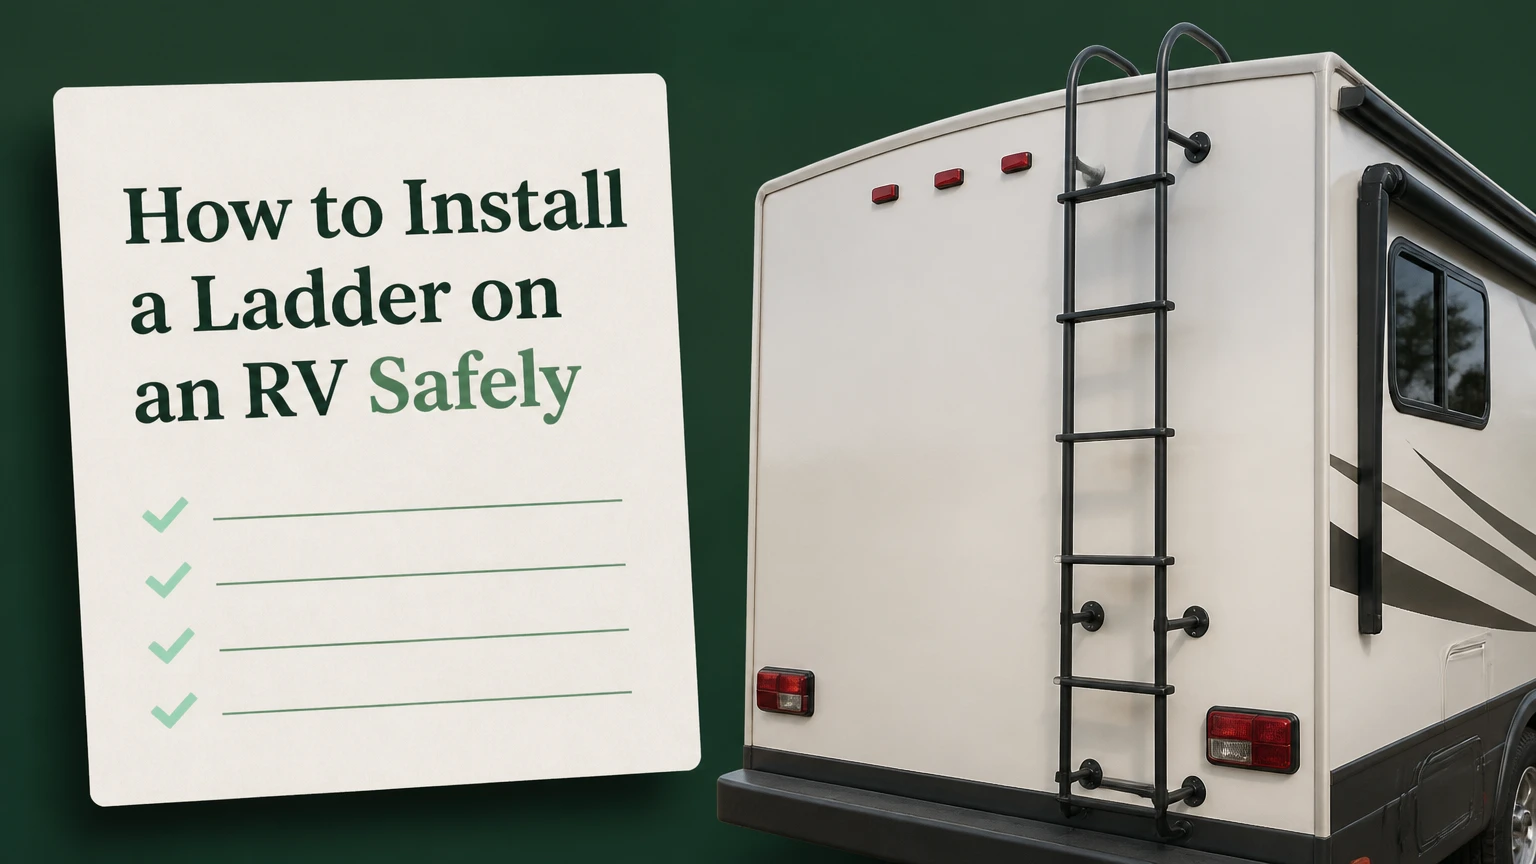
To install a ladder on an RV, identify solid rear-wall framing, dry-fit the ladder, drill controlled pilot holes, use suitable stainless fasteners, and seal every penetration. A typical universal ladder installation takes 2-3 hours, but structural backing, correct roof clearance, and the ladder manufacturer’s weight rating determine whether the installation is safe.
Key Facts at a Glance
RV ladder brackets must transfer climbing loads into wood or aluminum framing, not fiberglass, aluminum skin, or foam insulation alone.
Typical factory-style exterior ladders support 250-300 pounds, including the person and anything carried.
Stand-offs commonly hold ladder rails 6-10 inches from the RV wall for foot clearance.
A universal cut-to-fit ladder usually requires 2-3 hours and approximately $100-$350 in parts, depending on the kit and sealants.
Butyl tape seals the underside of many wall flanges, while compatible non-sag lap sealant protects exposed vertical joints.
If solid backing cannot be confirmed at every bracket, use a portable ladder or obtain a manufacturer-approved mounting solution.
Before You Install an RV Ladder
An RV ladder installation requires a compatible ladder kit, verified structural attachment points, weatherproof sealants, and a stable work area. Plan on 2-3 hours for a first installation, excluding repairs to rotten framing or removal of an old ladder. Do not begin by drilling through the outer wall, because the visible skin does not reveal whether a stud, wire, pipe, or foam cavity lies behind it.
Tools, Materials, and Prerequisites
| Item | Typical quantity or specification | Purpose |
|---|---|---|
| Universal or OEM ladder kit | 1 kit, 250-300 lb rating | Main climbing structure |
| Stainless-steel screws | 8-12, manufacturer-specified length | Bracket attachment |
| Butyl tape | 1 roll, 1 inch wide or kit-specific | Compression seal beneath flanges |
| RV-compatible sealant | 1 tube, 10-11 fluid ounces | Exterior perimeter sealing |
| Drill and bits | 1 variable-speed drill, 1/8-inch pilot bit | Controlled hole creation |
| Tape measure and level | 1 each, 25-foot tape | Position and alignment |
| Hacksaw or tubing cutter | 1 tool with fine-tooth blade | Universal ladder adjustment |
| File and deburring tool | 1 each | Smooth cut tubing |
| Painter’s tape and marker | 1 roll and 1 marker | Hole and bracket layout |
| Two-person support or clamps | 1 setup | Holding the ladder during marking |
Park the RV on level ground, apply the parking brake, and keep the vehicle disconnected from shore power before drilling. Remove interior panels when possible. A stud finder can help, but RV wall laminates and foil insulation often produce unreliable readings, so manufacturer drawings, accessible framing, and careful probing provide stronger confirmation.
Check the owner’s manual and ladder instructions before selecting screw length or sealant. Some manufacturers specify a particular bracket location, fastener, backing plate, or sealant chemistry, and an aftermarket installation can affect a body or water-intrusion warranty.
How Does an RV Ladder Attach to the Vehicle?
An RV ladder attaches through several brackets that spread load across structural framing in the rear wall, roof edge, or approved mounting rail. The outer fiberglass or aluminum skin provides weather protection, while internal wood or aluminum members carry the person’s weight. Foam insulation does not provide an adequate screw anchor.
A typical rear ladder uses upper supports near the roof and lower stand-offs on the wall. The stand-offs keep the rungs away from the body, commonly by 6-10 inches, so a boot can pass between the ladder and wall. The exact distance varies with the kit and the curvature of the rear cap.
Why Backing Matters More Than the Wall Skin
Thin RV wall skins can crack, deform, or pull away when a ladder is loaded. A screw that feels tight in fiberglass may have only compressed the laminate, while a screw in soft or damaged wood can lose holding power after repeated travel vibration.
Use the ladder bracket pattern as a structural map. Every load-bearing bracket should align with confirmed framing or with a manufacturer-approved backing plate installed behind the wall. Do not assume a nearby stud is sufficient if the bracket holes do not actually intersect it.
What Should You Check Before Drilling?
Inspect the interior and exterior for wiring, plumbing, appliances, windows, vents, slide mechanisms, and existing damage. Open an interior access panel behind the planned bracket line when practical, then use a small inspection hole in a concealed location if the manufacturer permits it.
A safe pre-drilling checklist includes:
- Confirm the RV model, year, body style, and ladder kit instructions.
- Locate each proposed stud or structural rail.
- Measure the distance from the roof edge, windows, doors, lights, and storage compartments.
- Check that the ladder will not obstruct a rear camera, license plate, awning, or hitch accessory.
- Confirm that the roof surface can accept the upper hooks or brackets.
- Verify that the combined user and carried load stays below the lowest rated component.
Which RV Ladder Type Fits Your Vehicle?
OEM ladders fit model-specific backing and curves most predictably, while universal rigid ladders cost less but demand accurate measurement. A portable telescoping ladder is the safer choice when the rear wall lacks confirmed backing or when drilling could damage a molded cap, insulated panel, or warranty-covered structure.
| Ladder type | Typical purchase price | Installation time | Best application |
|---|---|---|---|
| OEM replacement ladder | $200-$500 | 1-2 hours | Matching an existing model-specific mount |
| Universal rigid aluminum ladder | $100-$350 | 2-3 hours | Permanent installation with verified framing |
| Roof-edge or side-mount ladder | $150-$450 | 2-4 hours | Vans or RVs with approved side structure |
| Telescoping portable ladder | $80-$250 | 0 minutes | RVs without usable wall backing |
| Folding platform ladder | $60-$180 | 0 minutes | Low roof access and compact storage |
Prices are typical retail ranges in the United States, not fixed quotations. Local labor, imported parts, shipping, and model-specific hardware can change the final cost substantially.
How Much Weight Can an RV Ladder Support?
Most factory-style RV ladders are rated for approximately 250-300 pounds, but the printed rating on the specific ladder and its installation instructions controls. Calculate the total load as the person, shoes, tools, cleaning equipment, and any bag carried onto the roof.
A 190-pound user carrying a 20-pound tool bag applies a 210-pound load before movement and dynamic forces are considered. Never use a ladder as a roof-access system if the user exceeds the stated rating, if a bracket is loose, or if the roof itself has a lower load limit.
When Is a Portable Ladder Better?
A portable telescoping ladder is better when internal backing cannot be verified, when the rear cap is too thin for approved fasteners, or when the RV manufacturer prohibits exterior drilling. Portable ladders also suit renters and owners who want to avoid permanent changes.
Portable equipment has trade-offs. It must be positioned on firm, level ground, secured against sliding, stored after use, and inspected for bent rails or damaged locking mechanisms. A portable ladder rated at 330 pounds does not make an RV roof rated for less weight safe.
Step 1: Locate and Confirm the Internal Backing
Locate every structural attachment point before assembling the ladder against the RV. Use the RV manufacturer’s service information first, then confirm the locations through interior access, careful probing, or an inspection camera. A stud finder alone is not adequate proof on many laminated RV walls.
Call the manufacturer or an authorized dealer with the vehicle identification number and ask for rear-wall framing information. Some builders publish mounting diagrams; others can identify factory ladder locations from the build record.
Mark confirmed framing with painter’s tape on the exterior. If a proposed bracket falls between framing members, stop and revise the ladder position rather than shifting one bracket casually.
You’ll know it worked when: each bracket location corresponds to solid wood, aluminum framing, or an approved engineered backing system.
Common mistake: treating a strong-feeling spot on the exterior as proof of a stud. Exterior skins can feel firm over foam or a narrow cap reinforcement.
Step 2: Dry-Fit the Ladder and Mark the Layout
Assemble the ladder loosely on the ground and have a second person hold it against the RV. Center the ladder over its intended framing, check vertical alignment with a level, and confirm that the top supports follow the roof curve without forcing the rails into position.
Maintain clearance from roof accessories, solar panels, antennas, skylights, vents, rear windows, marker lights, and the entry door. Also check the travel position of a hitch-mounted bike rack, because a ladder can become inaccessible or physically collide with loaded bicycles.
Use painter’s tape at each bracket location, then mark the hole centers on the tape. Measure twice from fixed reference points such as the roof seam or body corner. The ladder should sit squarely without relying on screw tension to pull a misaligned bracket into place.
You’ll know it worked when: the rails are vertical, all brackets sit flat, the stand-offs provide usable foot clearance, and the upper supports contact the roof area evenly.
Common mistake: drilling one hole before confirming the entire ladder assembly. A first hole can lock the ladder into an incorrect height or angle.
Step 3: Cut a Universal Ladder to Length
Cut universal ladder tubing only after the dry fit establishes the required height. Mark the excess with a fine marker, use a tubing cutter or fine-tooth hacksaw, and keep the cut square so the joint or end cap seats fully.
Wear eye protection while cutting aluminum. File the cut edge inside and outside, remove metal chips from the RV roof, and test-fit every sleeve, hinge, cap, or connector before applying sealant.
Universal kits may use telescoping rails, splice sleeves, hinged roof hooks, or adjustable stand-offs. Follow the supplied cut chart instead of subtracting a guessed amount from the overall ladder length. A roof curve can change the required rail position by several inches.
You’ll know it worked when: the ladder reaches every bracket without compression, bowing, or an unsupported overhang.
Common mistake: cutting both rails without comparing them. Left and right sides may require different cuts if the roof or rear cap is not symmetrical.
Step 4: Drill Controlled Pilot Holes and Apply Sealant
Drill only the pilot-hole size specified by the ladder manufacturer, commonly around 1/8 inch for a wood-backed bracket, and use a depth stop or wrapped tape to prevent excessive penetration. Confirm that the bit enters the intended backing rather than relying on sealant to create strength.
Remove dust from the hole and surrounding surface. Apply butyl tape beneath wall flanges when the kit calls for a compression gasket, then place a compatible RV sealant around the fastener penetration and flange perimeter. Sealant brands differ in compatibility with fiberglass, EPDM, TPO, painted aluminum, and existing roof coatings.
Do not pack a hole with lap sealant and call the connection structural. Sealant blocks water, but only correctly engaged framing or a properly engineered backing plate resists the ladder load.
You’ll know it worked when: the pilot bit meets firm backing at the intended depth, the flange sits on an even seal, and no sealant contaminates the screw threads more than the instructions allow.
Common mistake: using a long screw that exits into an interior cabinet, wire channel, or appliance cavity. Measure wall thickness and the fastener’s actual penetration before driving it.
Step 5: Fasten the Brackets Without Stripping the Wall
Fasten the brackets with the stainless-steel screws, bolts, or hardware specified for the backing and ladder kit. Start every screw by hand, then use a variable-speed drill at low speed only if necessary. Final tightening should compress the flange seal without crushing the fiberglass or stripping wood.
If the manufacturer specifies through-bolts, install the required interior washers or backing plates rather than substituting ordinary screws. Aluminum framing may require a different fastener strategy from wood framing, and a damaged aluminum tube may need a riveted or bolted repair designed by a qualified technician.
Install upper supports and lower stand-offs in the sequence shown by the kit instructions. Keep the ladder supported while tightening so the brackets do not carry a sideways load.
You’ll know it worked when: each fastener seats firmly, the flange remains flat, the ladder does not shift under a light hand test, and no laminate cracks appear.
Common mistake: using an impact driver. Impact force can strip a wood stud, deform an aluminum frame, or crack the gelcoat before the installer notices resistance has disappeared.
Step 6: Seal the Finished Installation
Seal the outside perimeter of every wall bracket and each roof penetration after the hardware is secure. Use self-leveling lap sealant on compatible horizontal roof surfaces and non-sag sealant on vertical wall brackets, because a roof product can run down a rear cap.
Leave the sealant bead thick enough to bridge the flange edge without creating a thin, discontinuous film. Tool the bead according to the product instructions, and remove excess before it cures. Do not cover a weep path or drainage opening that the bracket design intentionally leaves open.
Butyl tape remains compressed beneath the flange, while exterior sealant protects exposed edges and screw penetrations. These materials perform different jobs and are not interchangeable in every installation.
You’ll know it worked when: the bead is continuous around the flange, each screw head is covered where required, and no exposed gap remains at the roof transition.
Common mistake: applying a silicone household sealant over a surface intended for RV lap sealant. Silicone can complicate later repairs and may not bond correctly to common RV roof materials.
Step 7: Test, Cure, and Inspect the Ladder
Do not climb immediately after sealing. Follow the sealant cure time on the product label, which commonly ranges from 24-48 hours depending on temperature, humidity, and bead thickness. After curing, inspect every bracket and perform a gradual ground-level pull test before placing body weight on the ladder.
Check the ladder again after the first trip and after several days of temperature changes. Travel vibration can reveal loose set screws, bracket movement, or a sealant gap that was not visible during installation.
A practical inspection schedule is:
| Inspection point | Timing | What to check |
|---|---|---|
| Initial hand test | After hardware installation | Movement, cracks, stripped screws |
| Sealant inspection | After 24-48 hours | Gaps, uncured areas, lifting edges |
| First travel inspection | After 100-300 miles | Loose joints, rattling, bracket shift |
| Routine inspection | Every 3-6 months | Corrosion, cracks, seal failure |
| Pre-climb inspection | Every use | Wet roof, loose rung, damaged rail |
You’ll know it worked when: the ladder remains rigid during a controlled test, the brackets stay flat, and the sealant remains bonded around each penetration.
Common mistake: testing the ladder by climbing with tools before checking the roof surface. Wet, icy, chalky, or damaged RV roofs create a separate fall hazard even when the ladder is correctly mounted.
What Does RV Ladder Installation Cost?
A DIY RV ladder installation typically costs $100-$350 for a universal kit and consumables, while a model-specific OEM replacement commonly costs $200-$500 before labor. Professional installation often adds approximately $150-$500, with higher prices when technicians must open interior panels, repair framing, or remove an old ladder.
| Installation scenario | Parts range | Labor range | Typical total |
|---|---|---|---|
| New universal ladder, sound framing | $100-$350 | $0 DIY or $150-$300 | $100-$650 |
| OEM ladder replacement | $200-$500 | $150-$350 | $350-$850 |
| Old ladder with minor seal repair | $40-$180 | $100-$250 | $140-$430 |
| Rotten or delaminated rear wall | $300-$1,500+ | $500-$2,000+ | $800-$3,500+ |
| Portable telescoping ladder | $80-$250 | $0 | $80-$250 |
These figures are planning ranges, not quotes. Hidden water damage is the largest cost variable. A ladder that moves, shows dark staining, or has soft wall material should not be remounted until the structure is inspected.
Common Mistakes and How to Fix Them
What If the Screw Spins Freely?
A freely spinning screw usually indicates missed, soft, or stripped backing. Remove the ladder load, back the screw out, and inspect the hole. Do not fill the hole with sealant and reuse it. Shift the bracket only if the new position reaches confirmed framing, or install an engineered backing system through interior access.
What If the Fiberglass Cracks Around a Bracket?
Fiberglass cracking indicates movement, concentrated load, overtightening, or inadequate backing. Remove the ladder and determine whether the wall skin has delaminated. A larger exterior washer is not a universal repair, because a washer cannot replace missing internal structure; a backing plate must be properly sized and bonded or bolted according to the wall design.
What If the Ladder Rattles During Travel?
Rattling commonly comes from loose set screws, sleeve joints, hinge hardware, or a stand-off pin. Tighten the joint using the kit instructions, replace damaged hardware, and avoid permanent adhesives that prevent later inspection. Rubber isolation material can reduce noise, but it must not conceal movement at a structural connection.
What If Water Appears Inside the RV?
Water near a ladder bracket means the penetration or surrounding laminate needs immediate inspection. Dry the interior, remove the affected hardware if safe, inspect for swollen wood and delamination, and reseal only after the structure is dry and sound. A surface bead over wet or rotten framing will delay, not solve, the repair.
Can a Ladder Be Installed Without Wall Backing?
A permanent exterior ladder should not be installed without confirmed backing or a manufacturer-approved structural reinforcement. Thin fiberglass, aluminum skin, and foam cannot safely carry repeated climbing loads. Choose a portable telescoping ladder when the RV has no suitable mounting structure, or have an RV body technician design a through-bolted reinforcement.
Variations for Different RV Situations
Replacing an Existing Broken Ladder
An OEM replacement is usually the lowest-risk option when the old ladder used factory mounting points. Photograph the old bracket positions, inspect every hole for elongation and rot, remove all failed sealant, and use new gaskets or butyl tape rather than relying on the old compressed material.
If the replacement hole pattern differs, do not drill new holes until the new positions align with structural members. Abandoned holes must be cleaned, filled, and sealed with a repair method compatible with the wall and roof materials.
Installing on a Travel Trailer or Fifth Wheel
Travel trailers and fifth wheels vary widely in rear-wall construction. Some use framed walls with accessible wood members, while others use laminated panels where a generic ladder bracket pattern may fall over foam.
Confirm the manufacturer’s approved mounting points before drilling. A portable ladder is often preferable when the rear wall contains a large window, cargo door, spare-tire carrier, or insufficient framing.
Installing on a Sprinter-Based or Class B RV
Class B conversions may use a van body, interior cabinetry, or an aftermarket composite panel rather than a conventional RV rear wall. A ladder attached to a metal van door requires vehicle-specific brackets, clearance from door seals and wiring, and a design that does not overload the hinges.
Use a conversion-specific ladder when available. Do not transfer a travel-trailer ladder pattern to a Sprinter, Transit, or Promaster without checking the body structure and door operation.
When Should You Hire an RV Technician?
Hire an RV technician when framing cannot be located, the rear wall feels soft, the roof is delaminated, the ladder will attach near wiring or plumbing, or the installation requires a backing plate inside a finished wall. Professional help is also appropriate for high-roof vehicles, unusual composite construction, and warranty-sensitive repairs.
Stop the DIY installation if any of these conditions appears:
- A pilot hole misses backing at one or more load-bearing brackets.
- The wall flexes visibly under light hand pressure.
- Existing holes show black staining, swollen wood, or crumbling material.
- The roof coating is incompatible with the proposed sealant.
- The ladder obstructs a door, camera, light, vent, or hitch accessory.
- The user and equipment exceed the ladder or roof rating.
- The manufacturer expressly prohibits owner-installed exterior ladders.
A technician cannot make an unsuitable mounting location safe by adding more sealant. The structural load path must be correct first.
FAQ
Can I Mount an RV Ladder to Fiberglass Alone?
No. Fiberglass alone is a weather skin, not a reliable structural anchor for repeated ladder loads. Mounting brackets must engage internal wood or aluminum framing, or an engineered backing plate that transfers the load into the vehicle structure. A surface-mounted screw may hold temporarily and then tear the laminate.
What Screws Should I Use for an RV Ladder?
Use the stainless-steel fastener type, diameter, and length specified by the ladder manufacturer for your RV wall construction. Stainless screws resist exterior corrosion, but stainless grade alone does not solve a missed stud or excessive penetration. Through-bolts, washers, or backing plates may be required for some aluminum or composite walls.
Should I Use Butyl Tape or Dicor on RV Ladder Brackets?
Use the material specified for the bracket and roof surface. Butyl tape commonly forms the compressed seal beneath a wall flange, while compatible non-sag lap sealant protects vertical edges and screw penetrations. Self-leveling lap sealant is generally intended for compatible horizontal roof applications, not every vertical rear-wall joint.
How Long After Installation Can I Climb the Ladder?
Wait for the sealant manufacturer’s stated cure time, commonly 24-48 hours under moderate conditions, then inspect the brackets and perform a controlled ground-level test. Cold temperatures, high humidity, thick beads, and poor surface preparation can extend curing. Never climb on uncured sealant or a ladder that shifts during testing.
Can an RV Ladder Hold a Bike Rack?
Some RV ladders accept a manufacturer-approved bike-rack attachment, but a standard ladder should not automatically carry bicycles. The ladder, brackets, rear wall, and rack must all support the combined static and travel loads. Dynamic forces from road vibration can exceed the person-load rating, so follow the rack and ladder manufacturer limits.
How Often Should I Reseal an RV Ladder?
Inspect ladder sealant at least every 3-6 months and after severe weather or roof work. Reseal when the bead cracks, separates, shrinks, or loses adhesion, but remove loose material and prepare the surface first. Adding a new bead over failed sealant can trap water and conceal deteriorating framing.
The Bottom Line
To install a ladder on an RV safely, verify structural backing before drilling, dry-fit the complete assembly, use the specified fasteners, and seal every penetration with compatible RV materials. A universal ladder can provide permanent access in 2-3 hours when the wall structure is suitable. If backing cannot be confirmed, a portable ladder is the safer solution. Inspect the finished installation after curing, after the first trip, and every 3-6 months.


