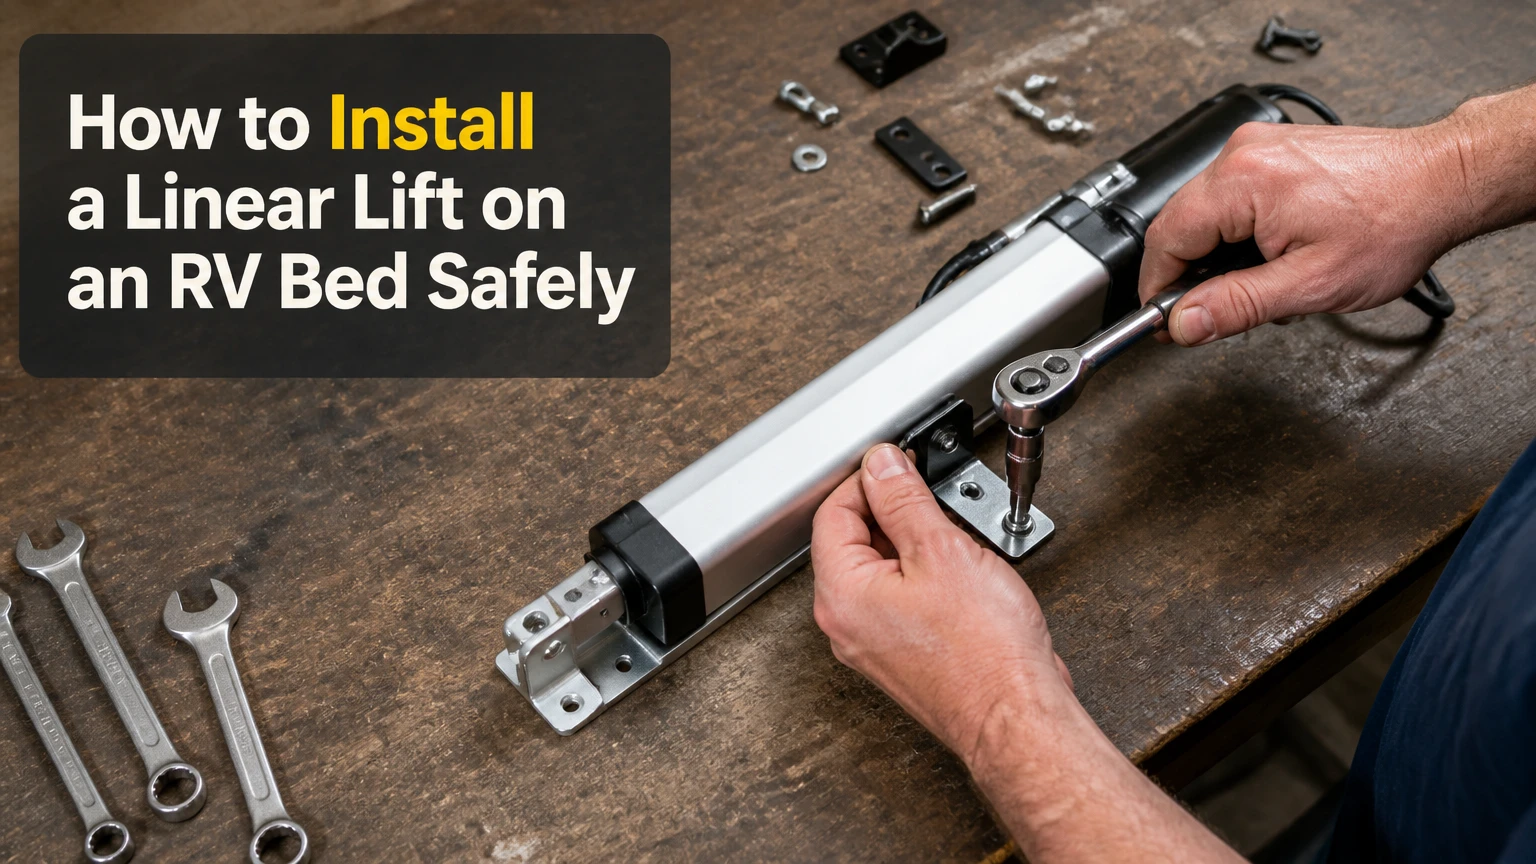
To install a linear lift on an RV bed, reinforce the bed frame, calculate actuator stroke from the actual hinge geometry, mount the actuator without side loading, and wire it through a fused 12V control circuit. A typical single-actuator retrofit takes 2-4 hours; dual systems usually take 4-6 hours and require synchronized movement.
Key Facts at a Glance
- A linear actuator lifts an RV bed by converting 12V DC motor rotation into controlled linear movement.
- Dynamic lifting capacity must exceed the combined moving weight of the mattress, platform, bedding, and stored items.
- Static holding capacity does not automatically mean the bed structure can safely support sleeping occupants.
- A fuse belongs on the positive conductor close to the battery or 12V distribution panel.
- Acme-screw actuators usually resist back-driving, while ball-screw actuators normally need a brake or mechanical lock.
- Two actuators require synchronization or a rigid mechanical linkage to prevent the platform from twisting.
What a Linear Lift Does
A linear lift for an RV bed is an electric linear actuator system that raises a hinged platform to expose under-bed storage. The actuator contains a 12V motor, reduction gearbox, threaded screw, traveling nut, telescoping tube, and internal limit switches that stop extension and retraction.
The actuator does not lift by itself. The lower bracket, upper bracket, hinge, platform, fasteners, and RV floor form one load path. A strong motor attached to weak plywood can tear out the mounting screws before the actuator reaches its rated force.
How the Actuator Converts Power Into Motion
A 12V DC motor spins the gearbox, which turns an Acme or ball screw. The nut travels along the screw and moves the inner tube, producing a push or pull stroke measured between the clevis mounting holes.
Internal limit switches typically stop the motor at the actuator’s fully extended and retracted positions. Those switches do not necessarily stop the bed at the correct open or closed position, because the final bed position depends on bracket placement and hinge geometry.
Dynamic Capacity Is Different From Static Capacity
Dynamic capacity is the force available while the actuator is moving. Static capacity is the force the actuator may hold under specified conditions after movement stops. Neither rating replaces a positive mechanical support for a bed occupied by people.
A practical installation should keep the actuator below its maximum dynamic rating. For example, a platform and mattress weighing 180 pounds may need substantially more than 180 pounds of actuator force because a short lever arm, shallow mounting angle, friction, or an off-center load can multiply the required force.
Before You Start
| Item | Typical requirement | Check before drilling |
|---|---|---|
| Installation time | 2-4 hours, single actuator | Add 1-2 hours for reinforcement and routing |
| DIY difficulty | Intermediate | Requires 12V wiring and structural drilling |
| Actuator system | 12V DC, 200-300 lb dynamic rating | Confirm the manufacturer’s duty cycle |
| Electrical protection | 15A or 20A fuse or breaker | Match the actuator’s specified current |
| Wire | 12-14 AWG stranded copper | Use 12 AWG for longer or higher-current runs |
| Brackets | Two clevis brackets per actuator | Use steel brackets with retained pins |
| Reinforcement | 3/4-inch hardwood or steel backer plate | Support both sides of thin plywood |
| Tools | Drill, bits, crimper, stripper, multimeter | Add a socket set for through-bolts |
| Safety support | Rated prop or locking support | Never rely on the actuator during drilling |
Disconnect shore power, turn off the converter if practical, and isolate the house battery before cutting or joining wires. Empty the storage bay and remove the mattress, because unexpected platform movement can cause injury and the mattress can conceal binding.
A rigid 2×4 prop is better than a loose broom handle, but a purpose-built locking support is safer. Keep hands away from the hinge and clevis points throughout testing.
How Do You Size the Actuator?
Choose actuator force and stroke from measured platform weight and hinge geometry, not from bed size alone. A typical single lift uses a 200-300-pound dynamic actuator with an 18-24-inch stroke, but the correct value can be lower or higher depending on the center of gravity and mounting points.
Measure the empty platform, mattress, bedding, and any items that will remain attached during lifting. A luggage scale or bathroom scale can provide a useful total, although an RV technician should verify unusual structures such as slide-out beds or folding platform sections.
| Measurement | Typical RV value | Why it matters |
|---|---|---|
| Queen mattress | 60-100 lb | Foam and hybrid mattresses vary widely |
| King mattress | 90-150 lb | Often favors dual actuators |
| Bed platform | 40-100 lb | Thin plywood needs reinforcement |
| Useful actuator stroke | 18-24 in | Common range for storage access |
| Extension speed | 0.4-1.2 in/s | Slower units usually provide more force |
| Single actuator force | 200-300 lb dynamic | Suitable for many centered platforms |
| Dual actuator force | 200 lb per side typical | Requires matched, synchronized units |
A useful field rule is to place the actuator as close to the hinge as possible while preserving leverage and clearance. Moving the lower bracket changes the force demand dramatically. Test the platform by hand through its full travel before selecting a final mounting position.
Do not assume a 1,000-pound static rating permits a 1,000-pound sleeping load. The hinge screws, bed rails, plywood, and RV floor may have lower ratings, and a raised platform should have a mechanical prop or lock when anyone is underneath it.
Which Actuator Type Fits an RV Bed?
An Acme-screw actuator is usually the safer default for a simple RV storage bed because its screw design commonly resists back-driving when power is removed. A ball-screw actuator is more efficient and often quieter or faster under load, but it generally needs a brake, controller, or mechanical lock to prevent unwanted movement.
| Actuator type | Typical behavior | Best application | Main limitation |
|---|---|---|---|
| Acme screw | 50-60 dB, self-locking tendency | Single, moderate-weight platform | Lower efficiency and slower operation |
| Ball screw | Higher efficiency, fast movement | Heavy or frequently operated bed | May back-drive without a brake |
| Single actuator | 200-300 lb dynamic rating | Narrow or centered queen platform | Can twist a wide platform |
| Dual synchronized | 400-600 lb combined rating | King bed or heavy mattress | Higher cost and wiring complexity |
The actuator should also have an adequate duty cycle. Many compact units are designed for intermittent operation, such as 10% duty cycle, which may mean one minute of operation followed by nine minutes of cooling. Repeated cycling during installation can overheat the motor even when the load is within its force rating.
Choose the Control System
A momentary DPDT rocker switch is simple and gives direct control, but the operator must hold the switch while the bed moves. An RF remote adds convenience, while a Bluetooth controller adds app control but introduces another electronic failure point.
For a single actuator, use a controller or reversing switch specifically rated for the actuator’s current. For dual systems, use a synchronized control box designed for two matching actuators. Do not wire two independent actuators to one ordinary reversing switch and assume they will remain level.
Step 1: Inspect and Reinforce the Bed Structure
Remove the mattress and storage contents, then inspect the hinge rail, platform underside, floor, and side walls for thin plywood, OSB, water damage, and hidden wiring. Mark every planned fastener and confirm that drilling will not contact tanks, 12V cables, propane components, or the RV chassis.
Attach 3/4-inch hardwood blocks or steel backing plates beneath the upper bracket area. Use through-bolts with washers and nylon-lock nuts where the underside is accessible; use appropriately sized structural screws only where a through-bolt cannot be installed.
You’ll know it worked when: the bracket cannot shift by hand and the plywood does not flex noticeably around the fasteners.
Common mistake: fastening directly into 1/2-inch plywood with short wood screws. The screws can pull out under a side load even when the actuator’s rated force appears adequate.
Step 2: Measure the Hinge and Opening Geometry
Open the empty bed platform to the angle required for storage access, then measure the distance between the proposed lower and upper clevis points at three positions: fully closed, mid-travel, and fully open. Compare those distances with the actuator’s retracted and extended center-to-center lengths.
An 18-inch stroke does not guarantee an 18-inch bed opening. A bracket position near the hinge may need less stroke but more force, while a position farther from the hinge may need more stroke and less force. The actuator must never reach its internal limit before the bed reaches its intended stop.
You’ll know it worked when: the measured geometry leaves clearance at both ends and the actuator does not bottom out, overextend, or push the platform past its hinge stop.
Common mistake: applying a universal 45-60-degree mounting rule. The actuator may be installed at a different angle if the full-motion geometry provides sufficient leverage and avoids side loading.
Step 3: Mark the Mounting Points
Retract the actuator and place the lower bracket on a reinforced floor rail or wall structure. With the platform held at the intended open angle, position the upper bracket on the platform and align both clevis holes.
Keep the actuator’s motor housing and telescoping tube away from the floor, mattress, storage containers, and hinge hardware. Leave enough room to remove the clevis pins for service. Mark the holes with painter’s tape, then drill a small pilot hole before the final bit.
You’ll know it worked when: the actuator pivots freely at both ends and remains aligned with the direction of platform travel.
Common mistake: mounting the actuator completely horizontal. A shallow closed-position angle can create poor leverage, high current draw, blown fuses, and motor stalls.
Step 4: Install the Brackets and Actuator
Bolt the lower heavy-duty bracket to the reinforced floor structure, then fasten the upper bracket to the reinforced platform. Install the actuator with clevis pins, washers, and the supplied R-clips or cotter pins.
Do not clamp the actuator body rigidly between brackets. Clevis mounts need to pivot as the angle changes. If the brackets are not parallel, the actuator can experience side load, causing grinding, tube wear, or premature gearbox failure.
Move the platform manually through its full range before connecting power. Stop immediately if the actuator binds, contacts a wall, or forces the platform sideways.
You’ll know it worked when: the platform moves freely by hand with the actuator disconnected or pinned in a way that allows normal pivoting.
Common mistake: using a bracket as a spacer without checking the clevis alignment. A few degrees of misalignment can create substantial friction at full extension.
Step 5: Confirm the Electrical Route
Plan a protected route from the house battery or 12V fuse panel to the control switch or actuator controller. Keep the cable away from hinge pinch points, sharp sheet metal, heater ducts, water lines, and storage items that may rub against it.
Use stranded copper cable, suitable automotive or marine insulation, and grommets wherever cable passes through metal or unfinished wood. A typical 12-14 AWG run works for many short installations, but the actuator manufacturer’s current and distance specifications control the final wire size.
| Circuit part | Typical specification | Installation requirement |
|---|---|---|
| System voltage | 12V DC | Verify battery voltage before testing |
| Motor current | 5-12A per actuator | Check running and stall values |
| Fuse or breaker | 15-20A typical | Install near positive source |
| Short branch wire | 14 AWG typical | Use for short, low-current runs |
| Long or high-current run | 12 AWG typical | Reduce voltage drop |
| Connector protection | Adhesive heat shrink | Seal vibration-prone splices |
Step 6: Wire the Linear Lift
Install the fuse holder on the positive conductor within a short distance of the battery or fuse panel. Connect positive and negative supply wires to the controller or momentary reversing switch, then connect the controller outputs to the actuator motor leads according to the kit diagram.
A reversing DC actuator changes direction when polarity at the motor is reversed. Reversing the wires at random can make an “up” command lower the bed, so identify direction during the first low-risk test rather than assuming wire colors are universal.
Secure the harness every 8-12 inches where practical. Cover crimp connections with heat-shrink tubing, and leave a service loop near the actuator so the platform’s movement does not pull on the terminals.
You’ll know it worked when: the controller receives battery voltage, the motor changes direction correctly, and the cable remains clear throughout the full platform movement.
Common mistake: connecting directly to the battery without overcurrent protection. A chafed positive wire can create a high-current short before the battery protection responds.
Step 7: Test, Load, and Calibrate the Bed
Test the lift first with the mattress removed. Stand beside the mechanism, not over the hinge, and operate the actuator for only a few seconds in each direction. Listen for scraping, clicking, uneven movement, or sudden speed changes.
Measure voltage at the controller while the actuator is moving. A large voltage drop under load indicates undersized wire, a weak connection, a discharged battery, or excessive mechanical resistance. Check the manufacturer’s voltage limits rather than relying on motor sound alone.
Add the mattress and bedding for a second test, then test the platform at its normal open and closed positions. Do not keep adjusting limit switches to compensate for poor bracket geometry. Fix the geometry first.
You’ll know it worked when: the bed rises evenly, stops without force at both ends, closes flush, and draws no fuse while carrying the normal moving load.
Common mistake: testing only with an empty platform. A lift can appear perfect without the mattress and stall when the actual load is added.
When Two Actuators Are Necessary
Two actuators are appropriate for a wide king platform, a heavy mattress, or a bed whose load cannot be centered over one actuator. Dual units should be matched by model, stroke, force, speed, and controller compatibility.
A synchronized control box monitors or coordinates the two actuators so one side does not travel significantly farther than the other. A rigid crossbar can also help distribute motion, but it does not automatically correct unequal motor speed unless the mechanical design forces both sides to move together.
| Bed situation | Recommended arrangement | Reason |
|---|---|---|
| Narrow twin platform, 40-60 lb mattress | One 150-250 lb actuator | Low width and centered load |
| Queen platform, 60-100 lb mattress | One 200-300 lb actuator | Works when the platform is rigid |
| Wide queen, 100-130 lb mattress | One or two matched actuators | Depends on hinge and center of gravity |
| King platform, 90-150 lb mattress | Two synchronized actuators | Reduces twisting across the width |
| Unequal side loading | Dual synchronized system | Limits racking from off-center weight |
Wire matched dual actuators through the specified controller, not merely in parallel to a switch. Equal wire lengths can reduce resistance differences, but equal wire length cannot synchronize two motors with different speeds or loads.
Common Mistakes and How to Fix Them
The Bracket Pulls Out
Remove the actuator load, inspect crushed plywood, and install a larger backer plate or through-bolts. A bracket that has already enlarged its holes should not be tightened repeatedly because the surrounding material may have lost its holding strength.
The Motor Clicks but the Bed Does Not Rise
Check for a shallow mounting angle, trapped bedding, excessive platform weight, and low voltage under load. If the actuator stalls near the closed position, relocate the bracket to improve leverage rather than installing a larger fuse.
The Bed Rises Unevenly
Stop immediately and inspect both hinge sides. With dual actuators, verify that the units match and that the controller provides synchronization; continuing to operate a racking platform can crack the platform or bend the hinge rail.
The Actuator Grinds or Screeches
Grinding usually indicates side loading, bracket misalignment, or contact between the inner tube and surrounding structure. Disconnect power, remove the clevis pins, realign the brackets, and confirm that each pivot moves freely before retesting.
The Fuse Blows Repeatedly
Do not fit a higher-rated fuse without identifying the cause. Check for a pinched cable, reversed or damaged controller wiring, a stalled actuator, undersized conductors, or a mechanical load beyond the manufacturer’s rating.
The Bed Will Not Lower During a Power Failure
A powered bed needs a manual recovery plan. Use an actuator with an accessible release pin, install a removable clevis connection, or follow the manufacturer’s manual-retraction procedure. Never crawl beneath a raised platform supported only by an unpowered actuator.
Heavy Mattresses and Wide Beds
A thick memory-foam or hybrid mattress can add 30-70 pounds compared with a lightweight RV mattress. Heavy bedding placed toward the foot of the platform also increases torque at the hinge, so a bed that lifts empty may stall under real use.
Use a dual synchronized system for a king bed when the platform flexes, the mattress exceeds approximately 100 pounds, or the storage load is routinely uneven. Reinforce the hinge rail as well as the actuator brackets, because the hinge carries the reaction force from every lift cycle.
When Are Gas Struts Better?
Gas struts are better when the bed is light, access is occasional, battery power is unreliable, or the owner wants the lowest-cost repair. A matched pair typically costs about $20-$60, uses no electrical wiring, and can remain functional during a dead-house-battery event.
A linear lift is better when the platform is heavy, the operator has limited lifting strength, or the bed must stop at controlled intermediate positions. A gas strut can lose force with age and temperature, but a powered actuator adds wiring, fuse protection, controller failure modes, and duty-cycle limits.
What Does Installation Cost?
A single-actuator DIY retrofit typically costs $120-$300 in parts and takes 2-4 hours. Dual synchronized systems commonly cost $350-$700 before reinforcement materials, while professional RV installation often reaches $750-$1,200 when access is difficult or structural repairs are required.
| Installation path | Parts cost | Labor time | Typical total |
|---|---|---|---|
| Single DIY actuator | $120-$220 | 2-3 hours | $140-$300 |
| Reinforced single retrofit | $180-$350 | 3-5 hours | $200-$450 |
| Dual synchronized DIY kit | $350-$600 | 4-6 hours | $400-$750 |
| Professional single installation | $300-$600 parts | 3-6 hours | $750-$1,200 |
| Professional dual installation | $450-$800 parts | 5-8 hours | $1,000-$1,800 |
Costs rise when the bed uses steel tubing, the battery is far from the storage bay, tanks obstruct drilling, or the platform must be rebuilt. Obtain a written quote that identifies the actuator rating, controller type, reinforcement method, fuse size, and manual-lowering provision.
When Should You Hire an RV Technician?
Hire an RV technician when the bed structure is damaged, the actuator must attach to a slide mechanism, wiring passes through inaccessible walls, or the installation could contact propane, fuel, water, or chassis components. Professional help is also sensible when a king platform needs dual synchronization and the installer cannot verify the load path.
DIY installation is reasonable for a simple hinged plywood platform with visible access to both sides and a nearby 12V fuse panel. Stop the project if you cannot identify the structure behind a drill location or cannot provide a secure mechanical support under the raised bed.
FAQ
Can I install one linear actuator in the center of an RV bed?
A single center actuator can work on a narrow or rigid platform with a centered mattress and properly reinforced brackets. Wide platforms may twist because the actuator force acts at one point. Measure platform flex during a loaded test, and choose dual synchronized actuators when the bed racks or the load remains off-center.
How much weight can an RV bed lift actuator handle?
Many compact 12V actuators are rated around 150-300 pounds of dynamic force each, with higher static ratings. The usable capacity depends on mounting geometry, angle, friction, and structure. Add the mattress, platform, bedding, and retained storage items, then maintain a margin below the manufacturer’s dynamic rating.
Can I use the existing RV gas struts with a linear actuator?
You can sometimes retain gas struts, but their force may overload the motor during closing or make the platform snap upward during opening. Remove or recalculate the struts unless the actuator manufacturer confirms compatibility. Test the complete mechanism through its full travel before restoring normal use.
What fuse size should an RV bed actuator use?
A 15A or 20A fuse is typical for some single-actuator 12V systems, but the actuator and controller specifications determine the correct value. Install the fuse close to the positive source, use suitable wire, and never increase fuse size to conceal a stalled motor or short circuit.
How do I secure an RV bed when people sleep on it?
Use the bed’s original mechanical supports, positive locking hardware, or a properly rated prop when the platform must carry occupants. Do not treat the actuator’s static holding rating as a substitute for a structural bed lock. Test the lock independently of electrical power before using the bed.
The Bottom Line
To install a linear lift on an RV bed safely, reinforce the structure first, size the actuator from measured hinge geometry, use clevis brackets that pivot freely, and protect the 12V circuit with a correctly rated fuse. Test without the mattress, then under the real load, while checking voltage and alignment. A single actuator suits many centered queen platforms; a wide or heavy king bed generally needs matched, synchronized actuators. Proper reinforcement and geometry matter more than choosing the largest motor.


