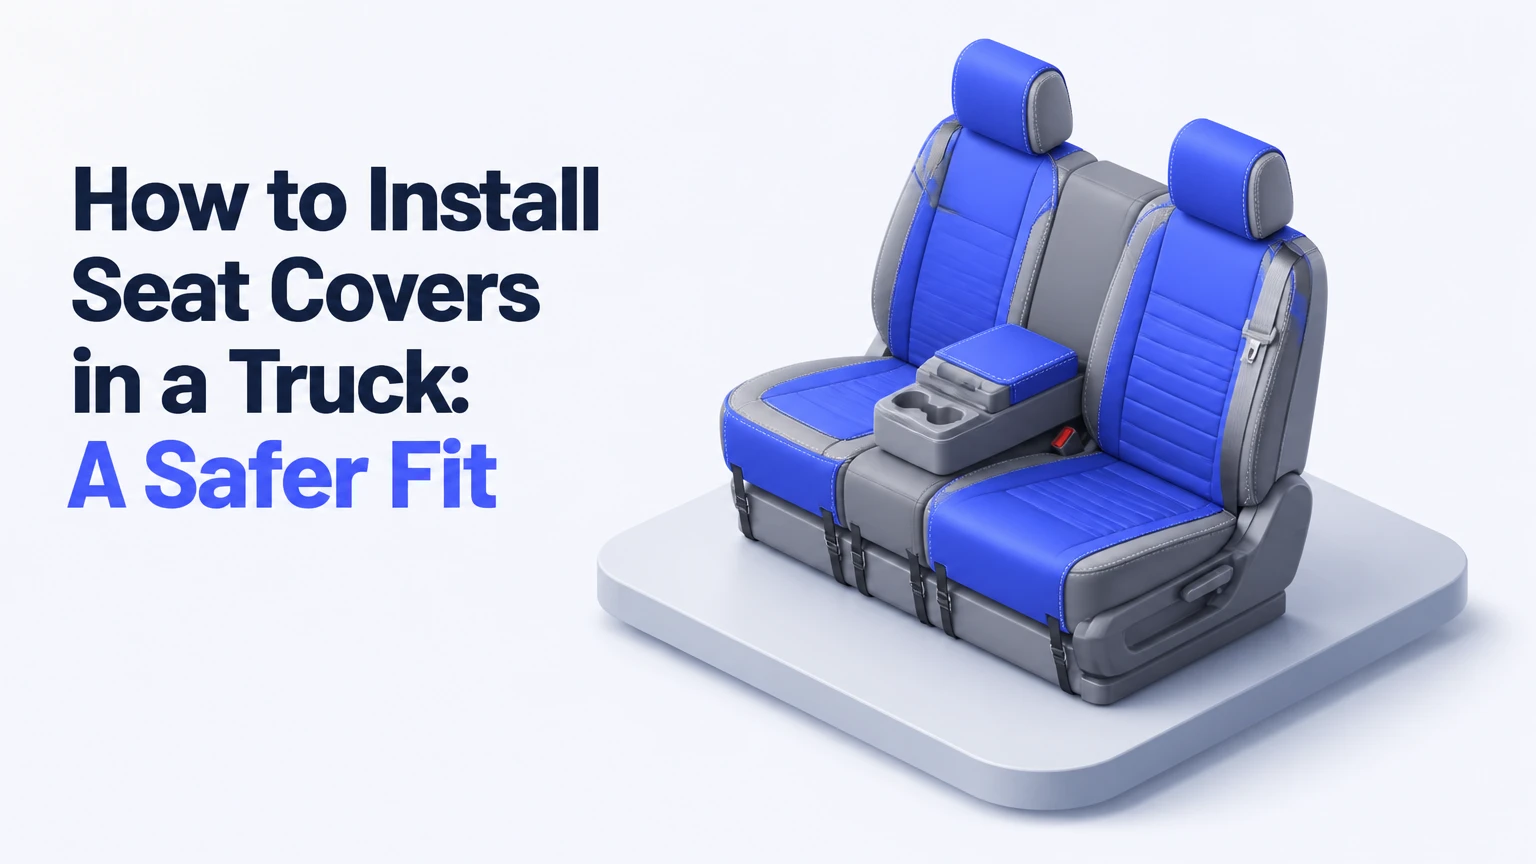
Installing seat covers in a truck usually takes 30-60 minutes for the front seats and 1-2 hours for a complete cab. The reliable method is to identify each panel, remove the headrests, fit the backrests first, route straps beneath the cushions without crossing wiring or rails, then tighten and inspect every safety opening.
Key Facts at a Glance
- A full truck seat-cover installation typically takes 1-2 hours, while front seats usually take 30-60 minutes.
- Custom-fit covers cost approximately $200-$600 or more for a full set; universal covers commonly cost $30-$100.
- Seat covers must be labeled for seat-mounted side airbags, with approved seams or openings at the airbag deployment zone.
- Seat-bottom straps must pass around safe structural areas, never across power-seat motors, slider rails, wiring harnesses, or occupancy sensors.
- Headrest posts, seat-belt buckles, recline controls, and factory seat seams must remain fully accessible after installation.
- A taut cover is safer and more durable than a loose cover because reduced movement limits abrasion against the original upholstery.
Before You Start: Confirm Fit and Safety
Truck seat covers should be matched to the exact vehicle generation, cab configuration, seat layout, and safety equipment before installation. A 2014-2018 full-size truck may use different headrest shapes, buckle positions, airbag seams, and rear-seat contours than a visually similar 2019-2024 model.
Read the cover manufacturer’s instructions before opening the packaging. Separate driver, passenger, center-console, rear-bench, headrest, and armrest pieces, then compare them with the truck’s interior.
Tools, time, and materials
| Requirement | Typical amount or range | Purpose |
|---|---|---|
| Installation time, front row | 30-60 minutes | Two front seats and headrests |
| Installation time, full cab | 60-120 minutes | Front seats plus rear bench |
| Plastic tucking tool | 1 tool, $5-$15 | Push flaps through seat creases |
| Flashlight | 1 unit, 300-1,000 lumens | Inspect straps and wiring beneath seats |
| Cleaning supplies | 1 vacuum, 2 microfiber cloths | Remove grit before covering upholstery |
| Safety gloves | 1 pair, $5-$20 | Protect hands from brackets and hooks |
Park on level ground, switch off the ignition, and keep the key away from the truck while inspecting powered seats. Do not disconnect yellow airbag connectors unless the vehicle service manual specifically requires that procedure and the correct waiting period is followed.
Check the airbag label
A seat-mounted side airbag often deploys from the outer edge of the seatback. Look for an “SRS Airbag” or “Airbag” tag on the seat side, then locate the cover’s matching airbag opening or weakened deployment seam.
Stop if the cover has no airbag provision, places thick material over the deployment path, or requires cutting a seam that the manufacturer has not identified as cuttable. A universal cover that fits the cushion can still be unsafe on a seatback.
How to Install Seat Covers in a Truck
The correct sequence is backrest, seat bottom, rear bench, and headrests, followed by a complete control and restraint inspection. Installing panels in that order prevents the lower straps from trapping upper flaps and gives the cover a cleaner tension path.
Step 1: Clean and map the seats
Vacuum the original upholstery, including the crease between each seatback and cushion. Remove coins, grit, pet hair, and tools from beneath the seat because trapped debris creates pressure points and can abrade the cover or factory fabric.
Move the front seats fully forward and raise them as far as the electric controls allow. For manual seats, slide and tilt them to create a clear view of the underside without forcing the mechanism.
Lay each cover on the matching seat before fitting it. Confirm that the longer side panel faces the door, the airbag tag faces outward, and the rear flap corresponds to the seatback crease.
You’ll know it worked when: every panel has a clear vehicle position and no cover is being forced onto the wrong seat.
Common mistake: Starting with the straps before identifying the panels. That often puts a passenger-side cover on the driver’s seat.
Step 2: Remove the headrests
Press the headrest-release button while lifting each headrest vertically. Some truck models have a second concealed release on the opposite guide; consult the owner’s manual if one post will not release with moderate pressure.
Store the headrests on a clean surface and keep driver and passenger pieces separate. Do not pry against the plastic guide or pull at an angle, because damaged guides can prevent the headrest from locking later.
If the cover uses tight headrest openings, do not stretch the opening over the entire guide. The cover should slide over the removed headrest, not over the installed post.
You’ll know it worked when: both headrest posts and all release buttons remain undamaged and visible.
Common mistake: Forcing fabric around an installed post. Remove the headrest instead.
Step 3: Fit each front seatback cover
Slide the backrest cover over the top of the seat and work it downward evenly on both sides. Align the top seam, side panels, headrest holes, recline lever opening, and airbag deployment seam before pulling the lower edge into position.
Push the center anchor flap or tuck strip through the gap between the backrest and bottom cushion. Reach behind the seat and pull the flap downward until it lies flat, then attach it to the rear hook-and-loop panel or designated buckle.
Do not twist the side seam. The airbag section should remain on the door-facing side, with no strap, elastic, or thick fold covering the marked deployment area.
You’ll know it worked when: the cover follows the seatback contours, the headrest holes align with the guides, and the airbag label or seam remains unobstructed.
Common mistake: Pulling only from the bottom. Smooth the cover from the top downward so the fabric does not bunch at the shoulders.
Step 4: Install the front seat-bottom covers
Place the seat-bottom cover over the cushion with the front edge, side bolsters, and rear crease aligned. Push the rear anchor flap through the seat crease, then pull it from behind the seat before attaching the hook-and-loop strip.
Route side and front straps beneath the cushion around fixed, safe structural areas. Keep straps away from seat slider rails, motor gears, springs, sharp brackets, electrical harnesses, yellow SRS wiring, occupancy-sensor connections, and seat-heater leads.
Connect matching buckles or hooks without crossing straps over moving parts. Tighten alternately on the left, right, and front so the cover becomes smooth rather than skewed toward one side.
You’ll know it worked when: the cover does not lift at the front edge, the seat controls move freely, and no strap touches a rail or wire when the seat travels through its full range.
Common mistake: Routing a strap across the seat track because it appears shorter. Re-route around a fixed frame point instead.
Step 5: Tension and align the front row
Lower the seat, slide it backward, and inspect the previously hidden underside with a flashlight. Tighten each strap until the cover is taut, but stop before compressing the cushion or bending a buckle.
Test every adjustment: seat height, fore-and-aft travel, recline, lumbar control, armrest movement, ventilation controls, and heated-seat switches. Power-seat motors can pinch loose straps during normal adjustment.
Check the belt buckle, belt stalk, and center-console lid from the seated position. A cover that looks correct from outside may still interfere with a buckle release or leave a dangerous loop beside the occupant.
You’ll know it worked when: three complete seat adjustments produce no rubbing, snagging, clicking, or strap movement.
Common mistake: Tightening straps before smoothing the cover. Loosen them, smooth from the center outward, and tighten again.
Step 6: Install the rear bench
Truck rear seats vary widely. Fold or lift the cushion and backrest only through the release handles identified in the owner’s manual, then install the pieces separately if the truck has a 60/40 split bench.
Fit the rear seatback covers first when the backrests fold independently. Route straps around the intended folding panels, not around hinges or release cables, and leave enough clearance for the seat to lock in its upright position.
Fit the bottom cushion covers next. Feed each belt buckle through its designated opening, then test the buckle from the normal seating position. If the truck has center belts, child-seat anchors, under-seat storage, or rear cup holders, verify that every feature remains usable.
You’ll know it worked when: each split section folds, latches, and releases normally, while every belt buckle and lower anchor remains reachable.
Common mistake: Installing one large cover across a 60/40 bench. Separate covers preserve folding function and prevent excessive tension at the split.
Step 7: Cover and reinstall the headrests
Slide the correct small cover over each headrest, keeping the seam and opening oriented as the instructions show. Close the lower hook-and-loop strip or fasten the elastic without covering the release button.
Insert both headrest posts into their guides and press down until the locking mechanism clicks. Pull upward firmly without pressing the release button to confirm that the headrest is locked.
Set the headrest height for the occupant after installation. A cover must not prevent the restraint from reaching the manufacturer’s recommended position.
You’ll know it worked when: each headrest locks at multiple height settings and the cover does not pull against either post.
Common mistake: Treating the headrest cover as interchangeable between sides. Contoured headrests may have different seam and button positions.
Which Truck Seat Cover Type Fits Your Use?
Custom-fit covers provide the most stable installation because their panels follow the exact cushion, bolster, console, and headrest geometry. Universal covers cost less and install faster, but extra fabric can shift, hide controls, or interfere with side-airbag coverage.
| Cover type | Typical full-set price | Typical install time | Best operating condition |
|---|---|---|---|
| Universal polyester | $30-$100 | 20-45 minutes | Occasional spills and budget protection |
| Neoprene or NeoSupreme | $150-$350 | 45-90 minutes | Wet gear, pets, and outdoor use |
| Heavy-duty canvas or Cordura | $250-$500 | 60-120 minutes | Construction tools and abrasive workwear |
| Premium leatherette | $200-$450 | 60-120 minutes | Wipe-clean daily commuting |
| Custom leather or tailored synthetic | $200-$600+ | 90-180 minutes | Factory-style fit and long-term use |
Custom-fit versus universal covers
| Decision factor | Custom-fit cover | Universal-fit cover |
|---|---|---|
| Fit accuracy | Vehicle-specific seams and openings | Approximate size, elastic adjustment |
| Shifting risk | Low after correct tensioning | Moderate to high on smooth upholstery |
| Typical replacement cycle | 3-8 years with maintenance | 1-4 years in heavy use |
| Airbag compatibility | Usually model-specific labeling | Must be verified on the package |
| Installation effort | 60-180 minutes | 20-60 minutes |
| Vehicle transfer | Usually limited to listed models | Commonly transferable between similar seats |
Custom-fit does not automatically mean safe. The product still needs a clearly stated side-airbag design, and an installer must preserve the seat’s original controls and restraint components.
Universal covers are useful for temporary protection, fleet vehicles, and trucks that frequently change drivers. They are a poor choice when loose material can reach a seat track, cover an airbag seam, or prevent a belt buckle from releasing.
How Much Do Truck Seat Covers Cost to Install?
Truck seat covers usually cost $30-$100 for a universal full set, $150-$350 for neoprene, $200-$600 or more for custom-fit materials, and $250-$500 for heavy-duty canvas. Professional installation commonly adds approximately $75-$250, depending on the truck’s seat configuration and cover complexity.
| Installation scope | Typical time | Typical DIY cost | Typical professional labor |
|---|---|---|---|
| Two front seats | 30-60 minutes | $30-$600+ | $50-$150 |
| Front seats and headrests | 45-90 minutes | $50-$650+ | $75-$175 |
| Full standard rear bench | 60-120 minutes | $75-$700+ | $100-$250 |
| Power, heated, ventilated, split seats | 90-180 minutes | $150-$750+ | $150-$350 |
These are typical retail and labor ranges, not fixed prices. A local upholstery shop may charge more for leather, molded foam, integrated armrests, unusual consoles, or seats that require removal.
What changes the installation price?
Seat configuration matters more than truck size. A basic work-truck bench with manual controls is faster than a crew-cab rear seat with 60/40 folding sections, under-seat storage, heated cushions, and multiple buckle openings.
Material stretch also changes labor. Neoprene can require controlled stretching, while thick canvas needs careful alignment around bolsters and seams. Leatherette often looks simple but exposes wrinkles, so installers spend more time balancing tension.
Are Seat Covers Safe With Airbags and Seat Sensors?
Seat covers are safe with seat-mounted airbags only when the cover is specifically designed and labeled for that seat-airbag system. A cover that blocks the outer seatback seam, encloses the airbag module, or substitutes an unapproved solid panel can delay or redirect deployment.
NHTSA treats airbags and seat belts as complementary occupant-protection systems, not interchangeable equipment. The practical rule is simple: never sacrifice original restraint access for a tighter-looking cover.
Safety checks before driving
- Confirm that the cover identifies side-airbag compatibility.
- Match driver and passenger covers to the correct seat.
- Keep the outer seatback seam and airbag tag visible.
- Keep straps away from yellow SRS connectors and wiring.
- Confirm that belt buckles, pretensioner areas, and release buttons remain clear.
- Check that no occupancy-sensor mat is compressed by a rigid insert.
- Start the truck and verify that the airbag warning light completes its normal self-check.
- Stop using the cover if the warning light stays on after installation.
Do not cut an airbag opening yourself unless the manufacturer provides an exact marked procedure. An improvised slit can fray, close under tension, or deploy in the wrong direction.
Can Covers Go Over Heated, Ventilated, or Power Seats?
Seat covers can often be used on heated or power seats when the cover manufacturer allows that application, but thick foam-backed materials can slow heat transfer and reduce ventilation. Power-seat installations require extra attention because loose straps can enter motors, tracks, and gear mechanisms.
| Factory feature | Main cover risk | Required check |
|---|---|---|
| Power seat | Strap enters rail or motor | Run the seat fully forward, back, up, and down |
| Heated seat | Heat transfer becomes slower | Confirm material is approved for heated cushions |
| Ventilated seat | Perforations become blocked | Choose breathable, perforated-compatible material |
| Occupancy sensor | Cushion pressure changes detection | Avoid rigid inserts and excessive compression |
| Folding rear seat | Strap blocks latch or hinge | Fold and lock every panel after fitting |
A cover is not a repair for a damaged seat sensor, wiring fault, or failed heater. If a warning light appears after installation, remove the cover and inspect the affected area according to the service manual.
Common Mistakes and How to Fix Them
The cover keeps sliding
Sliding usually results from an unthreaded anchor flap, insufficient tension, or a cover that is too large for the seat. Push the center flap fully through the crease, smooth the cover from the middle outward, and retighten opposite straps in small increments.
The straps will not reach
Short straps often indicate that the cover is not fully seated, the flap is trapped above the cushion, or the strap is routed around the wrong frame point. Move the seat forward, inspect with a flashlight, and use the supplied route rather than adding extensions.
Wrinkles remain after tightening
Wrinkles at the outer bolster usually mean the cover is rotated or the top seam is not centered. Loosen the lower straps, realign the shoulder and side seams, then pull the fabric downward before retensioning.
A buckle or control is covered
Never cut around a buckle, lever, or switch without a manufacturer-marked opening. Remove the cover, identify the correct panel orientation, and use the designated hole or slit.
The cover smells strongly
Ventilate neoprene, vinyl, and synthetic materials outdoors or in a well-ventilated garage for 24-72 hours. Do not apply solvent, heat-gun air, or household fragrance directly to the cover, because coatings and adhesives can deteriorate.
Seat-airbag warning light appears
Remove the cover if the warning light remains illuminated after installation. Do not repeatedly cycle the ignition or probe connectors, because SRS diagnostic systems require model-specific procedures and can store fault codes.
Situations That Need a Different Installation Approach
Work trucks and construction use
Heavy-duty canvas or Cordura resists tool abrasion better than thin polyester, but thick material can feel warmer and may be harder to tension around large bolsters. Choose reinforced seams, washable surfaces, and a design that leaves airbag deployment paths open.
Inspect the covers weekly in a high-abrasion truck. Small tears near straps can enlarge quickly when grit is trapped beneath the fabric.
Pets, mud, and wet outdoor equipment
Neoprene and treated canvas handle damp clothing, wet dogs, and muddy equipment better than untreated cotton. Add a removable rear-seat hammock only if it does not obstruct belt buckles, child restraints, or the cover’s folding function.
Dry wet covers outside the truck. Persistent moisture between a cover and factory upholstery can create odor, mildew, and dye transfer.
Child restraints
Install the child restraint exactly as directed by the vehicle and restraint manufacturers. A seat cover must not sit between the restraint and the vehicle seat if either manufacturer prohibits that arrangement, and the cover must not alter belt routing or lower-anchor access.
After installation, perform the standard movement test for the child restraint. If the restraint moves more than the manufacturer allows, remove or replace the cover.
Hot climates and leather interiors
Leatherette wipes clean and resists liquid stains, but it can become hot in direct sun and may feel less breathable than cloth or perforated fabric. Neoprene is comfortable against bare skin but can retain heat when the truck is parked outdoors.
Use a windshield shade and ventilate the cabin rather than applying conditioner intended for factory leather to synthetic cover materials.
Final Installation Checklist
Before driving, confirm all of the following:
- Driver and passenger covers are correctly assigned.
- Side-airbag seams and labels remain unobstructed.
- Seat belts latch and release with one hand.
- Headrests lock at the required height.
- Seat sliders, recliners, motors, heaters, and ventilation controls work.
- Rear split seats fold, latch, and release normally.
- Straps do not touch rails, motors, sharp brackets, or wiring.
- No cover edge interferes with a child restraint or center belt.
- The airbag warning light completes its normal startup check.
- The cover remains taut after three seat-adjustment cycles.
Frequently Asked Questions
Can I install truck seat covers without removing the seats?
Yes, most truck seat covers install without removing the seats because the straps and anchor flaps are designed to pass through the cushion gaps. Seat removal is usually unnecessary and can introduce wiring, sensor, and airbag risks that a normal installation avoids.
Should I warm seat covers before fitting them?
Warm, flexible material can be easier to install, especially for neoprene and leatherette, but use room temperature or indirect sunlight for about 20 minutes. Do not use a heat gun, hair dryer on high heat, or open flame, because concentrated heat can shrink coatings and weaken stitching.
How tight should seat-cover straps be?
Seat-cover straps should remove visible slack without compressing the cushion, bending hardware, or restricting seat movement. After tightening, move the seat through its full adjustment range; any rubbing, clicking, or strap migration means the route is wrong or the tension is excessive.
Can I wash truck seat covers in a washing machine?
Only wash covers when the manufacturer’s care label permits machine washing. Remove hooks and rigid inserts, use the listed water temperature, avoid bleach unless specifically approved, and air-dry the covers completely before reinstalling them.
Why do custom seat covers cost more?
Custom truck seat covers use vehicle-specific patterns, additional panels, reinforced seams, and precisely positioned openings for airbags, controls, belts, and headrests. Those features increase material, patterning, and installation labor compared with elastic universal covers.
When should I hire an installer?
Hire an upholstery or automotive-trim professional when the truck has complex power or ventilated seats, integrated airbags, unusual rear-seat mechanisms, or covers requiring major stretching. Professional help is also appropriate when an airbag warning light appears or the supplied instructions conflict with the owner’s manual.
The Bottom Line
To install seat covers in a truck correctly, verify the vehicle-specific fit and airbag design, clean the upholstery, remove the headrests, fit backrests before cushions, route every strap around safe fixed structure, and test all restraints and seat controls. A complete installation usually takes 1-2 hours, but safe routing matters more than speed.


