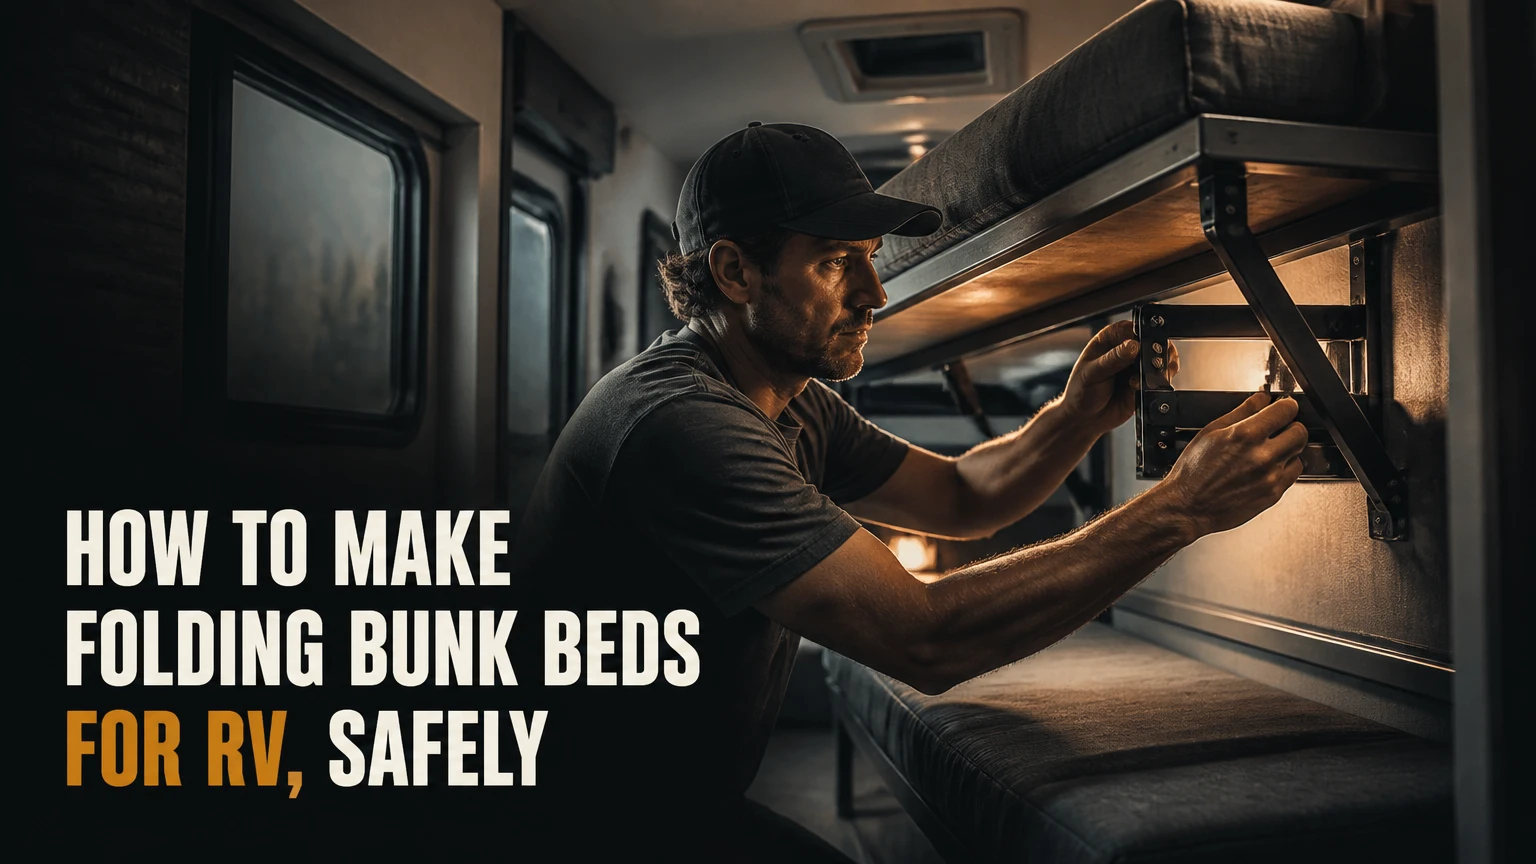
To make folding bunk beds for an RV, build a lightweight mattress platform around a correctly sized RV mattress, attach it to verified structural framing, add positive transit locks, and support it with folding legs or brackets. A practical side-folding bunk takes about 8-16 hours and typically costs $150-$400, with wall structure determining success.
Key Facts
A side-folding RV bunk usually projects 30-34 inches into the room when lowered and measures about 6-8 inches deep when stored.
Common RV twin mattress sizes include 28 x 75 inches and 30 x 75 inches, but the available opening must determine the final platform size.
A 1/2-inch plywood deck, 1 x 6 frame members, and a full-length structural hinge can produce a typical 40-50-pound platform before the mattress.
Transit locks must resist vibration and positive movement; ordinary magnetic cabinet catches are unsuitable.
The upper bunk should be designed for at least 250-300 pounds of occupant and bedding load, then tested gradually.
RV wall paneling alone is not a structural anchor. Loads must transfer into framing or a properly engineered backing plate.
What Makes a Folding RV Bunk Bed Different?
A folding RV bunk bed is a sleeping platform that changes between a horizontal occupied position and a compact stored position. The most reliable DIY version is a side-folding, wall-mounted platform with a hinge along its long edge, folding legs at the free edge, and mechanical locks that secure the bed during travel.
The bed has three separate mechanical jobs. The pivot allows movement, the support system carries the occupant load when the bunk is open, and the stow system prevents the platform from dropping while the RV is moving. Treating these as separate systems makes the design easier to inspect and repair.
A folding bunk is useful in toy haulers, bunkhouse travel trailers, camper vans, and compact motorhomes where a permanent bed blocks a walkway, garage, dining area, or equipment bay. It is less suitable for a thin composite wall with no accessible framing, a ceiling below approximately 7 feet 6 inches, or a location that blocks an exit or emergency window.
How much space does the bed require?
A typical side-folding bunk needs the mattress width plus approximately 2-4 inches of frame clearance from the wall. A 30-inch mattress therefore requires a platform about 31-34 inches wide, depending on the frame design and wall trim.
Measure the entire movement envelope, not only the mattress opening. Check cabinet doors, window latches, light fixtures, furnace vents, opposing furniture, and the walking path around the lowered platform. Mark the bed with painter’s tape, then use cardboard to simulate its open and stored positions.
Which Folding Mechanism Fits an RV?
A side-folding Murphy-style bunk is the best DIY choice for most RVs because it uses a simple hinge, folding legs, and wall-mounted locks. Ceiling lifts provide more floor clearance but require engineered tracks and substantial overhead structure, while sofa-to-bunk conversions demand specialized hinges and careful occupant protection.
| Mechanism | Typical material cost | Stored requirement | Typical platform weight | Best application |
|---|---|---|---|---|
| Side-folding wall bunk | $150-$400 | 6-8 inches deep | 40-70 pounds | Travel trailer, van, bunkhouse |
| Manual ceiling lift | $800-$2,500 | 7 feet 6 inches minimum ceiling | 100+ pounds | Toy hauler garage |
| Motorized ceiling lift | $1,500-$3,500 | Dedicated overhead tracks | 100-180 pounds | Frequent garage reconfiguration |
| Sofa-to-bunk conversion | $400-$700 | Sofa depth plus hinge clearance | 60-90 pounds | Living room with daytime seating |
Why choose side-folding construction?
Side-folding construction concentrates the hinge reaction and occupant load along one wall instead of transferring loads through ceiling tracks. Folding legs reduce hinge stress when the bed is occupied, and a plywood backing plate can spread the wall load across several framing members.
The design has limitations. The lowered bunk occupies the full mattress width, the folded frame remains visible, and the wall must accept repeated vibration loads. A side-folding bed is a poor choice when the proposed wall contains plumbing, wiring, a slide mechanism, or an emergency-exit window.
What should the structure support?
Design the bed for at least 250-300 pounds, including the occupant, bedding, and movement loads. A 200-pound adult climbing onto one edge can create a greater local hinge and leg load than a stationary 200-pound occupant centered over the platform.
The 250-300-pound figure is a conservative design target, not a certification. Follow the RV manufacturer’s structural limits, and do not allow two occupants on a bunk unless the frame, wall, legs, and mattress manufacturer all support that use.
What Materials and Tools Are Required?
A 30 x 75-inch side-folding bunk commonly requires approximately $150-$400 in materials, depending on hinge quality, mattress cost, gas struts, finish, and whether a backing plate is needed. The following list assumes a wood-framed platform with folding legs and a wall ledger.
| Component | Typical quantity | Suggested specification | Typical cost |
|---|---|---|---|
| Structural backing plate | 1 | 3/4-inch plywood, 8-12 inches high | $25-$50 |
| Bed frame lumber | 4 pieces | 1 x 6 select pine, 8 feet long | $35-$60 |
| Platform deck | 1 sheet section | 1/2-inch ACX or exterior plywood | $30-$55 |
| Piano hinge or pivot hardware | 1 | Stainless or plated, 60-72 inches | $25-$80 |
| Folding support legs | 2 or 1 pair | Rated above calculated corner load | $30-$90 |
| Transit locks | 2-4 | Barrel bolts, slam latches, or locking pins | $15-$50 |
| Mattress-retention straps | 2-3 | Nylon webbing with buckles | $10-$25 |
| Fasteners and adhesive | 1 set | Through-bolts, washers, structural screws | $20-$45 |
You will also need a tape measure, straightedge, square, drill and bits, countersink, clamps, jigsaw or circular saw, socket set, stud scanner, level, and a torque wrench. A multimeter helps identify wiring before drilling, while a borescope can inspect concealed cavities through an existing opening.
Use through-bolts with large washers where the RV structure permits access. Use manufacturer-approved structural screws only where through-bolting is impossible. Grade 5 or Grade 8 machine fasteners apply to bolted connections; they do not make a screw suitable for an unknown thin wall.
How to Make Folding Bunk Beds for RV
The following eight steps produce a side-folding bunk around a 30 x 75-inch mattress. Adjust every dimension to the actual mattress and wall opening. Plan 8-16 hours for an experienced DIY builder, excluding paint, upholstery, and unexpected wall repairs.
Step 1: Inspect the Wall and Choose the Mattress
Confirm the wall framing, utilities, available clearance, mattress size, and RV weight margin before purchasing hardware. Remove an outlet cover or existing trim where possible to verify framing instead of relying solely on a stud finder.
Measure the mattress first. For a 30 x 75-inch mattress, a practical inside frame opening is about 30 1/4 x 75 1/4 inches, while the outside platform may reach approximately 33 x 78 inches with 1 x 6 frame members.
Check these conditions:
- Locate at least two vertical studs or a verified horizontal structural member.
- Identify 12-volt wiring, 120-volt wiring, plumbing, gas lines, slide components, and window structures.
- Confirm that the bed does not obstruct an emergency exit.
- Estimate the added mass, including frame, mattress, legs, locks, and backing.
- Check the RV’s axle, cargo-carrying capacity, and manufacturer modification guidance.
You will know the planning stage worked when the cardboard mock-up opens, closes, and clears every fixed object. The common mistake is ordering a standard mattress before measuring the irregular RV compartment.
Step 2: Install Structural Backing
Spread the hinge and ledger loads across multiple framing members with a 3/4-inch plywood backing plate whenever the wall is thin, flexible, or difficult to bolt directly. A backing plate should span at least two confirmed studs and preferably three or more, with its height aligned to the hinge and ledger.
Do not assume a 2 x 4 exists behind an RV wall. Many RVs use aluminum tubing, narrow wood members, laminated panels, or composite construction. A lag screw driven into paneling can appear tight while having very little withdrawal strength.
Use a backing design appropriate to the wall:
| RV wall condition | Preferred attachment | Minimum verification |
|---|---|---|
| Accessible wood studs | Through-bolts or structural screws | Two or more confirmed studs |
| Aluminum tube framing | Backing plate plus approved bolts | Tube location and wall thickness |
| Laminated composite wall | Engineer-reviewed spreader plate | Manufacturer or professional review |
| Unknown hollow wall | Do not mount occupant bed | Exploratory inspection required |
| Existing structural cabinet | Through-bolt into cabinet framing | Cabinet load path confirmed |
Seal drilled penetrations with an RV-compatible sealant where the exterior envelope or wet area is involved. You will know the backing works when the plate does not flex separately from the wall under firm hand pressure. The common mistake is tightening fasteners until the interior panel crushes.
Step 3: Build the Mattress Platform
Build a rectangular frame with an inside opening that is 1/4-1/2 inch larger than the mattress in each direction. For a 30 x 75-inch mattress, cut two long rails near 78 inches and two end rails near 33 inches when using 1 x 6 material, then dry-fit the pieces around the actual mattress.
Join the frame with glue rated for the materials and 1 1/4-inch structural or pocket screws where appropriate. Add at least one cross member across the width, positioned to prevent the deck from flexing. A second cross member is useful on a 75-inch platform carrying an adult load.
Fasten the 1/2-inch plywood deck to the frame at approximately 6-8-inch intervals around the perimeter and 8-10-inch intervals along cross members. Predrill near plywood edges, keep fasteners flush, and avoid points that could contact the mattress.
You will know the frame works when the mattress sits flat without binding and the platform does not rack when pushed diagonally. The common mistake is building to nominal mattress dimensions without allowing for actual foam expansion and bedding.
Step 4: Attach the Pivot Hardware
Install the hinge or pivot along the platform’s long edge, aligned with the backing plate or structural ledger. A continuous piano hinge distributes load more evenly than two small door hinges, but the hinge rating must account for platform weight, occupant movement, and repeated vibration.
Use a rigid ledger only when its attachment method matches the RV wall construction. A wood ledger can be part of the frame, but a 2 x 4 lagged into uncertain wall material is not automatically structural.
Keep the hinge axis straight and level. Shim low areas with noncompressible material rather than soft foam, and leave enough clearance for the frame to rotate without scraping trim.
You will know the pivot works when the unloaded platform moves through its full arc without binding and remains level when lowered. The common mistake is installing the hinge before confirming the stored position, leaving the bed unable to fold flat.
Step 5: Add Folding Legs or Lower Supports
Install two folding legs near the free corners, or use a continuous drop-down support frame across the front edge. Each support must carry its share of the design load and resist sideways movement, not merely hold the platform at the correct height.
Set the leg length so the mattress platform is level when open. Use locking hinges or positive leg braces that cannot fold under compression. Rubber feet reduce floor damage but do not replace mechanical locks.
For an uneven RV floor, measure the height at both support points and use adjustable feet or a carefully fitted crossbar. A bed that rocks transfers repeated impact into the wall and hinge.
You will know the support system works when each leg contacts the floor simultaneously and the bed remains stable during controlled entry. The common mistake is using folding table legs without checking their lateral bracing and locking behavior.
Step 6: Install Transit Locks and Mattress Retention
Install two positive locks near the upper corners of the stored platform, with the receiving hardware attached to verified framing or backing. Locking pins, barrel bolts, and rated slam latches are suitable when installed according to their load direction and manufacturer instructions.
Add two or three nylon webbing straps across the mattress before folding the bed upright. Straps should hold the mattress without crushing it, and quick-release buckles should remain accessible when the bed is stored.
A transit lock and a mattress strap solve different problems. The lock prevents platform movement, while the strap prevents the mattress, sheets, and pillows from falling into the room.
You will know the stow system works when the platform remains fully captured after repeated open-close cycles and a firm pull at each corner. The common mistake is using cabinet magnets or a single latch that can release under highway vibration.
Step 7: Add Gas Struts Only After Weighing the Bed
Gas struts can reduce lifting effort, but they cannot compensate for weak framing or incorrectly placed hinges. Weigh the platform and mattress together, identify the strut mounting geometry, and select a pair using the hardware manufacturer’s force and angle calculations.
The often-repeated rule to choose struts rated at 50-70% of total weight is only a rough starting point. Strut force depends on lever arm, mounting angle, stroke length, friction, and the portion of the lift assisted by each strut. Overpowered struts can damage the wall or make the bed difficult to lower.
Install temporary supports before fitting struts. Keep fingers away from pinch points, and never drill or heat a pressurized gas spring.
You will know the assist system works when the bed can be lifted smoothly without accelerating toward the wall and can be lowered under controlled hand pressure. The common mistake is selecting force from platform weight alone while ignoring the mattress and mounting geometry.
Step 8: Test, Load, and Inspect the Installation
Test the bed in stages before sleeping on it. First operate it empty, then add distributed dead weight, then inspect the wall, hinge, legs, and locks after each increase.
A practical staged test for a 250-300-pound design target is:
- Operate the empty platform for 10 cycles.
- Add 50 pounds distributed across the deck for 10 cycles.
- Add weight in 50-pound increments until the intended test load is reached.
- Hold the final load for 30 minutes.
- Inspect fasteners, wall deflection, hinge alignment, leg locks, and plywood cracking.
- Repeat the inspection after the first trip and after every 500-1,000 travel miles.
Do not perform a dynamic jump test. Dynamic impacts can damage an RV wall without providing a meaningful safety rating.
You will know the installation passes when no fastener loosens, no wall panel wrinkles, the deck remains level, and every lock engages completely. The common mistake is testing only the sleeping position while ignoring the vibration and pull forces created during transit.
How Do the Main Designs Compare?
The side-folding design offers the best balance of cost, construction complexity, and reliability for most private RV projects. A ceiling lift wins when a toy hauler must clear its entire garage floor, while a sofa-to-bunk system wins when the seating area must remain useful during the day.
| Decision factor | Side-folding bunk | Manual ceiling lift | Sofa-to-bunk |
|---|---|---|---|
| Typical build or purchase cost | $150-$400 | $800-$2,500 | $400-$700 |
| Minimum ceiling height | 6 feet 6 inches usable | 7 feet 6 inches | 6 feet 6 inches |
| Floor clearance when stored | Wall width remains clear | Full floor clear | Sofa footprint remains |
| Installation skill | Intermediate | Advanced | Advanced |
| Main structural demand | Side wall and floor | Ceiling and vertical tracks | Sofa frame and side pivots |
| Typical mattress thickness | 4-6 inches | 4-6 inches | 3-5 inches |
| Typical moving mass | 40-70 pounds | 100-180 pounds | 60-90 pounds |
When is a ceiling lift worth the cost?
A ceiling lift is worth considering when motorcycles, ATVs, cargo, or workshop equipment must enter a toy-hauler garage without removing a bunk. The system needs aligned vertical tracks, overhead framing, travel locks, and enough ceiling height to preserve headroom below the stored bed.
A ceiling lift is a poor DIY choice for an unverified roof structure. Roof panels and decorative ceiling members rarely provide the concentrated attachment strength needed for a 100-pound moving platform plus occupant loads.
Is a sofa-to-bunk conversion suitable for children?
A sofa-to-bunk conversion can work for children when the hinge, guardrail, access ladder, and mattress retention system are designed together. It is unsuitable when the upper sleeping surface has an exposed edge, an opening large enough for entrapment, or a backrest that can shift under load.
Use the RV manufacturer’s occupant guidance and applicable consumer-product requirements as design references. Do not treat a decorative sofa hinge as a bunk-bed mechanism.
What Are the Most Common Failure Modes?
The most serious folding bunk failures involve the wall anchor, transit lock, or support legs rather than the plywood deck. Inspecting the load path is more valuable than adding thicker lumber to a frame that is attached to weak paneling.
| Failure mode | Likely cause | Corrective action |
|---|---|---|
| Wall pulls away | Panel-only attachment | Add verified studs, through-bolts, or engineered backing |
| Bed drops during travel | Cabinet latch or missed lock | Install redundant positive pins or rated latches |
| Platform twists | No cross member or uneven legs | Add cross-bracing and level supports |
| Mattress falls out | No retention straps | Add two or three webbing straps |
| Bed is hard to lift | Excess mass or poor strut geometry | Reduce weight or recalculate gas struts |
| Rattling develops | Metal-to-panel contact and loose hardware | Add rubber isolation and re-torque fasteners |
How can you reduce rattling?
Apply adhesive felt or closed-cell rubber weatherstripping where the stored frame contacts the wall or ledger. Use thread-locking compound only where compatible with the fastener and manufacturer instructions, and mark tightened fasteners with a paint pen so movement becomes visible.
Do not use soft foam as a structural shim. Foam compresses under vibration and can create looseness after several trips.
What should you do if the wall feels loose?
Stop using the bunk until the wall is opened or inspected. Remove the load, identify whether fasteners pulled out, whether the panel delaminated, or whether the framing moved, then rebuild the attachment with a larger load-spreading area or professional structural review.
Adding longer screws rarely fixes a damaged substrate. A longer fastener can simply extend into an unknown utility cavity.
Which Variations Fit Different RV Users?
A family that needs a temporary play area usually benefits from a side-folding wall bunk with folding legs and a 4-6-inch foam mattress. A toy-hauler owner who carries large equipment may need a commercial ceiling-lift system, while a full-time worker may prefer a platform whose underside incorporates a shallow desk.
For children
Use a lower platform where possible, add a guardrail on exposed sides, and provide a stable ladder or handhold. Keep cords, window blind loops, and sharp hardware away from the sleeping area. Children should not operate the folding mechanism without adult supervision.
For adults
Increase attention to edge loading, entry impact, and mattress ventilation. A 250-300-pound design target may be inadequate for two adults or frequent commercial use, so obtain an engineered rating rather than assuming a stronger board solves the problem.
For a toy hauler
Keep the folded bed inside the manufacturer-approved cargo envelope and check tie-down, ramp, and garage-door clearances. A ceiling lift may preserve more floor area, but its overhead anchors and motor or winch require more maintenance than a wall-folding platform.
How Much Time and Money Should You Budget?
A basic side-folding bunk costs about $150-$400 in materials and takes 8-16 labor hours when the wall structure is accessible. Add $50-$150 for a better hinge or gas struts, $25-$75 for structural backing, and $100 or more if concealed utilities require professional inspection or wall repair.
| Build condition | Materials estimate | Labor estimate | Main cost driver |
|---|---|---|---|
| Simple wood wall, basic mattress | $150-$250 | 8-10 hours | Hinge and mattress |
| Backing plate and upgraded locks | $250-$400 | 10-16 hours | Structural hardware |
| Gas struts and finish work | $350-$550 | 14-20 hours | Assist hardware and trim |
| Unknown or composite wall | $400-$900+ | 16-30 hours | Inspection and reinforcement |
The mattress is often excluded from online build estimates. A 4-6-inch RV foam mattress may add $100-$300, while custom-width foam can cost more because standard household sizes do not match many RV openings.
FAQ
Can I use a regular twin mattress in an RV bunk?
Usually not without checking the dimensions. A household twin commonly measures 38 x 75 inches, while RV twin mattresses often measure 28 x 75 or 30 x 75 inches. Measure the compartment and platform opening, then preserve approximately 1/4-1/2 inch of clearance around the actual mattress.
What is the safest hinge for a folding RV bunk?
A correctly mounted continuous piano hinge or an engineered pivot system is generally preferable to small cabinet hinges because it distributes reaction forces along a longer attachment line. Hinge choice cannot overcome weak wall framing, so the backing and fasteners require equal attention.
Can drywall screws hold a folding bunk bed?
No. Drywall screws are brittle and lack the structural design required for repeated occupant and vibration loads. Use through-bolts with washers or structural fasteners approved for the verified RV framing material, and follow the fastener manufacturer’s installation requirements.
Should the mattress remain on the platform when it folds?
Yes, if the platform, stored depth, and retention straps are designed for it. Two or three webbing straps should hold the mattress securely, and the folded assembly must clear cabinets, windows, and doors without compressing the foam excessively.
Can I install the bunk over an RV emergency window?
Avoid blocking or permanently restricting an emergency exit. An emergency window must remain accessible according to the RV manufacturer’s design and applicable local safety requirements. Choose another wall or obtain a qualified modification review before proceeding.
How often should I inspect a folding RV bunk?
Inspect the hinge, locks, legs, fasteners, backing, wall panels, and mattress straps before every trip during the first several trips. After the installation stabilizes, inspect it after each 500-1,000 travel miles and immediately after unusual vibration, an overload, or a visible impact.
The Bottom Line
To make folding bunk beds for an RV safely, prioritize the wall load path before the frame, build around the actual mattress, separate pivot, support, and transit-lock functions, and test the completed bed in stages. A side-folding platform is usually the most practical DIY design at $150-$400 and 8-16 hours, but it belongs only on verified structural framing. The exact keyword, how to make folding bunk beds for rv, describes a construction task whose safety depends more on anchoring and locking than on lumber thickness.


