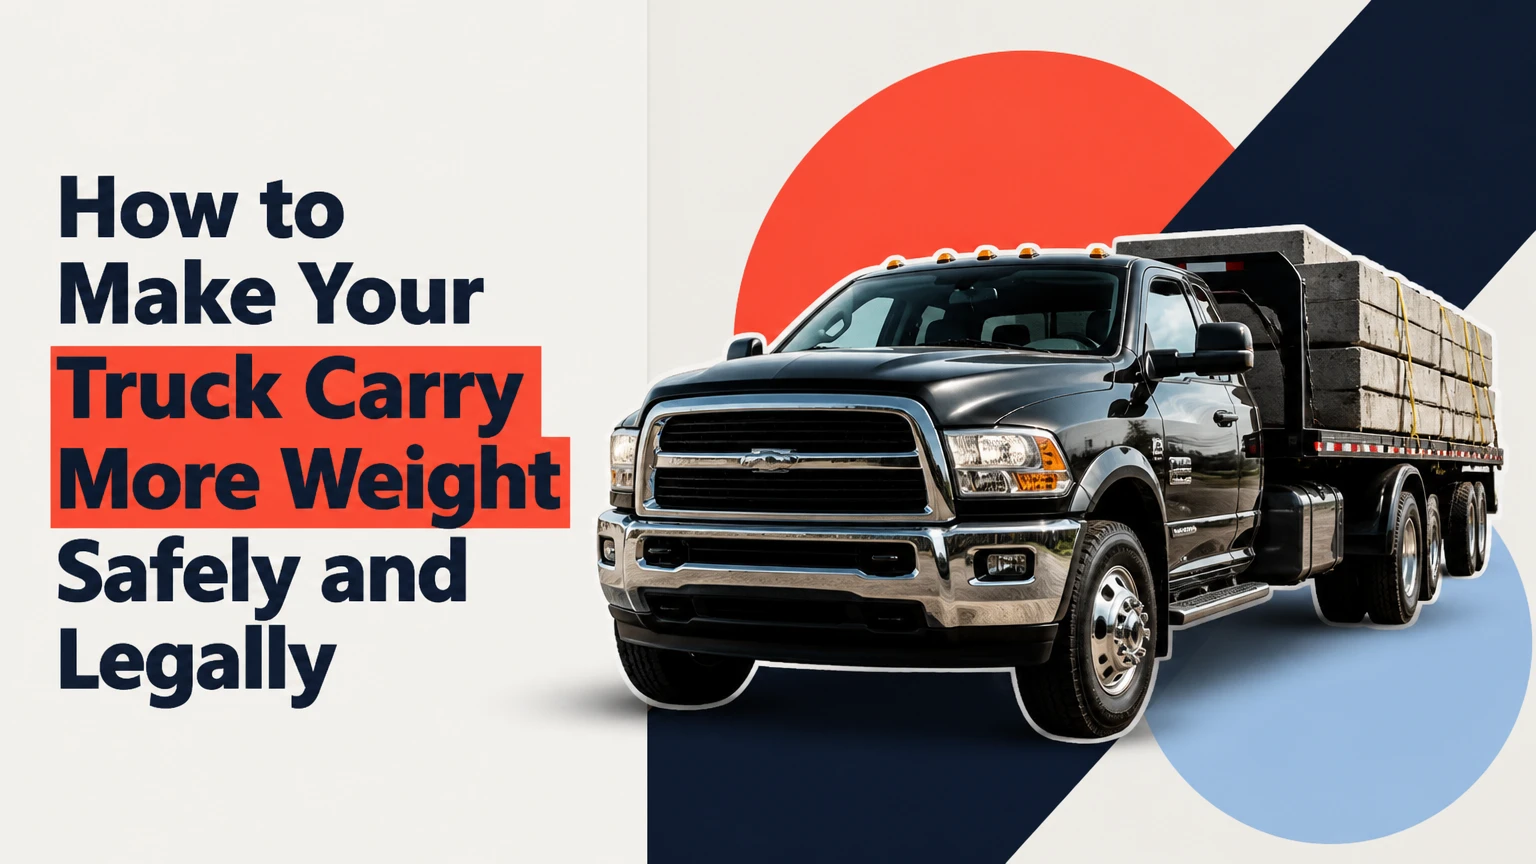
To make your truck carry more weight safely, first calculate its remaining payload and confirm GVWR, GAWR, tire, wheel, hitch, and GCWR limits. Then distribute the load correctly and use suspension upgrades, such as airbags or helper springs, to control sag and handling. These parts improve load behavior, but they do not legally increase the manufacturer’s ratings.
Key Facts at a Glance
Payload equals the truck’s actual allowable cargo capacity, not the capacity printed on an aftermarket air-spring box.
GVWR includes passengers, fuel, accessories, cargo, and trailer tongue weight carried by the truck.
A suspension upgrade can reduce bottoming and rear sag while leaving GVWR and GAWR unchanged.
The door-jamb certification label is more authoritative for that specific truck than a generic brochure payload figure.
Weighing the loaded front and rear axles identifies overloads that a total vehicle weight can hide.
A higher-load tire cannot make an axle, wheel, frame, hitch, or brake system legally carry more weight.
What Does Truck Payload Capacity Actually Mean?
Truck payload capacity is the weight a truck can carry inside the cab and bed, plus weight imposed by a trailer through the hitch. The practical calculation is available payload = GVWR minus the truck’s actual ready-to-drive weight, including occupants, fuel, accessories, tools, and installed equipment.
The familiar brochure formula, GVWR minus curb weight, is only an estimate because curb weight varies by cab, engine, drivetrain, trim, options, and fuel level. A steel winch bumper, running boards, bed cap, auxiliary fuel tank, toolbox, and camper all consume payload before cargo is loaded.
Which weight ratings must you check?
| Rating | Meaning | What counts against it | Where to verify |
|---|---|---|---|
| GVWR | Maximum loaded truck weight | People, fuel, cargo, tongue weight | Driver-door certification label |
| GAWR front | Maximum front axle load | Engine, passengers, front cargo | Door label and axle documentation |
| GAWR rear | Maximum rear axle load | Bed cargo, hitch load, rear passengers | Door label and axle documentation |
| GCWR | Maximum truck-and-trailer combination | Loaded truck plus loaded trailer | Owner’s manual and manufacturer guide |
| Tire capacity | Maximum load per tire at stated pressure | Actual load on each tire | Tire sidewall and load table |
| Wheel rating | Maximum wheel load | Load transferred through each wheel | Wheel manufacturer or casting data |
Never substitute one rating for another. A truck can remain below GVWR while exceeding its rear GAWR, tire capacity, or wheel rating because cargo near the tailgate places a disproportionate load on the rear axle.
How much payload remains after passengers and accessories?
Suppose a truck has a 7,000-pound GVWR and weighs 5,250 pounds with fuel and standard equipment. Two occupants weighing 390 pounds, a 180-pound toolbox, and 120 pounds of recovery equipment leave approximately 1,060 pounds for bed cargo and trailer tongue weight:
7,000 – 5,250 – 390 – 180 – 120 = 1,060 pounds
The truck’s actual scale weight is better than a brochure curb weight. Ford, General Motors, Stellantis, Toyota, and other manufacturers publish configuration-specific ratings, but the certification label identifies the rating assigned to the individual vehicle.
Can Suspension Upgrades Increase Payload?
Suspension upgrades can increase spring support and reduce suspension compression, but they do not increase the truck’s legal payload, GVWR, GAWR, brake rating, wheel rating, or frame rating. Airbags, helper springs, and progressive bump stops change how the truck carries a permitted load; they do not convert a half-ton truck into a three-quarter-ton truck.
A sagging rear suspension creates real handling problems. Rear compression can unload the front axle, reduce steering traction, alter headlight aim, increase trailer sway, and cause the axle or bump stops to strike the frame. A stronger spring or pneumatic helper system can restore ride height and suspension travel when the total load remains within the original limits.
That distinction is the most important safety rule in this subject. A kit advertised as “up to 5,000 pounds of leveling support” does not mean the truck may carry another 5,000 pounds.
What does each upgrade actually change?
| Upgrade | Typical price | Typical installation | Main mechanical effect | Principal limitation |
|---|---|---|---|---|
| Air-helper springs | $350-$1,200 | 2-4 hours | Adjustable rear spring support | Leaks, pressure monitoring, no rating increase |
| Progressive rubber springs | $200-$400 | 30-90 minutes | Engages as suspension compresses | Can feel abrupt on rough roads |
| Add-a-leaf helpers | $100-$350 | 2-4 hours | Raises rear spring rate | Stiffer unloaded ride, possible lift |
| Heavy-duty leaf pack | $700-$1,800 | 4-8 hours | Replaces springs with higher-rate pack | May reduce comfort and articulation |
| Coil-to-air conversion | $1,500-$4,000 | 6-10 hours | Replaces rear coils with air support | Application-specific, complex plumbing |
| Higher-rated truck | Used or new vehicle cost | Dealer or purchase | Adds factory-rated structural capacity | Highest financial cost |
The figures are typical aftermarket ranges, not guarantees. Brand, truck configuration, corrosion, four-wheel-drive hardware, and professional labor rates can move installation cost substantially.
Which Truck Suspension Upgrade Should You Choose?
Air springs suit variable loads, helper springs suit frequent fixed loads, and progressive rubber springs suit occasional hauling when maintenance-free operation matters most. The correct choice depends on load frequency, empty-ride expectations, available clearance, and whether the truck already has enough legal capacity for the intended load.
Air-helper springs
Air-helper springs use pressurized rubber bellows between the frame and axle or leaf-spring assembly. Typical operating pressures vary by kit, but many systems require a minimum empty pressure around 5-10 psi and use substantially higher pressure under load; the manufacturer’s instructions control.
Air springs are useful for a truck that alternates between an empty daily commute and a loaded camper, trailer, or pallet. Independent left and right circuits allow the driver to correct an uneven side-to-side load. A compressor adds convenience, but it does not replace a pressure gauge or leak inspection.
Airbags are a poor solution for an overloaded frame, damaged leaf springs, undersized tires, or a trailer whose tongue weight exceeds the hitch rating. Excessive pressure can transfer impact loads into frame brackets and produce a harsh ride.
Add-a-leaf and dedicated helper springs
An add-a-leaf places an additional steel leaf into the existing spring pack. A dedicated heavy-duty leaf pack replaces the original pack and is generally the better long-term choice for trucks that carry similar loads every day.
Helper springs provide mechanical support without compressors, valves, or air-line leaks. Their trade-off is predictable: increased spring rate makes the unloaded ride firmer and can raise the rear ride height, changing headlight aim and hitch geometry.
An add-a-leaf must match the spring pack, axle position, shackle geometry, and intended load. Installing a generic leaf without checking suspension travel can create binding, poor articulation, or excessive stress at the spring eye and center bolt.
Progressive rubber bump stops
Progressive rubber springs replace or supplement factory bump stops and compress as the axle approaches the frame. They are often the simplest solution for occasional mulch, landscaping material, or a small utility trailer, provided the load remains inside the truck’s ratings.
Rubber systems require little maintenance and usually install faster than airbags. Their limitation is engagement behavior: a heavily loaded truck can feel firm or abrupt when the rubber element contacts the axle over potholes.
How Should You Prepare Before Installing Air Springs?
Before installing air springs, identify the exact truck application, gather rated jack stands and a torque wrench, and reserve 2-4 hours for a bolt-on kit. The truck must have intact frame mounting points, adequate axle clearance, serviceable springs, and a load that remains within every factory rating.
Before You Start
| Requirement | Typical specification |
|---|---|
| Work time | 2-4 hours for a bolt-on rear kit |
| Skill level | Moderate mechanical ability |
| Materials | Vehicle-specific air-spring kit, 5-10 feet of air line, fittings |
| Tools | Floor jack, 2 rated jack stands, socket set, torque wrench, line cutter |
| Safety equipment | Wheel chocks, eye protection, gloves |
| Test materials | Spray bottle, water, dish soap, tire-pressure gauge |
| Prerequisites | Level surface, intact frame, correct kit, serviceable tires |
Do not support the truck under the axle when the installation requires the axle to hang. Support the frame with stands rated above the vehicle’s actual weight, chock the front wheels, and follow the kit manual for bolt torque.
How Do You Install Air Springs Safely?
Install air springs by unloading the rear suspension, removing the factory bump stops, mounting the vehicle-specific brackets, routing protected air lines, and leak-testing the completed system. A careful installation typically takes 2-4 hours, while seized hardware, corrosion, or a compressor system can extend the work substantially.
Step 1: Verify the kit and unload the suspension
Park on level pavement, place the transmission in Park or in gear, set the parking brake, chock the front wheels, and loosen the rear lug nuts before lifting. Raise the frame so the rear axle hangs, then place rated stands under approved frame points.
You will know the suspension is ready when the tires can be removed and the axle has enough droop for bracket installation without stretching brake hoses or wiring. Never work beneath a jack-only vehicle.
Step 2: Remove the factory bump stops
Remove the original bump stops and retain hardware only if the kit instructions specify reuse. Inspect the frame holes, axle tube, brake lines, shock absorbers, leaf springs, and exhaust before fitting the new brackets.
The common mistake is forcing a bracket against rust, undercoating, or a brake line. Clean the contact area and relocate no factory component unless the manufacturer provides an approved routing method.
Step 3: Mount and align the air springs
Attach the upper and lower brackets to the air springs, then install the assembly using the supplied hardware. Keep the bellows centered through the full range of axle movement and confirm that no bracket contacts the tire, leaf spring, shock, or exhaust.
Torque fasteners to the kit’s specified values, not a guessed universal setting. The success checkpoint is full clearance at both maximum compression and maximum droop.
Step 4: Route and cut the air lines
Route each nylon air line away from exhaust heat, sharp edges, rotating shafts, and moving suspension parts. Leave a smooth service loop, cut tubing squarely with a dedicated razor-style cutter, and push each line fully into its compression or push-to-connect fitting.
Independent lines give better side-to-side leveling than a single T-fitting. Protect vulnerable sections with abrasion sleeve or split loom, but do not create low loops that can collect water or debris.
Step 5: Inflate and test for leaks
Inflate the bags to the kit’s test pressure, commonly around 30 psi, then spray every fitting and connection with soapy water. Bubbles indicate a leak; deflate the system, recut the tube squarely, and reinstall it rather than tightening a damaged connection repeatedly.
A successful checkpoint is stable pressure after several hours and no bubble growth at any fitting. Recheck after the first loaded drive because lines can shift slightly against brackets.
Step 6: Reassemble and inspect loaded clearance
Reinstall the wheels, torque lug nuts to the vehicle specification, lower the truck, and set air pressure for the actual load. Drive slowly over a private, smooth surface, then inspect tire clearance, hose routing, ride height, steering, and braking.
Do not run maximum air pressure when empty. Excess pressure can make the rear suspension skittish, reduce articulation, and increase impact loads at the frame mounts.
What Other Systems Need Attention?
Tires, wheels, brakes, hitch hardware, and drivetrain cooling must be checked as a complete load system. Suspension support alone cannot compensate for a tire with insufficient load capacity, a weak hitch, inadequate trailer brakes, or a truck whose transmission is already overheating.
| System | What to verify | Typical decision point | Common error |
|---|---|---|---|
| Tires | Load index at cold inflation pressure | LT tire only if wheel and truck fitment support it | Assuming “Load Range E” changes GVWR |
| Wheels | Stamped or documented load rating | Must meet or exceed axle share per wheel | Installing high-load tires on weak wheels |
| Brakes | Pad thickness, rotor condition, fluid, trailer brakes | Repair before adding payload | Relying on slotted rotors as a capacity upgrade |
| Hitch | Receiver, ball mount, ball, and tongue rating | Use the lowest-rated component | Checking only the receiver label |
| Transmission | Fluid condition and temperature control | Auxiliary cooler for demanding towing applications | Treating a cooler as permission to exceed GCWR |
| Frame and springs | Cracks, corrosion, sag, damaged shackles | Repair before any helper system | Covering structural damage with airbags |
LT tires can reduce sidewall flex compared with P-metric tires, but the replacement must meet the vehicle’s wheel, clearance, pressure, and placard requirements. The tire sidewall’s maximum load applies at a specified pressure and does not override the truck manufacturer’s ratings.
For towing, a functional trailer brake system usually matters more than cosmetic rotor modifications. Trailer brakes, correct brake-controller setup, tire condition, and compliant tongue weight reduce the load that the truck’s service brakes must absorb.
How Should You Load the Truck?
Place dense cargo low and near the axle centerline, secure every item, and keep the combined truck weight and each axle weight below their ratings. Cargo concentrated behind the rear axle acts as a lever, increases rear axle load, unloads the front tires, and can make steering unstable.
Use a certified public scale when the load approaches the truck’s limits. Weigh the front axle, rear axle, and entire combination separately, then compare each result with the door label, tire rating, wheel rating, hitch rating, and GCWR.
A practical loading sequence is:
- Record the empty truck weight with normal fuel and occupants.
- Load the heaviest items low and forward of the rear axle where practical.
- Keep left and right weight reasonably balanced.
- Secure cargo with rated straps, anchors, blocking, or a properly fitted camper tie-down system.
- Measure loaded axle weights before a long trip.
- Adjust cargo, reduce weight, or use a different vehicle if any rating is exceeded.
The scale result can reveal a hidden problem. A truck weighing 6,800 pounds against a 7,000-pound GVWR may still overload a 4,150-pound rear axle if a camper or pallet places too much weight behind the cab.
What Are the Real Costs and Alternatives?
A basic load-support upgrade typically costs $200-$1,200 in parts, while a compressor, heavy-duty spring pack, or coil-to-air conversion can raise the installed cost to $1,500-$4,500. If the required cargo exceeds the factory ratings, reducing weight or using a higher-rated truck is safer and often cheaper than stacking modifications.
| Strategy | Typical cost | Best use | Does it raise factory ratings? |
|---|---|---|---|
| Remove heavy accessories | $0-$500 resale value | Recovering lost payload | No, it restores available payload |
| Rubber helper springs | $200-$400 | Occasional bed loads | No |
| Air-helper kit | $350-$1,200 | Variable loads and campers | No |
| Heavy-duty leaf pack | $700-$1,800 | Frequent fixed loads | No |
| Weight-distribution hitch | $500-$1,500 | Compatible bumper-pull trailer | No, it redistributes load |
| Trailer brake upgrade | $300-$1,000 | Heavy compatible trailers | No, it improves stopping control |
| Higher-rated truck | Varies widely | Loads above current limits | Yes, through its factory design |
A weight-distribution hitch can transfer some tongue load toward the trailer axle and truck front axle, but it must be compatible with the receiver and trailer. It does not erase tongue weight from GVWR or make an overloaded trailer legal.
Which setup fits each hauling situation?
| Use case | Preferred approach | Typical supporting equipment | Avoid when |
|---|---|---|---|
| Occasional mulch or tools | Progressive rubber springs | Proper straps, tire inspection | Load exceeds rear GAWR |
| Variable camper or trailer | Air springs with gauge | Independent lines, compressor optional | Frame or spring damage exists |
| Daily utility-bed work | Heavy-duty leaf pack | LT tires, axle-scale checks | Empty ride comfort is a priority |
| Heavy bumper-pull trailer | Factory-rated truck and hitch | Trailer brakes, brake controller, correct hitch | GCWR or hitch rating is exceeded |
| Slide-in camper | Truck matched to camper wet weight | Camper tie-downs, stable suspension | Camper exceeds payload after water and gear |
What Problems Occur After a Load Upgrade?
Persistent sag, leaning, harshness, leaks, steering changes, and tire rubbing usually indicate incorrect loading, wrong pressure, damaged components, or poor installation rather than a need for still stronger springs. Diagnose the original cause before adding another component.
| Symptom | Likely cause | Corrective action | Stop driving when |
|---|---|---|---|
| Rear sags at moderate load | Insufficient spring support or excess weight | Weigh axles, inspect springs, reduce load | Front steering feels light |
| Truck leans left or right | Uneven cargo or unequal air pressure | Reposition cargo, use independent lines | Tire or suspension clearance changes |
| Air pressure falls in 24-48 hours | Poor tube cut, fitting leak, damaged bellows | Soapy-water test, recut line, inspect bag | Pressure loss affects ride height |
| Ride becomes harsh | Excess air pressure or stiff helpers | Lower pressure within kit limits | Axle hits frame or truck skips |
| Tire rubs after installation | Bracket or ride-height interference | Stop, inspect clearance, correct fitment | Sidewall contacts hardware |
| Truck wanders while towing | Front axle unloading or trailer sway | Correct tongue load, hitch setup, speed | Steering control is compromised |
A leaning truck should not be corrected by inflating one bag indefinitely. First verify the scale readings, spring condition, load position, tire pressures, and bracket alignment. A cracked leaf spring, bent shackle, or corroded frame requires repair before any leveling adjustment.
The practitioner rule is simple: pressure should restore ride height, not create a visibly lifted rear end. Measure fender height empty and loaded, and use the minimum pressure that maintains safe clearance within the kit’s operating range.
When Should You Buy a Higher-Rated Truck?
Buy a higher-rated truck when the intended wet, fueled, occupied, and accessorized load exceeds the current truck’s payload, rear GAWR, tire, wheel, hitch, brake, or GCWR limit. Repeatedly operating at the edge of several ratings leaves little margin for water, tools, passengers, suspension movement, or scale error.
A slide-in camper is a common mismatch because advertised dry weight excludes water, propane, batteries, food, clothing, and personal equipment. A camper listed at 1,800 pounds can exceed 2,300 pounds ready for travel, before passengers and bed equipment are counted.
Legal treatment varies by jurisdiction, especially for commercial vehicles, registration classes, inspection rules, and modified suspensions. Manufacturer recertification is generally unavailable to private owners, so an aftermarket part should never be presented as a legal rating increase to an insurer, inspector, or enforcement officer.
Common Questions About Increasing Truck Capacity
Can airbags make a half-ton truck carry 5,000 pounds?
No. Airbags can provide as much as several thousand pounds of leveling support on some kits, but the truck remains limited by its GVWR, GAWR, frame, wheels, tires, brakes, hitch, and drivetrain. Airbags are appropriate only when the loaded vehicle remains within those original limits.
Are helper springs better than airbags for towing?
Helper springs are better for a truck that carries a similar load frequently and needs mechanical simplicity. Airbags are better when loads vary and adjustable side-to-side leveling matters. Neither option replaces correct tongue weight, trailer brakes, a suitable hitch, or compliance with GCWR.
Do Load Range E tires increase payload?
Load Range E tires can provide a higher tire load rating at their specified pressure, but they do not increase the truck’s GVWR or axle rating. Wheels, suspension, frame, brakes, and the door-label rating still govern the maximum permitted load.
How much air pressure should truck airbags use?
Use the vehicle-specific kit instructions, commonly starting around 5-10 psi unloaded and increasing only enough to restore loaded ride height. Some kits permit pressures near 100 psi, but maximum pressure is not a target and should not be used to compensate for an overloaded truck.
Can a weight-distribution hitch fix an overloaded truck?
A weight-distribution hitch can transfer part of a trailer’s tongue load toward the trailer axle and truck front axle when the hitch and trailer are compatible. The tongue weight still counts against truck GVWR, and the hitch cannot correct an exceeded rear GAWR or GCWR.
What is the safest way to know whether my truck is overloaded?
Weigh the truck at a certified public scale in its actual travel configuration, including passengers, fuel, cargo, accessories, and tongue weight. Compare total weight with GVWR, front and rear axle readings with GAWR, and tire loads with the tire and wheel ratings.
The Bottom Line
To make your truck carry more weight safely, begin with the door-label ratings and a loaded axle-scale measurement, not an aftermarket capacity advertisement. Remove unnecessary accessory weight, distribute cargo around the axle centerline, repair brakes and suspension, and choose airbags, rubber springs, or steel helpers only to improve support within the original ratings.
If how to make your truck carry more weight leads to a load above GVWR, GAWR, tire, wheel, hitch, or GCWR limits, the correct solution is less cargo, a properly rated trailer, or a higher-capacity truck. No suspension accessory can replace the factory engineering behind those limits.