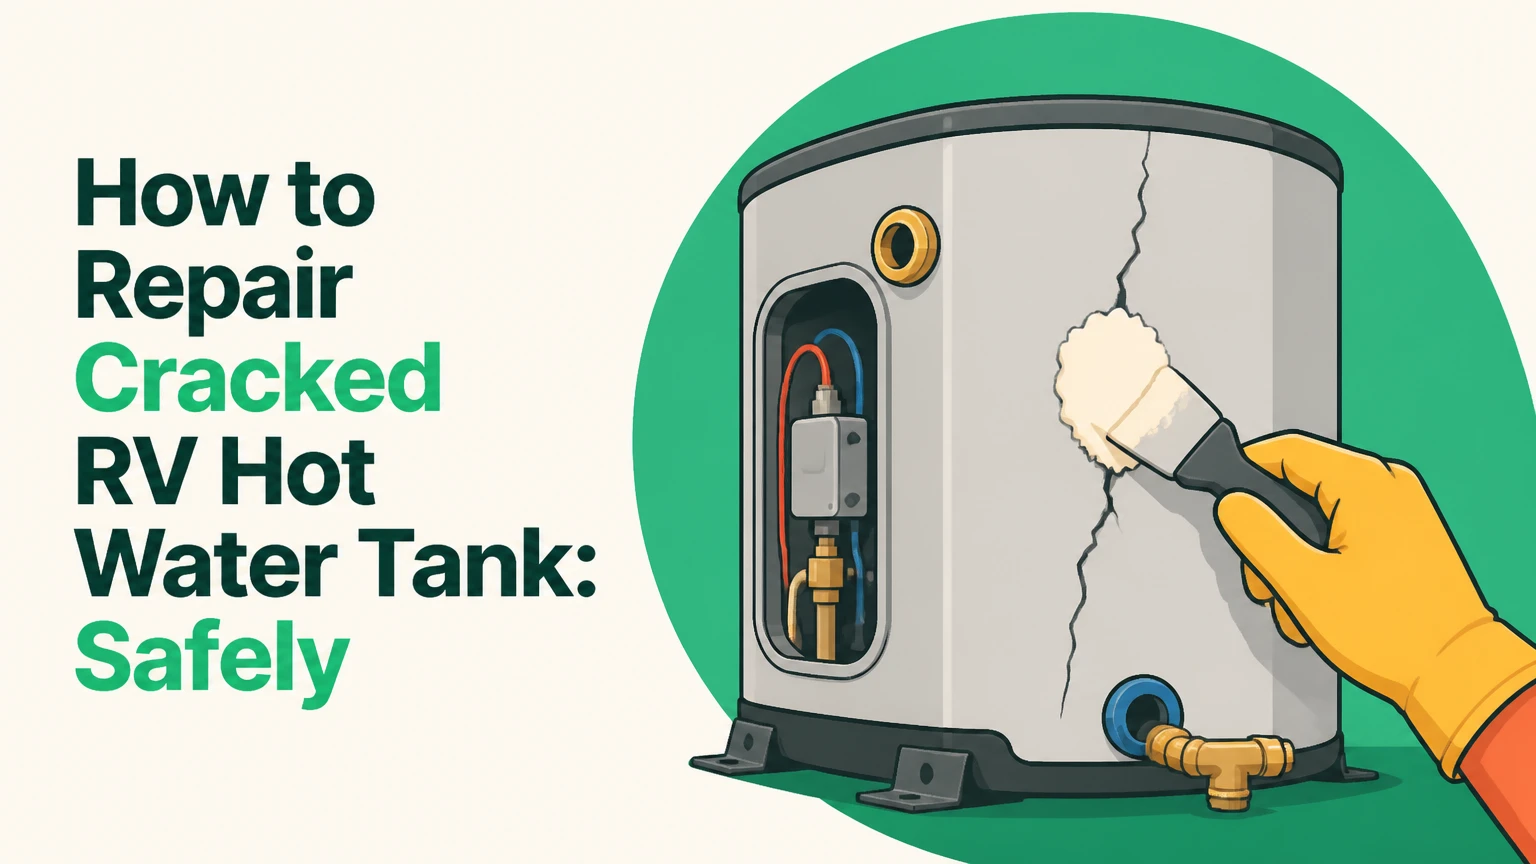
A cracked RV hot water tank should normally be replaced, not permanently patched, because the tank is a heated pressure vessel. Shut off propane, 120-volt and 12-volt power, isolate the water supply, drain the heater, confirm the leak source, and use epoxy only as a short-term emergency measure when the tank wall is otherwise sound.
Key Facts at a Glance
A typical RV water heater stores 6 or 10 gallons and operates within the pressure range imposed by the RV plumbing system, commonly about 30-50 PSI.
Freeze expansion, internal corrosion, failed fittings, and damaged drain plugs can all look like a cracked tank.
A split seam, bulge, extensive corrosion, or a crack near a heating-element thread requires tank or appliance replacement.
Never energize an electric element or ignite the burner until the tank is completely full and water flows steadily from a hot faucet.
Suburban steel tanks normally use a replaceable anode rod; aluminum Atwood or Dometic tanks generally use a plastic or nylon drain plug instead.
A water-heater bypass can stop water entering a failed tank, but it does not restore hot water.
Can You Repair a Cracked RV Hot Water Tank?
You can temporarily seal a very small, accessible pinhole with a manufacturer-approved, high-temperature sealant, but a cracked RV hot water tank is rarely a sound permanent-repair candidate. Tank replacement is the correct remedy for a split seam, freeze burst, active corrosion, deformation, or any crack that grows when pressure is applied.
The tank wall expands during heating and contracts during cooling. That repeated movement stresses a surface patch, while internal pressure pushes water into any imperfect bond. A patch that holds during a cold, unpressurized test can fail after several heating cycles.
TIG welding is also more limited than many repair articles imply. A qualified welder may evaluate a removed, clean aluminum tank, but thin metal often contains hidden corrosion around the visible crack. Welding cannot restore metal that has lost thickness across a broad area. Welding an installed heater also creates fire, electrical, and fuel-line hazards.
Repairability decision table
| Failure condition | Safe action | Typical result | Typical cost |
|---|---|---|---|
| Cracked plastic drain plug | Replace plug and inspect threads | Permanent if threads are sound | $3-$15 |
| Loose rear water fitting | Replace seal or fitting | Permanent after pressure test | $5-$40 |
| Pinhole in clean, intact wall | Emergency potable-water sealant | Temporary, weeks to months | $10-$30 |
| Clean crack in removed aluminum tank | Professional evaluation and weld | Uncertain, often 1-3 years | $150-$300 |
| Crack at element or drain threads | Replace tank or heater | Permanent | $300-$1,200 |
| Split seam, bulge, or heavy corrosion | Replace tank or complete appliance | Permanent when correctly matched | $400-$1,500 |
The prices above are typical North American repair ranges, not manufacturer quotations. Labor, access, travel, model availability, and regional rates can change the total substantially.
How Does an RV Water Heater Tank Fail?
An RV water heater tank usually fails because trapped water freezes, corrosion removes wall thickness, or a fitting or valve leaks and falsely appears to be a tank rupture. Freeze damage often creates a split at a seam, fitting boss, drain opening, or rear connection, while corrosion produces thinning, rusty water, and irregular pinholes.
Most RV tank heaters hold approximately 6 gallons, although 10-gallon models are common. The heater may use propane, 120-volt electricity, or both, and the tank remains connected to the RV freshwater system even when the heating source is off.
A pressure-temperature relief valve protects against unsafe pressure and temperature. It is not a repair point. Never plug, cap, or replace that valve with a solid bolt.
What caused the leak?
Use a dry inspection rather than guessing from water location. Water can travel along the tank shell, insulation, plumbing, or floor before it becomes visible.
- Dry the exterior and rear connections completely.
- Pressurize the cold-water system without turning on the heater.
- Watch the drain plug, relief valve, hot and cold fittings, and tank seams.
- Mark the first wet location with a pencil or piece of tape.
- Release pressure before removing any fitting.
A leak that starts at the drain opening may require only a plug or anode replacement. A leak that appears from the tank shell after every fitting remains dry indicates structural failure.
Which RV Water Heater Parts Must Match?
The replacement tank or heater must match the original brand, capacity, fuel configuration, electrical rating, exterior cutout, gas connection, and control system. A visually similar 6-gallon unit can still require different wiring, mounting dimensions, door dimensions, or control components.
Record the data plate before ordering. Photograph the front, rear connections, control board, wiring, gas valve, and exterior door. Common model families include Suburban SW6 and SW10 heaters, Atwood or Dometic six-gallon units, and newer combination gas-electric appliances.
| Heater family | Common tank material | Drain component | Heating configuration | Identification clue |
|---|---|---|---|---|
| Suburban SW6/SW10 | Porcelain-lined steel | 3/4-inch anode rod | Propane, often gas-electric | Large hex-head anode at lower front |
| Atwood six-gallon | Aluminum alloy | Plastic or nylon plug | Propane or gas-electric | No sacrificial anode rod |
| Dometic replacement family | Aluminum alloy on many legacy units | Plastic or nylon plug | Model-dependent gas-electric | Model label and control-board layout |
| Tankless replacement | No storage tank | No tank drain plug | Propane with electronic controls | Continuous-flow burner and water sensor |
Do not infer construction from the brand alone. Manufacturers have changed product families, and replacement parts vary by model number and production year.
What tools and materials are needed?
For diagnosis and replacement, prepare a socket set, adjustable wrench, multimeter, hose or bucket, thread sealant approved for potable water, replacement plug or anode, butyl tape, exterior sealant, and the exact replacement appliance or tank. Gas work may require a qualified technician under local law.
For an emergency patch, add a wire brush, abrasive pad, acetone or a compatible degreaser, disposable gloves, and only a sealant whose current technical data specifically allows the intended temperature, pressure, and potable-water contact.
A product marketed as “waterproof” is not automatically suitable for drinking-water immersion. Verify the package and technical data sheet. NSF/ANSI 61 approval, when actually stated for that product and application, is more meaningful than a general claim that the product is non-toxic after curing.
How to Repair a Cracked RV Hot Water Tank Temporarily
A temporary tank patch takes about 1-2 hours of hands-on work plus the sealant’s complete cure period. The success factor is a clean, dry, mechanically sound surface, but even a successful patch requires frequent inspection and should be replaced at the earliest practical opportunity.
Do not patch a tank that is bulging, deeply pitted, split along a seam, leaking at a threaded opening, or shedding metal. Those conditions indicate broader structural damage.
Before you start
| Requirement | Typical value |
|---|---|
| Hands-on time | 60-120 minutes |
| Minimum cure period | Follow label, commonly 2-24 hours |
| Emergency sealant quantity | 1-2 ounces |
| Tank pressure during application | 0 PSI |
| Water-system test pressure | Normal RV pressure only |
| Required safety gear | Gloves, eye protection, ventilation |
Step 1: Lock out every energy source
Turn off the water heater’s propane switch, close the propane supply if accessible, switch off the 120-volt breaker, and disconnect the relevant 12-volt fuse or battery source. Turn off the water pump and disconnect city water.
Allow the tank to cool fully. Hot water can cause severe burns, and a burner can ignite vapors near cleaning solvents.
Success checkpoint: The burner cannot ignite, the electric element cannot energize, and the pump cannot pressurize the system.
Common mistake: Turning off only the interior heater switch while leaving the 120-volt breaker or propane supply active.
Step 2: Relieve pressure and drain the heater
Open a hot faucet inside the RV, then open the heater’s pressure-temperature relief lever briefly. Place a container under the drain opening and remove the drain plug or anode rod with the correct socket, commonly 7/8 inch or 15/16 inch depending on the part.
Drain water completely. Do not remove the anode or plug while the tank is pressurized. If water continues entering, the pump, city-water connection, or check valve remains active.
Success checkpoint: No water flows from the drain opening, and the relief valve no longer releases pressure.
Common mistake: Removing the plug first, which can produce a high-pressure stream and damage the threads.
Step 3: Confirm the tank wall is the leak source
Dry the area around the suspected crack. Inspect nearby fittings, the drain opening, the relief valve, the heating element gasket, and the rear plumbing connections. A mirror or phone camera helps inspect the hidden side.
If the tank is accessible, use low-pressure water for a controlled confirmation after all electrical and gas sources remain locked out. Never use compressed air to pressure-test the tank.
Success checkpoint: The first wet point is a hole or crack in the tank wall, not a replaceable fitting.
Common mistake: Patching the lowest visible drip while the actual leak begins at a loose rear fitting above it.
Step 4: Prepare bare, rough metal
Remove loose paint, oxidation, scale, and sealant around the defect. Extend the prepared area at least 1 inch beyond the visible crack in every direction when the product instructions permit that footprint.
Use a wire brush and abrasive paper without enlarging a thin, corroded hole. Wipe the surface with a compatible degreaser, allow it to dry, and avoid touching the prepared area afterward.
Success checkpoint: The surface is dry, dull, clean, and free of loose particles. A fingernail should not catch on flaking corrosion outside the patch.
Common mistake: Applying putty over paint, dampness, calcium deposits, or oily fingerprints.
Step 5: Apply the sealant
Knead the two-part putty until its color and texture are uniform, then press it firmly into and across the defect. Feather the edges onto sound metal and follow the product’s stated thickness, working time, temperature range, and immersion instructions.
Do not place sealant over the pressure-temperature relief valve, burner opening, drain threads, heating-element threads, or inspection opening. Those components require correct replacement parts and sealing methods.
Success checkpoint: The patch has full contact with clean metal and no visible channel remains along the crack.
Common mistake: Building a thick lump over a contaminated surface instead of forcing the material into the defect.
Step 6: Cure, refill, and inspect
Keep the tank empty and unpressurized for the full label cure time. Cold temperatures can extend curing. Reinstall a sound drain plug or anode with the manufacturer’s recommended sealant, then close the relief valve.
Open a hot faucet and fill the tank slowly. Water should flow steadily from the faucet before the heater is powered. Inspect the patch and all fittings for at least 15 minutes, then repeat the inspection after the first heating cycle.
Success checkpoint: The water system holds normal pressure without a new wet mark, and hot water flows before ignition or electric operation.
Common mistake: Treating a dry first refill as proof of a permanent repair. Thermal cycling remains the main failure risk.
Should You Weld or Replace the Cracked Tank?
Replacement wins for most RV owners because a new tank or matched appliance provides predictable pressure integrity, while welding is practical only after removal and professional inspection. Welding may be considered for a clean crack in an older, thick aluminum tank, but it is a poor choice for corroded steel, thin material, threaded openings, or a tank damaged by freezing.
| Option | Best use | Removal required | Typical life | Main risk |
|---|---|---|---|---|
| Potable-water sealant | Small emergency pinhole | Usually no | Days to months | Sudden patch separation |
| TIG welding | Clean removed aluminum tank | Yes | Variable, often 1-3 years | Hidden corrosion and distortion |
| Replacement tank core | Compatible serviceable cabinet | Usually yes | About 8-15 years typical | Incorrect model or fittings |
| Complete heater replacement | Structural failure or obsolete unit | Yes | About 8-15 years typical | Higher parts cost |
| Bypass | Travel without hot water | No | Until repaired | No hot-water function |
A welder must remove all water, gas, electrical connections, and combustible material before heating the tank. The RV exterior, insulation, flooring, wiring, and sealants can catch fire. A repair shop may refuse the job because the tank is a pressure vessel with unknown wall thickness.
When does replacement make economic sense?
Replacement generally makes sense when the tank is more than 8-10 years old, the anode was neglected, multiple fittings are corroded, or labor to remove the heater approaches the cost of a new appliance. A tank core may cost about $250-$700, while a complete RV water heater commonly costs about $400-$1,200 before installation.
Typical professional labor adds $200-$800 depending on access, gas reconnection, exterior sealing, and whether the old unit is seized into the opening. A tankless conversion can cost more because it may require gas-capacity, wiring, plumbing, and exterior-door changes.
How Do You Replace an RV Water Heater?
Replacing an RV water heater normally requires 2-6 hours, depending on access and whether the replacement matches the original cutout. The job involves electrical, propane, plumbing, and exterior weather-sealing work, so a licensed or certified technician should handle gas-line disconnection and leak testing where required.
Step 7: Disconnect rear plumbing and controls
With all energy sources locked out and the tank drained, label the cold inlet, hot outlet, bypass lines, thermostat wires, electric-element wires, and gas connection. Remove the rear plumbing without twisting the tank fittings.
Cap or protect open water lines from dirt. Do not rely on wire color alone, especially in older RVs with previous modifications.
Success checkpoint: Every connection has a label or photograph, and no wire or gas tube remains under tension.
Common mistake: Pulling on a copper gas line or using it to support the heater during removal.
Step 8: Remove the exterior appliance
From outside, remove the screws around the mounting flange. Cut through old butyl tape or sealant with a plastic scraper or appropriate knife, then slide the heater straight outward.
Support the appliance. It may contain sharp sheet metal, residual water, and a heavy steel tank. Protect the RV siding from pry-tool damage.
Success checkpoint: The unit leaves the opening without bending the flange or enlarging the cutout.
Common mistake: Prying against fiberglass or aluminum siding instead of cutting the perimeter seal first.
Step 9: Install and seal the replacement
Clean old sealant from the RV wall without damaging the siding. Apply continuous fresh butyl tape to the replacement flange, position the heater squarely, and fasten it with the specified screw type and spacing.
Reconnect water lines with approved potable-water fittings and sealant. Reconnect electrical wiring exactly as documented. Have a qualified person reconnect the propane line and perform a leak test with an approved method.
Success checkpoint: The flange compresses the butyl evenly, the door closes correctly, and every connection matches the original configuration.
Common mistake: Using household silicone as the primary flange gasket or overtightening screws until the flange buckles.
Step 10: Fill, test, and commission
Close the drain, place the bypass valves in service position, and open a hot faucet. Fill until water flows continuously without sputtering. Inspect every fitting and the tank face before restoring power or propane.
Turn on one heat source at a time. Confirm burner ignition, electric operation, thermostat cycling, and relief-valve discharge routing. Never operate the heater empty. Atwood, Dometic, and Suburban installation literature all treat water in the tank as a prerequisite for operation, particularly because an electric element can burn out rapidly when exposed to air.
Success checkpoint: The tank remains dry through a cold pressure test and one complete heating cycle.
Common mistake: Closing the faucet as soon as water first appears, leaving an air pocket that can cause confusing sputtering and delayed leak detection.
What Other Leaks Look Like a Cracked Tank?
A cracked tank is only one explanation for water around an RV water heater. A cracked drain plug, failed anode gasket, loose rear fitting, pressure-temperature valve, or bypass connection can release water into the same exterior compartment or interior cabinet.
| Symptom | Most likely source | Diagnostic action | Correct repair |
|---|---|---|---|
| Drip from lower exterior door | Drain plug or anode | Dry and observe plug threads | Replace plug or anode |
| Water from relief-valve tube | Relief valve or overheating | Check valve discharge and thermostat | Replace valve after diagnosis |
| Water behind cabinet | Rear fitting or tank shell | Remove access panel and inspect first wet point | Tighten, reseal, or replace tank |
| Rust-colored water | Corroded steel tank or depleted anode | Inspect removed anode and drain water | Replace anode or tank |
| Leak only when heating | Thermal crack or loose hot fitting | Compare cold and hot-cycle inspections | Replace failed component |
| Water after winter | Freeze-split plug, fitting, or tank | Inspect all low points and seams | Replace damaged part |
Rusty water does not prove that the tank wall has cracked, but heavy corrosion on a Suburban anode or flakes from the drain opening indicate reduced protection. An anode rod is sacrificial: it consumes itself to protect the steel tank lining. Replacing an exhausted rod cannot restore a tank that already leaks.
What Should You Do If You Are Stranded?
A stranded RVer should bypass the failed heater rather than travel with a pressurized tank that is actively leaking. The bypass configuration isolates the water heater while allowing cold water to reach the rest of the plumbing, although the RV will have no hot water until the appliance is repaired.
Turn off the pump or city water, drain the heater, and move the bypass valves to the winterization or bypass position shown on the RV plumbing diagram. Confirm that the hot and cold lines are isolated and that the drain remains closed only when the tank is no longer leaking.
For a tiny accessible pinhole, a properly labeled emergency sealant may reduce leakage long enough to reach a repair facility. Do not use a temporary patch as permission to operate indefinitely off-grid, especially where a floor failure could affect electrical wiring or structural framing.
If water has reached the floor, remove wet insulation and inspect the subfloor, wall framing, and wiring. Hidden moisture can produce delamination, mold, corrosion, and expensive structural repairs even after the heater is replaced.
How Can You Prevent Another RV Tank Crack?
Preventing another cracked RV hot water tank requires complete winterization, regular anode inspection on steel tanks, and a controlled refill procedure. The tank must be drained before freezing conditions, and antifreeze should be kept out of the heater unless the manufacturer specifically permits that method.
Winterize correctly
- Turn off and cool the heater.
- Shut off city water and the pump.
- Open a hot faucet to relieve pressure.
- Remove the drain plug or anode.
- Open the relief valve and allow complete drainage.
- Use the bypass valves so antifreeze does not fill the tank.
- Inspect the drain opening before reinstalling a plug for storage.
A six-gallon tank holds roughly 50 pounds of water. Ice expansion has enough force to split fittings, seams, and thin tank sections, even when the exterior appears intact.
Maintain the tank
Inspect a Suburban anode at least annually or according to the manufacturer’s maintenance schedule, with more frequent checks in hard or acidic water. Replace the rod when most of its sacrificial material is consumed. Flush sediment through the drain opening and use the manufacturer’s approved procedure.
Do not install a steel-tank anode in an aluminum tank unless the manufacturer specifies it. Do not use a metal drain plug in an aluminum Atwood or Dometic tank when the design calls for a plastic plug, because galvanic corrosion and thread damage can result.
Frequently Asked Questions
Can I use JB Weld on an RV water heater tank?
A two-part repair putty may provide an emergency seal on a small pinhole, but the exact product must be approved by its current technical documentation for the tank material, temperature, pressure, and potable-water immersion. A general adhesive label is insufficient. The patch remains temporary because heating and cooling can break the bond.
How long does an RV water heater tank replacement take?
A matched replacement usually takes 2-6 hours, including removal, cleaning, sealing, reconnection, filling, and testing. Difficult access, seized fittings, altered wiring, exterior damage, or propane inspection can extend the job to a full day. Parts availability may add several days before installation.
Can a frozen RV water heater be saved?
A frozen RV water heater can be saved only when inspection confirms that the tank, fittings, seams, and relief-valve opening remain intact. Thaw the system naturally, never with an open flame, and inspect for delayed leaks after refilling. Any split, bulge, or persistent seepage requires replacement.
Why does my RV water heater leak only when the burner runs?
A leak that appears only during heating may come from thermal expansion, a weak tank seam, a loose hot-side fitting, or a relief valve opening at excessive temperature or pressure. Test the heater cold first, then observe one heating cycle while keeping clear of the burner and relief discharge.
Is a tankless RV water heater immune to freeze damage?
A tankless RV water heater eliminates the large storage tank, so it cannot suffer the same tank-wall freeze split. Its heat exchanger, water lines, valves, and electronics can still freeze, and many models require manufacturer-specific winterization. Conversion also requires checking propane capacity, electrical supply, plumbing, and exterior dimensions.
The Bottom Line
A cracked RV hot water tank should be treated as a structural failure until testing proves that a plug, valve, or fitting caused the leak. Shut down every energy source, drain and identify the failure, bypass the heater when necessary, and replace the tank or complete appliance for any split, corrosion, threaded-area defect, or freeze-damaged wall. Use the exact keyword, how to repair cracked rv hot water tank, as a search description, but choose replacement when pressure safety matters more than a temporary repair.


