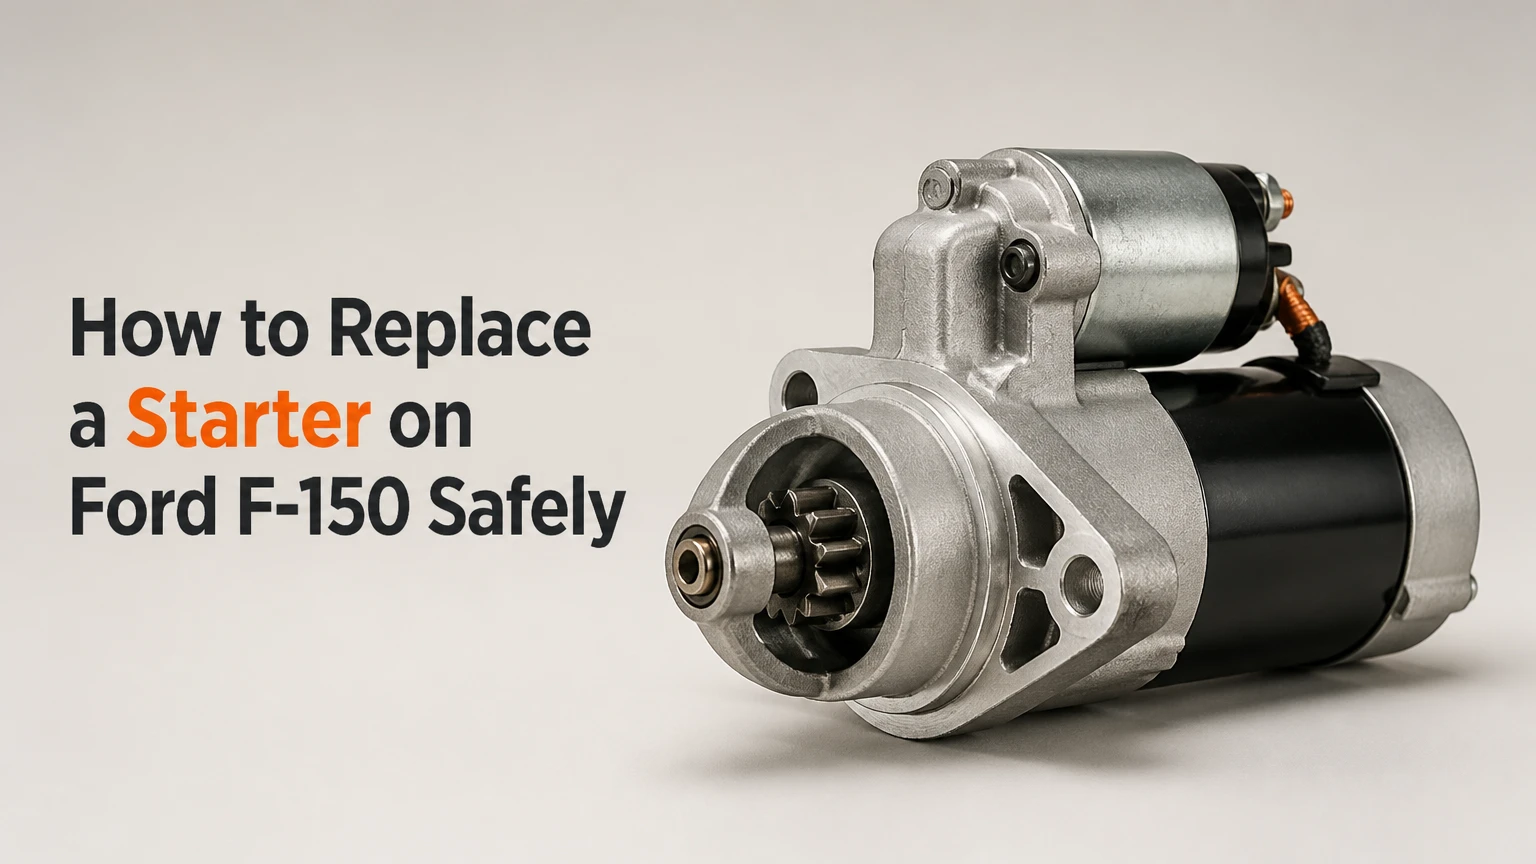
To replace a starter on a Ford F-150, diagnose the no-start condition first, disconnect the negative battery cable, support the truck securely, remove the starter wiring and mounting bolts, then install a correctly matched replacement. Most conventional F-150 starter jobs take 1-3 hours, but engine, drivetrain, rust, and model year determine the actual difficulty.
Key Facts at a Glance
- A conventional Ford F-150 starter mounts where the engine meets the transmission, usually on the lower side of the engine.
- Disconnect the negative battery cable before touching the starter’s large battery-power terminal.
- A charged battery should measure about 12.6 volts at rest; voltage alone does not prove that the battery can crank the engine.
- Starter mounting bolts, cable-terminal torque, and access points vary by model year and engine, so use year-specific Ford service information.
- A 2021-and-newer F-150 PowerBoost hybrid uses an integrated motor-generator starting system, not the same conventional starter used by non-hybrid engines.
- Replace the starter only after checking battery condition, cable voltage drop, grounds, the starter relay, and the transmission park or neutral signal.
What Does the F-150 Starter Do?
The Ford F-150 starter converts high-current electrical power into mechanical crankshaft rotation. When the ignition switch or push-button system requests a start, the powertrain control system activates the starter relay or starting circuit, energizing the solenoid and driving a pinion gear into the engine’s flexplate ring gear.
The solenoid closes the high-current connection between the battery cable and starter motor. The motor then turns the flexplate, crankshaft, pistons, and fuel-injection system until the engine starts independently. A one-way clutch prevents the running engine from overspeeding the starter after ignition.
The starter is therefore only one part of the starting circuit. Battery state of charge, battery terminals, engine grounds, the relay, ignition switch, neutral-safety circuit, and powertrain control module can produce similar symptoms.
Is the Starter Actually Bad?
A Ford F-150 starter is more likely to be defective when the battery is charged, the cable connections are clean, the engine ground is sound, and the starter receives a valid start signal but does not rotate. A single click with bright headlights can indicate a failed solenoid or starter, while rapid clicking usually points to low voltage or high resistance.
Use a multimeter before buying parts. A battery near 12.6 volts after resting is typical for a fully charged lead-acid battery, while approximately 12.2 volts indicates a substantially discharged battery. During cranking, a healthy battery commonly remains above roughly 9.6 volts at moderate temperature, although battery age, temperature, and engine load change the result.
| Symptom | Most likely areas | First test |
|---|---|---|
| Rapid clicking | Discharged battery, loose terminal, poor ground | Battery load or cranking-voltage test |
| One heavy click, no rotation | Starter solenoid, starter motor, positive cable | Voltage at starter B+ and S terminal |
| Silence | Relay, ignition circuit, park-neutral switch, immobilizer | Check start signal and relay operation |
| Slow cranking | Weak battery, corroded cable, failing starter, engine resistance | Positive and ground voltage-drop tests |
| Grinding | Damaged pinion, flexplate teeth, incorrect starter fit | Inspect gear engagement and ring gear |
| Starts after tapping starter | Worn brushes or internal dead spot | Replace or professionally test starter |
Do not use a screwdriver to bridge starter terminals as a routine test. The method can create an arc, damage terminals, bypass safety interlocks, and cause unintended engine movement. A fused test light, scan tool, or properly connected multimeter is safer.
How do you test the starter circuit?
Check voltage at the starter’s large B+ terminal and the small S terminal while an assistant requests engine cranking. The B+ terminal should retain battery voltage, and the S terminal should receive the start command when the transmission is in Park or Neutral. If both signals are present but the starter does not turn, the starter is a strong suspect.
A voltage-drop test is more useful than visual inspection alone. During cranking, measure between the battery positive post and the starter B+ terminal, then between the starter housing and battery negative post. Excessive voltage loss on either side identifies cable or connection resistance before you condemn the starter.
Before You Start
The job requires access beneath the truck, safe electrical isolation, and a replacement matched by VIN or exact application. The starter can be awkward to support while removing the final bolt, particularly on four-wheel-drive models with limited clearance.
| Requirement | Typical value | Practical note |
|---|---|---|
| DIY time | 1-3 hours | Rust and skid plates can add 1-2 hours |
| Difficulty | Moderate | Under-truck access is the main challenge |
| Starter cost | $100-$300 | Motorcraft usually costs more than remanufactured units |
| Shop labor | $150-$450 | Regional labor rates and access determine the range |
| Floor jack capacity | 2-ton minimum | Use a level surface and rated jack stands |
| Battery wrench | 8-10 mm typical | Confirm terminal size before starting |
| Mounting sockets | Commonly 13-15 mm | Ford fasteners vary by year and engine |
| Useful extensions | 3-inch and 6-inch | A wobble extension can improve access |
| Safety equipment | Eye protection, gloves, wheel chocks | Keep loose clothing away from rotating parts |
Gather a floor jack, jack stands, wheel chocks, ratchet, extensions, metric sockets, combination wrenches, a torque wrench, a multimeter, a wire brush, penetrating oil, and a light. A transmission jack or second person helps support the starter during removal.
Where Is the Starter on a Ford F-150?
On most conventional gasoline Ford F-150 trucks, the starter is low on the engine at the transmission bellhousing, with access from underneath. The exact side and clearance depend on engine family, exhaust routing, two-wheel drive or four-wheel drive, skid plates, and model year, so do not rely on a universal passenger-side description.
Identify the replacement location before raising the vehicle. Follow the thick positive battery cable toward the bellhousing, or use a year-specific repair manual. Some engines place the starter near exhaust components, and heat shields or crossmembers can obstruct the fasteners.
Important model-year differences
| F-150 configuration | Starting-system consideration | Access implication |
|---|---|---|
| 1997-2003 V6 or V8 | Conventional starter, year-specific mounting | Exhaust and frame clearance vary |
| 2004-2010 4.6L or 5.4L | Conventional starter with limited underside access | 4×4 components may obstruct removal |
| 2011-2020 3.5L EcoBoost or 5.0L | Conventional starter, application-specific design | Turbo plumbing and shields affect access |
| 2021-2024 non-hybrid gasoline | Conventional starter on applicable engines | Confirm by VIN and parts catalog |
| 2021-2024 PowerBoost hybrid | Integrated motor-generator starting system | Do not order a conventional starter without verification |
Does a hybrid F-150 have a normal starter?
A Ford F-150 PowerBoost hybrid does not use the same standalone starter motor as a conventional gasoline F-150. The 3.5-liter PowerBoost system uses an integrated motor-generator connected to the hybrid drivetrain, so diagnosis and replacement require high-voltage safety procedures and model-specific service information.
Do not work on orange high-voltage cables or hybrid components as though they were ordinary starter wiring. If the truck is a PowerBoost, the correct repair may involve the motor-generator, 12-volt battery, DC-DC converter, contactors, or control software.
How to Replace the Starter on a Ford F-150
Step 1: Secure the truck and isolate power
Park on level ground, select Park, apply the parking brake, and chock the rear wheels. Open the hood, record radio or memory settings if necessary, and disconnect the negative battery cable before raising the truck.
If the battery is mounted in an unusual location or the truck has an auxiliary battery, identify every relevant ground and power source. Keep the disconnected cable away from the terminal so it cannot spring back into contact.
Success checkpoint: The negative cable cannot touch the battery post, and the truck cannot roll.
Common mistake: Removing only the small starter wire while leaving the high-current battery cable energized.
Step 2: Raise and support the F-150
Use the owner’s manual or factory lifting points to raise the front of the truck. Place jack stands under approved frame support locations, lower the truck onto the stands, and gently test stability before going underneath.
Never rely on a hydraulic jack alone. Leave the jack positioned as a backup only if it does not interfere with the work, and keep wheels chocked even when the parking brake is applied.
Success checkpoint: Both stands carry the truck securely, with stable contact and adequate working height.
Common mistake: Supporting a frame section that can deform or placing a stand on suspension components without confirming the procedure.
Step 3: Remove obstructing shields or skid plates
Inspect the path between the starter and the underside of the truck. Remove only the skid plate, splash shield, heat shield, or crossmember hardware that blocks access, and label fasteners that differ in length.
Penetrating oil can help with rusted shield bolts, but it does not replace correct support for a structural crossmember. Do not loosen a crossmember unless the service procedure specifies how to support the drivetrain.
Success checkpoint: You can see the starter mounting flange and both electrical terminals without forcing a tool against nearby wiring.
Common mistake: Bending a heat shield into the exhaust or leaving a loose shield that later rattles.
Step 4: Photograph and disconnect the starter wiring
Take a photograph before removing the wires. Pull back the protective boot, remove the nut from the large B+ battery cable, and disconnect the small S-terminal or control wire using the correct wrench.
Hold the terminal stud with a backup wrench when the design permits. Do not twist the stud inside the solenoid cap, and do not pry against the plastic connector. Inspect the cable eyelet for heat discoloration, looseness, green corrosion, or broken strands.
Success checkpoint: Both wires are isolated, labeled, and routed away from the mounting bolts.
Common mistake: Reinstalling the large cable on the wrong terminal or cracking the solenoid housing through excessive tightening.
Step 5: Support the starter and remove the mounting bolts
Support the starter body with one hand or a small support jack before removing the final bolt. Remove the mounting bolts in a controlled sequence, keeping track of any different-length fasteners, spacers, brackets, or alignment hardware.
Most conventional F-150 starters use two or three mounting bolts, but bolt count and head size vary. Do not force a socket that fits loosely, because a rounded bolt can turn a short repair into an extraction job.
Success checkpoint: The starter is fully supported and no bolt carries its weight before removal.
Common mistake: Removing all bolts while standing outside the drop path, allowing the starter to fall onto the wiring or your arm.
Step 6: Compare and prepare the replacement
Place the old and new starters side by side. Confirm the mounting-hole pattern, nose-cone shape, pinion gear position, electrical-terminal arrangement, connector, and application listed by VIN or engine code.
Count the pinion teeth only as a secondary check. Tooth count alone cannot guarantee compatibility because gear pitch, offset, clocking, and flexplate engagement also matter. Transfer only brackets or heat shields that the factory procedure identifies as transferable.
Success checkpoint: The replacement matches the old unit physically and matches a reliable parts catalog for the truck’s VIN.
Common mistake: Installing a visually similar starter from another F-150 engine family.
Step 7: Install the replacement starter
Clean rust and dirt from the bellhousing mounting surface without removing material or changing the starter’s position. Seat the starter squarely, install every bolt by hand for several turns, and tighten the bolts evenly.
Use the Ford service specification for the exact year, engine, and transmission. A generic 25-35 lb-ft figure is not universal, and over-torquing can strip aluminum or transmission-case threads. Do not apply thread locker unless the factory procedure specifies it.
Success checkpoint: The starter flange sits flush, the pinion is correctly positioned, and every bolt turns smoothly by hand.
Common mistake: Tightening one bolt fully before the other bolts have started, which can cock the starter and damage threads.
Step 8: Reconnect wiring and test the truck
Reconnect the small control wire and the large battery cable to their original terminals. Tighten each connection to the year-specific specification, reinstall the protective boot, and route the cable away from exhaust heat and moving components.
Lower the F-150, reconnect the negative battery cable, and inspect the engine bay for tools. Turn the key or press the start button briefly, then listen for smooth cranking without grinding, repeated clicking, or cable heating.
Success checkpoint: The engine cranks at normal speed, starts, and the starter disengages immediately.
Common mistake: Testing with an exposed B+ terminal or leaving a cable close enough to the exhaust manifold to melt its insulation.
What Torque Specification Should You Use?
Use the Ford factory service manual or a reputable VIN-specific repair database for starter mounting bolts and electrical terminals. Ford changed fastener sizes and torque values across F-150 generations, while aftermarket starter instructions may specify a different terminal arrangement from the original unit.
The commonly repeated 25-35 lb-ft mounting range and 8-12 lb-ft cable-nut range may fit some applications, but they should not be treated as universal specifications. The correct value also depends on thread size, material, bracket design, and whether a bolt passes into an aluminum or cast-iron housing.
| Item to verify | Why it varies | Correct source |
|---|---|---|
| Mounting-bolt torque | Engine, transmission, thread size | Ford workshop manual |
| B+ terminal torque | Stud diameter and solenoid design | Starter manufacturer instructions |
| S-terminal attachment | Nut, push connector, or molded plug | Vehicle wiring and parts data |
| Battery-terminal torque | Clamp design and battery post | Ford owner or service manual |
| Heat-shield fastener torque | Shield material and bolt size | Ford workshop manual |
Which Replacement Starter Should You Buy?
Choose a Motorcraft starter for factory fit and predictable long-term service, a premium remanufactured unit for lower cost with a useful warranty, or a reputable aftermarket unit only when its catalog confirms the exact application. The best choice is determined by fit, warranty, return policy, and truck use rather than the word “high torque.”
A premium remanufactured starter can be sensible on an older daily driver when the supplier tests the solenoid, clutch, brushes, armature, and gear assembly. A low-cost unit with a lifetime replacement warranty may still create downtime if repeated failure requires removing the starter several times.
| Replacement type | Typical price | Strength | Limitation |
|---|---|---|---|
| Motorcraft new | $180-$400 | Factory-oriented fit and calibration | Highest initial price |
| Premium remanufactured | $120-$260 | Lower price and core-return option | Quality depends on remanufacturer |
| Economy aftermarket | $80-$170 | Lowest purchase cost | Greater variation in fit and durability |
| High-torque performance unit | $180-$450 | Useful for modified or high-compression engines | Not automatically correct for a stock truck |
Return the failed starter if the supplier charges a core deposit. Before accepting the part, compare the gear, flange, connector clocking, and mounting-hole locations. A returnable but incorrect starter still costs time.
Common Mistakes and How to Fix Them
The starter clicks after replacement
Check battery charge, terminal tightness, engine ground straps, and the positive-cable voltage drop. A replacement starter cannot compensate for a corroded cable end or a weak battery, and repeated clicks can damage the new solenoid.
The starter grinds against the flexplate
Stop cranking immediately. Grinding can result from an incorrect starter, a bent or damaged pinion, a starter not seated flush, missing alignment hardware, or damaged flexplate teeth. Inspect the mounting surface and rotate the engine manually to examine the ring gear.
The starter bolt will not loosen
Apply penetrating oil, use a six-point socket, and ensure the tool is square on the fastener. Controlled heat may damage nearby wiring, seals, sensors, or fuel components, so use it only with a model-specific plan. Do not round the bolt by repeatedly using a loose twelve-point socket.
The cable stud turns with the nut
Stop and support the stud with the correct backup wrench if the design allows it. A rotating stud can break the internal connection or crack the solenoid cap, requiring starter replacement even if the motor was functional.
The truck cranks but will not start
A working starter only rotates the engine. Check fuel pressure, ignition, crankshaft-position signals, immobilizer status, and diagnostic trouble codes rather than installing another starter.
How Do 4×4, EcoBoost, and Older F-150s Differ?
Four-wheel-drive F-150s may have less room around the starter because of the front driveshaft, transfer-case structure, skid plates, or crossmembers. EcoBoost engines can place exhaust and turbocharger components near the starter, while older Triton and modular V8 applications may have rusted fasteners and heat shields.
Allow extra time when access requires removing a shield. Photograph the original routing, retain every spacer, and compare the replacement before the truck is disassembled completely. For older trucks, inspect the flexplate teeth and engine ground strap because both can produce recurring starter symptoms.
How Much Time and Money Does Replacement Take?
A typical DIY Ford F-150 starter replacement costs $100-$300 for the part and takes 1-3 hours when the vehicle is unmodified and fasteners are clean. A repair shop commonly charges $250-$750 total, depending on the starter price, labor rate, access, taxes, diagnostic time, and regional pricing.
Rust, four-wheel-drive access, broken terminal studs, and a damaged flexplate increase the estimate. Ask a shop whether the quote includes diagnosis, the starter core charge, battery testing, terminal cleaning, and a warranty on both parts and labor.
| Repair path | Typical parts cost | Typical labor or time | Typical total |
|---|---|---|---|
| DIY economy starter | $80-$170 | 1-3 hours | $90-$210 |
| DIY Motorcraft starter | $180-$400 | 1-3 hours | $190-$440 |
| Independent shop | $120-$400 | 1-2.5 hours | $250-$650 |
| Dealership repair | $180-$450 | 1.5-3 hours | $400-$900 |
These are typical planning ranges, not a quote. Confirm the exact part and labor operation using the truck’s VIN.
Should You Replace the Starter Yourself?
Replace the starter yourself if you can safely support the truck, identify electrical terminals, use a torque wrench, and access model-specific specifications. Pay a professional when the truck is a PowerBoost hybrid, the frame or fasteners are severely corroded, the starter sits near high-voltage components, or diagnosis remains uncertain.
The repair is mechanically moderate but safety-sensitive. The largest DIY risks are a falling vehicle, an energized battery cable shorting to ground, damaged starter terminals, and an incorrectly fitted replacement. A professional diagnosis is often cheaper than replacing a good starter.
FAQ
Can a weak battery damage a new F-150 starter?
A weak battery can make a new starter click, crank slowly, or overheat during repeated attempts. Charge and test the battery first, then clean both terminals and inspect the engine ground. Repeated low-voltage cranking places additional load on the starter but does not prove that the starter caused the no-start condition.
How long should a Ford F-150 starter last?
Service life varies with climate, mileage, engine compression, battery condition, and start frequency. A conventional starter may operate for many years, but there is no reliable universal mileage interval. Heat exposure, repeated short trips, and poor cable connections reduce service life more than the calendar age alone.
Can I replace only the starter solenoid?
Some older Ford starting systems use a separate fender-mounted solenoid, while many F-150 starters use an integrated solenoid on the starter assembly. Confirm the design before ordering parts. Replacing an external relay will not repair a failed internal solenoid, and replacing the complete starter will not fix a faulty control circuit.
Why does the starter work when the engine is warm but not cold?
Cold temperatures reduce battery output and increase engine oil viscosity, exposing a weak battery, high-resistance cable, or worn starter. Test cranking voltage and voltage drop when the symptom occurs. If electrical values are normal but the motor fails intermittently, internal starter wear becomes more likely.
Do I need to disconnect the battery before changing the starter?
Yes. Disconnect the negative battery cable before removing the starter’s large positive cable. The cable remains connected directly to battery power even when the ignition is off, and contact with the frame can create a severe short circuit, arc, battery damage, or wiring fire.
What should I do with the old starter?
Return the old starter to the parts supplier when a core charge applies. Keep the receipt until the refund posts, and package the old unit so the electrical terminals and gear do not damage the shipping container. If no core program exists, recycle it through an automotive parts recycler.
The Bottom Line
To replace a starter on a Ford F-150, verify the diagnosis, isolate the battery, support the truck with jack stands, remove the wiring and mounting bolts, match the replacement by VIN, and torque the installation with year-specific Ford specifications. The procedure usually takes 1-3 hours, but a PowerBoost hybrid, severe rust, damaged flexplate, or uncertain diagnosis requires specialized service.


