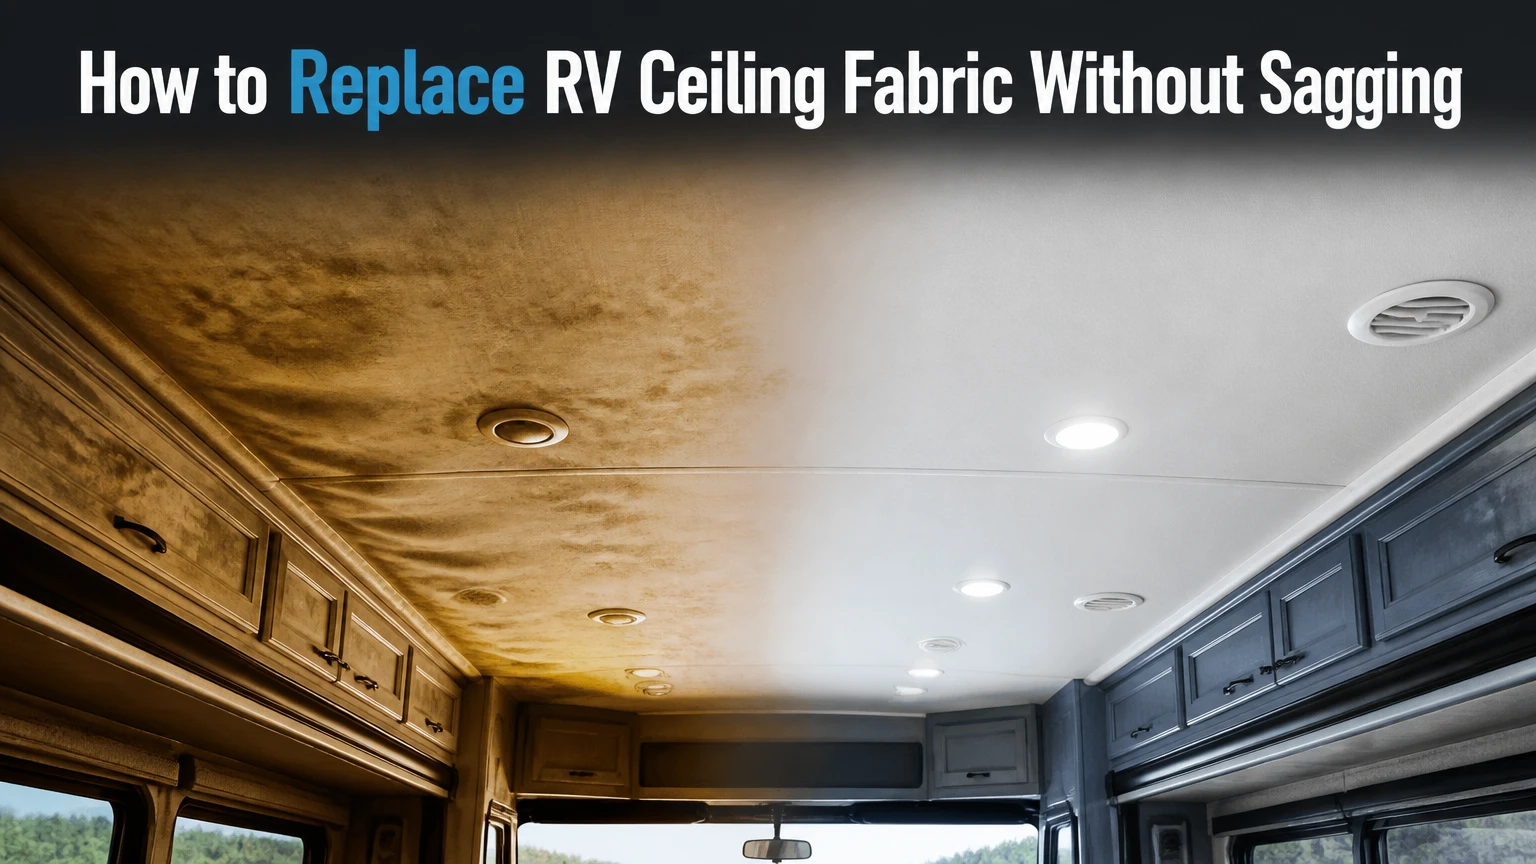
Replacing RV ceiling fabric requires removing the failed headliner, cleaning every trace of deteriorated foam, repairing leaks or soft luan, and bonding new fabric with a high-temperature headliner adhesive. Most medium RVs require 12-24 labor hours over 2-3 days, and the bond succeeds or fails primarily on substrate preparation and adhesive compatibility.
Key Facts at a Glance
- Failed RV ceiling fabric commonly results from polyurethane foam backing turning into loose orange or yellow powder.
- New headliner material must be bonded to a clean, dry, stable substrate, not to old foam or dusty adhesive.
- A typical medium-size RV requires 8-12 yards of 54-72-inch-wide material, including practical cutting waste.
- High-temperature automotive or marine trim adhesive is more suitable than general-purpose craft or household spray glue.
- A 2-3-inch perimeter overhang makes alignment and edge trimming safer.
- Active roof leaks must be repaired and the ceiling must dry before new fabric is installed.
Before You Start
The RV ceiling replacement process is a moderate DIY project because the work combines overhead handling, electrical disassembly, adhesive timing, and awkward trimming. Plan for 12-24 labor hours, $150-$500 in DIY materials, and a clean indoor workspace with enough height to open cabinet doors and work around the roofline.
Tools and Materials
| Item | Typical quantity | Specification or purpose |
|---|---|---|
| Replacement headliner fabric | 8-12 yards | 54-72 inches wide, plus 10-15% waste |
| High-temperature adhesive | 4-8 aerosol cans | Automotive or marine headliner rating |
| Stiff nylon brush | 1-2 | Removes degraded foam from luan |
| Plastic or dull putty knife | 1 | Scrapes residue without gouging plywood |
| HEPA vacuum and microfiber cloths | 1 each | Controls foam dust and final cleaning |
| Fresh utility razor blades | 10-20 | Cuts fixture openings and perimeter edges |
| Painter’s tape and labels | 1 roll each | Marks wires, trim, and fasteners |
| Foam roller or clean laminate roller | 1 | Presses the fabric without wrinkling |
| Temporary braces or pushpins | 6-12 | Holds fabric during half-panel installation |
Disconnect the coach battery and shore power before removing lights, speakers, smoke detectors, or other powered fixtures. Photograph each connection, label every wire, and place screws from separate fixtures in marked bags because RV ceiling hardware often uses several similar-looking fastener lengths.
Inspect the Ceiling First
Inspect the roof above every stain, soft spot, dark ring, or bubbling area before buying fabric. A new headliner installed over damp luan will eventually release, smell musty, or develop mold regardless of adhesive quality.
Use a moisture meter if available. As a practical workshop rule, do not cover wood that feels soft, shows active staining, or reads materially wetter than nearby dry areas. Remove damaged luan or ceiling framing when necessary rather than trapping wet material beneath a decorative layer.
Why Does RV Ceiling Fabric Sag?
RV ceiling fabric sags when the thin polyurethane foam backing decomposes from heat, age, and moisture, leaving the decorative face unsupported. The fabric may remain intact while the foam becomes powder, so pulling down the cloth often reveals a loose orange residue rather than a failed adhesive film.
Interior roof temperatures can exceed 150°F in direct sun, especially when a dark roof, poor ventilation, or desert exposure combines with repeated heating and cooling cycles. Moisture from roof leaks or condensation accelerates foam deterioration and can weaken the luan plywood substrate.
A sagging area is not always a simple fabric problem. Localized sag near a vent may indicate a leak or a cutout that weakened the substrate, while ceiling-wide sag usually points to widespread foam failure. Treat the cause before treating the appearance.
Is the Substrate Luan or a Finished Panel?
Many RV ceilings use thin luan plywood, composite board, molded fiberglass, or a laminated panel beneath the fabric. Identify the substrate at an exposed fixture opening before scraping aggressively, because thin luan can be gouged easily and some molded panels require a different adhesive preparation.
A stable substrate feels firm when pressed around a light opening and does not flex excessively under moderate hand pressure. A delaminated or water-softened panel needs structural repair or replacement before upholstery work begins.
Step 1: Disconnect Power and Remove Fixtures
Turn off shore power, disconnect the coach battery, and remove ceiling fixtures before pulling down the old fabric. Take off air-conditioning vents, light bezels, speakers, smoke detectors, antenna plates, skylight trim, and any plastic T-molding or wood battens that conceal the fabric edges.
Work systematically from one end of the coach. Photograph each fixture in place, mark the front and rear orientation on trim pieces, and label wires with painter’s tape before disconnecting terminals.
You will know this step worked when the ceiling surface is accessible and no powered fixture remains attached by a hidden wire. The common mistake is pulling a light or speaker down until its wires act as a tether, which can damage a crimp, socket, or thin ceiling panel.
Step 2: Remove the Old Ceiling Fabric
Pull the old RV ceiling fabric down slowly, starting at a seam, trim edge, or fixture opening. Failed foam-backed fabric often separates from its backing with little force, but intact sections can remain strongly bonded around the perimeter.
Support long pieces instead of allowing them to tear unpredictably. Roll removed fabric inward with the contaminated foam facing inside, then place it in a bag to prevent powder from spreading through the coach.
You will know this step worked when the entire visible fabric layer is gone and the substrate can be inspected. The common mistake is leaving a thin foam skin because it appears attached; that residue becomes a release layer beneath the replacement fabric.
Step 3: Scrape Away Every Foam Residue
Brush the ceiling with a stiff nylon brush, then scrape stubborn areas using a plastic putty knife or a dull metal blade held almost flat. Continue until the substrate feels uniformly firm and does not shed powder when wiped with a dry, clean hand.
Avoid aggressive sanding on thin luan. A gouge or low spot can telegraph through lightweight cloth, and sanding can spread degraded foam into seams, cabinets, and electrical cavities.
Vacuum repeatedly with a HEPA-filtered vacuum. Wipe the surface with a manufacturer-approved adhesive remover or a small amount of denatured alcohol only after testing an inconspicuous area, since solvents can soften some laminates, paints, plastics, and foam remnants.
You will know this step worked when a white microfiber cloth remains free of orange dust after several passes. The common mistake is confusing a visually clean ceiling with an adhesive-ready ceiling; powder hidden in pores can defeat an otherwise strong glue.
Step 4: Repair Leaks and Stabilize the Panel
Repair the roof leak from the exterior before installing replacement fabric. Inspect roof sealant around vents, antennas, air-conditioning units, skylights, edge rails, and plumbing penetrations, then follow the roof manufacturer’s compatible repair procedure.
Replace or reinforce soft luan rather than covering it. Small cosmetic discoloration without softness may only require drying and sealing, but swollen plywood, delamination, mold, or a crumbling edge indicates a substrate problem.
Allow the repaired area to dry completely. A practical check is to compare its moisture reading and temperature with an unaffected section, then leave the coach ventilated until the readings stabilize instead of relying only on surface touch.
You will know this step worked when the ceiling has no active stain growth, soft flex, or damp odor. The common mistake is sealing the interior stain while leaving the roof penetration open, which guarantees another failure above the new fabric.
Step 5: Choose the Replacement Material
Select material according to cleaning needs, ceiling curvature, weight, and heat exposure. Foam-backed vinyl gives a smooth OEM-style finish, while marine hull liner usually handles curves and minor substrate irregularities more forgivingly.
| Material | Typical thickness | Strength | Limitation | Best application |
|---|---|---|---|---|
| Foam-backed vinyl | 1/8-1/4 inch | Wipe-clean surface, OEM appearance | Heavy and unforgiving of bumps | Flat, well-prepared ceilings |
| Marine hull liner | 1/8-1/4 inch | Flexible and curve-friendly | Holds dust and odors | Curved or imperfect ceilings |
| Automotive cloth | About 1/8 inch | Light and inexpensive | Absorbs moisture readily | Dry interiors and simple layouts |
| Luan or beadboard panel | 1/4-1/2 inch | Rigid and durable | Adds weight and cutting labor | Permanent hard-ceiling conversions |
| PVC plank or sheet | About 1/8-1/4 inch | Moisture-resistant and washable | Thermal movement and trim complexity | Damp-prone interiors |
Foam-backed vinyl is not automatically the best choice. Its weight increases the load on the adhesive, and a glossy or lightly cushioned surface can reveal every ridge beneath it. Hull liner hides small imperfections but is a poor choice where cooking smoke, pets, or frequent washing will create embedded contamination.
For a solid ceiling, verify total added weight before replacing fabric with panels. A 1/2-inch panel system can add substantially more load than a 1/8-inch cloth, especially after battens, screws, adhesive, and trim are included.
How Much Fabric and Adhesive Do You Need?
A typical medium RV requires 8-12 linear yards of 54-72-inch-wide fabric, while adhesive consumption commonly falls near one aerosol can per 3-4 linear feet of ceiling. Measure each ceiling section separately, add 2-3 inches of overhang on every edge, and include extra material for seams, patterns, and mistakes.
Calculate fabric by usable width rather than floor length. If a ceiling is 96 inches wide and the fabric is 60 inches wide, two parallel runs may be required, creating a seam and additional waste. A 72-inch-wide roll may reduce seams but can be harder to handle overhead.
| Planning factor | Typical value | Effect on purchase |
|---|---|---|
| Fabric width | 54-72 inches | Determines number of runs and seams |
| Edge overhang | 2-3 inches per side | Allows final trimming and tucking |
| Waste allowance | 10-15% | Covers angled cuts and mistakes |
| Adhesive coverage | 3-4 linear feet per can | Buy extra for porous substrates |
| DIY labor | 12-24 hours | Usually spread across 2-3 days |
| Adhesive cure before travel | About 24 hours | Longer in cool or humid conditions |
Lay out the material on a clean floor before cutting. Keep the face protected from dirt, identify the front edge, and mark fixture locations on the back with removable tape rather than permanent ink.
Step 6: Dry-Fit and Plan the Layout
Dry-fit each fabric section with its face oriented correctly and its overhang evenly distributed. Align the most visible seam with an existing trim line or a natural ceiling break, and avoid placing a seam directly across a large uninterrupted sightline when the material pattern makes it obvious.
Do not cut complete holes for lights, vents, or speakers during dry fitting. Mark approximate centers, leave the fabric intact during bonding, and cut small openings only after the material is firmly attached.
You will know this step worked when every edge reaches its trim channel and every fixture center is marked without forcing the fabric into position. The common mistake is cutting openings too early, then discovering that the material shifted by an inch and no longer covers the fixture flange.
Step 7: Apply Adhesive and Install the First Half
Install the first fabric section with the half-and-half method, which limits overhead handling to a manageable area. Position the fabric, secure its unglued half with temporary braces or pushpins, and fold the working half back without creating sharp creases in the foam.
Apply high-temperature headliner adhesive to both the exposed substrate and the fabric backing when the product instructions specify two-sided application. Use even passes, maintain the recommended spray distance, and ventilate the coach because solvent vapors can accumulate rapidly in a confined interior.
Allow the adhesive to flash until tacky, commonly 1-3 minutes, but follow the product label rather than treating that range as universal. Press the fabric from the center toward the edges with open palms or a clean foam roller, controlling wrinkles before the bond becomes permanent.
You will know this step worked when the installed half has an even bond, no trapped air, and no visible adhesive on the face. The common mistake is saturating a porous backing; excess solvent can bleed through, soften foam, or create hard shiny patches.
Step 8: Bond the Second Half and Trim the Edges
Fold the secured half back, apply adhesive to the remaining substrate and backing, wait for the correct tack, and lower the fabric gradually from the center outward. Keep gentle tension across the material, but do not stretch it aggressively into corners or recessed channels.
Trim only after the adhesive has grabbed the fabric. Use a fresh razor blade and several shallow passes around fixture openings and perimeter edges rather than one forceful cut, which can snag the backing or cut wiring hidden behind the panel.
Leave enough material to tuck beneath T-molding, a batten, cabinet trim, or a fixture flange. A nearly flush cut is difficult to correct and can expose a bright gap when the fabric relaxes.
You will know this step worked when the fabric lies flat through curves and the perimeter remains concealed under trim. The common mistake is pulling a wrinkle tight across a recessed corner; thermal contraction can later pull the fabric out of that corner.
Step 9: Reinstall Fixtures and Allow Full Cure
Reinstall trim, vents, lights, speakers, detectors, and appliance covers only after the fabric is fully seated and the cutouts are clean. Restore each wire to its labeled connection, install the correct screw in each location, and avoid crushing the fabric with excessive fastener torque.
Allow approximately 24 hours before traveling or exposing the coach to intense outdoor heat, with longer curing time in cool, damp conditions. Keep the interior ventilated during solvent evaporation, but prevent dust, insects, and open windows from contacting the uncured surface.
You will know this step worked when fixtures sit flush, wires remain secure, and no edge lifts under gentle inspection. The common mistake is driving screws through unsupported fabric, which can pull a local puck light loose and create a permanent puckered ring.
Which Ceiling Material Should You Choose?
Marine hull liner is the most forgiving choice for curved RV ceilings, foam-backed vinyl is the easiest to clean on a smooth stable surface, and a rigid panel is the longest-lasting alternative when added weight and installation labor are acceptable. Automotive cloth is economical, but it requires better moisture control.
| Owner situation | Recommended material | Why | Avoid when |
|---|---|---|---|
| Frequent cooking or pets | Foam-backed vinyl | Wipes clean and resists embedded soil | Ceiling substrate is uneven |
| Curved vintage coach | Marine hull liner | Conforms with fewer stress folds | Stains require aggressive cleaning |
| Lowest DIY cost | Automotive cloth | Lightweight and widely available | Roof leaks or condensation persist |
| Permanent renovation | Luan or PVC panels | Eliminates foam-backed sagging | Weight or cabinet clearance is limited |
| Hot, sunny storage | Light-colored hull liner or tested vinyl | Reduces heat absorption | Adhesive has no temperature rating |
A light-colored surface generally places less thermal stress on the interior than a dark one, although adhesive rating and surface preparation remain more important than color alone. Always test a small hidden section because backing chemistry varies between manufacturers.
What Does RV Ceiling Fabric Replacement Cost?
DIY replacement typically costs $150-$500, while professional work commonly ranges from $1,500-$3,500 or more because removal, cleaning, fixture handling, and overhead bonding consume substantial labor. Material width, ceiling length, substrate repairs, and regional shop rates create the largest price differences.
| Cost category | Typical DIY range | Typical professional range | Main price driver |
|---|---|---|---|
| Fabric or liner | $240-$720 | Included in estimate or $400-$1,200 | 8-12 yards at $30-$60 per yard |
| Adhesive and cleaners | $60-$100 | Included or $100-$250 | Four to eight adhesive cans |
| Substrate repair | $0-$200 | $300-$1,500 | Soft luan, mold, or leak damage |
| Labor | Owner’s time | $60-$130 per hour | 15-30 shop labor hours |
| Total project | $150-$500 typical | $1,500-$3,500+ | Coach size and repair scope |
Many RV dealerships decline full headliner work because the project resembles automotive or marine upholstery more than routine RV service. An auto upholstery shop, marine-trim technician, or mobile installer with a sufficiently tall workspace may be better equipped, but confirm that the shop has handled bonded ceiling fabric rather than only vehicle headliners.
Common Mistakes and How to Fix Them
Installing Over Crumbling Foam
New fabric bonded over deteriorated foam will release when the old material continues turning to powder. Remove the replacement material immediately if possible, brush the substrate clean, and reinstall with fresh adhesive after testing the backing for damage.
Using General-Purpose Spray Glue
Household spray adhesive often lacks the temperature and plasticizer resistance needed for a sun-heated RV roof. Replace failed sections with a product identified for automotive headliners, marine upholstery, or high-temperature trim, and observe its flash and coverage instructions.
Stretching Around Corners
Overstretching creates an apparently smooth installation that can loosen when temperature changes alter fabric dimensions. Relax the material into curves, make controlled relief cuts only where hidden by trim, and avoid forcing fabric across a radius beyond its natural drape.
Trapping Air Bubbles
Fresh bubbles can often be rolled toward an edge or fixture opening before the adhesive sets. A cured bubble may require a tiny adhesive injection beneath the fabric, followed by flat pressure, but large bubbles usually indicate poor coverage or contaminated substrate and deserve a larger repair.
Allowing Adhesive to Bleed Through
Bleed-through usually follows excessive spray on porous backing or insufficient flash time. Let the spot dry fully, then test a mild manufacturer-approved cleaner on a hidden area; do not scrub aggressively because rubbing can permanently change the face texture.
Cutting Fixture Holes Too Large
An oversized opening cannot be hidden by a small bezel. Start with a cross-shaped slit or a hole smaller than the flange, then enlarge it gradually while keeping the blade away from wiring.
When Is a Partial Repair Sensible?
A partial repair makes sense when sagging is limited to a small, accessible section, the surrounding foam remains firm, and no leak affects the adjacent substrate. If the foam fails across several ceiling bays or powder appears beyond the visible sag, a full replacement usually produces a more consistent and durable result.
For a low-value coach, batten strips can pin an otherwise serviceable ceiling in place for roughly $50-$150 in trim and fasteners. This approach hides sag but does not remove degraded foam, improve water damage, or restore a smooth uninterrupted appearance.
A hard-panel conversion can eliminate future foam failure, but the panels must be lightweight, mechanically supported, and compatible with the RV’s movement. Do not use heavy residential beadboard without checking framing, fastener pullout, cabinet clearance, and total roof-to-floor weight distribution.
How Can You Prevent Another Ceiling Failure?
Prevent recurrence by repairing roof penetrations promptly, limiting prolonged interior humidity, inspecting trim and sealants annually, and choosing a material and adhesive designed for temperature cycling. A ceiling fabric replacement cannot compensate for water intrusion, poor ventilation, or an adhesive that was never intended for vehicle interiors.
Inspect the roof after severe storms and before long-term storage. Run ventilation while showering or cooking, dry condensation around air-conditioning outlets, and avoid storing the RV with wet upholstery or carpets that raise interior humidity.
The most useful practitioner rule is simple: adhesive strength is secondary to surface cleanliness. A premium adhesive on dusty foam residue fails sooner than a correctly applied midrange product on stable, clean luan.
Frequently Asked Questions
Can I replace RV ceiling fabric without removing cabinets?
Sometimes, but only when cabinet edges do not trap the fabric and the ceiling section is small enough to manage. Full-width replacement usually looks better when removable trim, valances, and cabinet-edge moldings come off first, because concealed edges need room for overhang, adhesive application, and final tucking.
Can I paint over an RV fabric ceiling?
Painting is generally unsuitable for foam-backed fabric because paint adds weight, stiffens the face, and can expose sagging seams or foam breakdown. Painting a stable rigid luan or PVC replacement panel is more practical, provided the surface receives a compatible primer and the added weight remains acceptable.
How do I remove adhesive from an RV ceiling panel?
Remove adhesive residue mechanically first with a plastic scraper and controlled brushing. Test an adhesive remover or denatured alcohol in a hidden area before wider use, because solvents can soften laminates, dissolve plastics, stain luan, or leave an oily film that prevents the new bond.
Should I add insulation while replacing the headliner?
Add insulation only after checking clearance, condensation risk, wiring paths, and ventilation around roof appliances. Thin closed-cell material may improve thermal comfort, but stuffing insulation against a damp roof or blocking required appliance clearances can create a more serious problem than the original sag.
Is foam-backed vinyl better than cloth for an RV?
Foam-backed vinyl is better for wipe-clean maintenance and a smooth factory appearance, while cloth is usually easier to conform to curves and less demanding during overhead installation. Vinyl becomes the poorer choice when the substrate is uneven, the material is unusually heavy, or the adhesive has not passed a heat test.
Can a professional automotive upholstery shop replace an RV ceiling?
An automotive upholstery shop can often replace RV ceiling fabric if the shop has adequate ceiling height, material width, and experience with large bonded panels. Ask how the shop removes deteriorated foam, handles roof leaks, manages fixture openings, and guarantees adhesive performance under vehicle heat before accepting an estimate.
The Bottom Line
To replace RV ceiling fabric successfully, disconnect power, remove fixtures, strip the old cloth and every trace of failed foam, repair leaks, confirm a dry stable substrate, and install replacement material in controlled half-panel sections with high-temperature adhesive. The exact keyword, how to replace rv ceiling fabric, describes a preparation-heavy project: clean luan and correct adhesive timing matter more than fabric brand or appearance.


