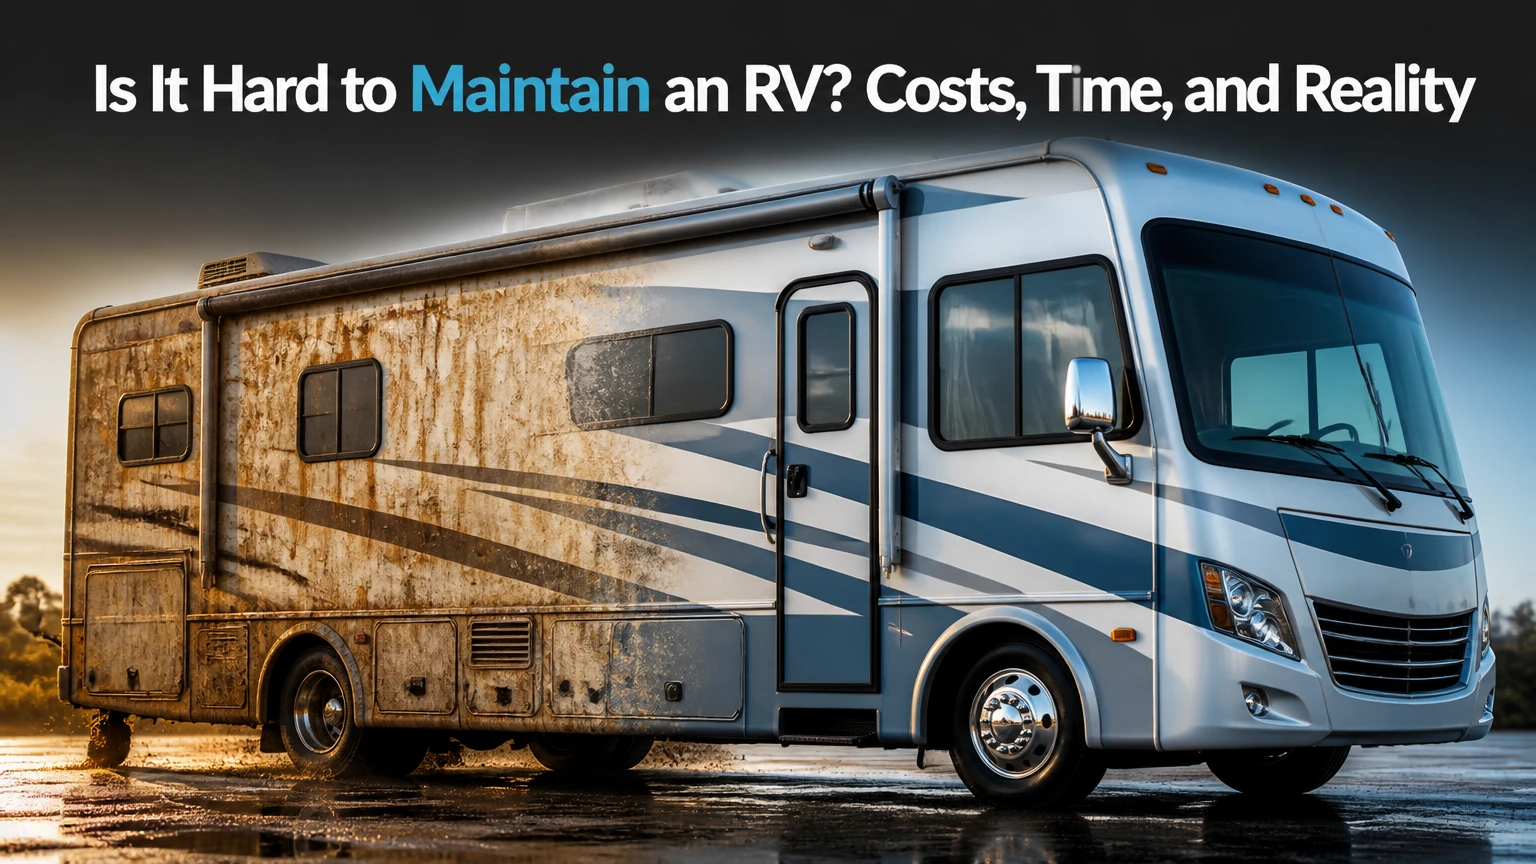
Yes, maintaining an RV is moderately difficult because an RV combines a road vehicle with a small house. Owners must manage engines or wheel bearings, brakes, tires, plumbing, 12-volt and 120-volt electrical systems, propane appliances, appliances, roof sealants, and water intrusion. A typical recreational user spends 20-40 hours and $1,000-$5,000 per year.
Key Facts at a Glance
- RV maintenance commonly requires 20-40 owner or technician labor hours per year for a recreational-use rig.
- Typical annual maintenance costs range from $300-$600 for a pop-up camper to $3,000-$5,000 or more for a Class A motorhome.
- Roof and exterior seal inspections prevent disproportionately expensive structural repairs caused by hidden water intrusion.
- Trailer owners must maintain both the trailer and the tow vehicle, although the tow vehicle is not included in most RV maintenance estimates.
- Tire pressure, wheel bearings, brakes, and hitch equipment deserve priority because failures can cause crashes rather than inconvenience.
- Winterization is a seasonal procedure, not a single drain step; trapped water can split pumps, valves, filters, and water-heater components.
Why Is RV Maintenance Harder Than Car Maintenance?
RV maintenance is harder than ordinary car maintenance because the owner maintains two connected systems: a chassis and a habitation body. A motorhome adds engine, transmission, suspension, brakes, steering, generator, and emissions equipment; a towable RV adds axles, bearings, electric brakes, suspension, hitch components, and the tow vehicle.
The house portion creates the larger inspection burden. Roof membranes, lap sealants, slide-out openings, window frames, plumbing fittings, freshwater tanks, holding tanks, converters, inverters, batteries, propane regulators, refrigerators, furnaces, and air conditioners all age differently.
Highway travel accelerates wear. A trailer or motorhome experiences repeated vibration, braking loads, temperature changes, and body flexing. A small seal gap can admit water for months before staining appears inside. An RV that sits unused also deteriorates: tires develop age-related cracking, batteries discharge, and roof sealants lose elasticity under sunlight.
The workload is manageable when inspections are scheduled. It becomes hard when owners defer small repairs until several systems fail at once.
What Skills Does an Owner Need?
An RV owner does not need to rebuild an engine, rewire a distribution panel, or repair a propane leak personally. Basic ownership requires safe inspection, documentation, cleaning, leak detection, battery care, tire measurement, tank operation, and the judgment to stop when a repair exceeds the owner’s skill.
A useful baseline includes a digital multimeter, tire-pressure gauge, infrared thermometer, flashlight, non-abrasive roof cleaner, manufacturer-approved sealant, nitrile gloves, and a maintenance log. Owners should know the difference between 12-volt DC power, 120-volt AC power, propane, and potable water because incorrect diagnosis can damage equipment or injure someone.
Which RV Types Are Easiest to Maintain?
Pop-up campers and basic travel trailers are generally easiest to maintain, while Class A motorhomes are the most demanding. Complexity rises with engine size, slide-out count, generator capacity, air brakes, hydraulic systems, diesel equipment, and the number of appliances installed.
| RV type | Main maintenance systems | Typical annual cost | Typical difficulty |
|---|---|---|---|
| Pop-up camper | Canvas, lift cables, bearings, tires, brakes | $300-$600 | Low |
| Travel trailer | Roof, wheel bearings, brakes, plumbing, 12-volt system | $800-$1,500 | Low-moderate |
| Fifth wheel | Heavy axles, pin box, slides, roof, landing gear | $1,200-$2,500 | Moderate |
| Class B motorhome | Van chassis, house battery, plumbing, compact appliances | $1,200-$2,500 | Moderate |
| Class C motorhome | Truck chassis, roof, cab-over seam, generator, slides | $1,500-$3,000 | Moderate-high |
| Class A motorhome | Engine, air or hydraulic brakes, generator, slides, leveling systems | $3,000-$5,000+ | High |
A travel trailer may have fewer systems than a motorhome, but the apparent simplicity can mislead. The trailer still needs tires, bearings, brakes, suspension, roof maintenance, and a correctly matched tow vehicle. A motorhome can visit an automotive repair shop for chassis work, while a trailer owner must coordinate both trailer service and tow-vehicle service.
Class B vans are often easier for owners who dislike towing, but compact packaging makes access difficult. A failed water pump or auxiliary battery may require removing cabinetry. Fifth wheels offer residential space, yet their pin-box, landing-gear, slide, and heavy running-gear systems require careful inspection.
Is a Travel Trailer Easier Than a Motorhome?
A travel trailer is usually easier and cheaper to maintain than a motorhome because it has no engine or transmission. A trailer owner must still service wheel bearings, electric brakes, tires, suspension, hitch components, roof sealants, and the separate tow vehicle.
That distinction matters when comparing purchase prices. A trailer’s annual maintenance estimate may exclude the truck or SUV used to tow it. The combined ownership cost can exceed a small Class C motorhome if the owner needs a dedicated heavy-duty pickup.
How Much Time Does RV Maintenance Take?
Most recreational RV owners should reserve 20-40 hours annually for inspections, cleaning, seasonal preparation, and routine service. Full-time occupants, owners who travel monthly, and people storing rigs outdoors commonly spend 50-100 hours because water systems, seals, tanks, appliances, and tires receive more exposure.
| Maintenance cadence | Typical tasks | Time per occurrence | Consequence if skipped |
|---|---|---|---|
| Before every trip | Tire pressure, lights, hitch, fluids, leaks, battery voltage | 20-40 minutes | Towing or roadside failure |
| Monthly during use | Roof and seal inspection, tank care, battery check, slide inspection | 1-2 hours | Water intrusion or stuck equipment |
| Every 90 days | Roof, windows, vents, underbody, caulking, tire age | 1-3 hours | Hidden seal and structural damage |
| Annually | Bearings, brakes, generator, appliances, propane system | 4-12 hours | Safety failure or expensive repair |
| Spring de-winterization | Flush, sanitize, charge batteries, test systems | 3-6 hours | Contaminated water or leaks |
| Fall winterization | Drain, bypass, blow lines, antifreeze, battery storage | 2-4 hours | Freeze damage costing hundreds or thousands |
The pre-trip inspection has the best return on time. Checking tire pressure when tires are cold, confirming lug-nut security according to the manufacturer’s specification, testing trailer lights, and examining the hitch can prevent a breakdown before the RV leaves the driveway.
What Takes the Most Time?
Water intrusion takes the most ownership time when detected late. A roof reseal may take a few hours, but wet insulation, delaminated wall panels, damaged flooring, and rotten framing can require weeks of repair and several thousand dollars.
Tank cleaning also expands for full-time users. A weekend camper may dump after a trip; a full-timer must control solids, water levels, odors, and valve operation throughout the year. Slide-outs add recurring work because rollers, seals, motors, gears, wiring, and alignment all experience movement.
How Much Does RV Maintenance Cost Per Year?
Annual RV maintenance typically costs $1,000-$5,000, excluding insurance, registration, campground fees, fuel, financing, and major accident damage. A lightly used travel trailer may cost less than $1,000 in a quiet year, while one tire set, an appliance failure, or a roof repair can push a motorhome beyond $5,000.
| Cost category | Typical interval | Typical DIY or shop cost | Main price driver |
|---|---|---|---|
| Roof and exterior sealant | Inspection quarterly, reseal as needed | $50-$1,500 | Roof size and water damage |
| Wheel bearings and brakes | Annual or 10,000-12,000 miles | $200-$600 | Axle count and brake condition |
| RV tires | Replace around 5-7 years by age and condition | $600-$3,500 | Tire size, load range, quantity |
| House batteries | 3-6 years, chemistry dependent | $200-$2,000 | Lead-acid versus lithium bank |
| Generator service | Annual or manufacturer interval | $100-$500 | Oil, filters, hours, access |
| Air conditioner service | Annual cleaning | $0-$300 | DIY access and electrical faults |
| Professional inspection | Before purchase or annually | $200-$500 | Region and inspection scope |
| Water-heater or refrigerator repair | As failure occurs | $150-$3,000 | Part availability and appliance type |
Labor rates vary by market. The supplied industry range of $150-$250 per hour is plausible for specialized RV service, but mobile technicians, dealerships, and automotive shops may charge different rates. Appointment delays can also create indirect costs when a repair postpones a trip.
A sensible reserve is $1,500 annually for a modest used trailer, $2,500-$4,000 for a frequently used fifth wheel or Class C, and at least $4,000 for an older or heavily equipped Class A. These are planning figures, not guarantees.
What Maintenance Does an RV Need by Season?
Seasonal RV maintenance follows the local climate, storage method, and travel schedule. Freezing temperatures make winterization urgent, while high ultraviolet exposure and humidity accelerate roof, sealant, tire, and mold deterioration.
Spring: De-Winterize and Test
Spring de-winterization requires more than adding water. Remove plumbing antifreeze according to the product instructions, inspect the water heater’s drain plug and anode rod, return the bypass valves to operating position, and flush every faucet until the water is clear.
Sanitize the freshwater tank with an RV-compatible chlorine solution at the manufacturer’s recommended concentration. Do not guess at bleach quantities because tank volume and product concentration vary. Drain and rinse the system afterward, then inspect every fitting while the pump is pressurized.
Reconnect or charge house batteries, verify converter output, test the ground-fault circuit interrupter, inspect roof and window seals, and operate slides, awnings, furnace, refrigerator, water heater, and air conditioner. A spring leak test is cheaper than discovering damage during the first trip.
Summer: Inspect Before Travel and During Use
Summer maintenance begins with cold tire-pressure checks before every departure. Use the pressure listed by the RV or tire manufacturer, account for actual axle loads, and never reduce pressure merely to improve ride comfort.
Dump the black tank only when it contains sufficient water to carry solids away, and keep the black valve closed when connected to a sewer. The gray valve should also remain closed often enough to preserve water volume for flushing the hose. Enzyme or bacterial tank treatments can help odors, but they cannot repair poor water levels or a blocked valve.
Check engine oil, coolant, transmission fluid, generator oil, battery voltage, slide seals, awning fabric, and refrigerator ventilation. Hot weather increases air-conditioner demand, battery cycling, and tire temperature, so overloaded circuits and marginal batteries often fail during summer trips.
Fall: Winterize for the Actual Freeze Risk
Winterization protects the water system from freezing expansion. Drain the freshwater, gray, and black tanks, open low-point drains, drain the water heater after it cools, bypass the heater, and use either regulated compressed air or RV-specific antifreeze according to the manufacturer’s procedure.
Never use automotive antifreeze in potable-water plumbing. Automotive coolant contains chemicals unsuitable for the RV water system. Follow the RV and appliance manuals because some refrigerators, washing machines, ice makers, filters, and exterior showers need separate treatment.
Remove, disconnect, or maintain house batteries according to battery chemistry and manufacturer guidance. Inflate tires to storage pressure, protect the rig from standing water, clean and dry the interior, and use ventilation to control condensation. An airtight, non-breathable cover can trap moisture against the roof and encourage mold.
Which Maintenance Tasks Can You Do Yourself?
Owners can usually perform inspections, cleaning, tank care, sealant checks, battery charging, filter replacement, and basic winterization. Professional service is safer for propane leaks, brake repairs, structural water damage, high-voltage electrical faults, engine work, refrigerant systems, and repairs involving uncertain load-bearing components.
| Task | DIY suitability | Typical time | Hire a professional when |
|---|---|---|---|
| Tire pressure and visual inspection | High | 10 minutes | Tire has sidewall damage or unknown load |
| Roof seal inspection | High | 30-60 minutes | Membrane is soft, bubbled, or delaminated |
| Tank flushing | High | 30-90 minutes | Valve remains blocked after proper flushing |
| Battery testing | Moderate | 15-30 minutes | Wiring overheats or voltage remains abnormal |
| Wheel-bearing service | Moderate-high | 2-4 hours | No torque tools or bearing damage appears |
| Propane leak diagnosis | Low | Variable | Any odor, pressure loss, or alarm occurs |
| 120-volt electrical repair | Low | Variable | Breaker trips, wiring heats, or shock occurs |
| Structural water repair | Low | 8-40+ hours | Wall, floor, insulation, or framing is wet |
DIY savings can be substantial. A roof inspection may cost nothing beyond cleaning supplies, while a shop may charge for inspection time. However, a poorly selected sealant can be incompatible with a rubber roof membrane, and an overtightened wheel fastener can create a safety problem.
Use the owner’s manual, chassis manual, appliance manuals, tire load tables, and manufacturer service bulletins. Keep photographs and receipts. A documented service history improves resale confidence and helps a technician diagnose recurring faults.
What Should You Never Ignore?
Never postpone tire cracking, brake problems, propane odor, water intrusion, loose wheel hardware, overheated wiring, or steering and suspension symptoms. Cosmetic defects can wait; safety failures and moisture entry should not.
A practical triage order is:
- Prevent collision or fire: tires, brakes, hitch, propane, electrical overheating.
- Prevent immobilization: batteries, wheel bearings, engine fluids, generator, cooling systems.
- Prevent expensive damage: roof seals, window seals, plumbing leaks, slide mechanisms.
- Improve comfort: appliance performance, cosmetics, cabinetry, and convenience features.
What Problems Occur Most Often?
The most common RV problems are water leaks, aged tires, weak batteries, blocked holding-tank valves, slide-out failures, roof deterioration, and appliance faults. These failures often begin as maintenance issues rather than sudden defects.
| Failure mode | Early symptom | Typical repair range | Prevention |
|---|---|---|---|
| Roof or window leak | Staining, musty odor, soft trim | $100-$5,000+ | Quarterly seal inspection |
| Aged or overloaded tire | Cracks, heat, uneven wear | $600-$3,500 | Load-based pressure and age tracking |
| Dead house battery | Dim lights, slide stalls | $200-$2,000 | Charge maintenance and voltage checks |
| Black-tank blockage | Slow drain, odor, rising level | $100-$1,000 | Adequate water and closed valve |
| Slide-out failure | Clicking, uneven movement | $200-$3,000 | Clean seals, inspect alignment |
| Weak air conditioner | Warm airflow, tripped breaker | $150-$1,500 | Clean filters and coils |
| Freeze-damaged plumbing | Leaks after filling | $100-$3,000 | Complete winterization |
One counterintuitive rule matters: low mileage does not mean low maintenance. An RV that travels only 500 miles per year may have older tires, more battery sulfation, and more sealant aging than a rig that travels 10,000 miles annually.
Another practitioner rule is to treat roof inspection as a water-management task, not a cosmetic task. Sealant can look intact from ground level while separating at a vent, corner, gutter, or slide transition. Use a safe inspection method and never walk on a roof unless the manufacturer permits it.
What Should You Check Before Buying an RV?
A pre-purchase inspection should examine moisture, tires, chassis or running gear, electrical systems, plumbing, propane, appliances, slides, roof condition, service records, and evidence of unauthorized repairs. A $200-$500 independent inspection can expose defects that outweigh a seemingly attractive purchase price.
Ask for tire date codes, service invoices, generator hours, roof-reseal records, battery age, accident history, and evidence of winter storage. Test every system rather than accepting the seller’s statement that an appliance worked last season.
Pay special attention to:
- Soft floors near doors, bathrooms, kitchens, slide-outs, and exterior compartments.
- Bubbling or waviness in sidewalls, which can indicate delamination.
- Fresh sealant applied over failed sealant, a common concealment pattern.
- Corrosion near battery compartments, wheel wells, plumbing, and underbody structures.
- Uneven tire wear, hot hubs, loose suspension parts, or brake-controller faults.
- A refrigerator that cools slowly, an air conditioner that trips breakers, or a water heater that leaks.
- Payload and axle ratings that do not support the owner’s passengers, cargo, water, propane, and hitch weight.
The cheapest RV to maintain is often the one with documented care, dry construction, accessible components, and common replacement parts. Purchase price alone is a poor ownership-cost predictor.
How Can Climate and Storage Change the Workload?
Outdoor storage, freezing weather, coastal salt, desert ultraviolet exposure, and humid climates can add 10-30 hours of annual inspection and cleaning compared with protected indoor storage. Storage conditions change the maintenance interval because moisture, sunlight, temperature cycling, and pests attack different materials.
Indoor storage reduces ultraviolet exposure and precipitation but does not eliminate inspections. A covered RV still needs ventilation, battery maintenance, tire checks, pest control, and periodic operation of seals, valves, generator equipment, and appliances.
In freezing regions, winterization is mandatory before sustained temperatures below freezing. In humid regions, inspect for condensation, mold, soft furnishings, and poorly ventilated compartments. Near coastlines, rinse salt from the chassis, steps, hitch, and electrical connections. In desert climates, inspect roof coatings, awnings, caulking, and tire sidewalls more frequently for ultraviolet damage.
Do not leave an RV sealed completely for months. Controlled airflow reduces condensation, while moisture absorbers help only in small enclosed areas and cannot substitute for ventilation or leak repair.
Is RV Maintenance Worth the Effort?
RV ownership is worth the maintenance effort for people who value flexible travel, campsite access, and self-contained living enough to accept recurring inspections and repair reserves. It is a poor fit for buyers who expect car-like servicing, dislike troubleshooting, or cannot store and inspect the vehicle reliably.
A weekend traveler with a travel trailer can keep the burden reasonable by inspecting seals quarterly, checking tires before every trip, servicing bearings annually, and winterizing correctly. A full-time owner should budget more because continuous occupancy increases plumbing, tank, appliance, slide, and battery wear.
A Class B may suit a minimalist traveler who wants normal-van drivability and automotive service access. A fifth wheel can suit a stationary full-timer who values residential space and has a capable tow vehicle. A Class A offers extensive systems and comfort, but its maintenance reserve and specialist dependence are highest.
The honest limitation is that no checklist predicts every RV repair. Construction quality, previous water exposure, storage climate, owner loading habits, and parts availability can move costs dramatically from one year to the next.
What Is the Best Maintenance Routine?
The best RV maintenance routine combines a pre-trip safety check, a monthly systems check during use, a quarterly exterior inspection, annual running-gear service, and complete seasonal preparation. The routine works when owners record dates, measurements, parts, symptoms, and repair decisions rather than relying on memory.
Keep one spreadsheet or notebook with:
- Tire brand, size, load range, date code, cold pressure, and measured axle weight.
- Battery chemistry, installation date, resting voltage, and charging method.
- Sealant type, application date, roof material, and locations inspected.
- Wheel-bearing, brake, generator, engine, and transmission service dates.
- Appliance model numbers, error codes, filters, and replaced parts.
- Winterization and de-winterization dates, including antifreeze and bypass actions.
Measure loaded axle weights at a certified scale when possible. Tire pressure must support actual load, and maximum sidewall pressure alone does not confirm that the RV is correctly loaded. Weight distribution also affects tow stability, hitch capacity, braking, and tire temperature.
FAQ
Is an RV More Work Than a House?
An RV is usually more maintenance-intensive per square foot than a house because it combines a vehicle, a flexible structure, compact appliances, plumbing, electrical systems, and exterior seals. A house has more space and usually less vibration, while an RV requires pre-trip safety inspections and seasonal winterization.
Can Someone With No Mechanical Experience Maintain an RV?
A beginner can handle inspections, cleaning, battery charging, tank care, seal checks, and manufacturer-directed winterization. Beginners should hire qualified technicians for propane, 120-volt electrical, structural water damage, brake systems, wheel bearings without proper tools, and engine or transmission repairs.
What Breaks First on an RV?
Roof and window seals, tires, house batteries, slide-out components, and water pumps commonly require attention first. Age, sunlight, storage, and use frequency matter more than mileage for several of these parts, which is why a rarely driven RV can still need significant repairs.
How Often Should an RV Roof Be Checked?
Inspect the RV roof and exterior penetrations at least every 90 days during the travel season and after severe weather. Examine vents, skylights, antennas, edges, slide transitions, ladder mounts, and sealant joints. Repair compatible sealant failures early, before moisture reaches insulation or framing.
Should an RV Black Tank Valve Stay Open at a Campsite?
The black tank valve should generally remain closed until the tank is sufficiently full for a forceful dump. Leaving the valve open allows liquid to escape while solids accumulate, creating a hardened blockage commonly called a pyramid. Use adequate water and follow the tank manufacturer’s cleaning guidance.
Is RV Maintenance Cheaper if You Do It Yourself?
DIY maintenance can reduce labor costs substantially, especially for inspections, cleaning, sealant work, battery care, and winterization. DIY is not automatically cheaper when an owner uses incompatible materials, skips safety procedures, damages a roof membrane, or misdiagnoses electrical, propane, brake, or structural problems.
The Bottom Line
Is it hard to maintain an rv? RV maintenance is manageable but demanding, especially when the vehicle has multiple slides, a diesel chassis, air brakes, a generator, hydraulic leveling, or full-time occupancy. Plan for 20-40 hours and $1,000-$5,000 annually, inspect tires and seals first, winterize completely, and hire specialists for safety-critical systems.


