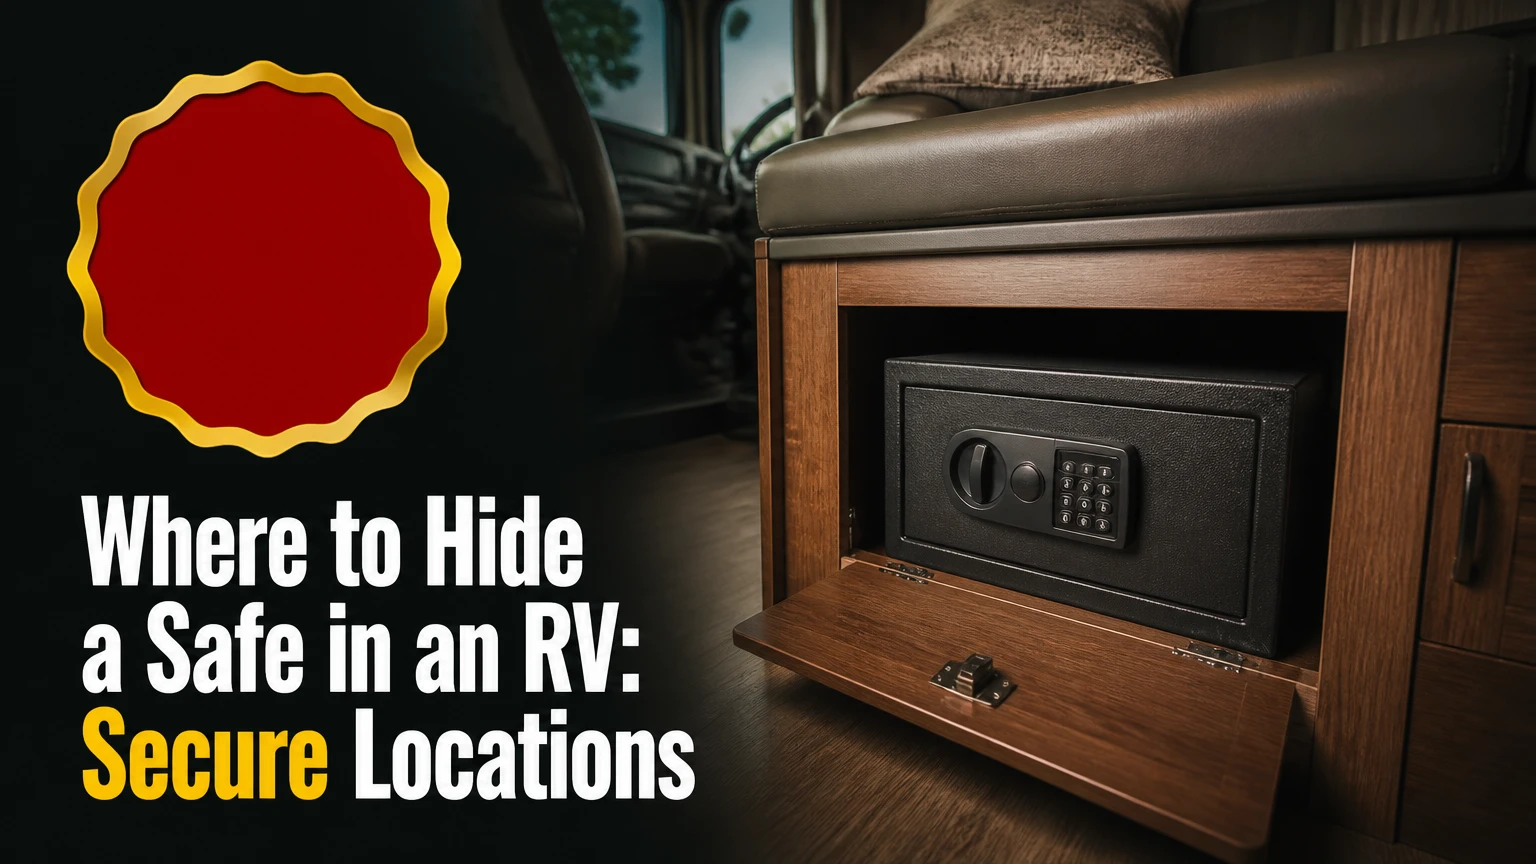
The safest place to hide a safe in an RV is inside a structurally strong, low-access compartment such as a bed platform, dinette bench, or reinforced cabinet, provided the safe is bolted to framing or a backing plate. Avoid thin cabinet walls, exterior-access compartments, areas above propane or water systems, and any location that compromises weight distribution or emergency access.
Key Facts at a Glance
- A concealed RV safe should be anchored to metal framing, a structural bed platform, or a steel backing plate, not thin luan paneling alone.
- Under-bed and dinette-bench installations typically provide better concealment than a visible cabinet safe while preserving usable floor space.
- A typical compact RV safe costs $80-$250, while a larger drawer or floor safe commonly costs $150-$500 before installation.
- A floor safe generally needs about 10-15 centimeters of clear depth, but the real requirement depends on the safe body, subfloor, tanks, wiring, and door mechanism.
- Safe weight counts against the RV’s Cargo Carrying Capacity and may affect axle loading, especially in small travel trailers and campervans.
- Digital keypads require a battery-failure plan; mechanical locks avoid battery dependence but are slower to operate and more sensitive to incorrect dialing.
Where to Hide a Safe in an RV
The best RV safe location combines concealment, structural strength, dry conditions, and practical access. For most RVs, the first locations to inspect are the underside of a bed platform, the rear portion of a dinette bench, or a factory cabinet that can accept a steel backing plate without blocking plumbing, wiring, ventilation, or service panels.
A hidden safe is not automatically secure. A thief who finds an unanchored box can remove it in seconds, while a heavily anchored safe installed in an obvious cabinet may reveal where valuables are stored. The useful security objective is delay: conceal the safe, prevent rapid removal, and avoid making the RV look as though it contains a high-value target.
Best Concealed Locations by RV Area
| RV location | Typical safe format | Typical installation time | Main limitation |
|---|---|---|---|
| Under-bed platform | 12-18 cm drawer safe | 1-2 hours | Bed frame may need reinforcement |
| Dinette bench base | Compact steel box | 1-2 hours | Limited depth and seat storage |
| False closet floor | Recessed or compact safe | 2-4 hours | Requires utility inspection and precise cutting |
| Reinforced kitchen island | Cabinet safe | 1-2 hours | Plumbing and wiring often occupy the base |
| Interior service cabinet | Compact keyed safe | 45-90 minutes | Access panel may reveal installation |
| Behind a removable vent-style panel | Small emergency safe | 1-2 hours | Never block an actual air return or furnace vent |
The strongest general-purpose choice is an under-bed safe anchored through the platform into a metal frame or substantial backing structure. The best location for passports and daily-use cash is usually a reinforced interior cabinet because it offers faster access without opening the entire bed base.
Do not use an actual furnace intake, refrigerator vent, battery ventilation opening, or propane compartment as camouflage. Blocking required airflow, combustion ventilation, or battery off-gassing paths creates a safety problem that outweighs the concealment benefit.
Which Safe Type Fits Your RV?
Under-bed drawer safes are usually the most practical choice for full-timers, cabinet safes suit smaller valuables and limited installation space, and floor safes provide strong concealment only when the RV floor has verified clearance. A safe’s lock type, body depth, mounting pattern, weight, and fire rating matter more than its advertised capacity.
| Safe type | Typical price | Typical size or depth | Typical install time | Best application |
|---|---|---|---|---|
| Compact cabinet safe | $80-$250 | About 30 x 20 x 20 cm | 1-2 hours | Passports, cash, keys |
| Under-seat box safe | $100-$300 | 10-18 cm high | 1-2 hours | Small electronics and documents |
| Under-bed drawer safe | $200-$500 | Up to 100 cm wide | 1-2 hours | Laptops, drives, legal papers |
| Recessed floor safe | $150-$400 | About 10-15 cm clear depth | 2-4 hours | Low-frequency access valuables |
| Portable lockbox | $30-$150 | Manufacturer-specific | 15-30 minutes | Temporary travel storage |
Under-Bed and Under-Seat Safes
An under-bed safe offers the best balance of capacity and concealment in many Class A motorhomes, Class C motorhomes, and larger travel trailers. A drawer design can hold a laptop, passport wallets, external drives, and document folders without requiring a deep vertical compartment.
Measure the clear opening, not merely the storage cavity. The drawer needs room for its slides, lock face, cable routing, and full travel, and the bed platform must support the safe during vibration and braking. A 25-kilogram steel safe also adds a concentrated load that may require a spreader plate.
Under-seat safes work well when the metal seat frame is accessible. Do not assume a visible seat base is structural enough for direct tapping. Inspect the frame thickness, fastener access, and underside clearance before drilling.
Cabinet and Closet Safes
A cabinet safe is the easiest permanent option for a compact RV, but ordinary RV cabinetry is often made from thin luan plywood, commonly around 3-5 millimeters thick. Screws driven only into that panel can pull out under prying force, so a cabinet installation should use a nearby stud, aluminum angle, steel frame member, or large backing plate.
A closet floor can conceal a small safe beneath a removable false floor. This arrangement works for cash, passports, jewelry, and backup keys, but it is less suitable for a laptop or a safe requiring frequent access. Leave enough clearance to remove the safe later without destroying the closet.
Floor Safes
A floor safe provides excellent visual concealment because the top can sit flush beneath carpet, vinyl, or a removable floor panel. The installation is invasive, however, and an RV floor may contain wiring, plumbing, ductwork, tanks, insulation, or a structural cross member immediately below the surface.
The commonly cited 10-15 centimeter clearance is only a starting point. Confirm the safe’s external body depth, hinge movement, door swing, drain or moisture exposure, and the full space beneath the subfloor. A floor safe should never be installed above a propane line or water tank simply because the cavity appears empty from inside.
Lock Types
| Lock type | Battery dependence | Access pattern | Typical failure concern |
|---|---|---|---|
| Keyed cylinder | None | Fast with controlled key access | Lost or duplicated key |
| Electronic keypad | Usually 4 AA or 9V battery system | Fast daily access | Dead battery or damaged keypad |
| Mechanical combination | None | Slower, typically 15-45 seconds | Dial wear or entry error |
| Biometric | Usually battery-powered | Fast for enrolled users | Dirty sensor, low battery, poor recognition |
A mechanical lock is useful for boondockers who may have limited battery access, while an electronic keypad is convenient for daily use. Biometric locks should be treated as convenience devices rather than the sole access method because cold, dust, moisture, or a dirty finger can reduce recognition reliability.
The “bump key” claim sometimes attached to electronic RV safes is technically misplaced. Bumping is associated with certain pin-tumbler cylinders, not a universal method for defeating electronic solenoids. A strong magnet is also not a dependable bypass for a properly designed safe; lock construction, relay protection, and the specific model determine vulnerability.
How Do You Choose the Exact Installation Site?
Choose the installation site by mapping structure, utilities, access, moisture, and weight before drilling. The ideal location has a metal frame or strong platform within the bolt pattern, at least 90 degrees of door clearance, no hidden service line, and enough surrounding space to inspect or remove the safe later.
Before You Start
| Requirement | Typical value |
|---|---|
| Planning time | 30-60 minutes |
| DIY installation time | 1-4 hours |
| Typical safe budget | $80-$500 |
| Fasteners | Four 8-10 mm bolts, or manufacturer-specified hardware |
| Backing plate | Steel plate approximately 3-6 mm thick |
| Tools | Tape measure, inspection camera, drill, bits, socket set |
| Protection materials | Rubber washers, foam, silica gel, thread locker |
| Prerequisite | Verified CCC, axle loading, utilities, and structural attachment |
Use the RV manufacturer’s wiring diagrams and floor plans when available. A stud finder is unreliable around aluminum framing, foil insulation, laminated panels, and metal appliances, so an inspection camera through an existing opening is often more informative.
Step 1: Inventory the Valuables
Write down the largest item, the heaviest item, and the item needed most often. A 15-liter cabinet safe may fit passports and cash but cannot accept a 16-inch laptop, whereas a wide under-bed drawer may accommodate electronics but consume valuable storage.
Keep firearms separate from the generic valuables decision. Firearm storage must follow applicable federal, state, provincial, and local law, plus campground, park, and insurer requirements. A small hotel-style safe may not meet those requirements.
Step 2: Map the Hidden Systems
Inspect both sides of the proposed mounting surface and identify water lines, propane piping, electrical cables, battery wiring, furnace ducts, holding tanks, and structural rails. Turn off relevant electrical circuits before drilling, and never drill near a suspected propane line without positive confirmation of its route.
Mark the planned bolt holes and check the opposite side. A bolt that exits into a tank, tire well, exterior skin, or moving suspension component is not an acceptable anchor.
Step 3: Check the Structure and Weight
Confirm whether the safe can attach to a metal frame, bed cross member, chassis-adjacent structure, or backing plate. Thin decorative panels are finishes, not anchors.
Calculate the added load. If the safe weighs 25 kilograms and its contents weigh 8 kilograms, the installation adds 33 kilograms before the backing plate and hardware. Compare that total with the RV’s Cargo Carrying Capacity, then consider axle position: weight placed far behind the rear axle can impose more than its direct mass on the rear axle.
Step 4: Test Access Before Drilling
Place a cardboard template matching the safe’s external dimensions in the proposed location. Open the door fully, simulate loading a laptop or document folder, and check whether the bed, seat, cabinet door, or hallway blocks the opening.
You will know the position works when the owner can reach the lock without moving a heavy mattress or dismantling a cabinet, unless low-frequency emergency access is the deliberate purpose. A common mistake is measuring the box but forgetting the door swing and handle projection.
Step 5: Install the Anchor
Use the manufacturer’s mounting holes whenever possible. Drill pilot holes through the safe base, platform, and backing structure, then fit appropriately sized bolts with flat washers and locking nuts or a manufacturer-approved equivalent.
For wood platforms, place a steel backing plate or large washers on the opposite side to distribute load. For metal framing, confirm that the frame can accept the bolt diameter and that drilling does not weaken a primary member. Apply removable thread locker if the safe manufacturer permits it.
You will know the anchor works when the safe cannot shift laterally by hand and the surrounding panel does not flex noticeably. Do not rely on four short wood screws driven into a 5-millimeter panel.
Step 6: Control Vibration and Moisture
Install rubber washers between the safe base and the mounting surface where they do not compromise bolt seating. Line contact areas with high-density foam so documents and electronics do not rattle during travel.
Place a rechargeable desiccant container or silica gel inside the safe, but do not treat desiccant as a substitute for fixing a leak or condensation source. Airtight steel containers can trap humid air, which promotes rust on metal objects and mold on paper.
Step 7: Conceal and Document the Installation
Use a removable floor panel, matching carpet section, factory-style cabinet face, or ordinary storage bin to cover the safe. Concealment should remain reversible and should not obstruct service panels, ventilation, or emergency equipment.
Photograph the installation before closing the panel. Record the safe model, serial number, key location, combination instructions, bolt pattern, and contents inventory in an encrypted off-site record. A hidden safe that only one person can access creates a preventable lockout risk.
Which Locations Are Best for Different RV Users?
Full-timers generally benefit from a large under-bed drawer safe, weekend travelers usually need a compact reinforced cabinet safe, and boondockers should prioritize a non-battery access method. The correct location changes with access frequency, safe weight, available power, and whether the RV is occupied or unattended for long periods.
| User situation | Recommended location | Recommended lock | Typical contents | Avoid |
|---|---|---|---|---|
| Full-time Class A | Under-bed platform | Mechanical or keypad | Laptop, drives, documents | Exterior storage bay |
| Weekend travel trailer | Reinforced interior cabinet | Keypad or key | Passports, cash, keys | Unanchored portable box |
| Campervan | Seat base or floor compartment | Keyed or compact keypad | Cash, cards, backup phone | Cutting near fuel systems |
| Boondocking | Dry cabinet or bed base | Mechanical combination | Documents, emergency cash | Battery-only lock |
| Family RV with children | High interior cabinet | Keypad with override | Medication, documents | Open-access dinette storage |
A campervan deserves extra caution because floor cavities may contain fuel lines, auxiliary batteries, wiring looms, or factory seat-belt reinforcements. A seat-base installation should not alter seat-belt anchors or compromise crash-rated components.
An exterior storage compartment is convenient but usually a poor hiding place. It is accessible to a thief without entering the living area, may experience larger temperature and humidity swings, and can advertise the presence of security equipment if the safe is visible.
Is a Visible Safe Better Than a Hidden Safe?
A visible, well-anchored safe can deter casual theft, while a concealed safe reduces the chance that an intruder will target the compartment. The strongest practical arrangement is often a concealed safe with serious anchoring, because concealment delays discovery and structural attachment prevents quick removal.
| Strategy | Discovery risk | Removal resistance | Access speed | Best use |
|---|---|---|---|---|
| Visible cabinet safe | High | Medium if reinforced | 10-30 seconds | Frequent access |
| Hidden bed safe | Low-medium | High with backing plate | 30-90 seconds | Full-time travel |
| Floor safe | Low | High after correct installation | 1-3 minutes | Emergency reserves |
| Portable lockbox | High | Low | 5-15 seconds | Short supervised trips |
| Hidden unanchored box | Low initially | Very low | 5-20 seconds after discovery | Not recommended |
A hidden safe is not a replacement for RV door locks, window security, lighting, campground awareness, or insurance. It protects selected contents after an intruder enters, but it does not prevent vehicle theft or protect objects left in plain sight.
What Should You Do If Drilling Is Not an Option?
A no-drill RV safe should be treated as a delay device rather than a permanent theft-resistant installation. Use a heavy lockbox secured to an existing structural steel member with a rated cable only when the cable and attachment point cannot be removed through the same opening.
No-drill options include:
- A portable safe with a hardened security cable around a fixed steel seat frame.
- A lockbox secured inside a factory metal compartment using existing holes.
- A removable safe mounted to an existing bed-frame bracket without drilling the RV structure.
- A locked, inconspicuous storage container combined with an off-site document backup.
Do not loop a cable around a thin table leg, plastic seat shell, removable handrail, or decorative cabinet handle. A thief can attack the attachment point rather than the safe.
A cable also has a predictable weakness: it may resist opportunistic removal but not a determined attacker with cutting tools. For passports and modest emergency cash, that trade-off may be reasonable. For firearms, large amounts of cash, or irreplaceable data, use a permanently anchored container that meets applicable legal and insurance requirements.
How Much Does an RV Safe Installation Cost?
A typical RV safe project costs $100-$600 for the safe, mounting hardware, backing materials, and installation supplies, while professional labor can add roughly $150-$500 depending on access and utility inspection. A basic cabinet installation costs less than a recessed floor installation because it avoids cutting the finished floor.
| Project type | Safe cost | Materials cost | DIY time | Typical professional total |
|---|---|---|---|---|
| Small cabinet safe | $80-$250 | $20-$75 | 1-2 hours | $250-$600 |
| Under-seat safe | $100-$300 | $30-$100 | 1-2 hours | $300-$700 |
| Under-bed drawer safe | $200-$500 | $40-$150 | 1-2 hours | $400-$900 |
| Recessed floor safe | $150-$400 | $50-$200 | 2-4 hours | $500-$1,200 |
| No-drill lockbox | $30-$150 | $20-$100 | 15-30 minutes | $100-$300 |
These are typical planning ranges, not quoted market prices. Labor increases when the installer must remove flooring, inspect laminated structures, reroute a panel, reinforce a platform, or document that drilling will not damage utilities.
The least expensive safe can become the most expensive choice if its mounting pattern does not match the RV structure. Budget first for anchoring, then for camouflage, and only afterward for cosmetic upgrades.
What Fire Protection Does an RV Safe Actually Provide?
An RV safe protects against theft and may provide limited fire resistance, but a fire-rated residential safe does not guarantee survival in an RV fire. Fire ratings differ by test standard, internal temperature limit, duration, and protected media, while RV fires can expose contents to heat, smoke, water, impact, and prolonged exterior temperatures.
Paper documents commonly require a safe rating designed to keep internal temperatures below roughly 350°F, or 177°C, during the stated test period. Digital media, USB drives, hard drives, and photographs can require a lower internal temperature limit, often around 125°F, or 52°C, depending on the product and media classification.
Read the certification label and manual rather than relying on “fireproof” marketing. UL, ETL, and manufacturer ratings describe specific test conditions, not an unlimited guarantee. A safe’s fire protection also depends on correct door closure, intact seals, and whether the safe is exposed to the fire from multiple sides.
A fire-resistant safe is not a waterproof safe. Keep passports and paper records in sealed document sleeves, maintain encrypted cloud or off-site backups, and store irreplaceable originals outside the RV when practical.
Common Installation Mistakes and Repairs
Screwing Into Thin Paneling
Thin luan plywood has little resistance to prying or bolt pull-out. Remove the safe, install a steel backing plate or structural frame attachment, and inspect for panel cracking before reinstalling.
Drilling Without Mapping Utilities
A drill can damage a pressurized water line, propane pipe, or 12-volt cable hidden beneath the floor. Stop immediately if you encounter unexpected resistance, odor, fluid, or heat, then isolate the relevant system and arrange professional inspection.
Ignoring Weight and Axle Position
A 33-kilogram safe installation can consume a meaningful portion of a small trailer’s cargo allowance. Weigh the RV after installation at a certified scale and compare axle weights with the manufacturer’s ratings.
Blocking Ventilation
A dummy vent is acceptable only when it is genuinely decorative and does not replace a required airflow path. Restore the original vent function or choose another location if the panel belongs to a furnace, refrigerator, battery, or appliance ventilation system.
Losing the Override Key
Hiding the override key inside the same RV defeats recovery if the keypad fails or the combination is forgotten. Store a controlled spare outside the vehicle, record the safe model and serial number, and test the backup method before every extended trip.
Allowing Condensation
Silica gel handles small moisture loads but cannot correct a wet floor, roof leak, or cold metal surface. Dry the safe, repair the leak, use a rechargeable desiccant unit, and inspect paper and metal contents at least quarterly.
How Do You Maintain a Hidden RV Safe?
Test the lock, anchor, door seal, and moisture condition every three months and after any major vibration event, collision, water leak, or structural repair. A hidden safe should be accessible enough for inspection even when its normal camouflage remains in place.
Use the following maintenance schedule:
- Open and close the lock five times every three months.
- Check each accessible fastener for movement, corrosion, or cracked mounting material.
- Inspect the interior for condensation, rust, mold, or swollen documents.
- Replace or recharge desiccant according to its product instructions.
- Confirm that the door opens fully and that stored contents do not obstruct the boltwork.
- Update the contents inventory and off-site access record twice each year.
Do not spray WD-40 into a mechanical combination lock. A dry lock lubricant approved by the manufacturer is safer because oily products can attract dust and contaminate internal components.
If an electronic keypad dies, use the model’s external emergency battery terminals or physical override key exactly as described in the manual. Do not pry the door or apply magnets without manufacturer guidance, because forced entry can destroy the locking mechanism and contents.
The Bottom Line
The best place to hide a safe in an RV is usually a reinforced under-bed platform or dinette bench, followed by a structurally anchored interior cabinet. Choose a floor safe only after confirming 10-15 centimeters of usable clearance and the absence of utilities, tanks, ducts, and structural hazards.
Anchor the safe through framing or a steel backing plate, calculate its effect on Cargo Carrying Capacity, preserve ventilation and service access, and create a backup plan for lock failure. Concealment reduces discovery, but correct anchoring determines whether the safe can actually resist removal.
Frequently Asked Questions
Can I Put a Safe in an RV Exterior Compartment?
An exterior compartment can hold a safe, but it is generally less discreet and more exposed to temperature changes, moisture, and direct attack. Use one only when the compartment has a rigid steel structure, a protected lock, adequate drainage, and no access to propane, battery, or electrical systems. Interior installation is usually preferable.
Should an RV Safe Be Bolted to the Floor?
An RV safe should be bolted to the floor only after the floor structure and underside utilities are verified. When floor drilling is unsafe, attach the safe to a metal bed frame, seat frame, or steel backing plate instead. Bolting into thin plywood alone provides little resistance to forced removal.
Where Should I Store Passports While Traveling?
Store passports in a concealed, dry, anchored interior safe that remains accessible without exposing the safe to visitors. A reinforced cabinet or small under-bed compartment usually works better than a floor safe for passports because owners need frequent access and must inspect documents for moisture.
Are RV Safes Waterproof?
Most RV safes are not fully waterproof, even when they have a fire-resistance label or a door seal. Place important papers in sealed sleeves, add desiccant, and correct leaks or condensation at the source. Verify the manufacturer’s ingress rating if water resistance is a specific requirement.
Can a Safe Damage an RV’s Warranty?
Drilling into a floor, chassis member, seat-belt structure, appliance enclosure, or utility path can create warranty and safety disputes. Review the RV manufacturer’s installation guidance, photograph the structure before modification, and use a qualified RV technician when the mounting area is laminated, inaccessible, or utility-dense.
How Can I Remember the Combination Safely?
Store the combination in a reputable password manager and keep a recovery record outside the RV. Avoid writing the code on the safe, hiding it in the same cabinet, or using a date visible on identification documents. Test the stored combination before leaving for a long trip.


