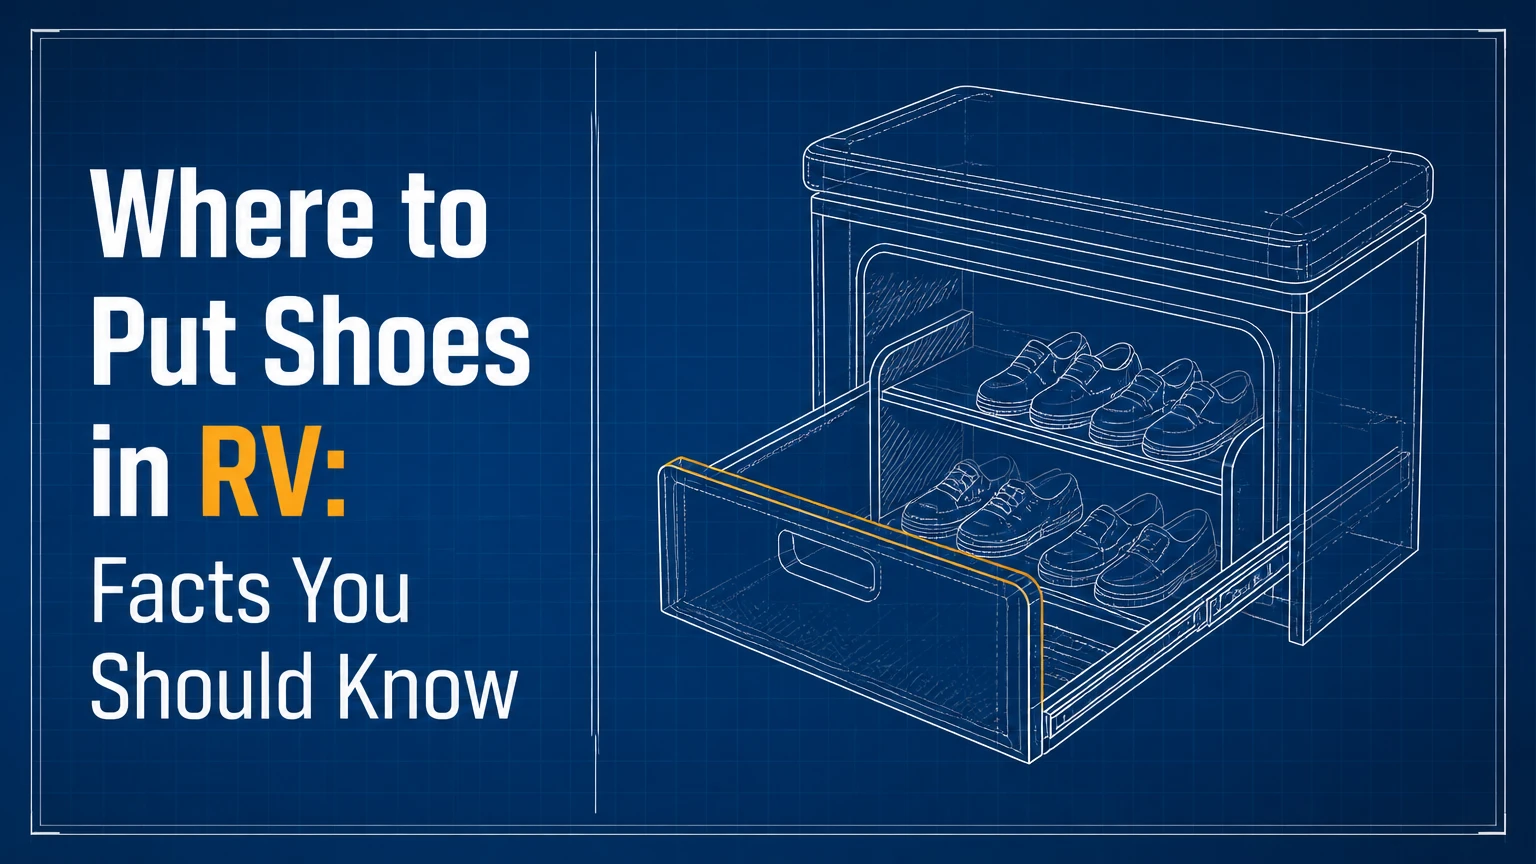
The best place to put shoes in an RV is a controlled drop zone immediately inside or outside the main entry, with daily pairs in quick-access storage and wet, muddy, or rarely used footwear in ventilated exterior or under-bed storage. Keep footwear off walkways, allow at least 4 inches beside doors, and secure every pair before travel.
Key Facts at a Glance
- An RV shoe system works best with three zones: entry transition, daily access, and reserve storage.
- A typical adult shoe pair needs 7-9 inches of linear width when stored side by side.
- Each traveler should normally carry 3-4 footwear categories, selected by activity rather than color or habit.
- Wet shoes should dry completely before entering a sealed plastic tote, because trapped moisture encourages odor and mildew.
- Adhesive wall storage should remain light, commonly 3-5 pounds per panel unless the product and RV wall support more.
- Exterior storage protects the living area from mud, but it adds rain, temperature, theft, and retrieval concerns.
Where Should Shoes Go First in an RV?
Shoes should go first in a transition zone at the main entry, where outdoor dirt and moisture can be contained before they reach carpet, vinyl, bedding, or upholstery. A washable rubber tray, boot mat, or low plastic bin is more useful than a decorative rack because the first job is containment.
The most reliable arrangement separates footwear by movement and contamination. Shoes used every day stay near the door, reserve shoes move into deeper storage, and wet or muddy footwear remains on a ventilated exterior tray until dry. This arrangement reduces unnecessary handling and prevents a pair of trail shoes from occupying prime space for an entire trip.
How Do You Build a Three-Zone Shoe System?
Build the system in this order:
- Zone 1, transition: Place a 24-30 inch washable mat or tray near the entry. Keep the step tread and door swing clear.
- Zone 2, daily storage: Store the pairs used most often in a pocket organizer, narrow rack, cabinet basket, or low bin within one arm’s reach.
- Zone 3, reserve storage: Put spare sneakers, formal shoes, seasonal boots, and specialty footwear under a bed, dinette, sofa, or exterior bay.
- Add transit retention: Close bins, use hook-and-loop straps, or run a bungee across open footwear.
- Set the rule: Every pair enters the RV through the transition zone and returns to an assigned location.
A one-in, one-out rule keeps capacity stable. When a new pair enters the RV, one low-use pair leaves or moves into reserve storage.
How Many Shoes Should Each RV Traveler Bring?
Most RV travelers can manage 3-4 pairs per person: an everyday shoe, a weather-resistant or walking shoe, a shower or camp sandal, and one activity-specific pair. The right number depends on climate, trip length, and activities, but the storage plan should begin with a count rather than a container purchase.
Count pairs by traveler and category. A family of four carrying four pairs each already has 16 pairs, which can require roughly 112-144 inches of side-by-side shoe width before boots, children’s oversized items, or irregular shapes are considered. Vertical pockets and paired heel-to-toe placement reduce that footprint, but they do not eliminate volume.
| Traveler or trip profile | Recommended pairs per person | Typical categories | Storage priority |
|---|---|---|---|
| Solo paved-site trip | 2-3 pairs | Walking shoe, sandal, optional dress shoe | Interior entry storage |
| Solo hiking trip | 3-4 pairs | Trail shoe, camp sandal, casual shoe, boot | Entry tray plus exterior bay |
| Two-person mixed trip | 3 pairs each | Daily shoe, activity shoe, sandal | Shared daily rack |
| Family with children | 3 pairs each | Sneaker, wet-weather shoe, sandal | Individual labeled pockets |
| Winter or work-oriented trip | 4 pairs each | Work boot, casual shoe, insulated boot, indoor shoe | Exterior bay plus under-bed reserve |
Which Shoes Belong in Each Storage Tier?
Daily shoes belong in the fastest-access tier, specialty shoes belong in reserve storage, and wet or contaminated shoes belong in a drying zone. Access frequency and contamination matter more than shoe value or purchase price.
Use the entry zone for sneakers, sandals, and the pair worn for short trips outside. Use under-bed or dinette storage for dress shoes and seasonal footwear. Use a ventilated exterior tote for muddy hiking boots, beach footwear covered in sand, and work shoes exposed to oils or soil.
Which RV Shoe Storage Option Fits Your Layout?
The best option depends on door clearance, wall construction, passenger count, and whether footwear arrives wet or muddy. Stairwell trays and narrow entry bins work well for immediate containment, while over-door pockets and under-bed bins provide more capacity without consuming walking space.
Measure before buying. Record the available width, depth, height, door swing, screen-door latch position, stair tread depth, and the distance needed to open nearby drawers. A storage product that fits an empty doorway can still block a screen seal or create a trip hazard when occupied.
| Storage option | Typical capacity | Typical cost | Installation time | Best location |
|---|---|---|---|---|
| Stairwell tray | 2-3 pairs | $15-$40 | 5-15 minutes | Entry step or floor |
| Over-door pockets | 8-16 pairs | $10-$30 | 5-15 minutes | Interior door or cabinet door |
| Tension-rod shelf | 3-6 pairs | $10-$35 | 10-20 minutes | Low cabinet dead space |
| Adhesive hooks | 3-6 pairs | $15-$45 | 15-30 minutes | Blank wall or cabinet end |
| Under-bed slide bin | 6-12 pairs | $30-$80 | 30-60 minutes | Bed platform or sofa base |
| Exterior bay tote | 6-12 pairs | $25-$70 | 10-20 minutes | Pass-through compartment |
| Bumper cargo box | 8-20 pairs | $150-$500+ | 2-6 hours | Rated rear carrier |
Are Over-Door Shoe Pockets Safe for RVs?
Over-door pockets are safe only when the door, hinges, latch, and organizer can handle the loaded weight without blocking closure. A fabric organizer holding 8-12 lightweight shoes is generally less demanding than one loaded with wet boots, but manufacturer load ratings and door construction control the decision.
Check whether the organizer catches on the screen door, handle, weather seal, or latch. Keep heavy footwear low and distribute weight across the pockets. Do not assume a bathroom or bedroom door is stronger than the main entry door, because lightweight RV doors and hollow-core interior doors vary considerably.
When Do Adhesive Hooks Work Best?
Adhesive hooks work best for lightweight sandals, slippers, and flexible shoes on smooth, clean surfaces that are not exposed to repeated impact. They are a poor choice for heavy boots, rough RV wallpaper, damp walls, or locations where shoes swing during highway travel.
Clean the surface with rubbing alcohol, allow it to dry, and follow the adhesive manufacturer’s curing period before loading. A conservative typical limit is 3-5 pounds per panel, but the actual rating depends on the hook, tape, temperature, wall finish, and load direction. Screws should enter a verified structural member or suitable backing, not thin decorative wallboard alone.
Is a Tension Rod Better Than a Drilled Rack?
A tension rod is usually better than a drilled rack when the storage load is light and the RV owner wants a reversible installation. A drilled rack is more stable for repeated use and heavier footwear, but it requires confirmed backing, correct fasteners, and protection against wiring or plumbing damage.
Use rubber-ended rods between solid cabinet sides, not against unsupported trim or flexible wall panels. Test the rod with an empty container, then add shoes gradually. A rod that shifts by hand will move more during braking, cornering, and road vibration.
How Do You Install Secure RV Shoe Storage?
Install RV shoe storage by measuring the entry, reducing the shoe count, selecting a load-appropriate container, and securing the finished system for travel. A basic installation takes 30-60 minutes and usually costs $10-$80, while structural cabinetry or a bumper box can take 2-6 hours and exceed $150.
Before You Start
| Requirement | Typical specification |
|---|---|
| Planning time | 10-15 minutes |
| Installation time | 20-45 minutes for light storage |
| Typical budget | $10-$80 for nonstructural solutions |
| Measuring tools | Tape measure, pencil, masking tape |
| Security materials | 1-2 bungee cords or 2-4 hook-and-loop straps |
| Moisture control | Washable tray, mesh bag, or ventilated tote |
| Safety check | Door swing, stair footing, latch, drawer access |
Step 1: Measure the Entry and Nearby Dead Space
Measure the clear width, usable depth, vertical height, and door swing. Mark a 4-inch minimum clearance beside the screen door and leave the stair tread fully usable.
Include the thickness of shoes and the organizer itself. You will know the measurement works when the main door and screen door close flush, the latch engages, and an adult can step inside without placing a foot on the storage container. A common mistake is measuring the wall but not the door hardware.
Step 2: Sort Footwear by Use and Condition
Count every pair, then remove duplicates and separate clean, wet, muddy, seasonal, and activity-specific footwear. Assign each traveler a labeled pocket or a defined bin section.
Do not store damp shoes in sealed plastic. Let them dry in airflow first, especially after rain, beach use, or hiking. You will know the sort is complete when every pair has a category and a destination. A common mistake is keeping “backup” pairs without identifying the trip condition that justifies them.
Step 3: Select the Lightest Suitable Storage
Choose a tray for containment, pockets for light capacity, bins for reserve storage, and a rated exterior box for dirty or bulky footwear. Use 7-9 inches of width per adult pair as a planning estimate, then adjust for boots and unusually wide shoes.
A 28-inch rack may hold four adult pairs at 7 inches each, but a pair of hiking boots can require more room. You will know the product is suitable when the loaded shoe count fits without compression that prevents removal. A common mistake is buying by advertised pair count rather than usable internal dimensions.
Step 4: Install and Protect the RV Structure
Attach hooks, organizers, rods, or racks according to their product instructions. Avoid drilling until you have checked the wall, cabinet, and floor for wiring, plumbing, structural members, and service access.
Use backing or structural attachment for heavy loads. Keep adhesive products below their conservative load limit and allow the required cure time. You will know the installation is ready when it remains stationary under firm hand pressure. A common mistake is loading adhesive hardware immediately after installation.
Step 5: Add Transit Retention
Close every bin, latch every cabinet, or install a bungee across open shelves and pockets. Place heavier footwear low and toward the vehicle’s center rather than high near a door.
Driveway-test the system by opening and closing the entry, walking through the RV, and applying hand pressure to each loaded section. You will know retention works when no pair shifts during a short test drive. A common mistake is securing the organizer to the wall while leaving individual shoes loose.
Step 6: Label the Storage Tiers
Label pockets or bins by person, activity, or access level. Keep one small empty section for footwear that is drying or temporarily dirty.
Labels reduce searching and prevent the daily rack from becoming reserve storage. You will know the system is operational when another traveler can return a pair without asking where it belongs. A common mistake is creating a system that only the purchaser understands.
What Are the Main RV Shoe Storage Trade-Offs?
Entryway trays provide the fastest dirt control, over-door organizers provide high capacity, under-bed bins hide reserve footwear, and exterior totes isolate mud and odor. No single option is best for every RV because access, ventilation, load, and weather exposure conflict with one another.
| Option | Access time | Moisture performance | Transit risk | Main limitation |
|---|---|---|---|---|
| Stairwell tray | Under 10 seconds | High for wet soles | Low when fitted | Can reduce step space |
| Door pocket | 10-20 seconds | Low without mesh | Medium at the hinge | Can block latch or screen |
| Under-bed bin | 30-90 seconds | Medium with venting | Low when latched | Poor for daily footwear |
| Exterior tote | 30-120 seconds | Medium to high with airflow | Low when closed | Rain and temperature exposure |
| Bumper box | 60-180 seconds | High if sealed and dry | Medium if overloaded | Can affect rear loading |
| Ottoman storage | 15-30 seconds | Low for wet items | Low when latched | Occupies living-area volume |
How Much Weight Can RV Shoe Storage Add?
A typical adult shoe pair weighs about 1.5-4 pounds, while work boots can weigh 4-8 pounds per pair. A 12-pair collection can therefore add roughly 18-48 pounds before the container itself, making location more important in a trailer than in a motorhome.
Do not place a heavy boot collection in a rear bumper box without checking the carrier rating, axle loading, and trailer loading instructions. The National Highway Traffic Safety Administration advises following the vehicle and trailer manufacturer’s loading information; rear-mounted cargo can change balance and handling even when the box appears secure.
What Should You Do With Wet, Muddy, or Smelly Shoes?
Wet or muddy shoes should remain in a washable, ventilated transition area until surface dirt is removed and the footwear is dry. Sealed plastic storage is suitable for dry reserve shoes, not for freshly worn boots, saturated sandals, or damp socks left inside footwear.
Use a removable rubber tray for mud, a mesh bag for airflow, and activated charcoal inserts for odor management. Avoid placing wet footwear against carpet, unfinished wood, or fabric pockets. For beach trips, rinse salt and sand away from shoes and trays before storage because salt residue can damage metal hardware and abrasive sand can spread through slide mechanisms.
How Do You Keep Shoes From Falling During Travel?
Keep shoes from falling by using lidded bins, fitted pockets, cabinet doors, or a horizontal bungee across open footwear. Open shelves without a retaining edge are unreliable during braking and cornering, even when the shelf looks stable while parked.
Put the heaviest pairs at the bottom and keep flexible shoes from protruding into the aisle. A strip of non-slip drawer liner can reduce movement inside a tray, but it cannot replace a latch or strap. After the first travel day, inspect fasteners, adhesive edges, rod pressure, and door alignment.
Which Setup Fits Different RV Travelers?
Solo travelers usually need a compact wall or cabinet solution, families need assigned compartments, outdoor users need exterior containment, and full-time travelers benefit from integrated furniture or cabinetry. The correct setup changes with footwear volume, dirt exposure, and how often the RV moves.
| Traveler profile | Preferred setup | Capacity target | Avoid |
|---|---|---|---|
| Solo campervan user | 3-pair hook or narrow bin | 3-4 pairs | Large fixed rack |
| Family in a Class A | Labeled door pockets plus entry tray | 12-20 pairs | One shared loose basket |
| Travel-trailer hikers | Exterior bay tote plus drying mat | 6-12 pairs | Heavy rear bumper loading |
| Beach-oriented couple | Washable tray plus ventilated bin | 6-8 pairs | Fabric pockets near sand |
| Full-time luxury user | Pull-out cabinet or storage ottoman | 10-16 pairs | Improvised adhesive loads |
What Works in a Travel Trailer?
A travel trailer usually benefits from a stairwell tray, cabinet-end pockets, or an exterior pass-through tote because the entry is narrow and floor space is limited. Keep weight close to the trailer’s center and verify that storage does not interfere with the propane compartment, electrical access, or emergency exit.
What Works in a Class A Motorhome?
A Class A motorhome often has more basement storage and a larger entry, so a ventilated exterior tote for dirty footwear plus a narrow interior daily rack is practical. The basement bay should remain dry and accessible, while the entry system should preserve stair footing and handrail access.
What Works in a Campervan?
A campervan needs collapsible, vertical, or multi-use storage because every inch competes with sleeping and cooking space. A three-pair fabric pocket, a lidded under-seat bin, and one washable door mat can handle a minimalist rotation without permanently narrowing the aisle.
Common Mistakes and How to Fix Them
- Blocking the screen door: Move the organizer to a cabinet side or reduce its depth until the latch and seal operate normally.
- Overloading adhesive hooks: Remove heavy shoes, clean the surface, replace failed tape with a rated product, or use structural backing.
- Storing wet shoes in a sealed tote: Open the tote, separate the footwear, dry it completely, and clean the container before reuse.
- Using a rear box without checking loading: Weigh the box and contents, inspect the carrier rating, and follow the trailer manufacturer’s axle and tongue-weight limits.
- Creating a trip hazard: Relocate floor storage outside the walking line, reduce tray height, or use under-bed storage.
- Allowing shoes to scatter in transit: Add a lid, door, retaining lip, bungee, or hook-and-loop strap, then perform a driveway test.
An expert rule of thumb is to spend the best-access space on the dirtiest transition task, not on the largest shoe collection. Prime entry space should catch debris first and store footwear second.
A second rule is to design for the return trip. Shoes often become wetter, muddier, and less orderly after several days, so leave roughly 10-20% spare capacity rather than filling every pocket on departure.
A third rule concerns ventilation. A breathable mesh pocket is safer for recently worn shoes than a sealed tote, while a sealed tote is better for dry shoes that need protection from dust or bay humidity.
How Much Does RV Shoe Storage Cost?
Basic RV shoe storage typically costs $10-$35, mid-range slide-out or furniture-based storage costs $30-$80, and custom cabinetry or bumper-mounted boxes commonly cost $150-$500 or more. Installation ranges from 5-15 minutes for pockets and trays to 2-6 hours for structural modifications.
| Budget level | Typical purchase | Material cost | Installation time | Suitable load |
|---|---|---|---|---|
| Low | Tray, pocket, or tension rod | $10-$35 | 5-20 minutes | 2-12 light pairs |
| Moderate | Slide bin, hooks, or ottoman | $30-$80 | 30-60 minutes | 6-16 pairs |
| High | Pull-out cabinet or bay system | $150-$350 | 1-4 hours | 10-20 pairs |
| Specialty | Lockable bumper box | $150-$500+ | 2-6 hours | Bulky or dirty footwear |
Prices vary by brand, materials, and whether installation requires reinforcement. A low-cost organizer is not economical if it damages a door, blocks an exit, or fails after one trip.
Frequently Asked Questions
Can I Store Shoes Under the RV Bed?
Yes, under-bed storage is appropriate for dry, seasonal, or rarely used footwear, especially boots and spare sneakers. Use lidded bins or fabric containers that can be removed for cleaning, and keep wet shoes out until they are completely dry. Under-bed storage is inconvenient for footwear used several times each day.
How Do I Stop RV Shoe Storage From Smelling?
Stop odor by drying shoes before containment, washing removable trays, increasing airflow, and using activated charcoal inserts. Avoid masking odor with fragrance alone because damp insoles and enclosed fabric can retain moisture. Mesh pockets work better than sealed bins for recently worn shoes, while sealed bins suit dry reserve footwear.
Can I Put a Shoe Rack on an RV Wall?
You can put a shoe rack on an RV wall only after confirming the wall’s backing, fastener suitability, and the rack’s loaded weight. Lightweight adhesive hooks suit sandals and slippers, but heavy boots need structural attachment or floor-supported storage. Check for wiring and plumbing before drilling into any panel.
Are Exterior Shoe Tubs Safe in Winter?
Exterior shoe tubs are safe in winter when they are secured, protected from standing water, and used for footwear that tolerates low temperatures. Freezing can stiffen plastic, crack brittle containers, and reduce flexibility in adhesives. Keep dry footwear in a sealed, stable bay and inspect the tote after temperature changes.
Where Should Children’s Shoes Go in an RV?
Children’s shoes should go in low, labeled pockets or a shallow entry bin that does not obstruct the stairs. A child-accessible location encourages consistent removal, but the container must have rounded edges and cannot occupy the main stepping surface. Reserve bulky seasonal footwear under a bed or in an exterior bay.
The Bottom Line
The answer to where to put shoes in RV facts you should know is a three-zone system: a washable entry transition area, quick-access daily storage, and ventilated reserve storage under furniture or in an exterior bay. Measure the doorway first, plan 7-9 inches per adult pair, retain every item for travel, and keep wet footwear out of sealed containers until dry.


